This post and photos may contain Amazon or other affiliate links. If you purchase something through any link, I may receive a small commission at no extra charge to you. Any supplies used may be given to me free of charge, however, all projects and opinions are my own.
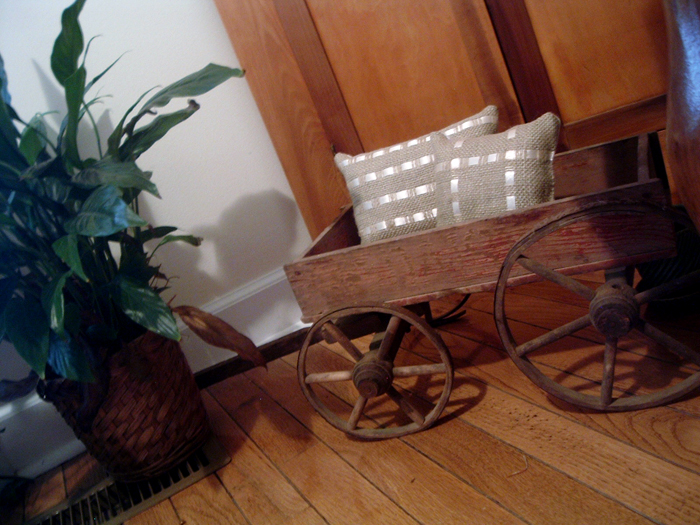
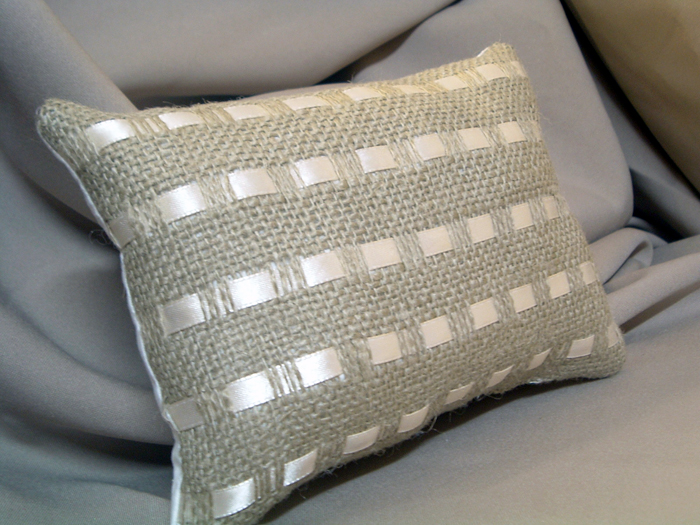
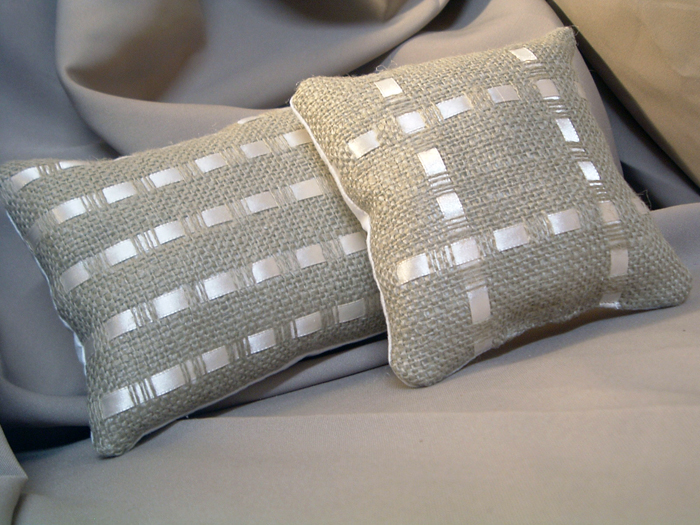
Burlap and ribbon seem to be a good pair — don’t ya think? I made some mini pillows to go in my little vintage wagon. These burlap and ribbon pillows can be made in any size and are a fun project. I love how the satin ribbon accents the rustic burlap.
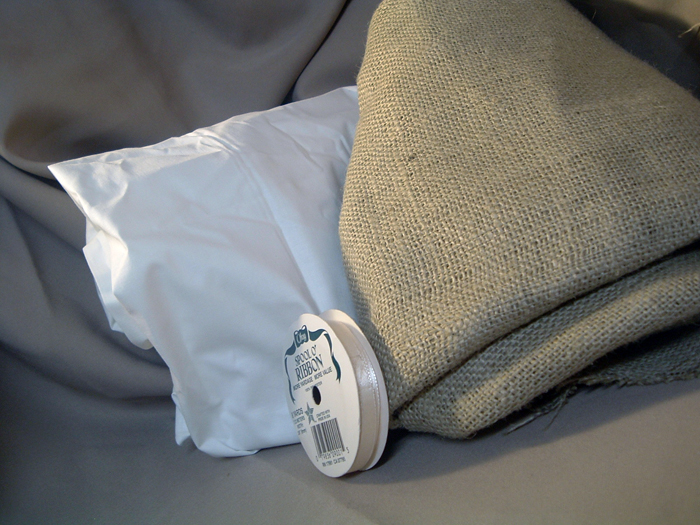
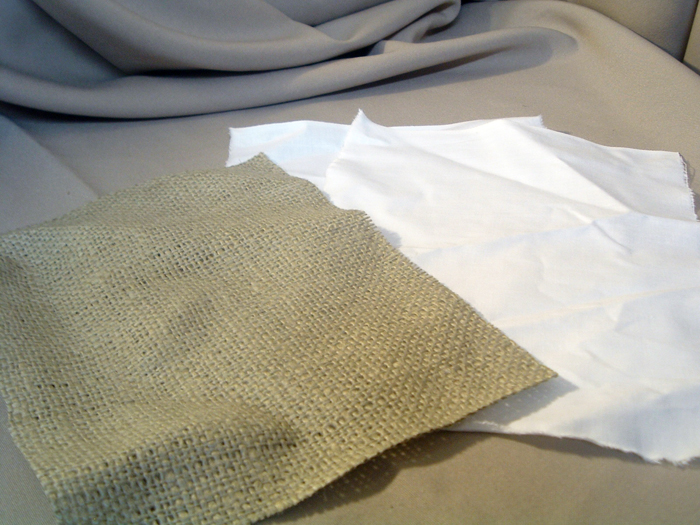
I think they have a “pottery barnish” feel. So, wanna make some? You will need burlap, ribbon, and some other fabric (white cotton works).
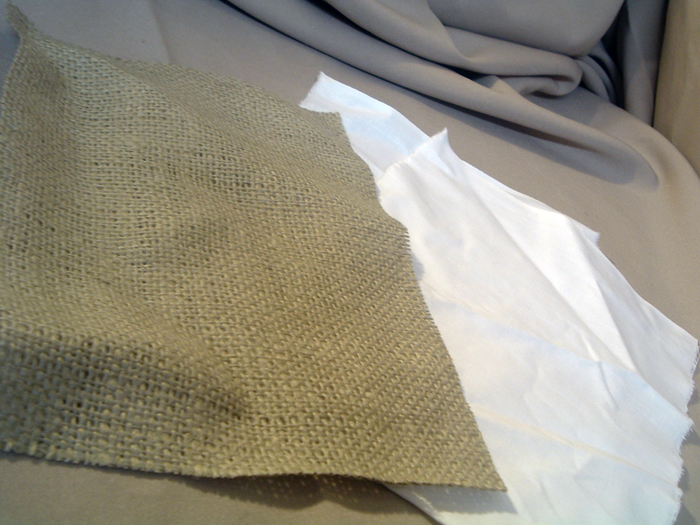
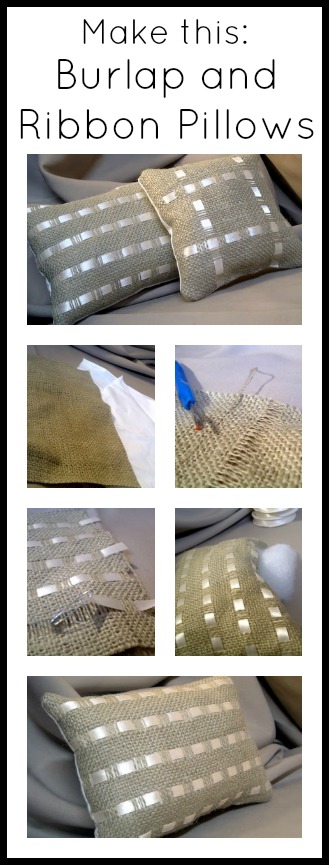
For the first rectangular version, I cut the burlap and fabric into 7×9 inch squares. It will make about a 6×8 inch pillow. Of course you can make any size you wish…. Be sure to cut off the tighter weave of the selvege edge of the burlap — just trust me on this one.
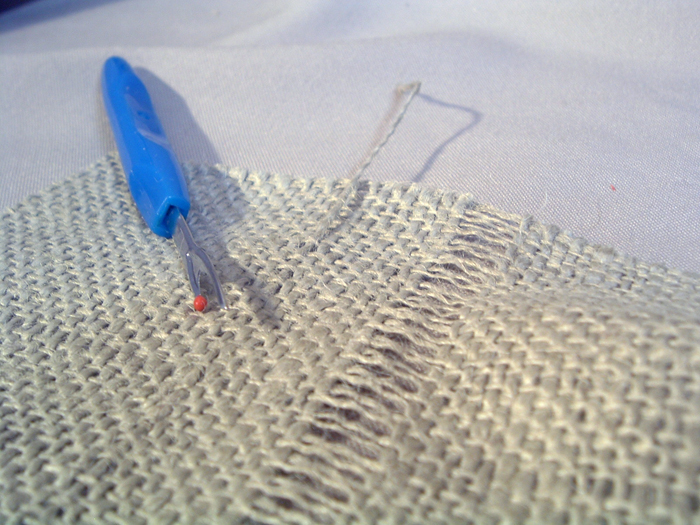
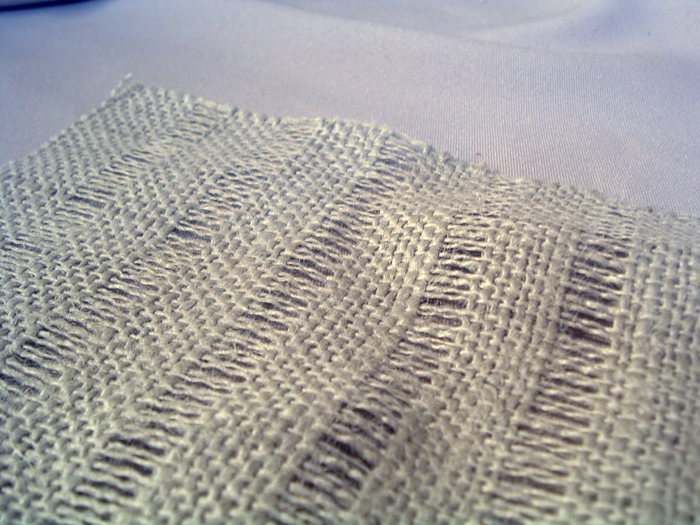
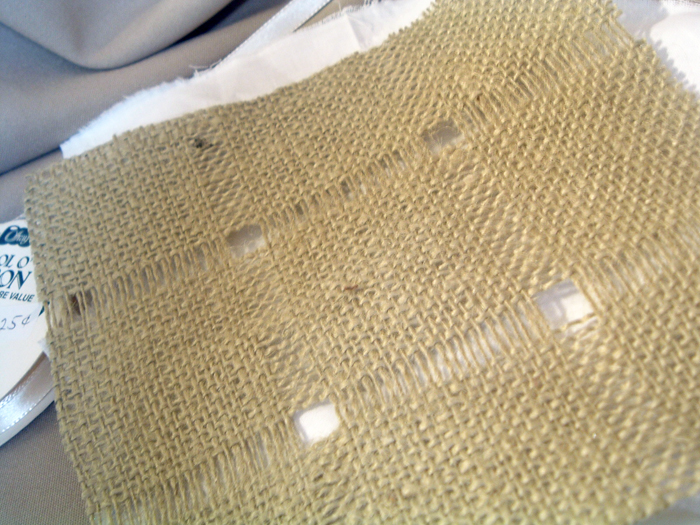
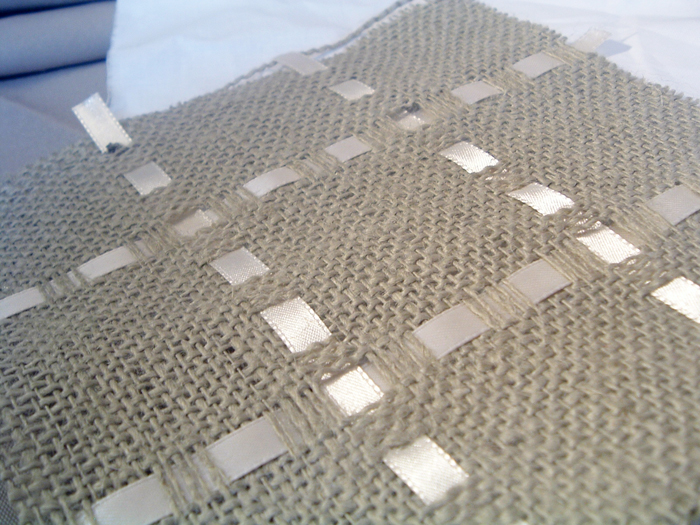
Here is the secret — you can remove those strings in the burlap. Yep just lift one up with one of those rippers used for sewing — pull on it and it will come out! I removed 4 together because that was about the width of my ribbon. I skipped double that amount (8 in this case) in between.
Make as many of these “lines” as you desire.
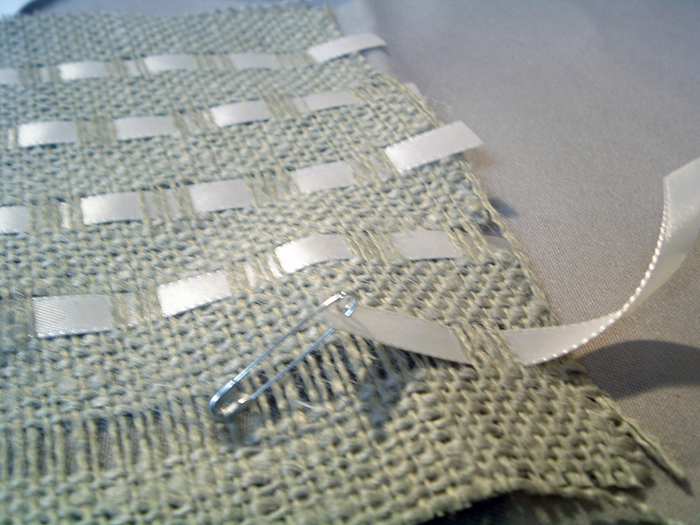
Then I just threaded the ribbon in and out on these lines. I went 5 strands when threading in and out — again up to you — no rules here!
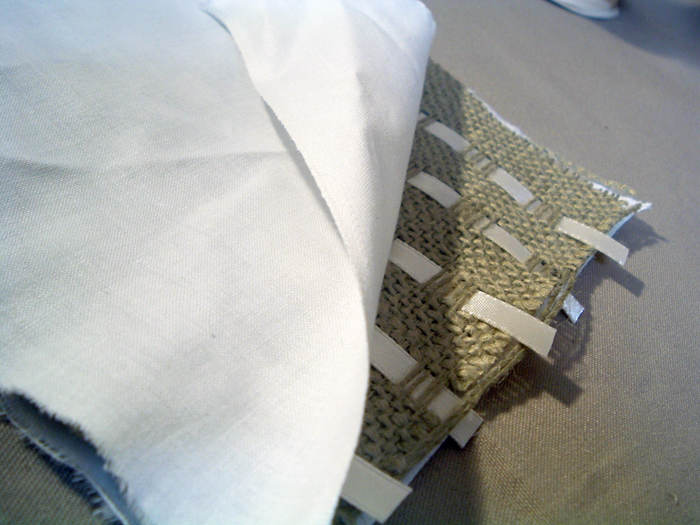
See that safety pin attached to the ribbon? It makes this much easier! And see above how I did one line the opposite of the previous. So pretty! Then just stack up your burlap in between your white cotton rectangles.
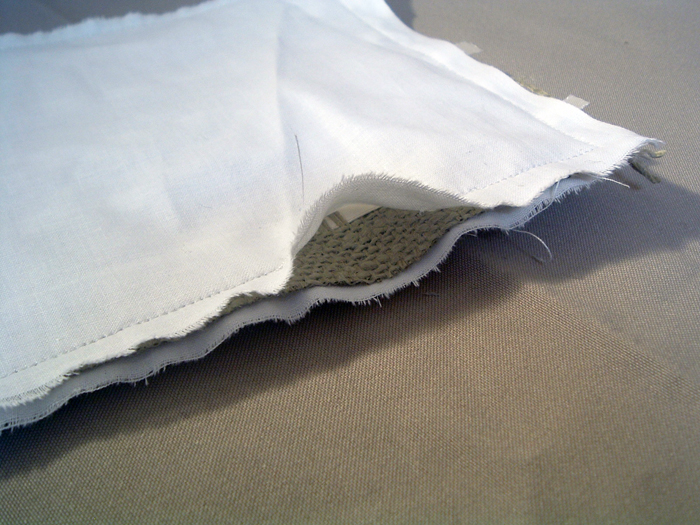
Yep — now the sewing part. Just sew all around leaving 2-3 inches as a gap.
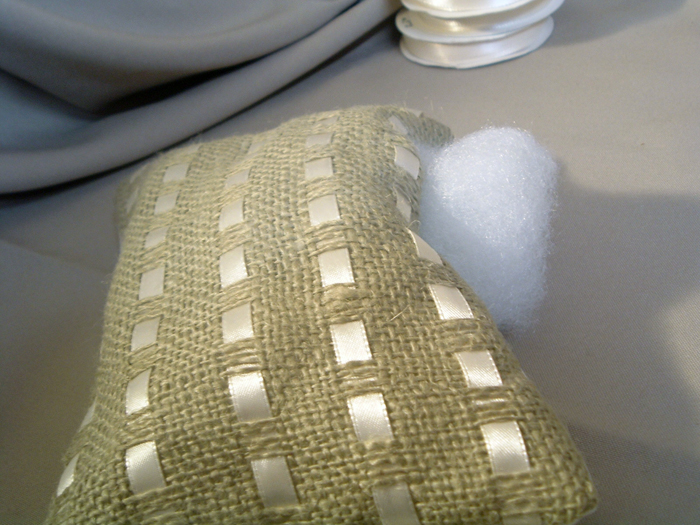
Turn right side out through that hole. And start stuffing….
Sew that slit closed and you are done!
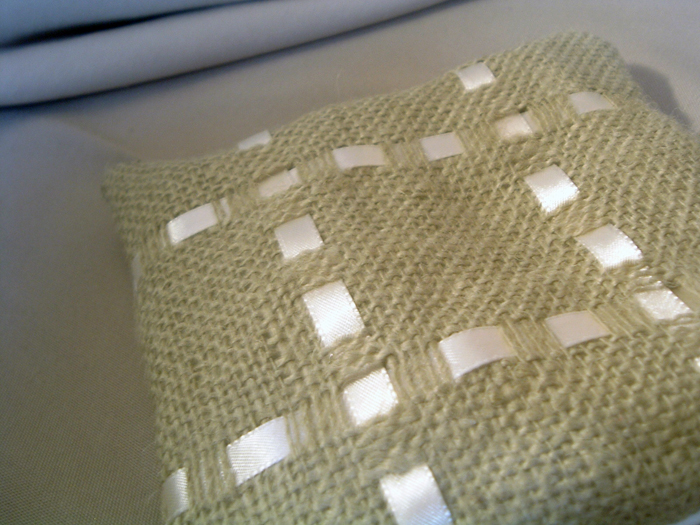
And for the other variation — same techniques just slightly different. Cut your burlap and cotton into 7×7 inch squares. Making a 6×6 inch pillow.
Remove the strand of burlap again but this time in two lines running vertical and two running horizontal. I folded mine in half and then went about 12 strands of burlap to find the place to start.
Thread in your ribbon again (remember to use your safety pin).
Stack the burlap between the cotton again and sew it up — leave that 2-3 inch gap. Turn right side out and stuff as desired.
Sew up that slit. Stand back and admire how cute they look….
Like that burlap and ribbon look but don’t sew? Stop by tomorrow when I make something with burlap and ribbon that requires NO sewing. So think these are deserving of a “pottery barnish” label? I am in love with these burlap and ribbon pillows!
Love burlap? Be sure to check out all of our burlap projects.
Angie, I love the play of silky ribbons and rough burlap! Pinning 🙂
<3 Christina @ I Gotta Create!
Wildly Original link party is open.
Ive cut burlap and have had it start falling apart. Do you run into this problem when cutting the measurements and lines for threading?
If you are having issues, try a product called fray check. Run across the line before you are going to cut or the edge right after. It should take care of the problem. You can find it in the sewing area in most stores.
I like it