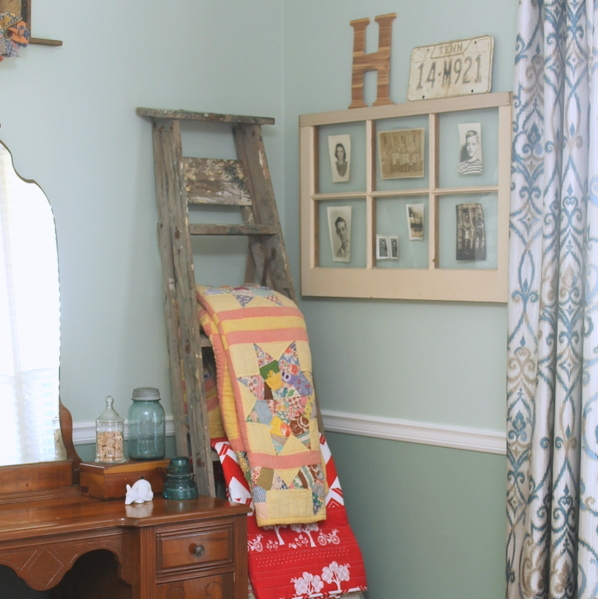
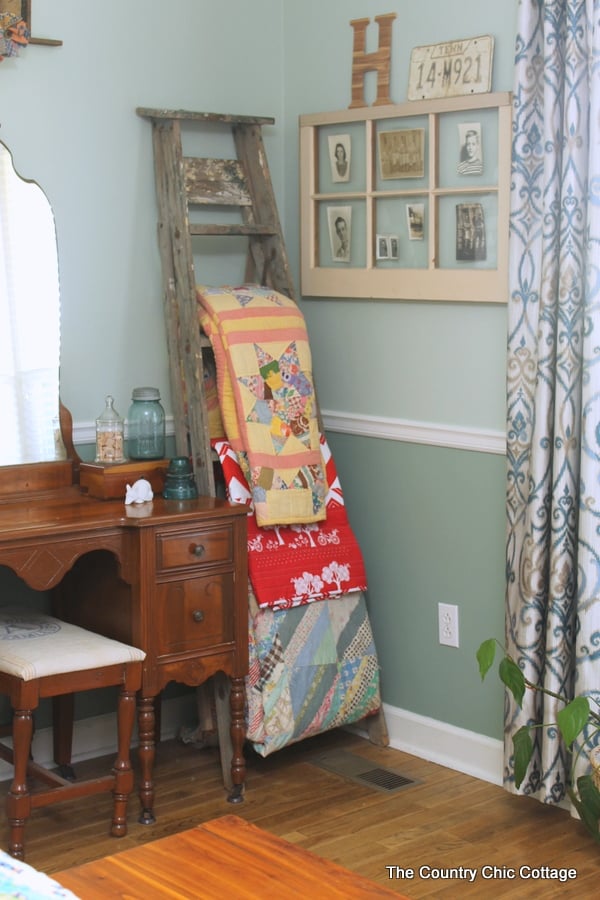
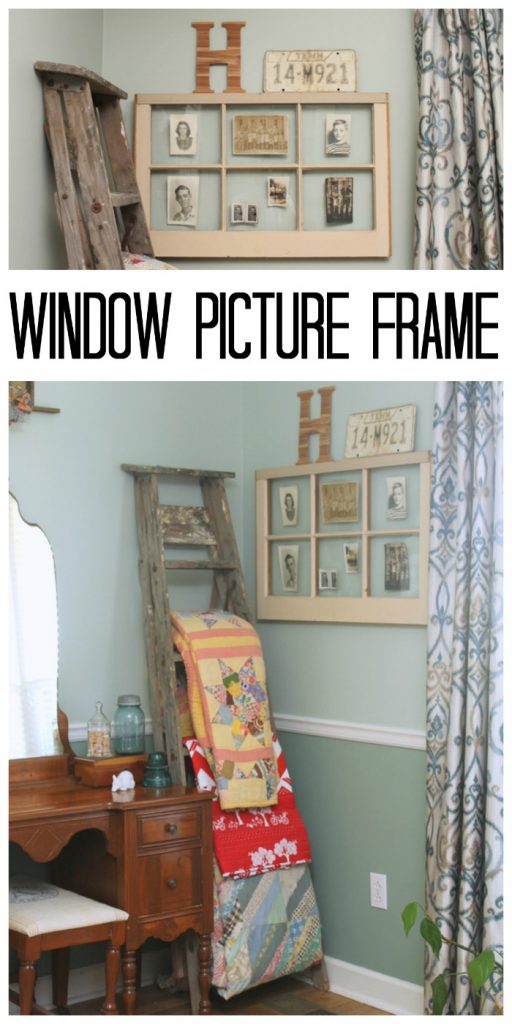
You can make your own window picture frame in just a few simple steps. I love the way this one looks and the character it adds to my bedroom. If you are looking for some rustic farmhouse style, look no further then an old window! In fact, you can click here to see more old window crafts for every room in your home!

How To Make A Window Picture Frame
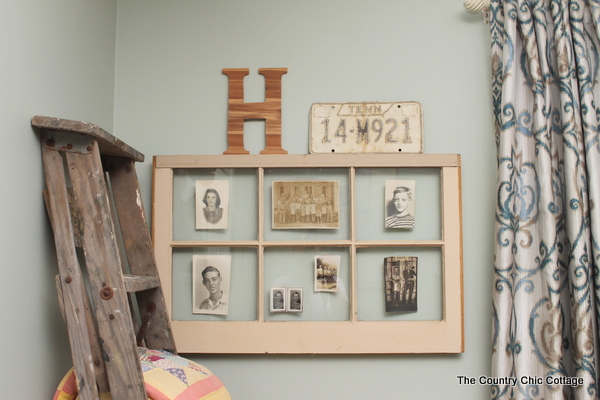
Add a window to your wall full of old pics (or new ones!) for a gorgeous display! I added this one to our bedroom but you can use this same idea for any room in your home. Yep, a window full of old pics. I love it! It is the perfect addition to our bedroom.
Supplies Needed To Make Window Picture Frame
- Window Picture Frame
- Saw Tooth Hanger (or hanger of your choice)
- Photos to display
- Tape
- Paint & Paintbrush (optional if you want to paint your window frame)
Step 1: Go Thrifting
Start by finding an old window. You can hunt thrift stores, yard sales, estate sales, and more. I love the look of a divided light window for this project but you can use any that you love.
Step 2: Clean Window Frame
Bring your window home and give it a good cleaning. You can also paint it if you wish but I love that old rustic look.
Step 3: Add Hanger
Add a couple of saw tooth hangers to the back for hanging then add to your wall.
Step 4: Add Photos
I used some tape to add my old pictures to the back of the glass. If you use really old pictures, you may want to make a copy just to keep your originals out of the sun.

This is a quick and easy project that will make a huge statement in any room of your home! Just go ahead and start on your hunt for an old window or two today. You know you want a window picture frame in your home!

I can’t wait to see what you come up with! Be sure to share your pictures on our Facebook page as we would love to see them!
Tips and Tricks for Window Picture Frame
Now that you’ve seen this fun window picture frame, are you ready to make your own? Here are a few tips and tricks to ensure your project goes as smoothly as possible!
- Have Fun With Shapes & Sizes – You can find window picture frames in all shapes and sizes! So, have fun picking out the right one for your space, and don’t think you have to go with something traditional.
- Check For Odd Paint – When buying a thrifted item, sometimes home items (like doors or windows) can have harsh chemicals on them (like lead paint). Due to this, I recommend doing a quick test to make sure that your window has a non-toxic finish. To do this, you can do a Google search and find tons of videos about how to check thrifted items for harsh chemicals.
- Clean Your Window – I mentioned this before, but clean your window! Whether you like a rustic look or not, cleaning your window will help bring out the natural look of the window and help create a good base to paint on, if you decide to do so.
- Get Creative With Your Photos – I chose to tape my photos into place but you could fill each window pane up with photos or string a wire across the window to clip photos on instead!
5 More Rustic DIYs
Do you love this window picture frame, and are looking for more rusitc DIYs? Then check out the projects below!
- DIY Rustic Towel Rack from Pipes
- 30+ DIY Rustic Sign Projects
- Rustic Wall Art from a Wood Slice
- Star Shaped Succulent Wreath
- Rustic Sweet Tea Sign


Great party Angie. I love windows! Your “picture window” looks great!
gail
Yay Angie! I’m excited for your first party. I love old windows. I’ve been wanting to put pictures in mine, but I haven’t yet. Now maybe I will. Love the looks of yours. Thanks for the party.
Wish I had something to share. This is a great idea and I can’t wait to look through the posts.
I just love your pink window! That’s one thing I don’t seem to do – windows (ha!).
Jeanine