If you’ve been gazing with longing at the beautiful, ornate finials in the Ballard Designs catalog, this post is for you! You can create your very own version right at home! With some thrifty finds and a bit of strong glue, you’ll be able to add a touch of elegance to your space with your DIY finials. It’s time to roll up our sleeves and start this fun-filled, easy, and affordable project!
If you’ve been around for a while, you KNOW I like a goof knock-off project. I mean, Pottery Barn, Anthropologie, West Elm… they have the most gorgeous home decor items. But they can get so expensive!
My suggestion? Don’t go for the real thing; make your own knock-off version!
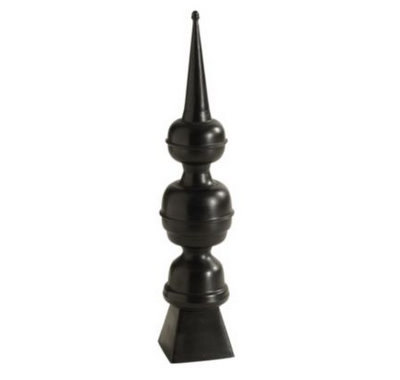
My inspiration for today’s DIY project is from the great Ballard Designs, specifically these ones here. Retailed at anywhere from $39 to $79 — they better be great.
Well, no need to shell out a fortune. With just a few simple supplies and some strong glue, you’ll have beautiful DIY finials that will look like it came from the original shop.
How To Make A Decorative Finial For Your Home!
Do you want to add a chic, eye-catching touch to your home but don’t know where to start? A DIY finial is the perfect solution! Read on to find out how you can easily create an inexpensive and unique finial for your home.
Supplies Needed
Here’s what you’ll need to gather:
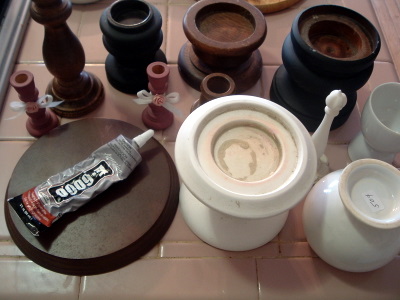
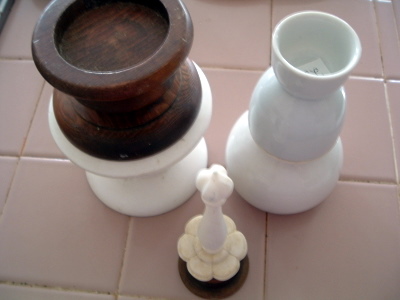
- Different-sized pieces (variety of candle holders, small pots, or porcelain bowls)
- E-6000 glue
- Spray paint (color of your choice. I used brown, black and antique brass)
Knock-Off Finial Instructions
Follow these step-by-step instructions on how to make your own finial like the ones at Ballard…
Step 1: Clean your base pieces
Make sure to wipe down all of your base pieces with a damp cloth. This will help the glue adhere better, and the pieces remain firmly in place.
Plus, the spray paint will go on much smoother!
Step 2: Plan out the pieces
Taking all of your base pieces, start to map out which pieces you would like to use and how they should fit together.
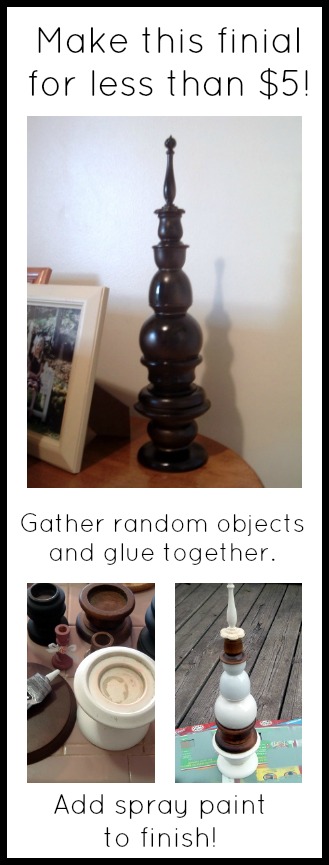
Play with them like puzzle pieces. Fit this one to that one. Turn pieces upside down. It makes no difference what color or material they are. All that matters is you get the look and height you want.
Take your time, and don’t be afraid to mix and match different sizes for a more unique finial!
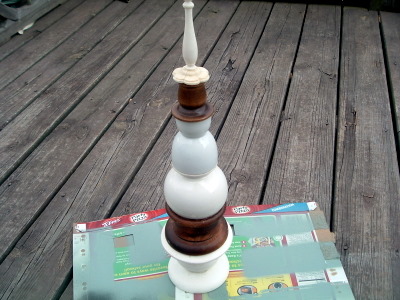
Step 3: Glue the pieces together
Once you have everything in place, it’s time to get gluing! Using the E-6000 glue, carefully adhere the pieces together. Make sure they are completely secure before setting them aside to dry.
Step 4: Spray paint your finial
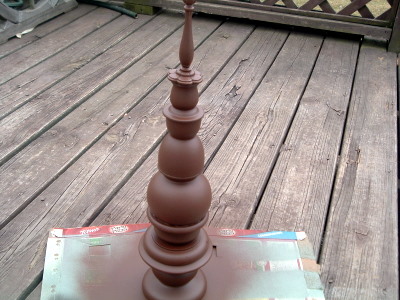
When the glue has set, this is the perfect opportunity to give your finial a pop of color! Take your spray paint and begin painting each piece – don’t forget those hard-to-reach spots too!
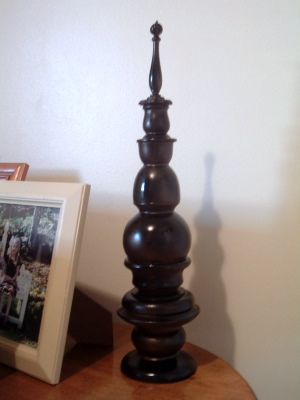
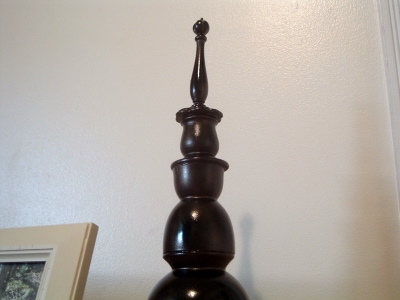
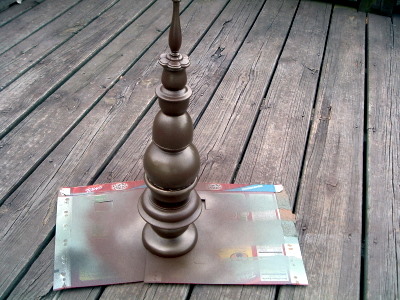
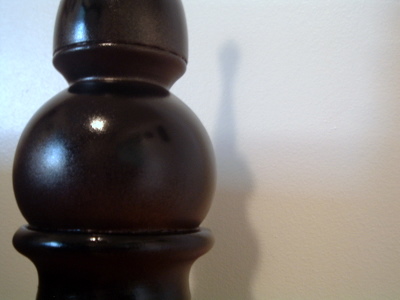
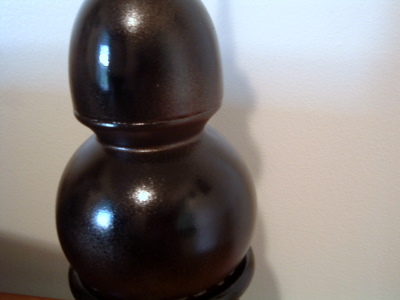
I started out by spraying it all around with brown spray paint. Then, I went over that LIGHTLY with antique brass and then LIGHTLY with black.
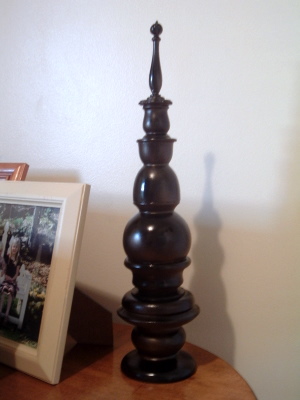
Once the paint has dried, you have a beautiful finial to add to your home. Try it out on a mantel or shelf to give your space an extra decorative touch.
FAQs
If you have questions about making this DIY finial, I have answers for you! Please leave your question for me in the comments if you don’t see it already answered below.
Is it difficult to make a finial?
Not at all! With just a few supplies and some imagination, you can make a beautiful finial in no time.
What kind of glue should I use?
E-6000 is the best choice for this project as it’s strong enough to hold the pieces together securely. You could also use Gorilla glue.
How can I use this finial in my decor?
This finial makes the perfect addition to any mantel or shelf. Try placing it near a cute photo frame or an antique piece for a unique, eclectic look.
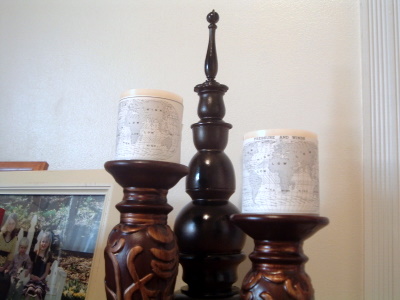
My finial found its home with my map candle wraps!
Supplies
- Different-sized pieces variety of candle holders, small pots, or porcelain bowls
- E-6000 glue
- Spray paint color of your choice. I used brown, black and antique brass
Instructions
- Make sure to wipe down all of your base pieces with a damp cloth. This will help the glue adhere better, and the pieces remain firmly in place.
- Taking all of your base pieces, start to map out which pieces you would like to use and how they should fit together.
- Once you have everything in place, it’s time to get gluing! Using the E-6000 glue, carefully adhere the pieces together. Make sure they are completely secure before setting them aside to dry.
- When the glue has set, take your spray paint and begin painting each piece – don’t forget those hard-to-reach spots too.
- Once the paint has dried, you have a beautiful finial to add to your home. Try it out on a mantel or shelf to give your space an extra decorative touch.



Great idea, has come up a treat!
alicia
Nice! Amazing how much cheaper you can make it than buying it! I love the way you did the layers of light coats of paint. It looks great!
LOVE this! It’s the best puzzle ever!
This idea is truly inspiring. I see these pieces at the thrift store for next to nothing and always pass them by. Well no longer! Can’t wait to do a few.