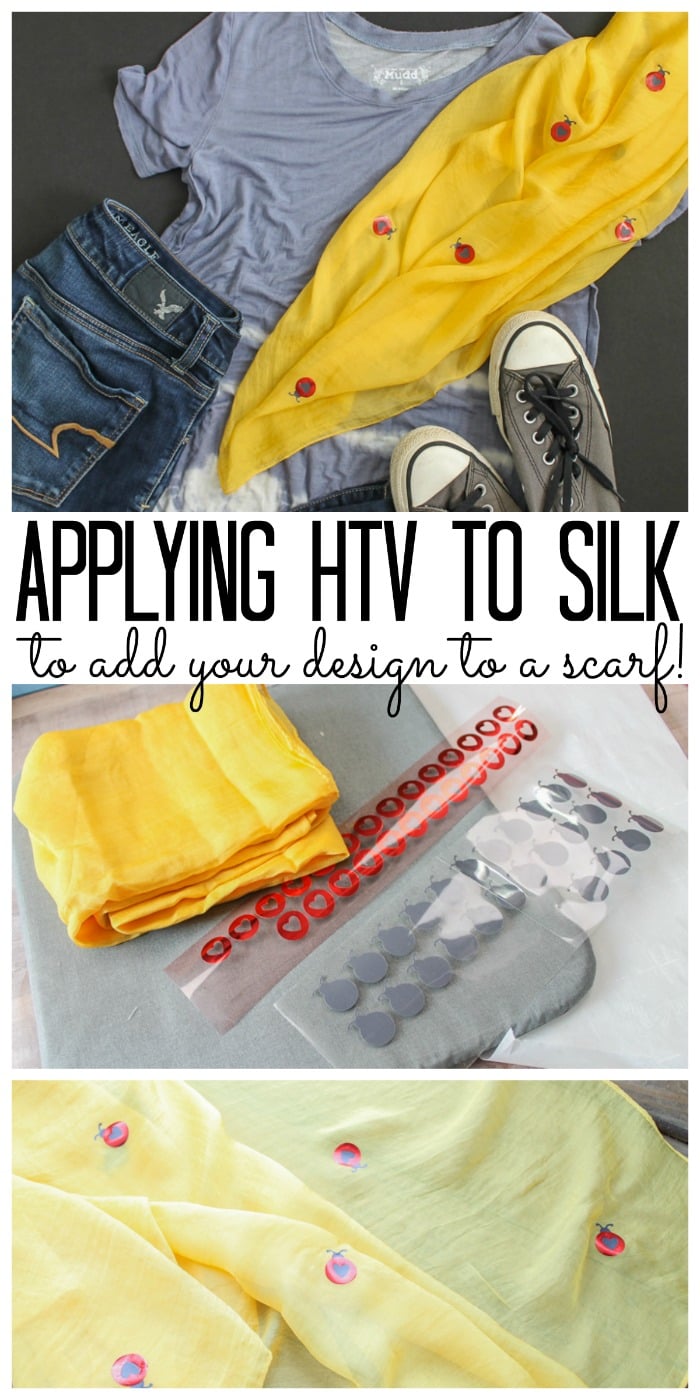
Learn how to use HTV to make an embellished scarf. Using heat transfer vinyl on silk sounds intimidating, but it’s really a very simple process. Read to see how to do it!
Today’s mission is figuring out how to apply heat transfer vinyl on silk. We have been talking quite a bit about HTV lately and putting it on different or unexpected materials (wondering Sublimation vs. HTV: Which lasts longest? Find out!).
Crafting gets even more fun when you think ‘outside the box’ of plain cotton tees and move on to silk! You can add heat transfer vinyl to a silk shirt from the store or you can decorate a simple scarf with anything you can imagine.
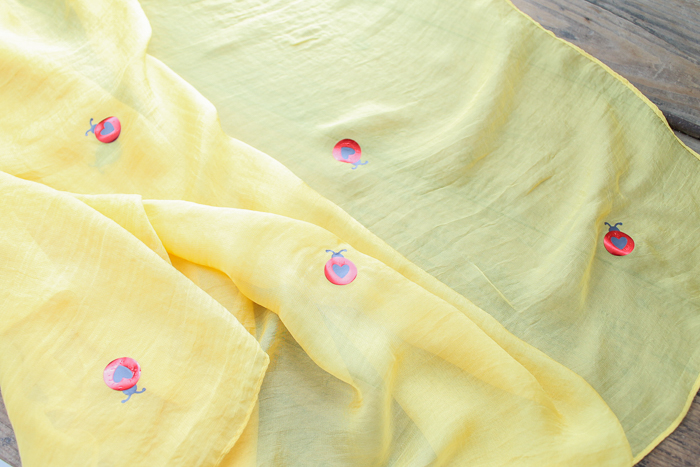
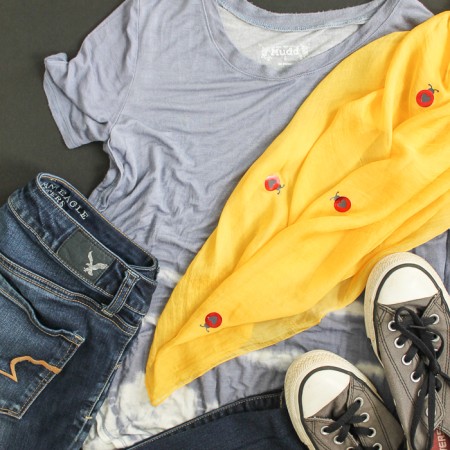
Today, we’re going to add a few ladybugs to a scarf to demonstrate the process. Then, you can take this method and use it on any design or silk item you love. 😉
Supplies Needed To Add HTV On Silk
Here’s a list of what you’ll need, and I’ve included links to help you find items faster and easier.
- Silk surface (a scarf in this case)
- Iron-on (I use the every day and foil products from Cricut)
- Iron or EasyPress (click here to see why I like the EasyPress)
- Cricut Machine (click here to see which one I use)
- EasyPress Mat or towel
- Weeding tools (optional)
How To Use Heat Transfer Vinyl On Silk
Here’s the step by step process to follow. The steps are simple, and it goes quickly!
Step 1
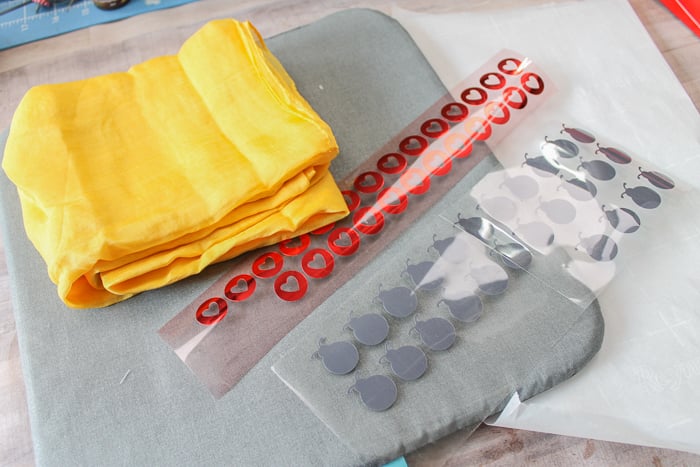
First, cut your heat treat vinyl in any shape you like. I used a lady bug file in Cricut Design Space, it’s free if you have Cricut Access (#M42CF4), and made a bunch of little ladybugs.
Step 2
Weed away all excess vinyl and cut out each individual bug.
FYI, this is a layered design so it will require two presses per bug.
Step 3
Lay down the first (or bottom) layer and press according to the instructions. You can find heat and time requirements for silk here on the Cricut website or in Design Space!
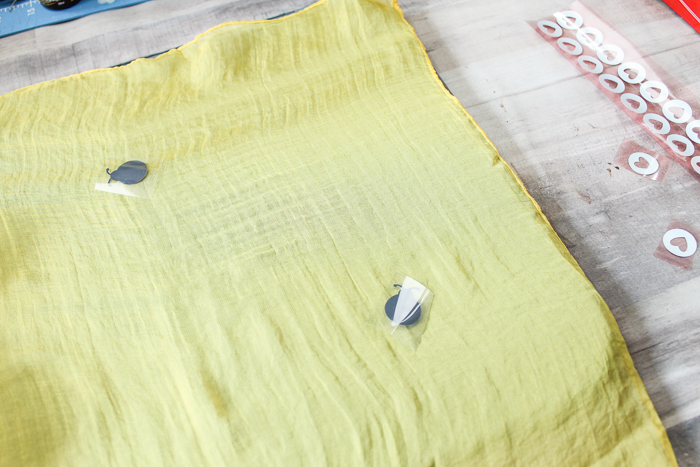
Be sure to follow all instructions, including preheat, press time, and temperature, as well as pressing from the back and the front.
Step 4
Then, peel away the liner on the first layer and repeat with the second layer.
Note: Yes, this has to be done for each bug! One of the benefits of the EasyPress is the size and the fact that on projects like these you can do multiple bugs at one time.
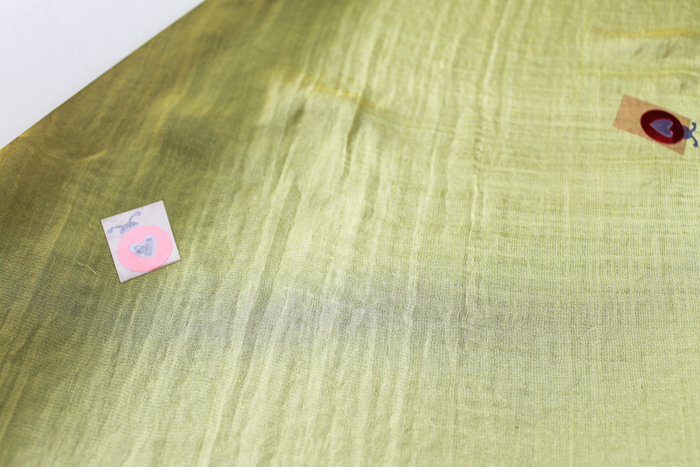
For this project, I just added ladybugs randomly all over the scarf, but you can do whatever design you like. Make it random or make it more coordinated – up to you!
Project Ideas For Using Heat Transfer Vinyl On Silk
Now that you see how to use heat transfer vinyl on silk and how easy it is, the design and project possibilities are endless!
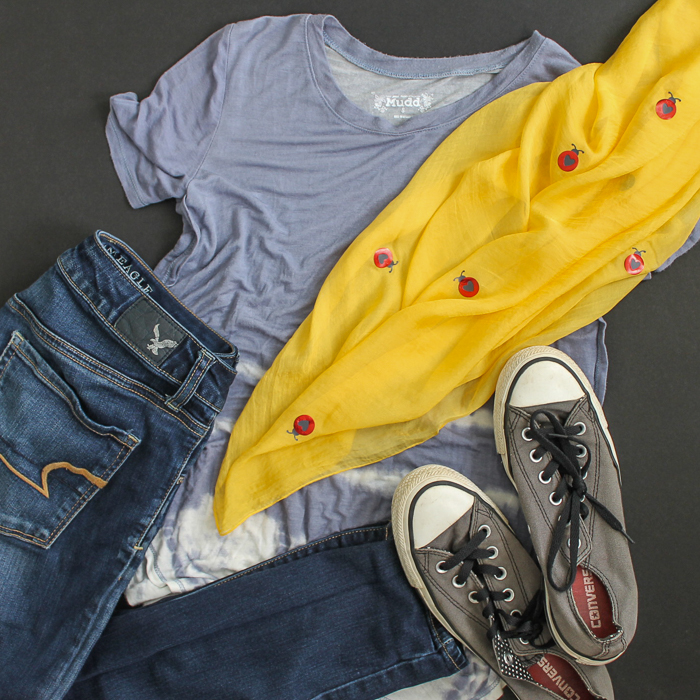
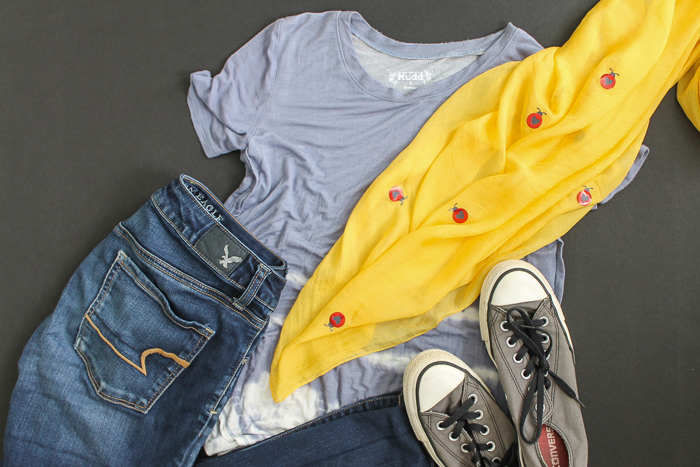
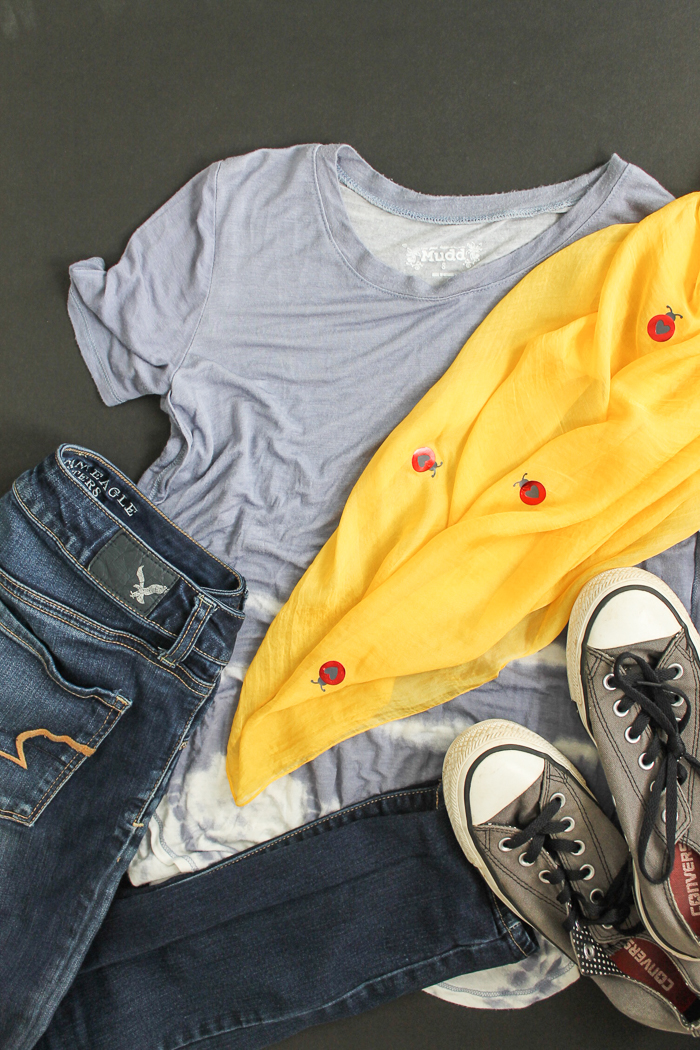
Pair your new silk scarf with a cute outfit and head out the door!
This same process also makes a variety of great gift ideas! Here are a few gift ideas of different ways that use HTV to get the creative juices flowing:
- Try adding a monogram to a silk scarf for Christmas gifts.
- Make a new favorite mug for that coffee addict.
- Create a personalized or funny baseball cap – or even a team cap!
- Design and create a glow-in-the-dark HTV t-shirt that’ll knock their socks off.
Everyone will love their handmade gift from the heart, and I know you’ll love how easy it is to create! Go ahead and try adding HTV on silk for yourself. You’re sure to love the results!
More HTV Ideas:
Love this HTV project and want more ideas? Try the links below!
- How to Use Printable Heat Transfer Vinyl
- Adding Heat Transfer Vinyl on Wood
- How to Use Heat Transfer Vinyl (or Iron-on Vinyl)
- How to Remove Heat Transfer Vinyl
- Plus 60 more Cricut Iron-on Crafts
- How to Use Heat Transfer Paper
- How to Use Glow in the Dark HTV
Supplies
- Silk material
- Iron-on
- Cricut machine
- EasyPress Mat
- Cricut cut file
- Weeding tools
Instructions
- First, cut your heat treat vinyl in any shape you like.
- Remove all excess vinyl and cut out each individual bug. FYI, this particular design is a layered design, so it will require two presses per bug.
- Press the first layer onto the scarf, taking care to follow all heat and time instructions from Cricut.
- Remove the liner for the first layer then repeat the process on the second layer.
- Repeat this process until your design is completely finished.


