Today, I want to share a fun and easy way to make a paper gift bag! I’m using old maps for this project, but you can use any large piece of paper. This is one of my all-time favorite crafts! If you love old maps or sheet music, this project is perfect. So, grab your paper and start making your gift bags today!
How To Make A Gift Bag From Paper
Making a gift bag from paper is a fun craft you can complete in about 10 minutes! This is a great project if you need a bag in a pinch or want to add that extra personalized touch to a gift.
Today, I will show you how to make a gift bag from a map, but you can make your bag from any paper you have on hand!
Supplies Needed To Make Gift Bag From Paper
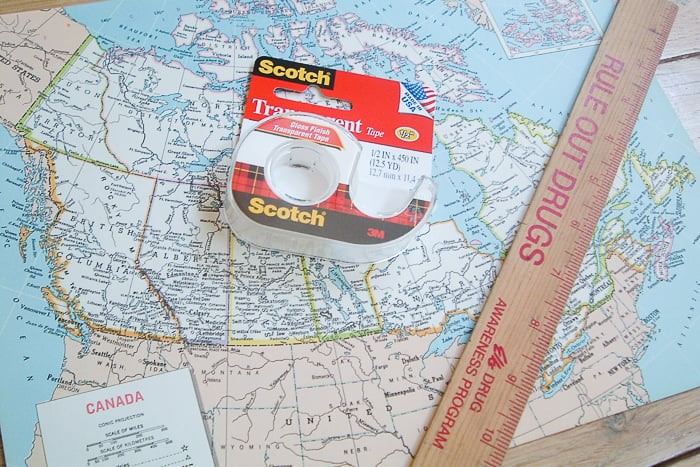
- Maps, sheet music, or other paper ephemera
- Ruler
- Clear tape
- Hole punch
- Ribbon
Step 1: Begin Folding Your Paper
Decide which side of the paper is your front and which end is the top.
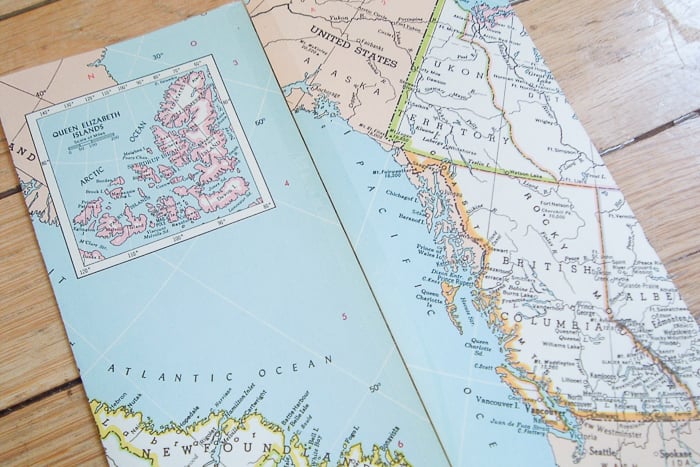
Fold your paper so that the ends meet in the middle of the “back”. Your top should be up and your front is facing out not in. Make sure it is even where it meets.
Please note that all of your folds need to be neat and crisp. Use your ruler or fingernail to run down all the creases as you do them. Run a long strip of tape all the way down the center seam.
Step 2: Fold The Bottom Of The Bag
All of the dimensions below are for this particular bag; however, you can play around with the dimensions for different paper sizes. I did, and you can do all sorts of things!
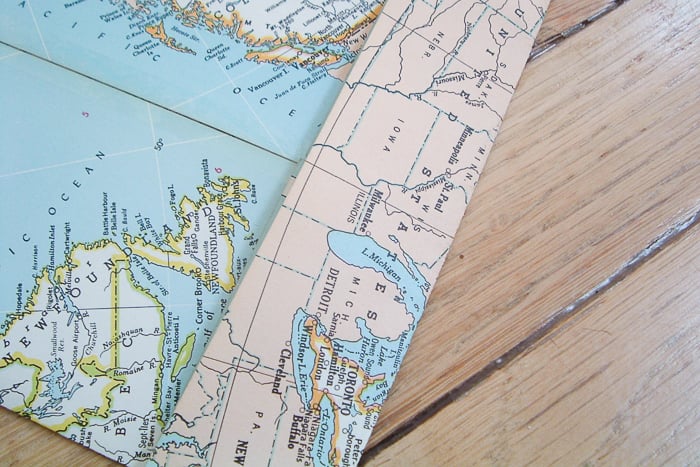
Fold up the bottom of your bag 1 1/2 inches. Again, you need to make sure you have a nice, crisp, even fold.
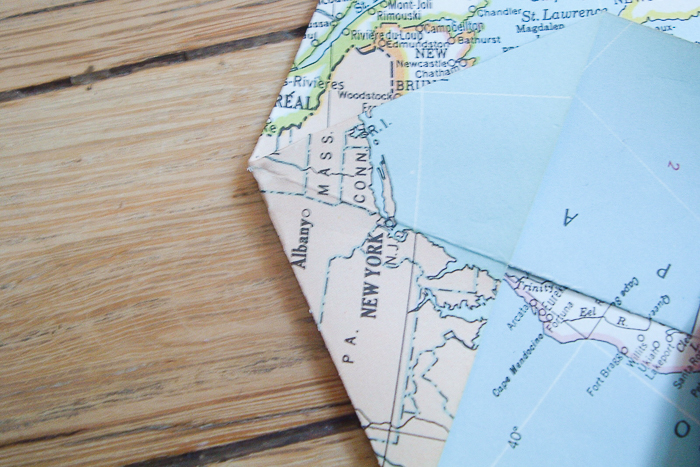
Step 3: Create Triangle On One Side Of The Bag
Open up that fold and make a triangle in the corner, as shown below.
Step 4: Create Triangle On The Opposite Side Of The Bag
The crease in the triangle should line up just perfectly with the crease in your paper. Repeat by adding another triangle on the opposite side.
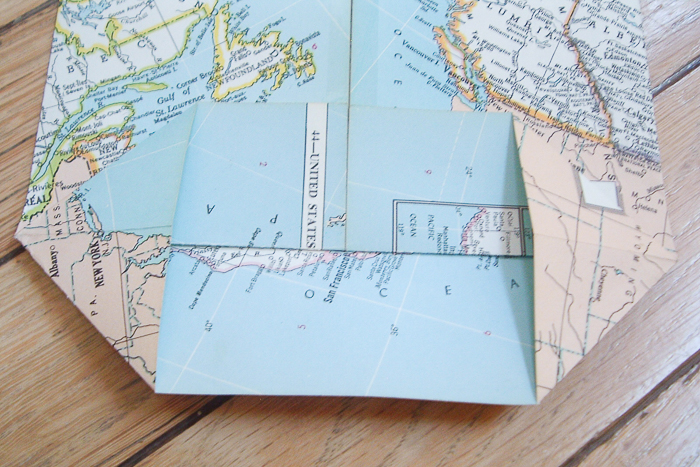
Step 5: Fold Sides To The Center
Now, take both sides and fold them to the center, making them meet at the crease. The folds should be nice and neat and perfectly meet in the center.
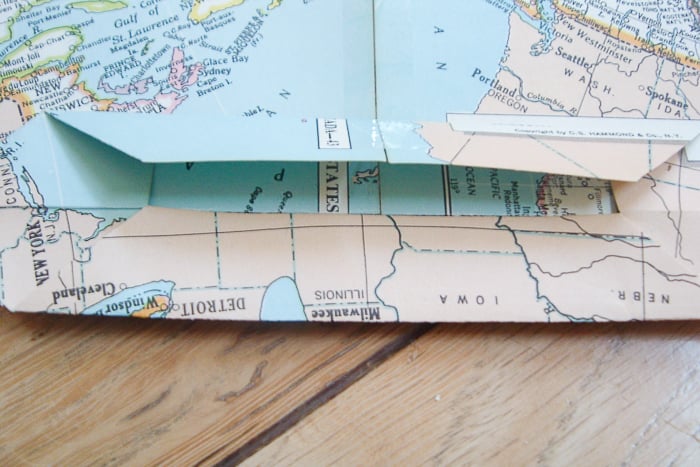
Step 6: Tape Bag
Run a strip of tape across where those pieces meet and pop open your bag!
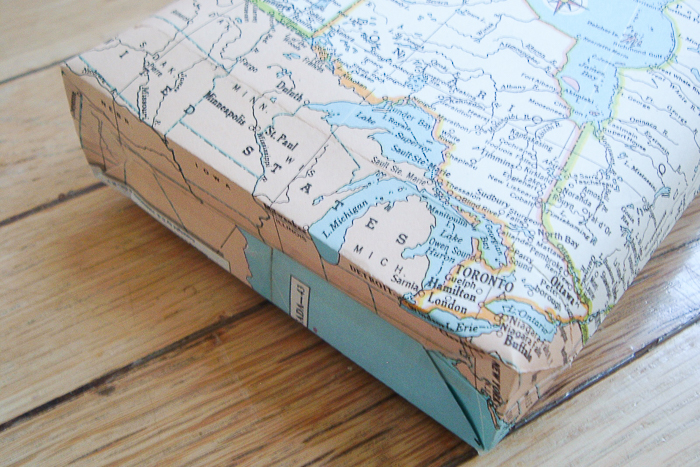
Step 7: Crease Bag Edges
NOW it is starting to look like something! Crease all of your bag edges with nice neat folds so it looks professional.
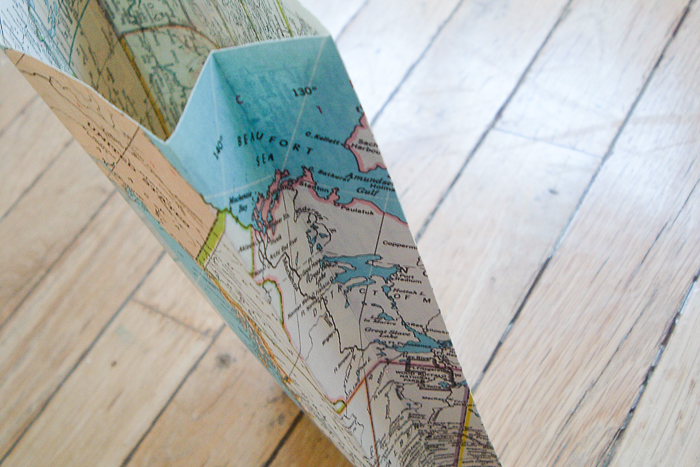
Horray! You have officially made your first DIY paper bag.
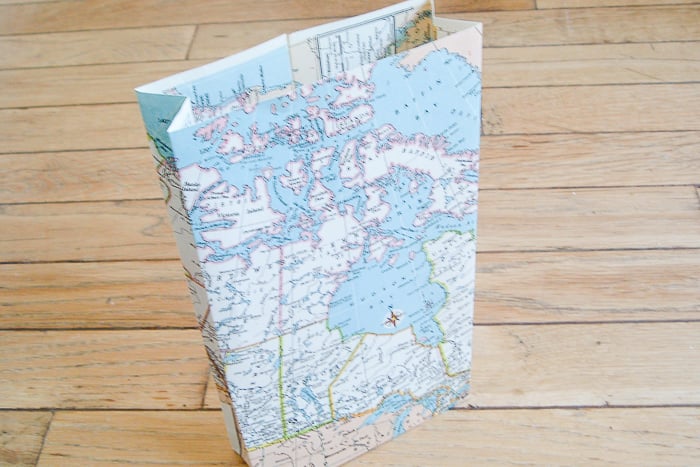
Here is the back, which is just as pretty as the front.
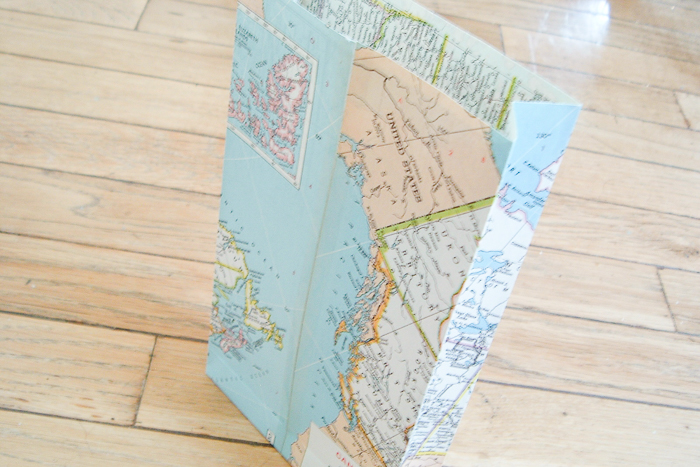
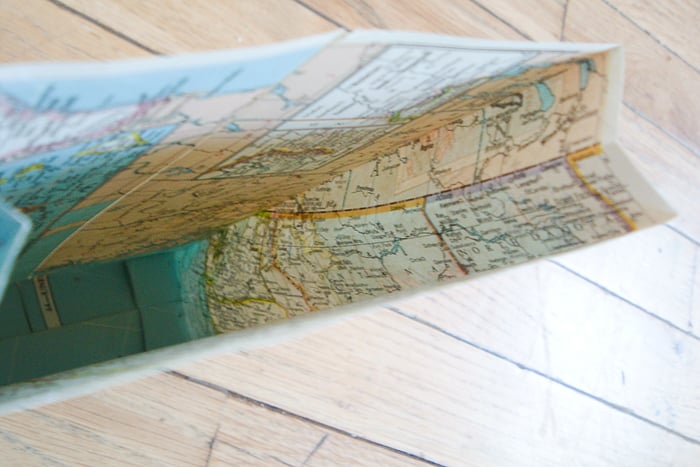
When using a double-sided piece of paper, the inside is just as cute as the outside.
Finish With A Bow
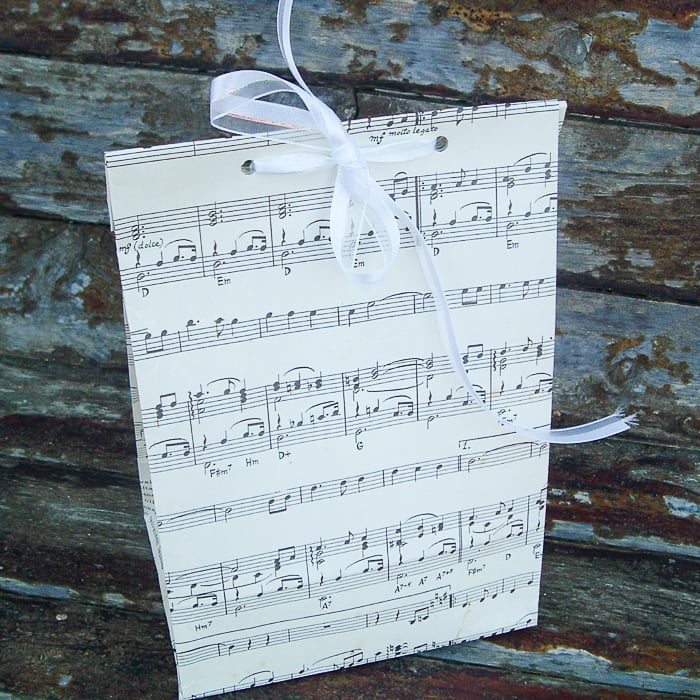
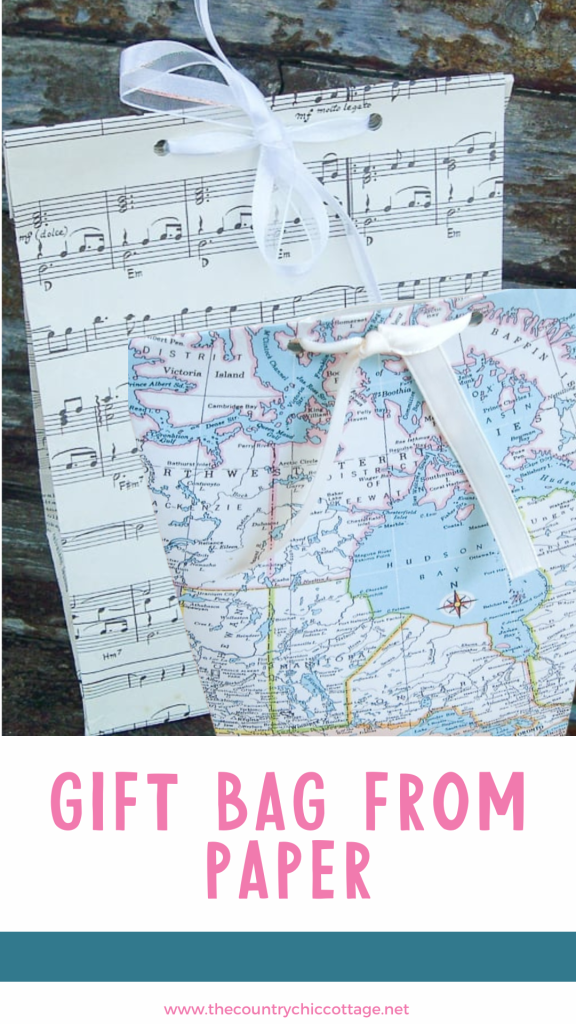
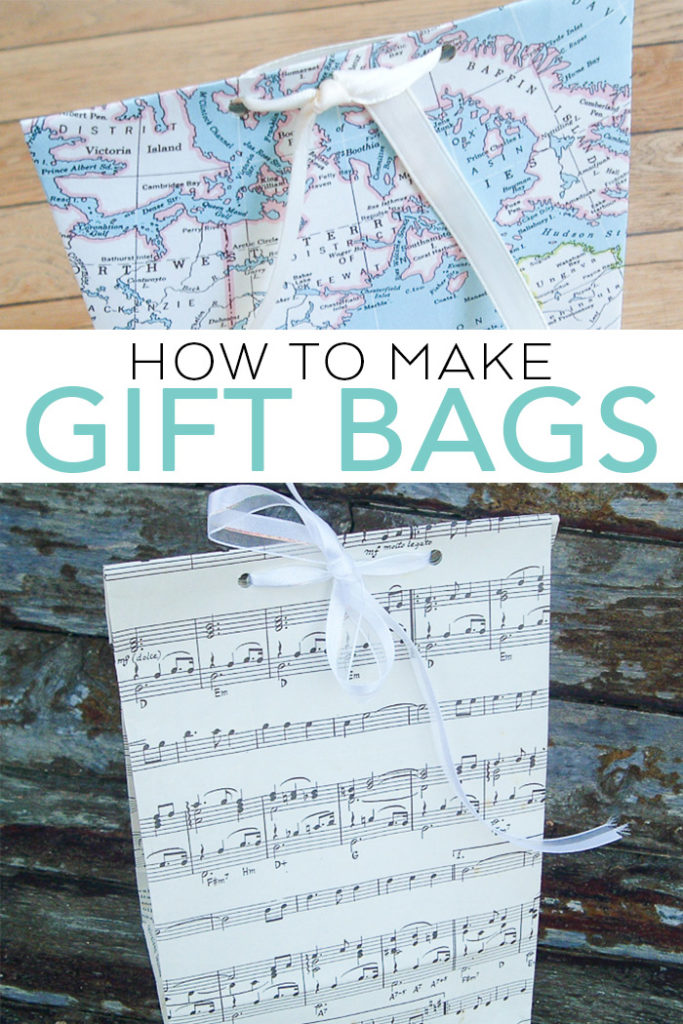
Want to give your DIY gift bag a finished look? Fold down the top a few times and punch a couple of holes. Thread in a length of ribbon and tie it off. So pretty and oh so easy!
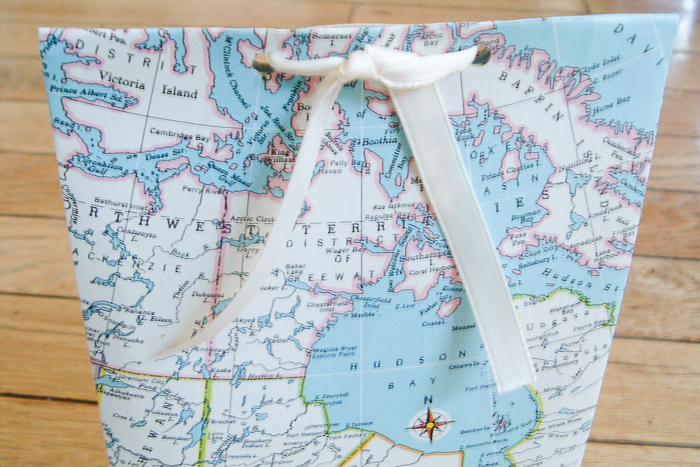
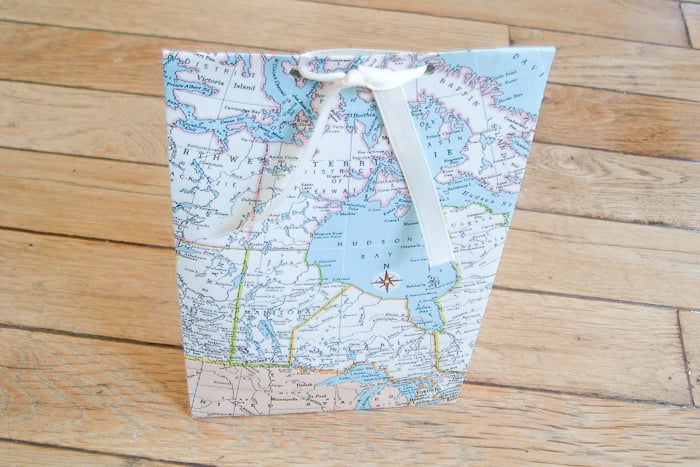
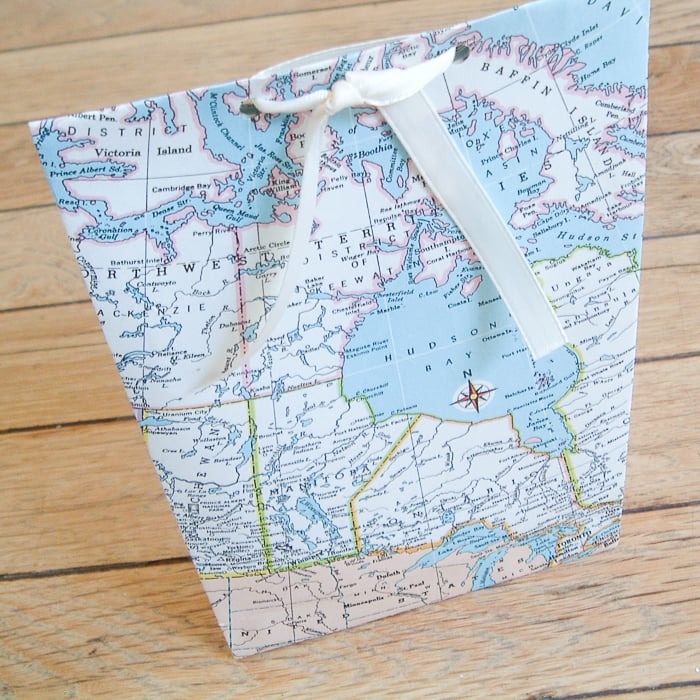
Can’t you see all of your gifts in vintage paper ephemera? I mean, the possibilities—maps, sheet music, dictionary pages, old magazine ads—there’s serious cute potential here! Using this same basic method, I even used two sheets of paper to make a larger gift bag.
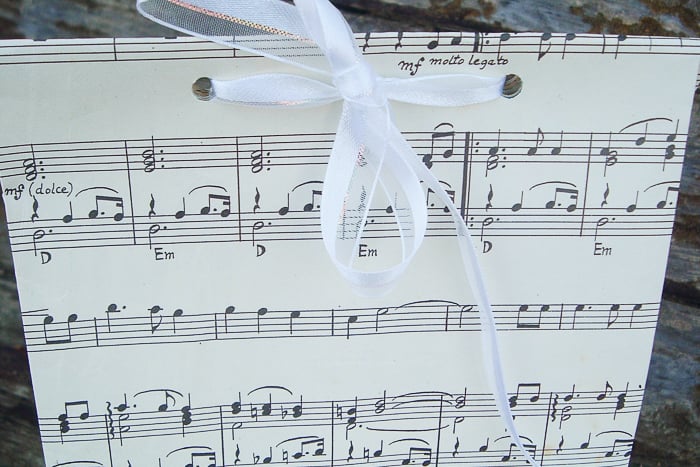
Want to see another option? Here is a gift bag made from sheet music.

Go ahead and start shopping your thrift store for old paper now. You are going to want to make gift bags for every occasion.
So, now that you know how to make gift bags, how many will you make? That is really the only question!
FAQs About How To Make A Gift Bag From Paper
Here are a few common questions that I often see readers asking about how to make a gift bag from paper. If you have a question, please check to see if I’ve already addressed it below. If you don’t see your question listed, feel free to leave it in the comments!
What Type Of Paper Can I Used For This Project?
The great thing about this project is that you can use all types of paper! The only thing to keep in mind is that you will need enough paper to make a bag big enough to hold whatever gift you are giving. As long as you have enough paper, the sky is the limit!
If you are looking for more paper ideas, I’ve listed a few below!
- Scrapbook Paper
- Wrapping Paper
- Brown Paper
- Dictionary Pages
- Old Magazine Ads
Can I Use A Tape Runner For This Project?
No! For this project, you will need to use scotch tape.
Can I Make Handles For My Gift Bag?
Technically, yes! If the item you are putting in your bag is light enough, you could make traditional handles for your bag.
To make handles, punch two holes on each side of the bag, thread some ribbon through the holes, and knot the ribbon on the inside.
How Can I Decorate The Gift Bag Further?
You can decorate these gift bags in a variety of ways, depending on the supplies you have on hand and the paper you use! Below, I listed a few options to get your creative juices flowing!
- Stickers
- 3D Embellishments
- Pom Poms
- Coloring (for example, coloring certain parts of the gift bag)
- Create something personal to put on the gift using your Cricut machine
5 More Gift-Wrapping Ideas
Did you love learning how to make a gift bag from paper and want more gift-wrapping ideas? Then check out the projects below!
- Free Printable Gift Bags with Woodland Animals
- DIY Gift Card Holder with the Cricut
- 6 Creative Gift Wrapping Ideas You Can Copy
- Sweater Sleeve Wine Bottle Gift Bags
- Cute Cutout Cupcake Gift Bag



I love this! Maps always look great.
This is beautiful…how genius!!
Xoxo
Karena
Art by Karena
Love, love, love this idea. I so want to be done with my project in time for your party, but I’m not going to make it. I’ve had a funeral, an accident, birthday party and 2 meetings this week that have kept me too busy. I’ll be there to check out all the great projects though and get some inspiration.
This is seriously cute!!!! I love it! Imagine what you could make with old wallpaper books!
Melissa
Great idea!!! And I already have a map project in the works, too. I just love old maps….they are too cool. Thanks for sharing 🙂
What a beautiful blog you have!
Greetings from Italy!
Federica
What a great idea! I love this gift bag!
I love your blog! So many great ideas. I love maps and globes. I saw a chair that was decoupaged with a vintage map and it was gorg. These gift bags are super cute, thanks for sharing!
Thanks so much! This really came in handy. I needed a small gift bag and was able to make one really quickly using some craft paper I have on hand.