Angie Holden The Country Chic Cottage
Learn about your Cricut machine, sublimation printer, or any other craft you can imagine! Angie Holden shares her crafting tips so you can craft like a pro!
Filed Under: Budget-Friendly Ideas
By: Angie Holden | | 15 Comments


For over a decade, I have been sharing Cricut tutorials and craft ideas here as well as on my YouTube channel. My passions include teaching others to be creative and learning as many new things as possible about crafting technology! Click here to read more about me!


And subscribe to the newsletter!
The Country Chic Cottage is a participant in the Amazon Services LLC Associates Program, an affiliate advertising program designed to provide a means for sites to earn advertising fees by advertising and linking to amazon.com. Amazon, the Amazon logo, MYHABIT, and the MYHABIT logo are trademarks of Amazon.com, Inc or its affiliates. Please note that some products used may be given to The Country Chic Cottage free of charge.
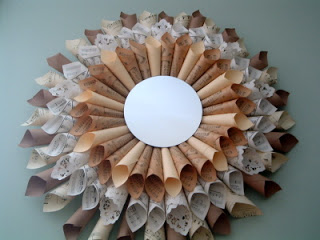
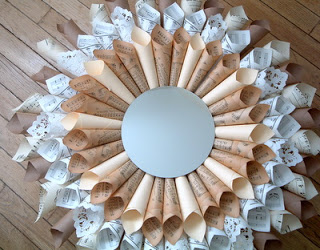
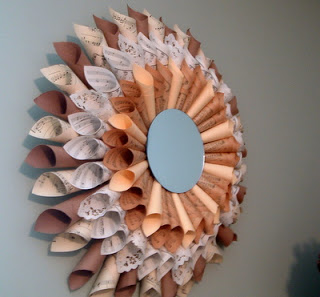
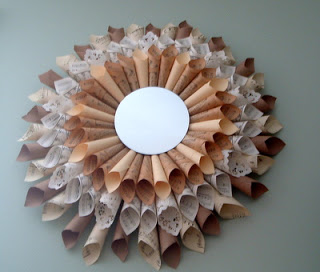
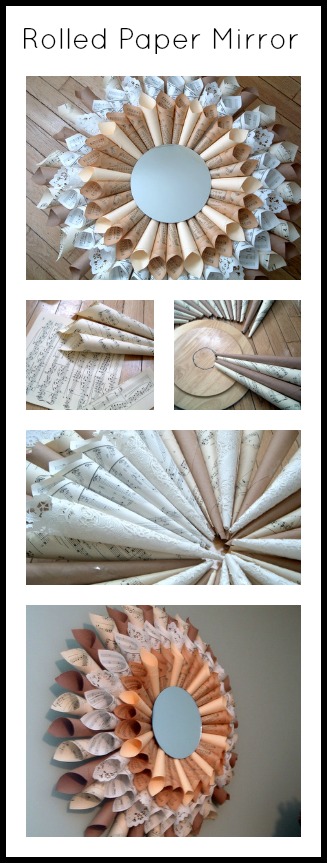
How awesome is that mirror! Nicely done! It does indeed make a big statement. Love it!
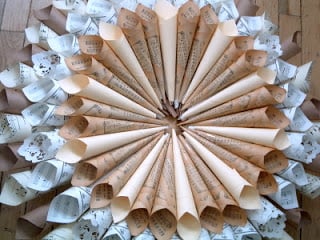
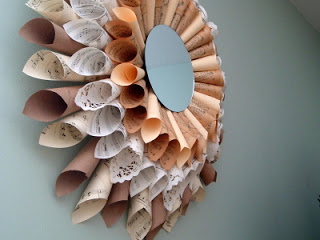
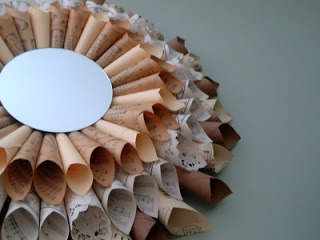
I’ve been dying to make a wreath like this, but I hadn’t even thought of the 3 layers like you did–It’s so pretty! Now I *have* to do this! 🙂
Angie! This is beautiful! great job! Thanks for showing exactly how you did it. (not that I’ll ever get around to making one)
gail
ps hope you’re enjoying the snow!
That’s really really nice!
Wow! So pretty and a great tutorial. Will definitely put this on my to do list. Thanks~
i have been wanting to make one of these for a while now. thanks for the info.
Thanks for auditioning on American Crafter! This is gorgeous
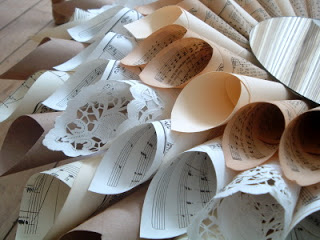
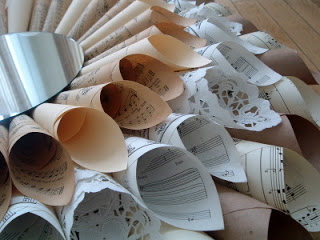
Love the mix of papers! You did a great job! Looks sooo good!
Love that! I have some old hymnals that are falling apart anyway so this would be a great use for the pages! 🙂 Thanks for stopping by my blog!
this is great! loving all the paper choices. i just made one for my sister-in-law with all sheet music. love this idea though.
Nice mix of colors and textures! Thanks for linking up!
Angie,
Fabulous! Simply fabulous! <3
happy crafting!
Linda
American Crafter judge
Super cute! Stopping by to say hi from the American Crafter Auditions! AND I am a new follower =)!
Michelle
http://www.landofthemisfittoyz.blogspot.com
STUNNING!
~ Emily N. from “too Blessed to Stress”
Love, love this wreath, I will try to make one, bless you, its lovely,
martha