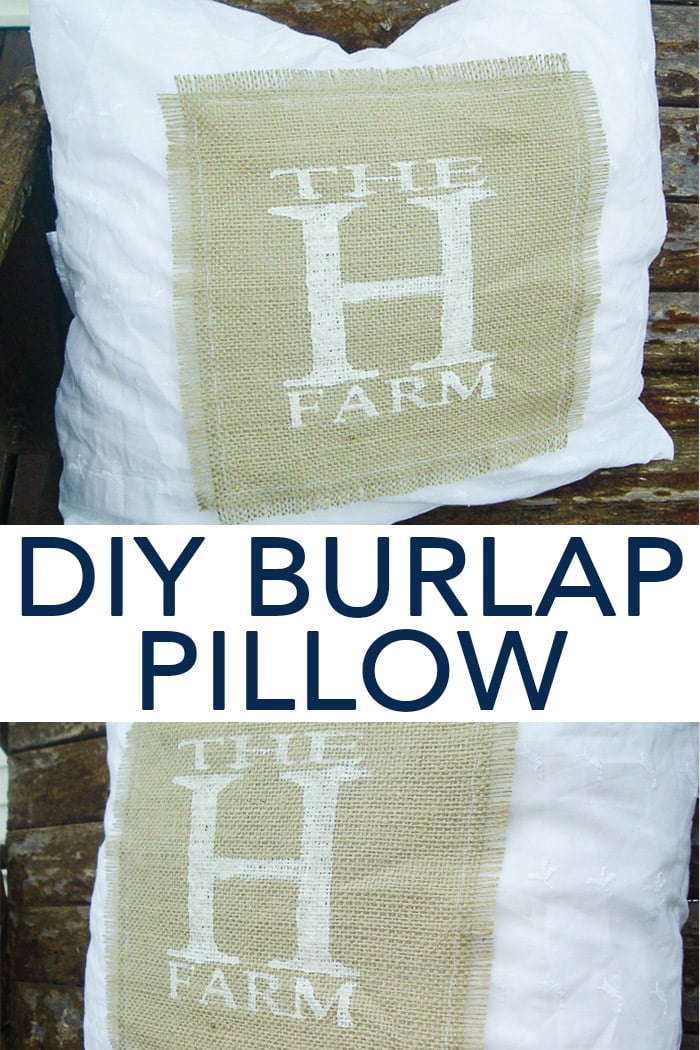
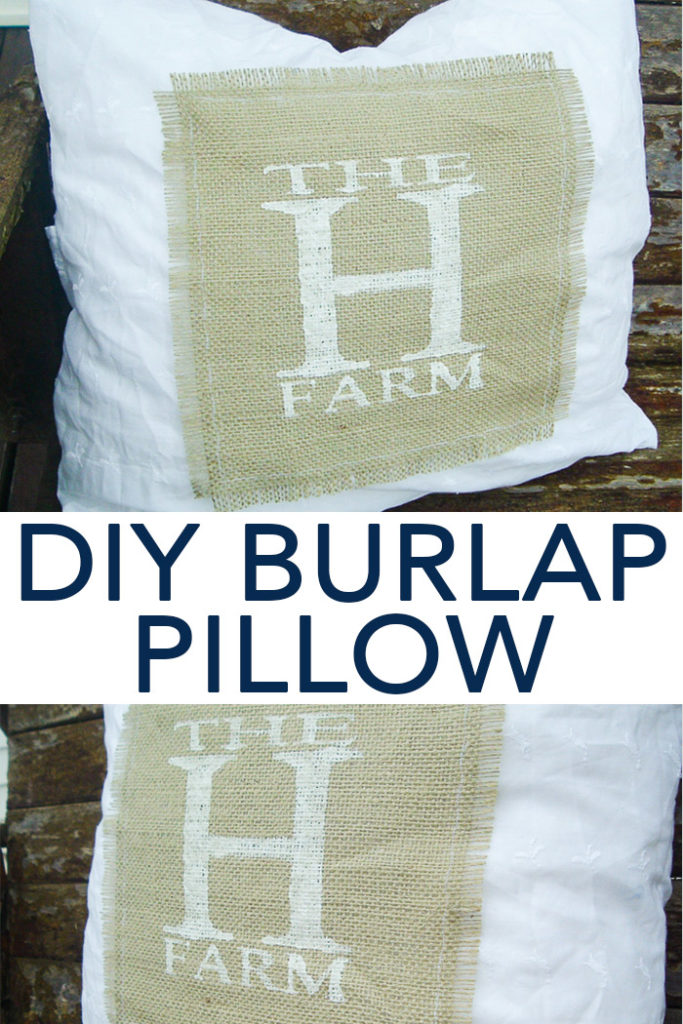
Did you know that it is easy to make your own pillow covers? Let’s combine some burlap and lace for a rustic yet elegant farmhouse pillow cover! Follow this tutorial as I show you how to stencil on fabric. Using this technique, you’ll be able to customize with the same design as I have below or you can create your own. Let your imagination run wild with this pillow project.
Supplies needed
- Square of burlap
- White fabric with embroidered or eyelet design
- Fray check
- Cricut machine (click here to see which is my favorite)
- White cardstock
- Tape
- White fabric paint
- Paintbrushes
- Sewing machine and thread
- Pillow insert
- This project is made with Design Space files. Click here for my profile. Once on my profile, find the image of the project you want to create, click it to open it up, and then you can make it yourself.
How to Stencil on Fabric
For this project, we are making a pillow case. The graphics on the front could, of course, be anything you wish. For me, I decided to show off the fact that we live on a farm.
Step 1 – Prep the burlap
First of all, let’s work on the burlap portion. My pillow cover measures about 17 x 17 and I started with a 10 x 10 inch square of burlap and some Fray Check. You can get Fray Check at most hobby stores. It is not expensive and it sure does the job!
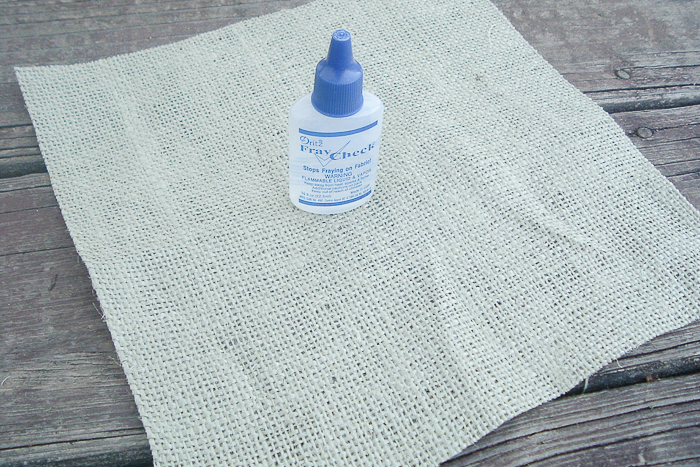
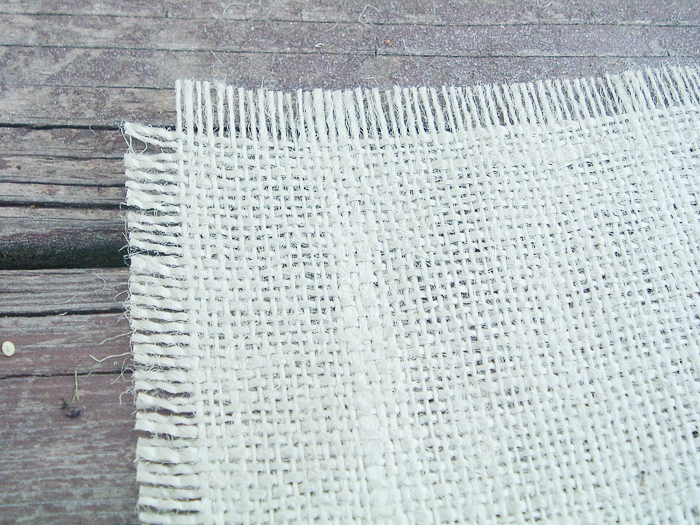
The first thing I did was to pull out pieces of burlap all around the edges to get a frayed edge. I pulled 5 strings around each side — the amount is up to you and how much fray you want. Then just use your Fray Check liberally all around that outside edge. After it dries it does not affect the color. However, you can use the fray check on the back of your square if you are worried about it.
Step 2 – Make stencil
You can then make your own stencil using your Cricut machine. You can find the file I used in my Cricut Design Space profile and change up the initial to match your own.
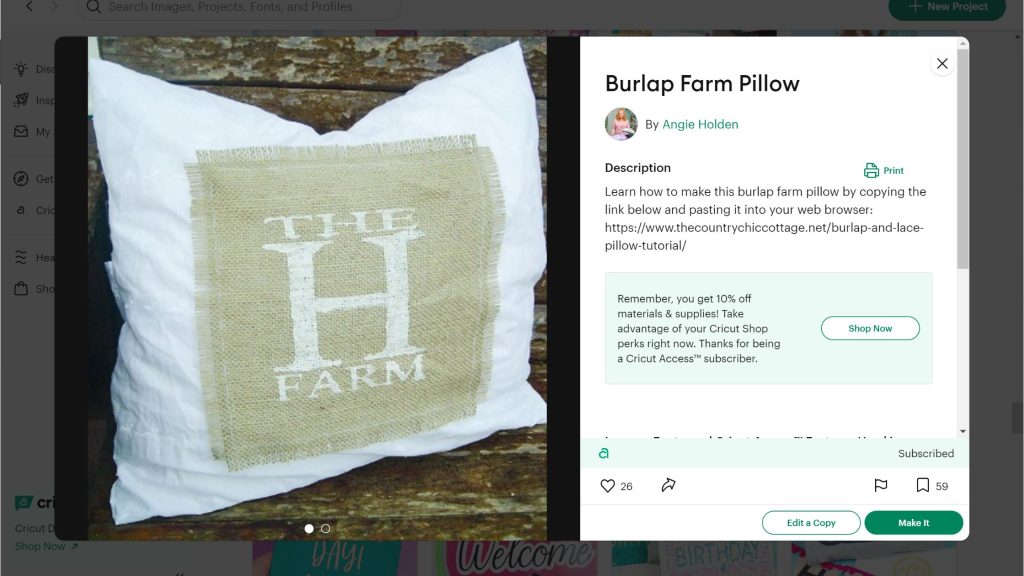
Click on “Edit a Copy”. This will allow you to save the project into your own profile and make any size or letter adjustments.
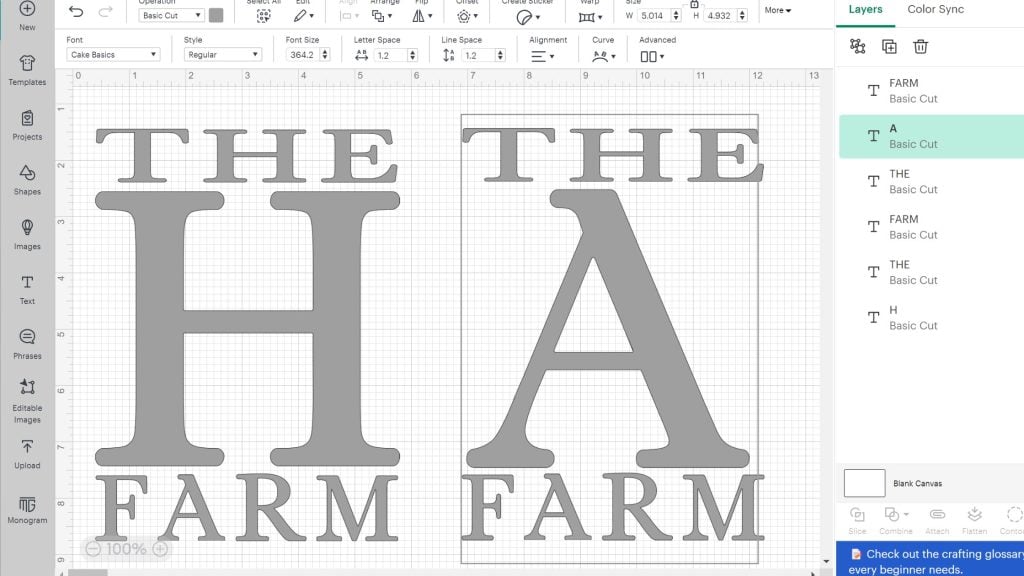
In the graphic above, I made a copy of the design to show you how you can change the monogram in the file. You’ll also be able to see the font that was used if you want to make it your own.
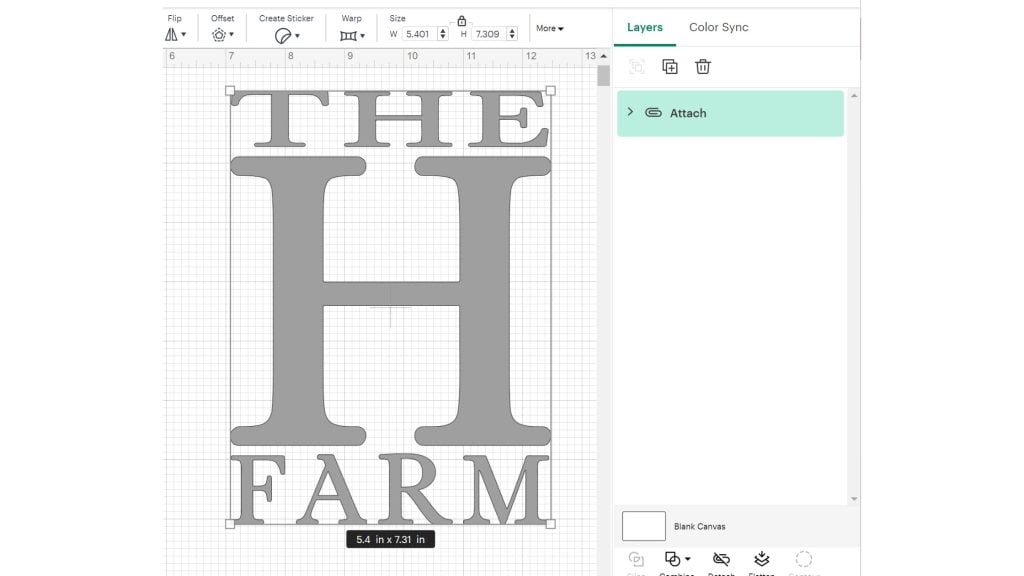
Once you have the design how you like it, select the whole design and select “Attach” so the file cuts as pictured on your canvas. Then click “Make” to make your stencil.
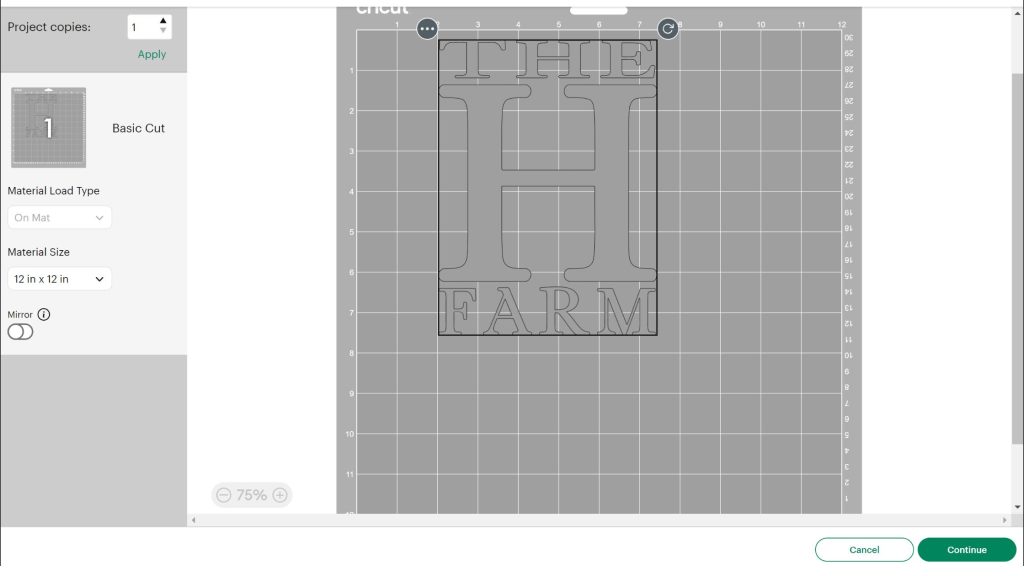
I moved my design on the mat screen so I had a larger border around it. Then I cut my stencil from cardstock and used little pieces of tape to hold in the middles of my letters.
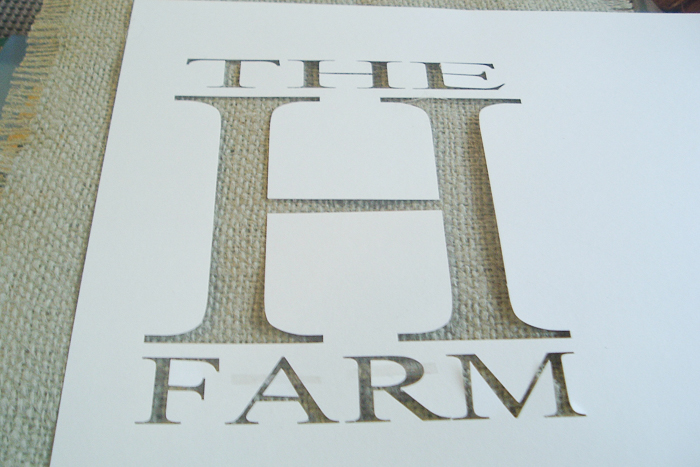
Step 3 – Add paint
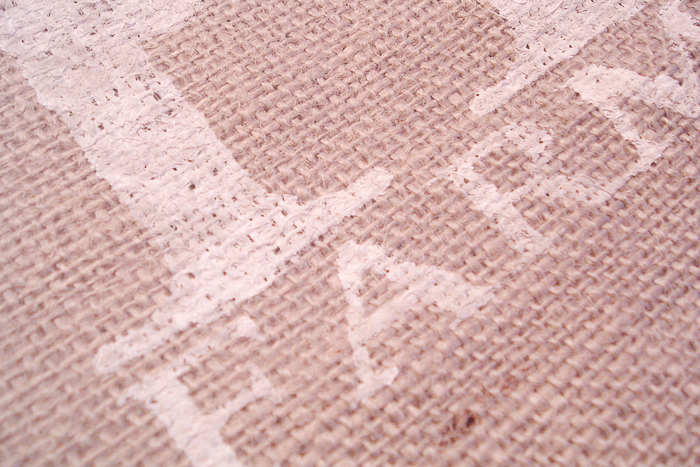
Get ready to paint! Start by taping your stencil to the burlap. Using a small amount of paint on your paint brush, dab the paint onto the burlap using a tapping motion. Stenciling on burlap is not an exact science — all those bumps leave some room for your paint to run. Carefully go over with very little paint to get as little running as possible. You can always do multiple coats if needed.
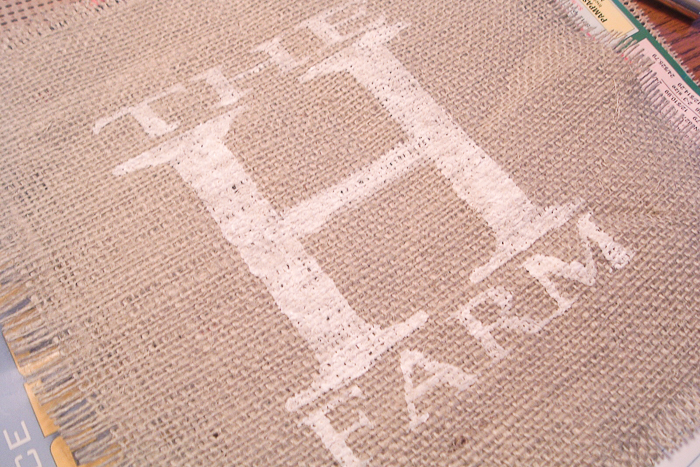
The area where I used tape to hold in the letter middles, I touched up by hand with a small brush.
Step 4 – Sew the pillow case
You know how to stencil on fabric, and while the paint on the burlap is drying, let’s talk about the pillow case! I absolutely love this fabric and have used it in several places in my bedroom. I just cut one looong strip. Enough to cover the front and back of my pillow plus some overlap for an envelope closure. Make it the width of your pillow plus a seam allowance. I then marked with pins where the “front” of the pillow will be — top and bottom. Then once your burlap piece has dried, center it on the front area of what will be your pillow and pin in place.
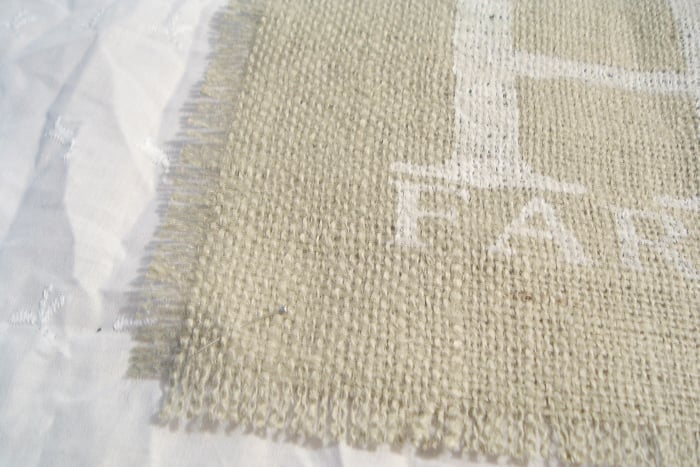
I used a fancy stitch on my machine to go all the way around the burlap piece. A straight stitch will work fine.
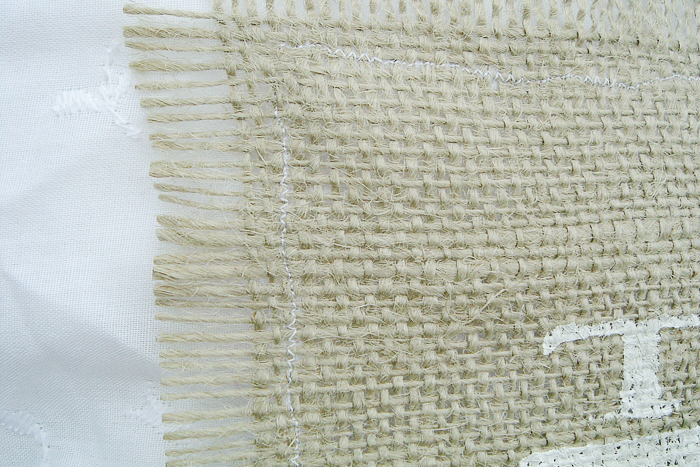
Sew around all 4 sides of the burlap.
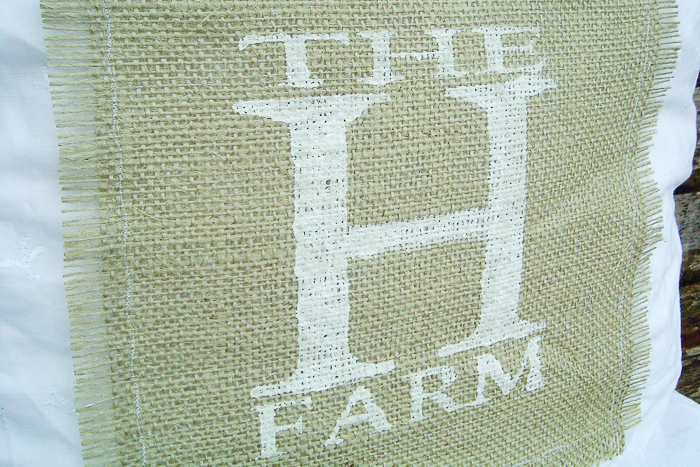
Now it’s time to sew your pillow cover. You just have to hem both of the short ends. Then fold your long piece on the pins where the right sides are in (so burlap to the inside!). Sew up both sides of the pillow cover. And flip right side out through your envelope closure. Stuff in your pillow form. Then enjoy the great pillow cover with an awesome contrast in texture!
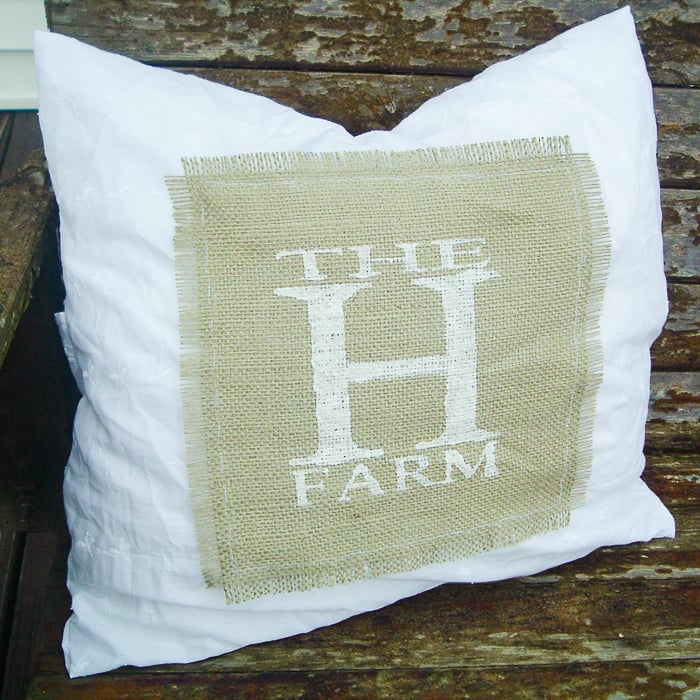
I love different textures combined into one!
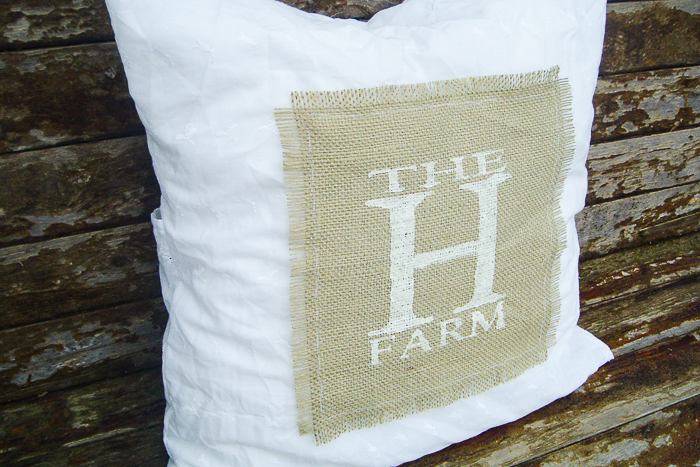
Gorgeous lace accents right next to the rustic texture of the burlap gives it a real farmhouse look.
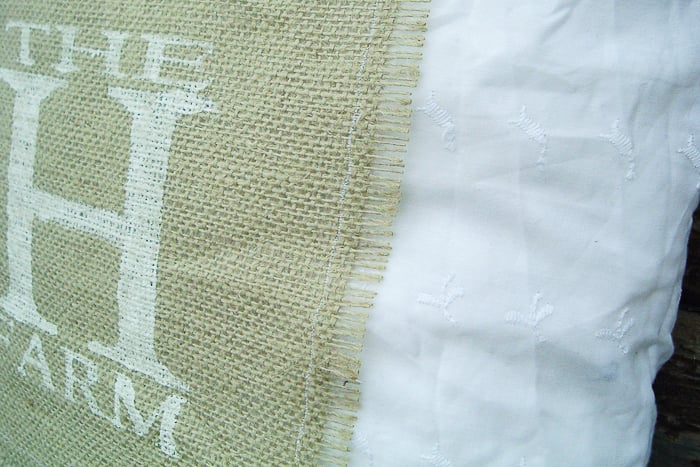
You can change the front stencil to anything your heart desires. Perhaps a silhouette? A plain monogram?
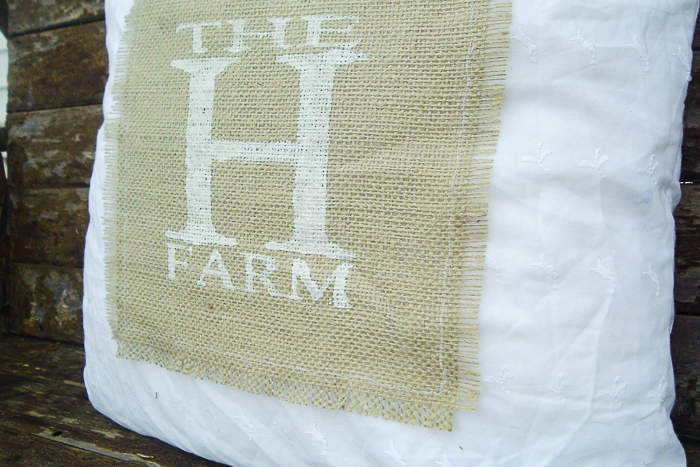
Go ahead and stalk your fabric store for some lacy goodness so you can make your own!
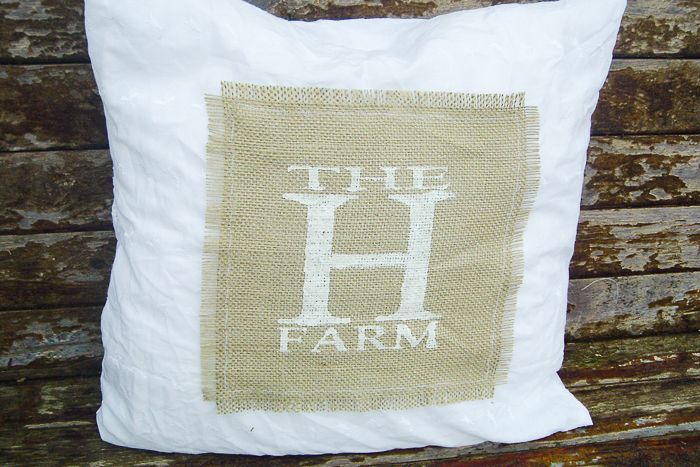
Now that you know how to stencil on fabric, you can make your own pillow covers for any room of your home.
More Stencil Projects
Love this tutorial and want more stencil ideas? Try the links below!




I love this soo much:-)
I absolutely adore this project! I am hosting a Springtime Craft and Project linky party today and I would love it if you would particpate.
There is a giveaway involved. 🙂
Angie, this is so pretty! Thanks for the tutorial too, as it looks so simple now. I am wondering about that silhouette. Is it a Cricut product? What a wonderful thing to have for any graphic design work.
Keep on creating!
Hugs, Sherry
This looks lovely, hope to see you at My Dream Canvas.
Angie! I love your new pillow! Thanks for linking up and linking back!
“catching” you next week
gil
Burlap really is UH-MAZ-ING, my husband works at a coffee roastery so I got the hook-up! Love your pillow, such a great idea!!
Hi, friend! I’m admiring all the creativity in your blog so can you please share them at the Creative Bloggers’ Party & Hop?
Absolutely beautiful!! You make it sound all so easy…
Not knowing how to sew at all, I wonder if it really is that easy?! 😉
I love this pillow! I had actually seen a picture of it online a while ago but am glad to finally see the walk through and meet the creator!
I found you through The CSI Project and I’m your newest follower. Come check me out and follow back, too, if you’re interested @ Carissa’s Creativity Space
Very very nice – earthy, so so (shabby) chic, rustic yet VERY professional looking! What type of paint? Typical dabbing/stenciling action for “brushing? it on? Love love love it!!!
I love that you republished it! We are always looking for inspiration, and this helped a ton. Pinned!