Paint rocks using crayons! Unleash your creativity as you transform smooth rocks into miniature masterpieces using crayons. All you need are some smooth, clean rocks, a set of crayons, and your imagination.
I originally posted this on Positively Splendid. Thought I would repost it here in case you missed it! Plus I am trying to bring more kid friendly crafts to my blog this summer and this one fits the bill!
I found a tutorial on Family Fun and was doing some experimenting with crayon wax. This idea was born! An easy way to paint “treasures” for even the tiniest of hands! Get your rocks and get started!
Rock painting has always been therapeutic and joyful activity for kids and adults. Painting rocks with crayons takes this experience to a whole new level, adding vibrant colors and a playful touch to your creations.
The beauty of rock painting with crayons lies in its simplicity. All you need are some smooth, clean rocks, a set of crayons, and your imagination. Begin by selecting rocks of different shapes and sizes, ensuring they are free from dirt or debris. Wash and dry them thoroughly before embarking on your artistic journey.
If you want to make your own creations with actual paint, try these gnome garden rocks or these camper-themed painted rocks. These are super cute tucked away in your flower beds!
How to Make Painted Rock with Crayons
Supplies needed for painted rocks with Crayons
- Smooth rocks
- Crayons
- Foil lined baking sheet
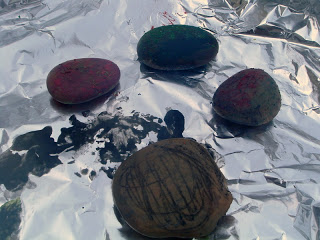
Literally color all over your rocks. Randomly, in patterns, doesn’t matter. Just a nice thick coating of crayon wax. Let the kids go wild!!
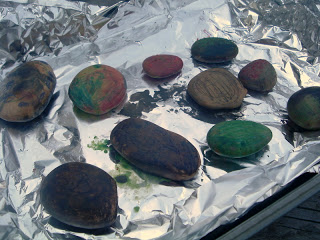
Place the rocks in your oven on 225 degrees for about 3 minutes. Watch them close. The wax should melt but not start to come off of your rocks. Remove them from the oven and let cool!
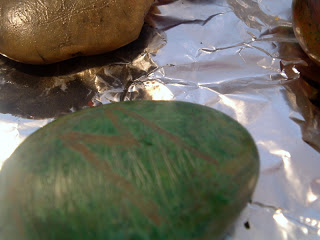
While the wax was wet, we even scratched some initials in some of our rocks with a skewer. Totally optional but fun! 🙂
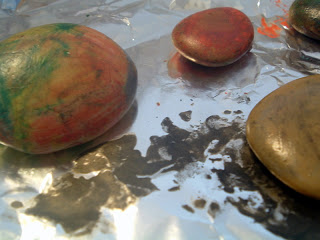
They look all shiny when you remove them. The wax will sort of melt together and blend. Then harden back to a smooth, glossy finish!
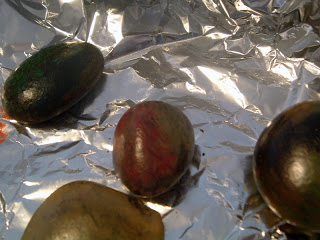
Gorgeous “painted” rocks — no mess, non toxic, easy, quick, fun, what more could you ask for?
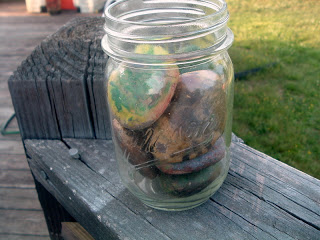
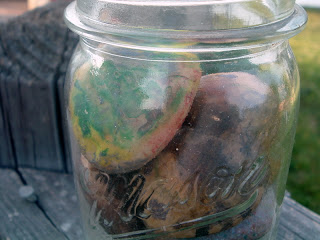
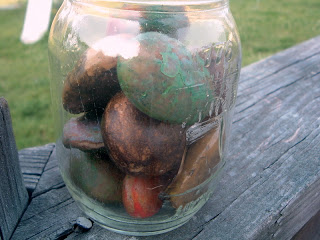
I popped our creations in a mason jar to display them….
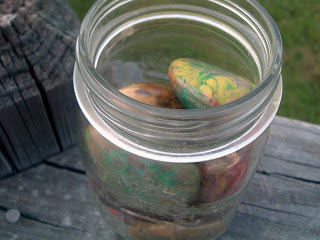
But you could use them in a wide variety of ways:
- wire them on a necklace
- place in the dirt of your potted plants for a touch of color
- use them as paperweights
- make “X” and “O” rocks for a great tic tac toe game
- use on a shelf as decor
- draw faces for your very own rock men
- so many other rock painting ideas!
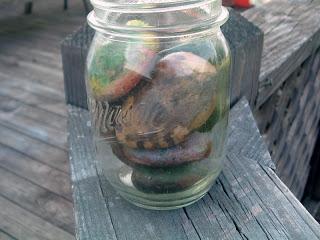
I don’t know about your kids…but mine looove to treasure hunt for rocks. So this is a perfect activity for us! Treasure hunting for the rocks and then painting them!
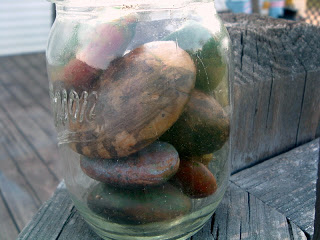
My collection would have been more colorful — but my youngest loves the color black! What is a mom to do but have black rocks! 🙂
Equipment
- Smooth rocks
- Crayons
- Foil lined baking sheet
Instructions
- Literally color all over your rocks. Randomly, in patterns, doesn’t matter. Just a nice thick coating of crayon wax. Let the kids go wild!!
- Place the rocks in your oven on 225 degrees for about 3 minutes. Watch them close. The wax should melt but not start to come off of your rocks. Remove them from the oven and let cool!
- They look all shiny when you remove them. The wax will sort of melt together and blend. Then harden back to a smooth, glossy finish!
- Display as you choose!


My daughter loves rocks and coloring. This is the perfect craft for her!
Feel free to come link up your kid crafts on my Toddler Tuesdays craft link up. {I just started it}
http://tutusandteaparties.blogspot.com
I’m going to HAVE to do this with my toddlers. And defiantly pinning this to my kids things board on pinterest. =)
I am going to do this with my kids today! What a fun project:)