Alexis from Persia Lou is here today with an amazing piece of capiz wall art! Faux capiz shell gorgeousness that is made from something that you probably have on hand around your home right now. A trip to your kitchen is probably all you are going to need to make capiz shells that will look amazing around your home. What is this secret ingredient? Keep reading to find out!
Want more nautical decor? Try this nautical rope decor or this nautical themed bathroom design.
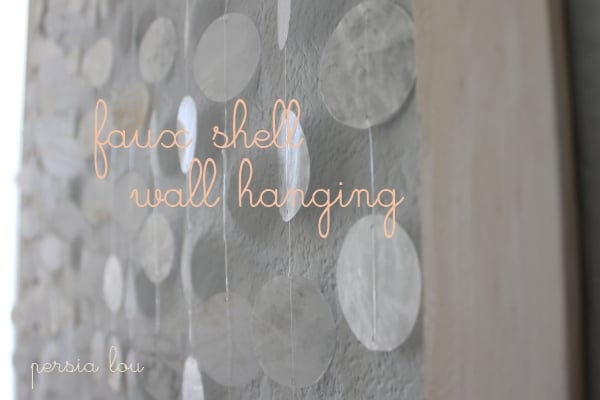
Capiz Shell Wall Art
Hello! I’m Alexis, and my little corner of the internet is Persia Lou, where I write about my latest crocheting, sewing, crafting, decorating, and general DIYing. I live in the middle of the (currently scorching) desert, and right now nothing sounds better than a day at the beach. Unfortunately, that doesn’t seem to be in the cards at the moment, so I am thrilled to be taking a virtual jaunt to the seashore with all you CCC Beach Bash guests via my faux shell wall hanging.
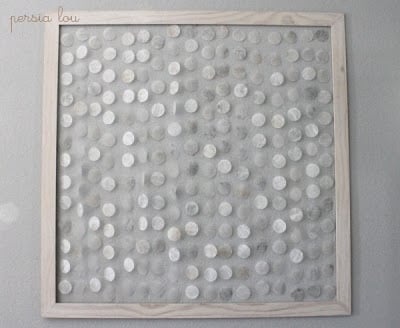
My beachy project was inspired by a beautiful piece of art I saw several months ago in House Beautiful. Here’s what the magazine has to say about it: “A framed grid of shells on fishing wire ‘sparkles and catches the light from the windows and the fireplace.'” Sounds like a dream, right? It also sounded fairly do-able to me, so I went to work. I quickly learned that pretty, sparkly shells are not so cheap. BUT – do you know what is? Wax paper. Wax paper is totally in my budget.
Supplies needed:
- Wax paper
- Parchment paper
- Iron
- Crayons
- Hole punch
- Circle punch
- Craft knife
- Wood
- Miter box
- Hand saw
- Fishing line
- Wood glue
- Stain
- Cotton Fabric Strips
How to Make Capiz Shells
Basically, you need wax paper, parchment paper, and an iron. Take three pieces of wax paper, place them between two pieces of parchment paper (to protect your ironing board and iron), and iron them together. The heat of the iron causes the wax to melt the papers together and creates a stiff, bubbly-looking paper.
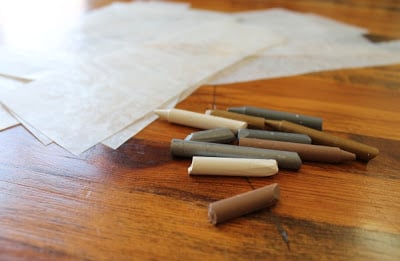
You can also add a bit of color to the shells by using crayons. I rubbed bits of crayon onto my wax paper sheets to create a marbled look in my shells.
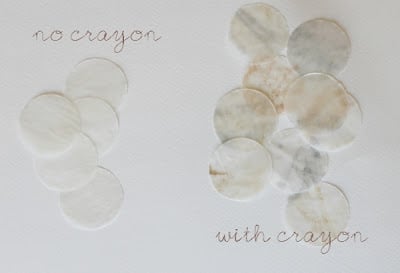
I think the crayon gives the shells character and a more natural look. Then I used a 1 1/2 inch circle punch to cut out my shells, although that was not the ideal tool. A circle cutter would probably work much better. I often had to go back with my craft knife to trim off edges that did not punch cleanly through.
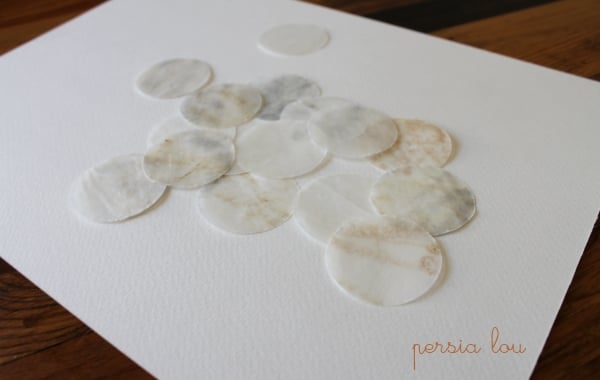
Stringing Fake Capiz Shells
Once my shells were all punched out, I used a 1/16 inch hole punch to create two small holes in each end of every shell.
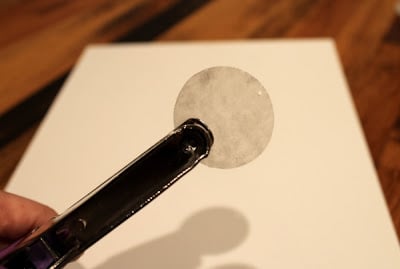
Next, I used fishing line to string up my shells. I tied the shell to the line through the hole at the top and then passed the line behind the shell and out the bottom hole.
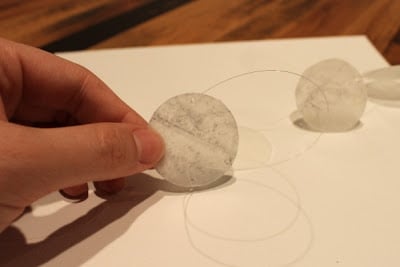
My finished piece used 17 strings of about 12-14 shells each. Once I had all my shells on strings, I needed a frame to hang them from.
How to Make a Wood Frame
Making the frame was definitely the part of this project that was most outside of my comfort zone, but it was very easy. AND I did it all myself, completely sans-husband. It took three steps:
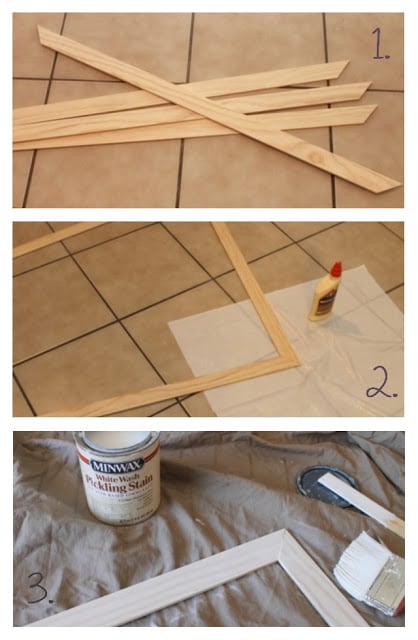
- Cut the wood and miter the corners. I started with about 12 feet of 1 1/2 inch wood molding from the home improvement store and ended up with a frame 34 1/2 inches square. I used a simple miter box and hand saw (which you can pick up for about fifteen bucks) to cut my wood.
- Glue the corners together. If you don’t get your corners mitered at just the right angle, this may be a bit tricky. I just used Elmer’s wood glue, and it is holding well.
- Stain the frame. I used some pickling stain that I had leftover from my paneling wall hanging project.
Assembling the Capiz Wall Art
Finally, I attached my strings of faux shells to the frame using white glue, a paintbrush, and strips of cotton fabric. I painted glue onto the back of the frame and pressed the strips of fabric over the fishing line. When saturated with glue, the fabric becomes a bit like tape.
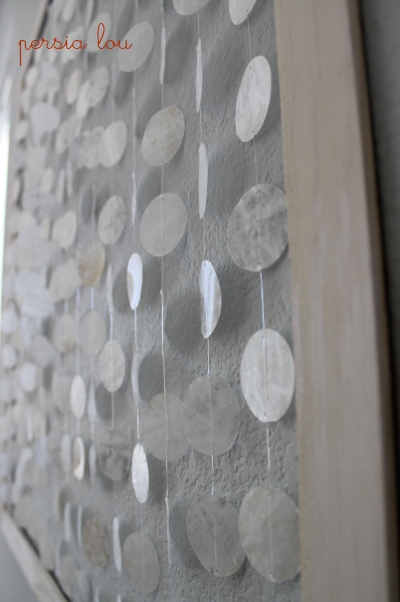
Using this method, I was able to get the lines securely fastened to the frame without tying it or drilling into the frame.
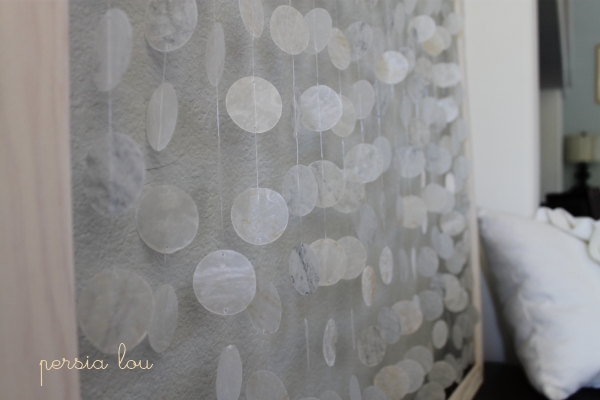
I am really happy with the way this project came out. It has movement, shine, and a slightly weathered look.
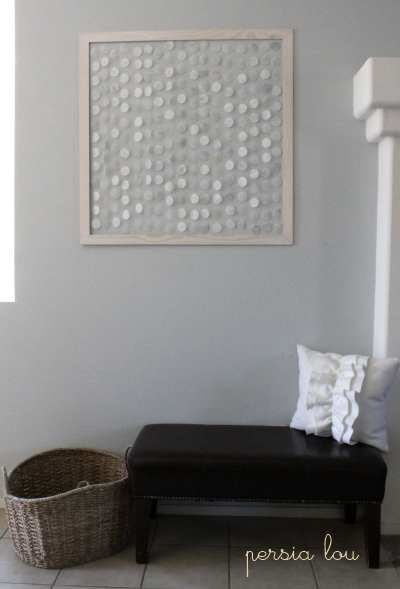
It definitely gives our entryway a pretty, seaside feel. Thanks to Angie for allowing me to participate in this fun series! I hope you all will stop by Persia Lou, and check out some of my other projects. Here are some of my favorites:
- Crochet Beach Ball Pillow
- Make Waves Free SVG File
- Sunny Days Wreath
- How to Crochet Shell Stitch
- How to Crochet Flowers
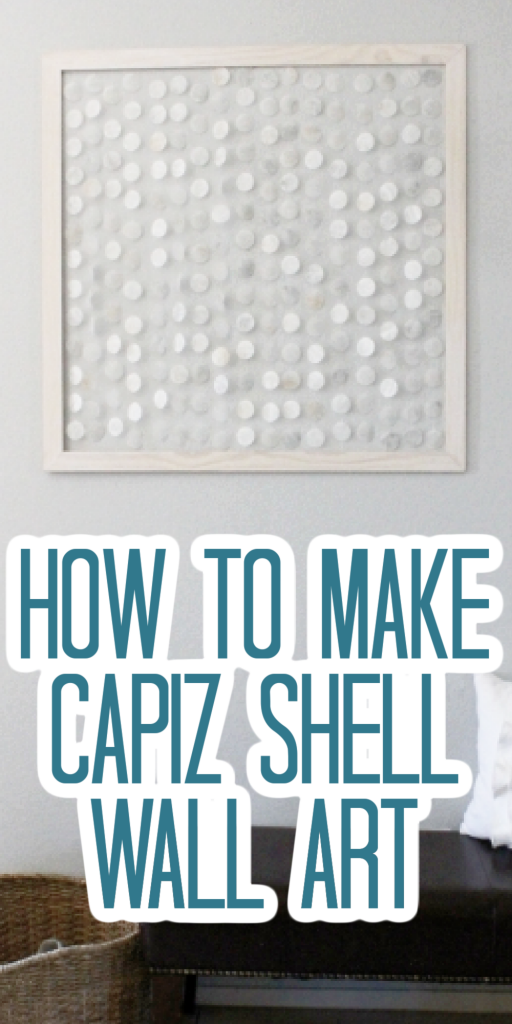
So, grab that wax paper and make your own capiz shell wall art. This is one DIY project that you will want to give a try for yourself. It is so simple yet simply stunning when added to a wall!
Want to print the instructions for this capiz wall decor? Just use the card below!

Supplies
- Wax paper
- Parchment paper
- Iron
- Crayons
- Hole punch
- Circle punch
- Craft knife
- Wood
- Miter box
- Hand saw
- Fishing line
- Wood glue
- Stain
- Cotton Fabric Strips
Instructions
How to Make Capiz Shells
- Basically, you need wax paper, parchment paper, and an iron. Take three pieces of wax paper, place them between two pieces of parchment paper (to protect your ironing board and iron), and iron them together. The heat of the iron causes the wax to melt the papers together and creates a stiff, bubbly-looking paper.
- You can also add a bit of color to the shells by using crayons. I rubbed bits of crayon onto my wax paper sheets to create a marbled look in my shells.
- I think the crayon gives the shells character and a more natural look. Then I used a 1 1/2 inch circle punch to cut out my shells, although that was not the ideal tool. A circle cutter would probably work much better. I often had to go back with my craft knife to trim off edges that did not punch cleanly through.
Stringing Fake Capiz Shells
- Once my shells were all punched out, I used a 1/16 inch hole punch to create two small holes in each end of every shell.
- Next, I used fishing line to string up my shells. I tied the shell to the line through the hole at the top and then passed the line behind the shell and out the bottom hole.
- My finished piece used 17 strings of about 12-14 shells each. Once I had all my shells on strings, I needed a frame to hang them from.
How to Make a Wood Frame
- Making the frame was definitely the part of this project that was most outside of my comfort zone, but it was very easy. AND I did it all myself, completely sans-husband. It took three steps:
- Cut the wood and miter the corners. I started with about 12 feet of 1 1/2 inch wood molding from the home improvement store and ended up with a frame 34 1/2 inches square. I used a simple miter box and hand saw (which you can pick up for about fifteen bucks) to cut my wood. Glue the corners together. If you don’t get your corners mitered at just the right angle, this may be a bit tricky. I just used Elmer’s wood glue, and it is holding well. Stain the frame. I used some pickling stain that I had leftover from my paneling wall hanging project.
Assembling the Capiz Wall Art
- Finally, I attached my strings of faux shells to the frame using white glue, a paintbrush, and strips of cotton fabric. I painted glue onto the back of the frame and pressed the strips of fabric over the fishing line. When saturated with glue, the fabric becomes a bit like tape.
- Using this method, I was able to get the lines securely fastened to the frame without tying it or drilling into the frame.


So pretty! And so easy! Come over and see a really pretty table!
This is so great! I’m about to do a chady myself. I love the creativity of doing art for the wall with the “shells”, very nice!
That’s gorgeous. What a beautiful piece.
BEAUTIFUL!
I’d love for you to share it at my link party!
Genius and gorgeous! Wonderful execution of a great idea.
so so pretty! I love it. I’m now a follower.
The creativity behind DIY is awesome. You did a terrific job and achieved the look! How about stopping by and entering my summer giveaway?
That is fantastic!!!
Awesome, I’m going to make this one for sure!
What a beautiful work of art! I would love to have that hanging in my house! Looks like it would take a while, but with your tutorial, I know I can handle it. Thanks!!!
Wow, it’s beautiful! Thank you both for sharing such an awesome project.
this is beautiful! I am in love with it! Great job! I found your blog through a link party and LOVE it! I am your newest follower and would love it if you would check out my blog and follow me too! Thanks!
-Nikki
http://chef-n-training.blogspot.com/
CAute!!! I love it! Very creative and looks very nice! i like how its just wax papper!
come and link it up at woot woot wednesdays!
http://tootsiewootsieboutique.blogspot.com/2011/07/its-official-every-wednesday-i-am-doing.html
that would look adorable above my fireplace, or actually could hang in front of a window maybe…maybe not:) u did a fantastic job girl. thanks 4 the giveaway
What a great summertime craft and a way to bring the beach to you! I love it!
oh boy! that’s one fantastic job you’ve done there….. its just super!