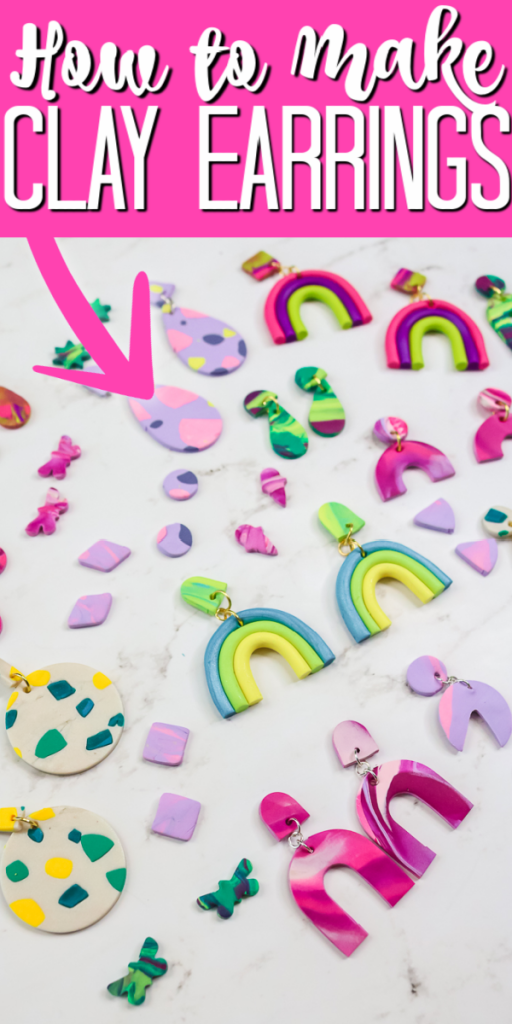
Have you ever wanted to make polymer clay earrings? Well, I have three ways to do just that and they are all super simple to do! You will love making DIY clay earrings to go with every outfit you own. Be sure to grab your favorite colors of clay and have fun pretending you are young and playing with play-dough again! Making handmade jewelry is easy and also makes a great gift.
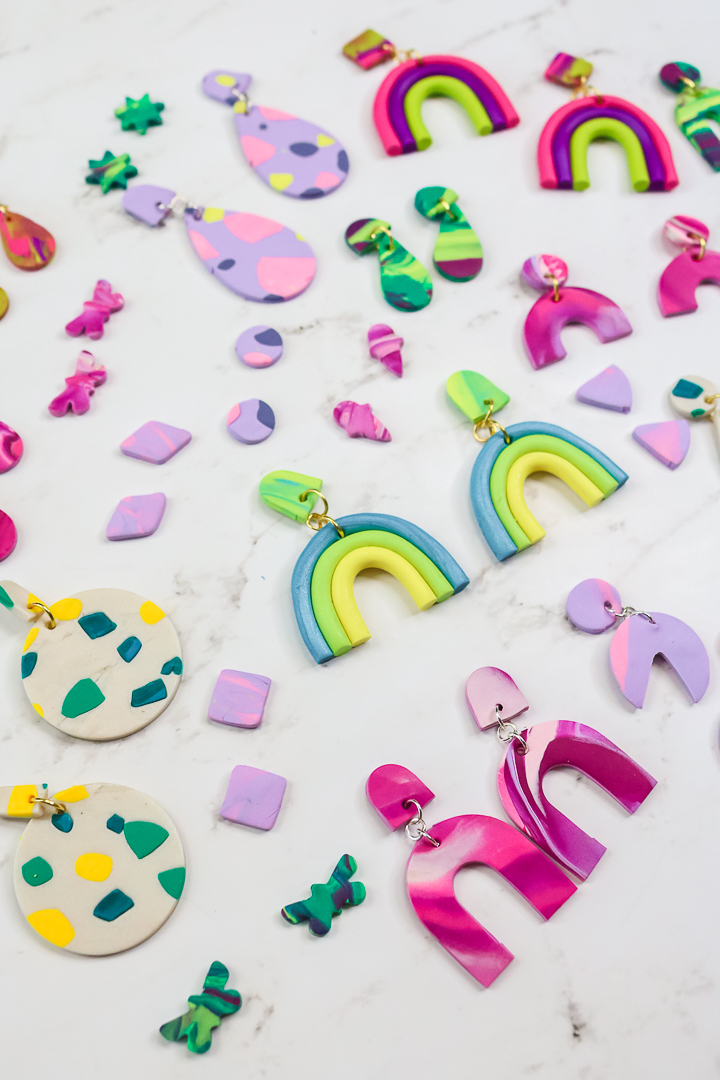
Clay Earrings
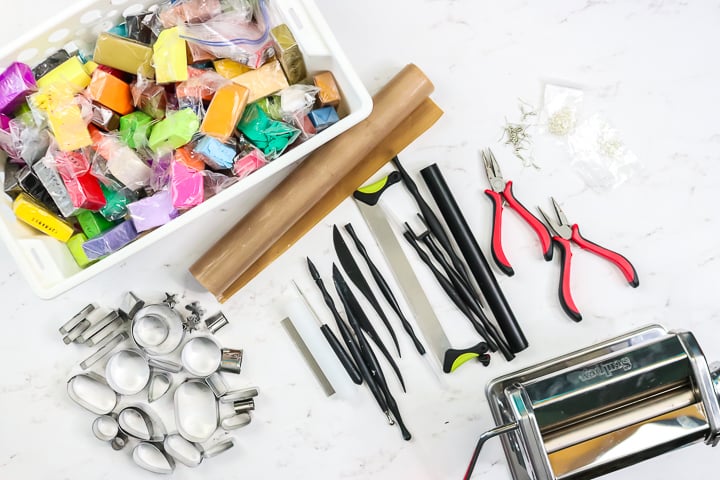
I actually have three versions of these earrings but each one uses the same basic supplies. Here are a few supplies that are needed as well as some things that will make your project a bit easier.
Supplies you will need:
- Polymer clay (I like Sculpey brand)
- Beginner’s tool kit
- Non-stick project mat
- Clay cutters
- Jewelry pliers
- Jewelry glue
- Jump rings in various sizes
- Earring posts
Supplies to make clay crafts easier:
You may want to consider getting a clay press especially if you will be making a ton of earrings. This press is able to make the clay in consistent sheets that are all the same thickness and makes the process of creating clay earrings a bit faster as well.
Polymer Clay Earrings Video
Want to watch the entire process of me making the three versions of my earrings on video? Just click play below to watch the process!
Can’t watch the video or missed some of the steps? I am covering all three clay earring tutorials below.
Marbled Clay Earrings
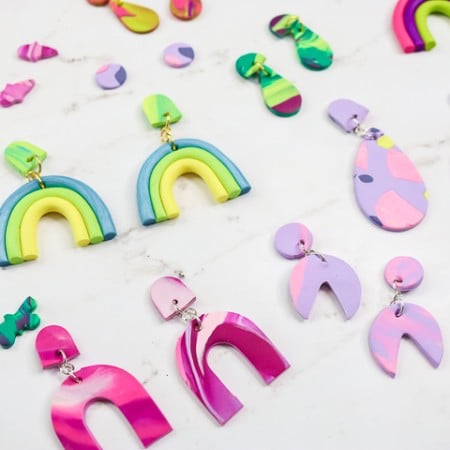
The first version of our earrings is to use a marbling technique that anyone can master. Then you just use some simple cutters to get a ton of shapes to mix and match. I have used this technique before to make clay bowls and it is one of my favorites.
Supplies
- Polymer clay I like Sculpey brand
- Beginner’s tool kit
- Non-stick project mat
- Clay cutters
Instructions
- Start with 3 colors of clay in equal amounts. Roll each into a long snake that is approximately the same diameter.
- Form those snakes around one of the clay cutters to make a rainbow. You can cut the snakes in half first if they are long enough so you can make two earrings from the same pieces.
- Slightly press these together then cut off so that they are the same size.
- To make tops for your earrings, you can take your scraps and use the same marbling technique above.
- Add a hole to each piece with a straight pick.
- Once all your earrings are made, bake according to the package directions.
- Allow to cool then make into earrings using jump rings, earring posts, and jewelry glue.
Terrazzo Clay Earrings
A terrazzo look is another easy technique for making earrings. I love any technique that is fail-proof and gives me gorgeous results.

Supplies
- Polymer clay I like Sculpey brand
- Beginner’s tool kit
- Non-stick project mat
- Clay cutters
Instructions
- Start with 3 colors of clay in equal amounts. Roll each into a long snake that is approximately the same diameter.
- Form those snakes around one of the clay cutters to make a rainbow. You can cut the snakes in half first if they are long enough so you can make two earrings from the same pieces.
- Slightly press these together then cut off so that they are the same size.
- To make tops for your earrings, you can take your scraps and use the same marbling technique above.
- Add a hole to each piece with a straight pick.
- Once all your earrings are made, bake according to the package directions.
- Allow to cool then make into earrings using jump rings, earring posts, and jewelry glue.
Rainbow Clay Earrings
Finally, if you can make a simple snake from clay, you can form those into rainbows for earrings. This easy method is perfect for a unique earring that you will love to show off.

Supplies
- Polymer clay I like Sculpey brand
- Beginner’s tool kit
- Non-stick project mat
- Clay cutters
Instructions
- Start with 3 colors of clay in equal amounts. Roll each into a long snake that is approximately the same diameter.
- Form those snakes around one of the clay cutters to make a rainbow. You can cut the snakes in half first if they are long enough so you can make two earrings from the same pieces.
- Slightly press these together then cut off so that they are the same size.
- To make tops for your earrings, you can take your scraps and use the same marbling technique above.
- Add a hole to each piece with a straight pick.
- Once all your earrings are made, bake according to the package directions.
- Allow to cool then make into earrings using jump rings, earring posts, and jewelry glue.
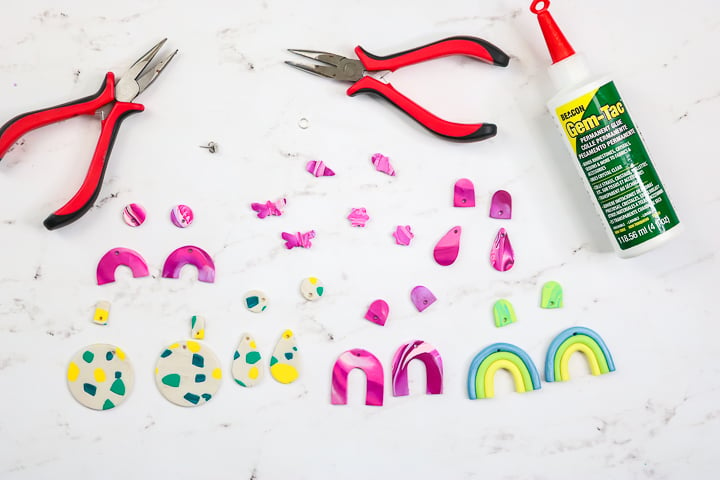
How to Finish Your Earring Crafts
Now that you have your clay earrings and they are baked, how do you turn them into earrings you can wear? Here are some pointers:
- For two-piece earrings, use either one or three jump rings between the pieces depending on how long you want them to be.
- Choose the metallic finish of the jump rings that you would like and use a variety of sizes depending on the size of your earrings.
- Pull apart the jump ring and place your earring pieces inside then close it up.
- Attach earring posts to the back of your earrings with some jewelry glue and allow to dry.
That is basically it! So easy and perfect for making gifts!
Tips and Tricks for Working with Clay
I did want to leave you with a few pointers that I have learned along the way that may be of some help:
- Polymer clay will not set up at room temperature it must be baked. So, you can leave your projects out as long as you want before baking.
- Don’t waste any of your scraps! You can turn the small pieces into little post earrings and more.
- Clean up is imperative! Be sure to clean your mat and your hands in between colors.
- Be sure to get your clay all the same thickness so that the pieces bake evenly.
- A craft room oven can be a lifesaver for projects like this one as you can bake one batch as you are working on another.
- Do not use the same tools for crafting with clay as you use for food. Only use dedicated craft tools for these projects.
- Use the heat from your hands to soften the clay when you start. This will make it easier to work with.
- Look through the cutter before you cut to get an idea of what the earring will look like. Move it around to get a different look on your finished earrings.
- Want to make forming the long snakes of clay a bit easier? You can see how to use a tool for that here.
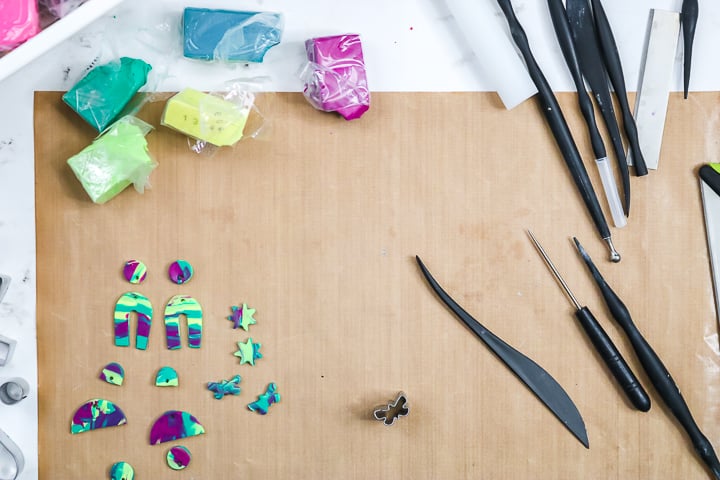
I also love using the project mat for my projects. This means that I can create my earrings then move them right to a baking sheet. The mat is oven safe and can be used over and over again. In my opinion, it is a must when crafting with clay.
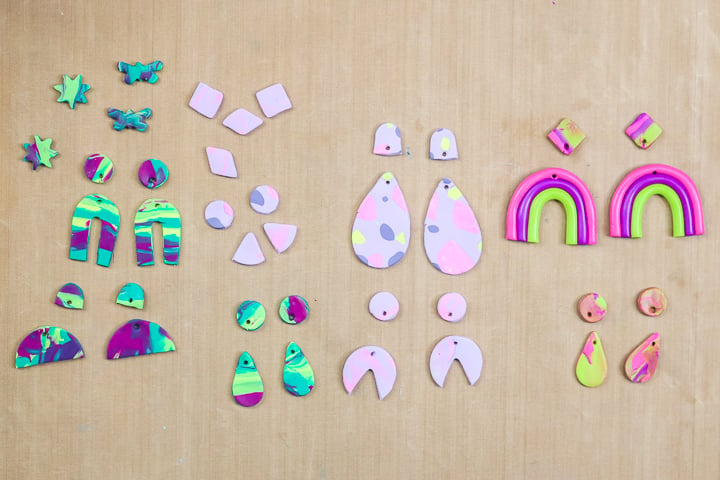
So, now that you know how easy it is to make clay earrings, you can make a batch for all of your family and friends. This craft is so easy and perfect for giving handmade gifts any time of the year.
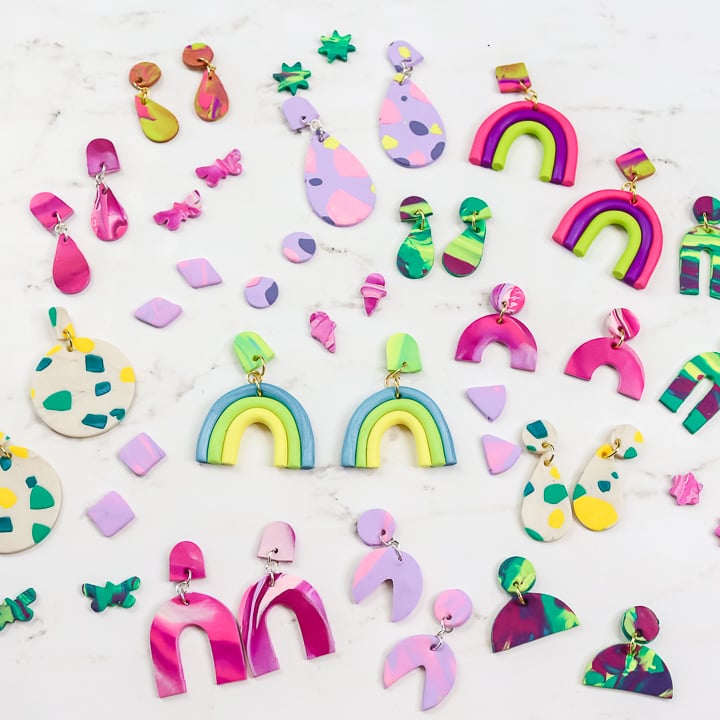
And once you get started creating earrings, it is head to stop! They are so easy to make and you just sort of get on a roll. So, pick up the supplies to make some polymer clay earrings. You will be so glad you did!
Love this clay craft and want more? Try the links below as well!







I believe this will be the perfect gift to keep the kids entertained this Christmas. I am worrying to keep them occupied since I will be busy hosting Christmas dinner for friends and family. I am glad to find such a resource.