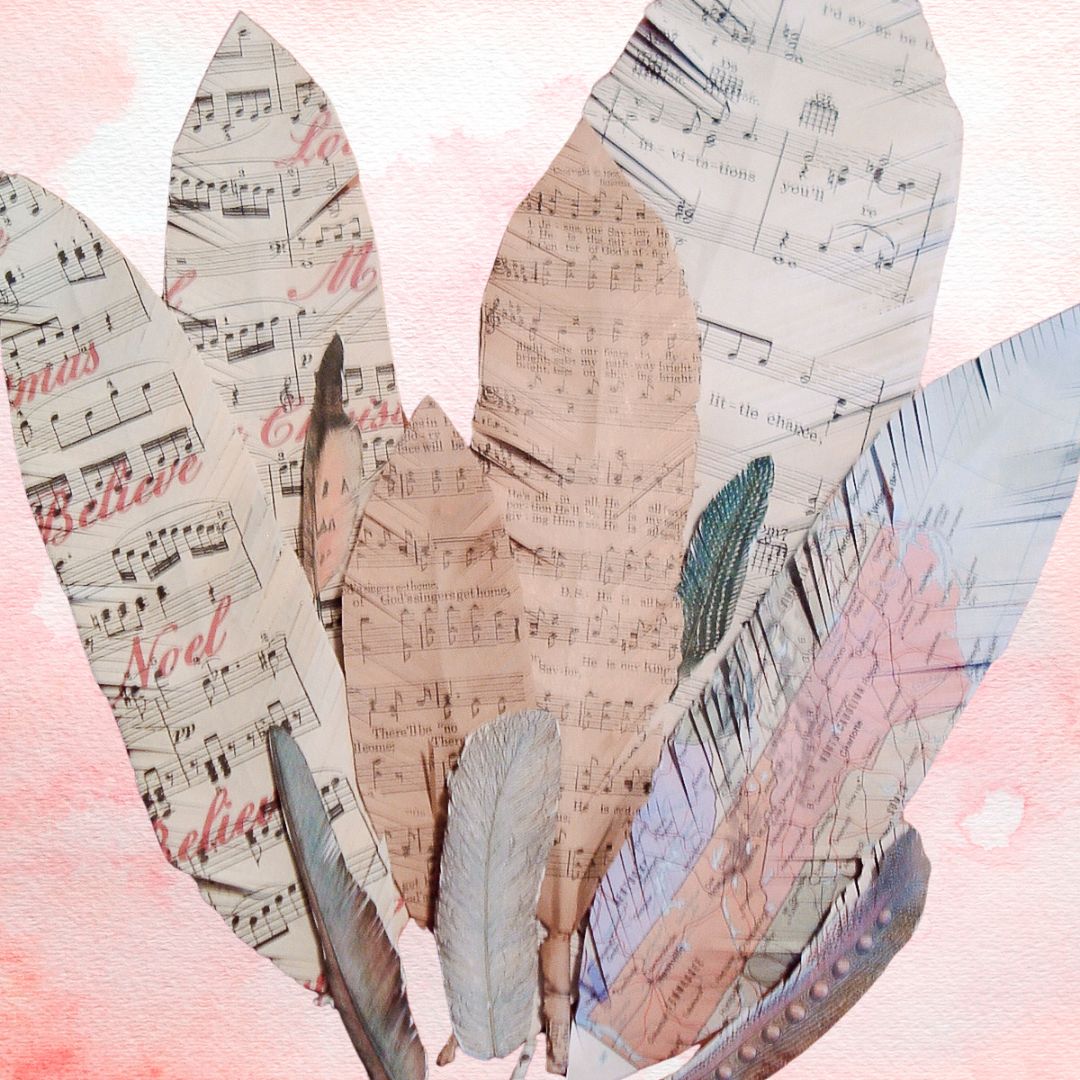
I really love to craft with paper. This time I made a ton of paper feathers while sitting and watching a movie. Gorgeous sheet music, maps, and more became feathers. Ready to make some yourself? My tutorial will show you the easy process!
Step by Step Instructions for Making Paper Feathers
I love crafting with recycled papers like making these sheet music snowflakes and so much more! If recycled paper is not your jam, you can use cardstock on this project as well.
Supplies needed:
- Paper (I am using a variety of paper and methods in this post.)
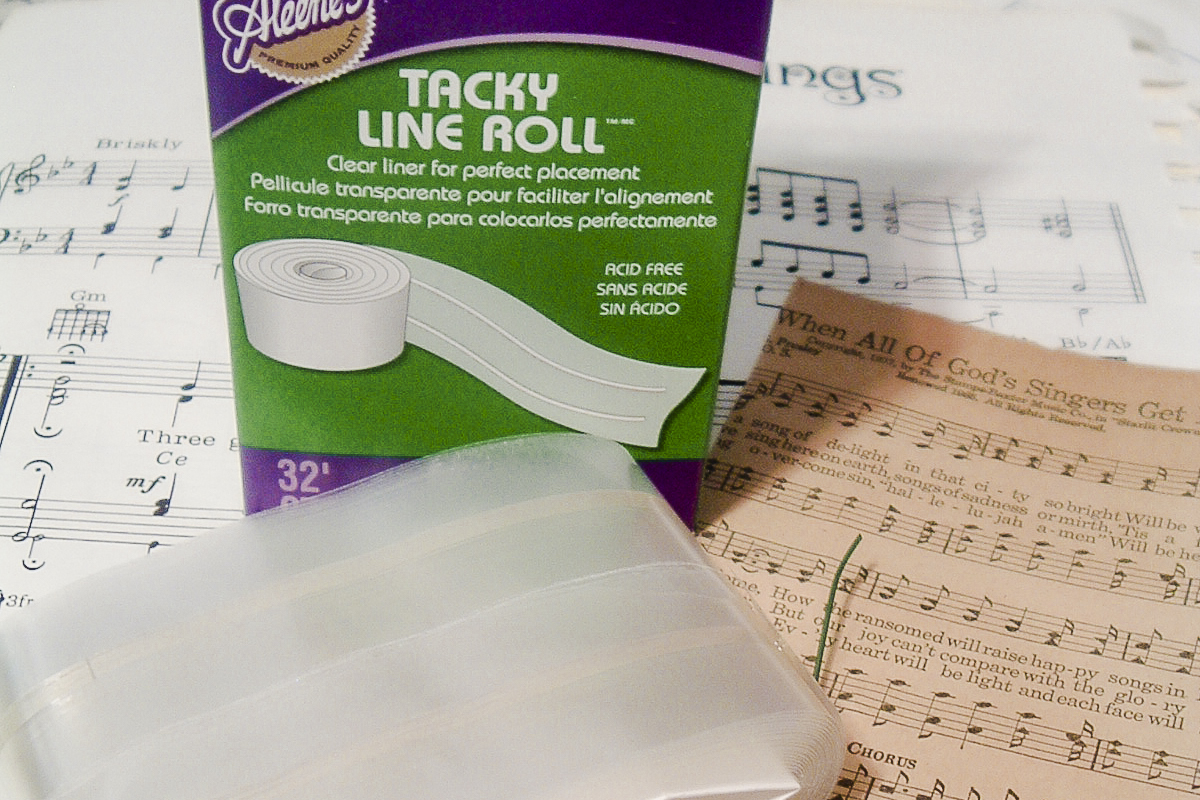
- Dry adhesive (The version I am using is no longer available but a tape runner like this will work.)
- Floral wire
- Scissors
Step 1: Add Adhesive and Wire
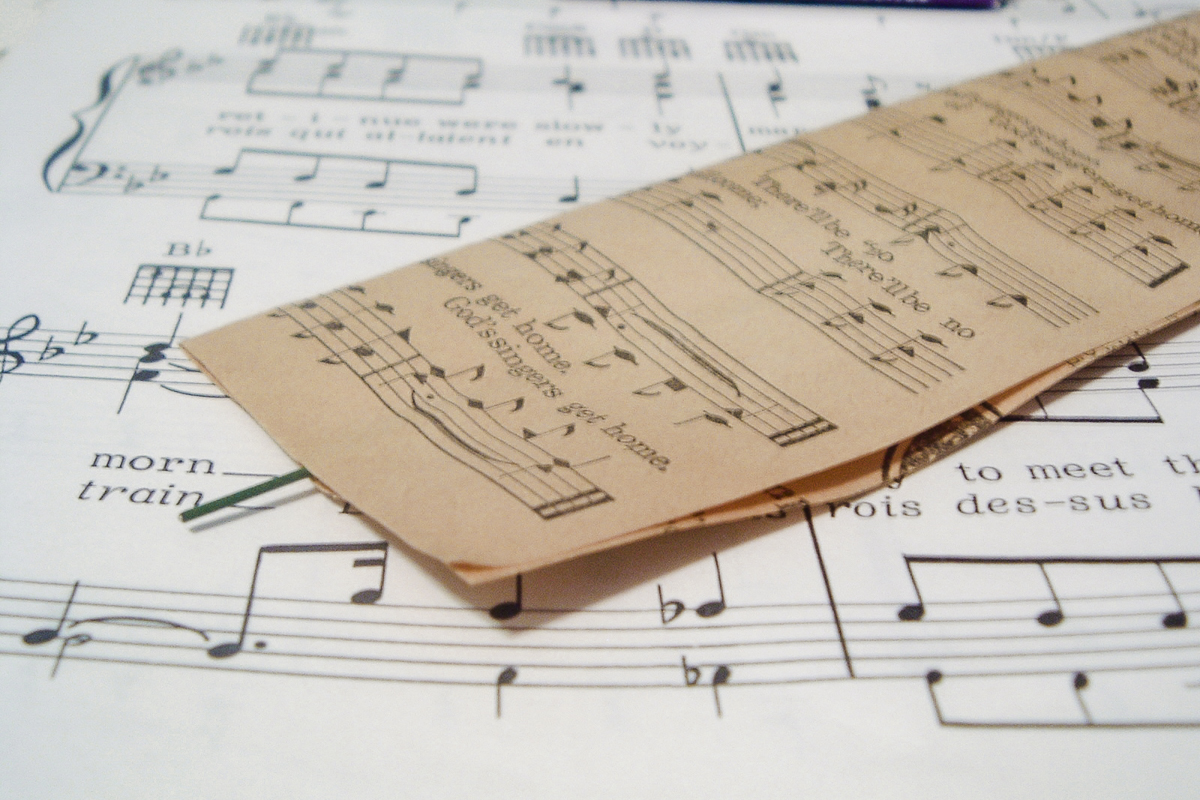
Cut two rectangles from your paper the size you want your feathers to be. Make a sandwich: one sheet paper, a line of dry adhesive up the middle, a piece of floral wire, a line of dry adhesive on top of the wire, then the other sheet of paper.
Step 2: Cut Feather Shape and Fringe
Cut your paper rectangle into a feather-like shape. This does NOT have to be perfect.
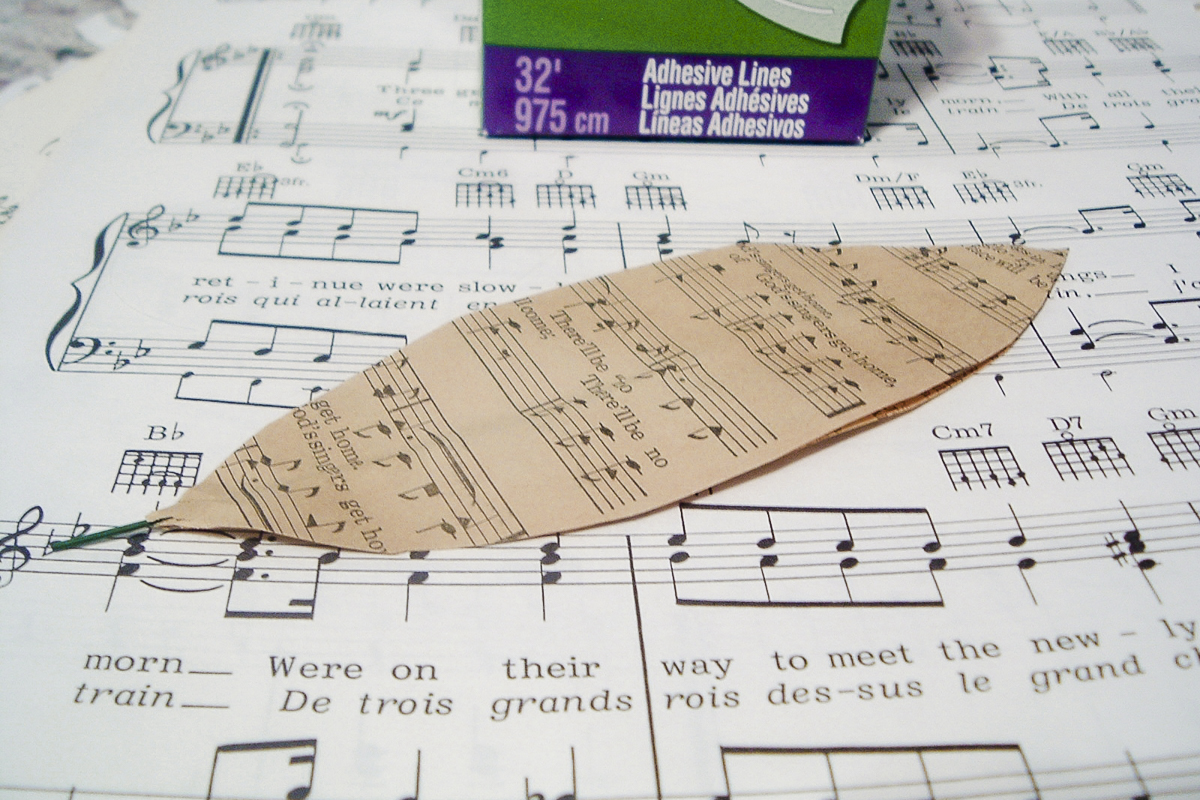
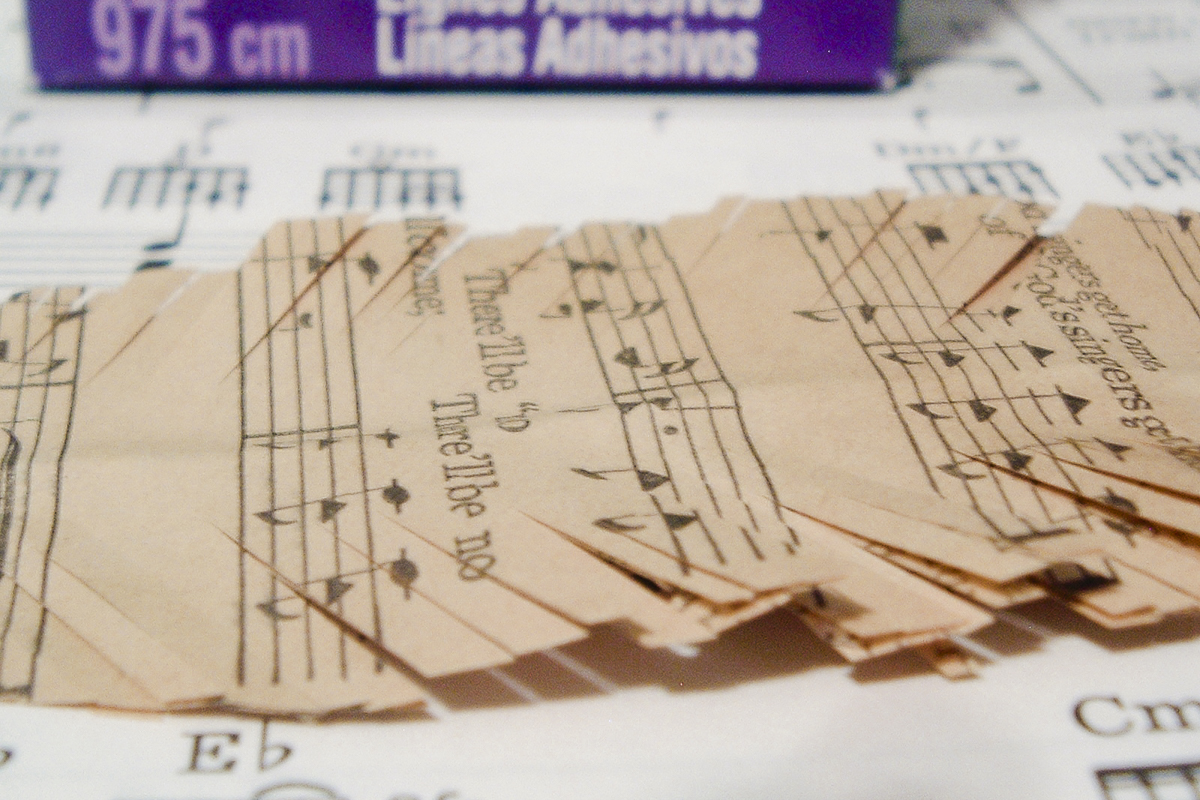
Then cut into the paper from the sides towards the middle. Stop when you hit the wire. Go up and down both sides. Get your cuts as close as you can to one another so your feather looks more realistic.
Step 3: Finish the End
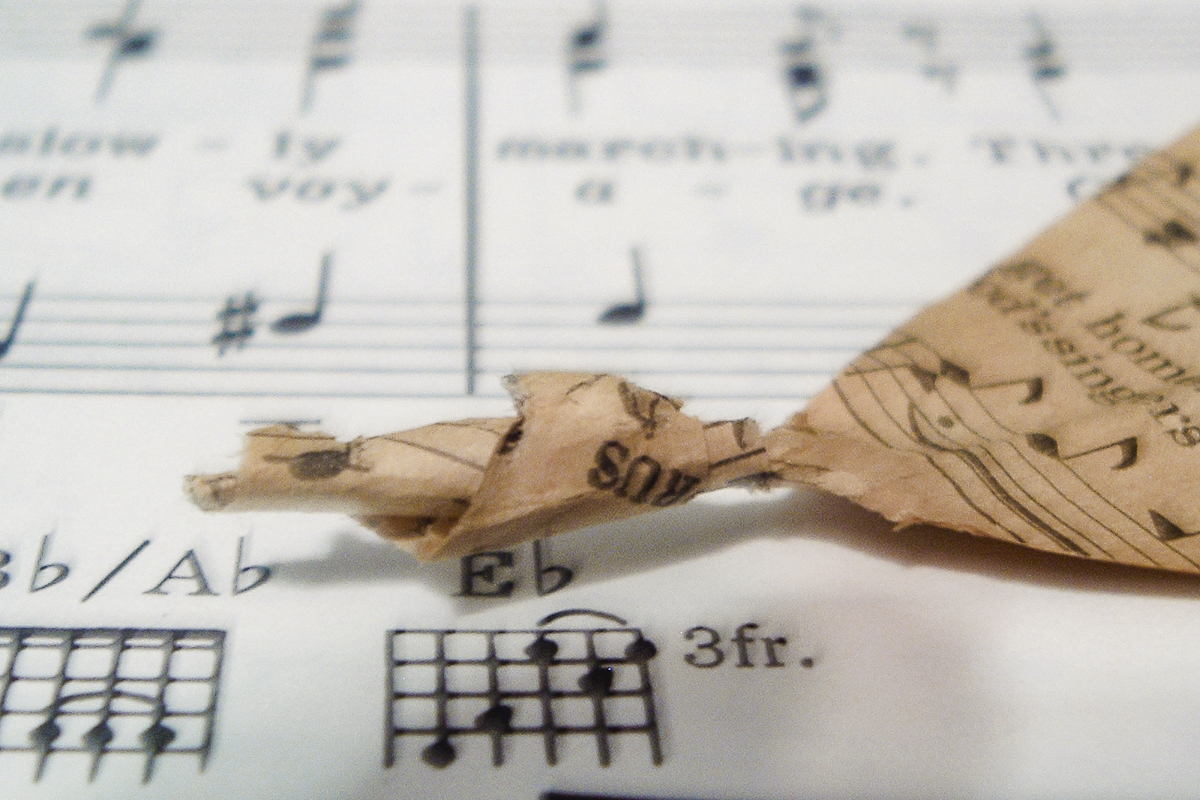
Take more dry adhesive and a strip of paper and cover the end of the wire if you wish. This gives the entire thing a more finished appearance. Once you have completed this step, your feather is done and ready for display!
More Paper Feather Ideas
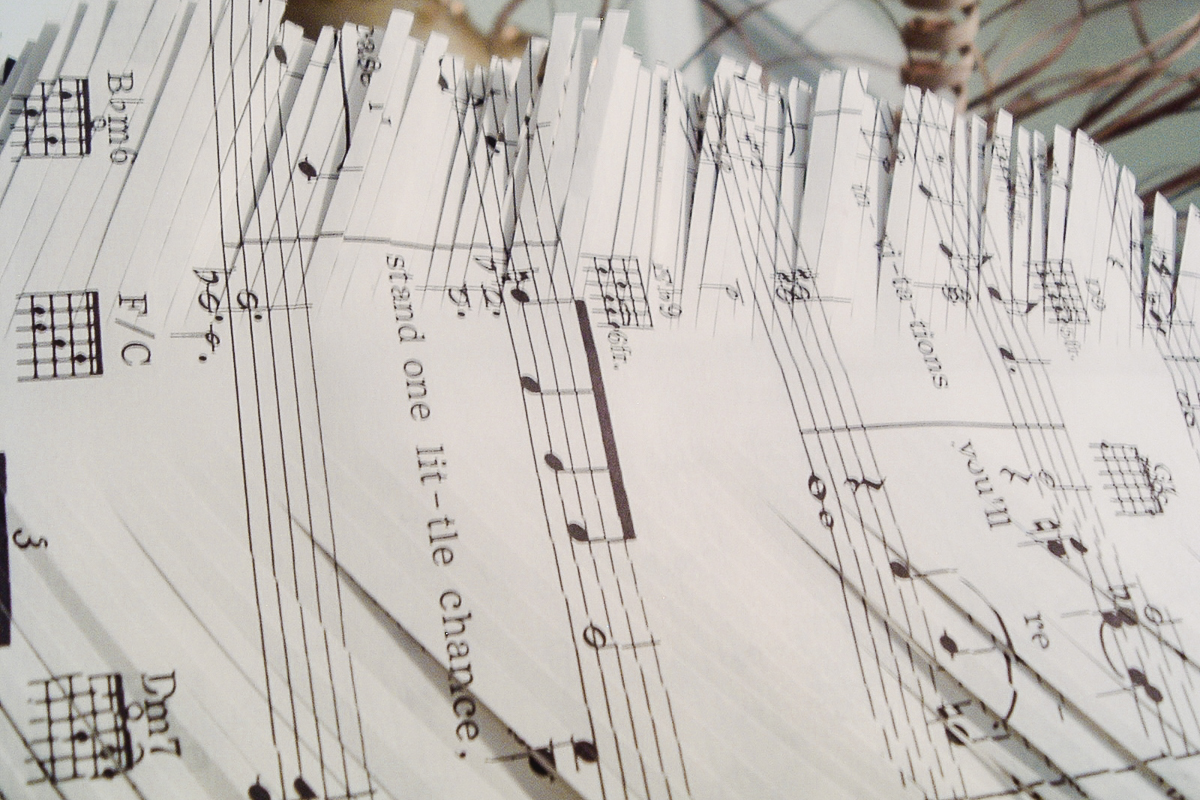
I got a bit carried away and started to think of more types of paper that would work for paper feathers. In fact, I used tons of different sheet music in all different sizes and even colors. I do feel like the double layer of paper really adds something to this project!
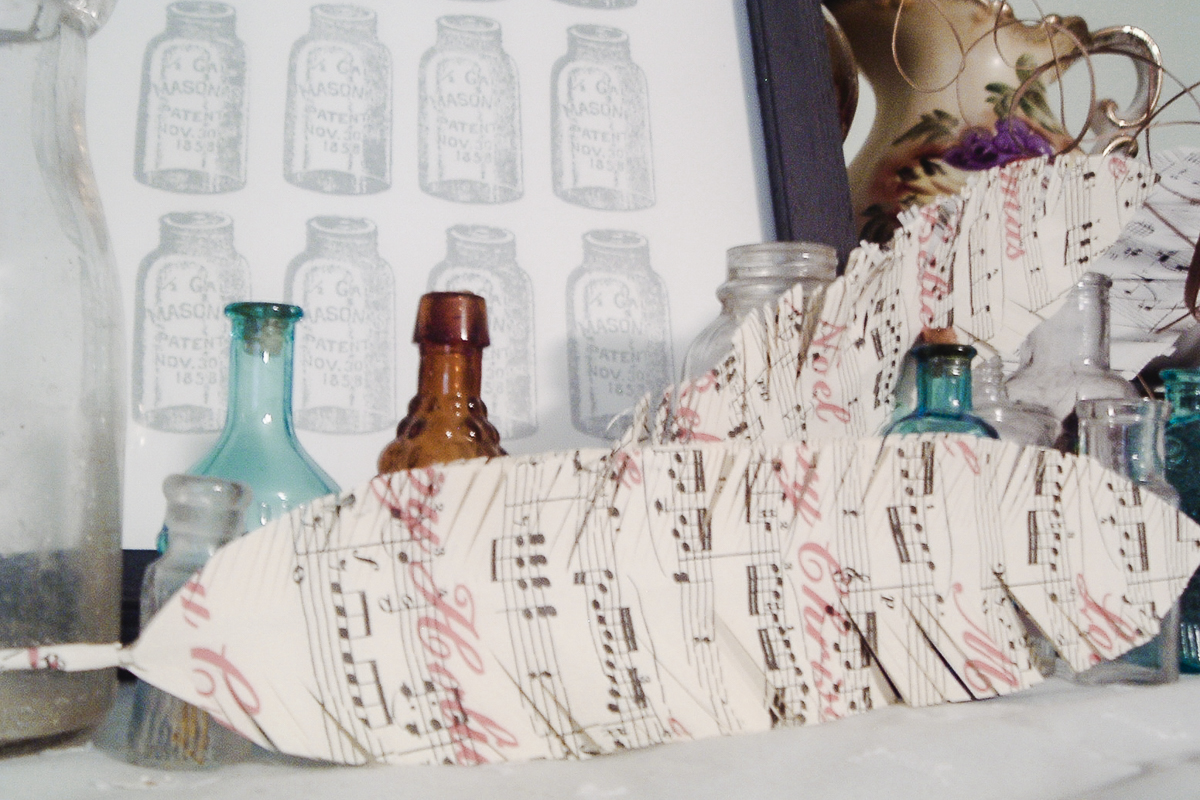
You can print or stamp on the paper before making your feather to get another look. This example would look great displayed at Christmas.
You can even print a feather image on your printer. Just print onto regular copy paper and print one version the correct way and one mirrored. Then just cut out the same feather from both the original and the mirrored version. Follow the instructions above to turn those into paper feathers as well!
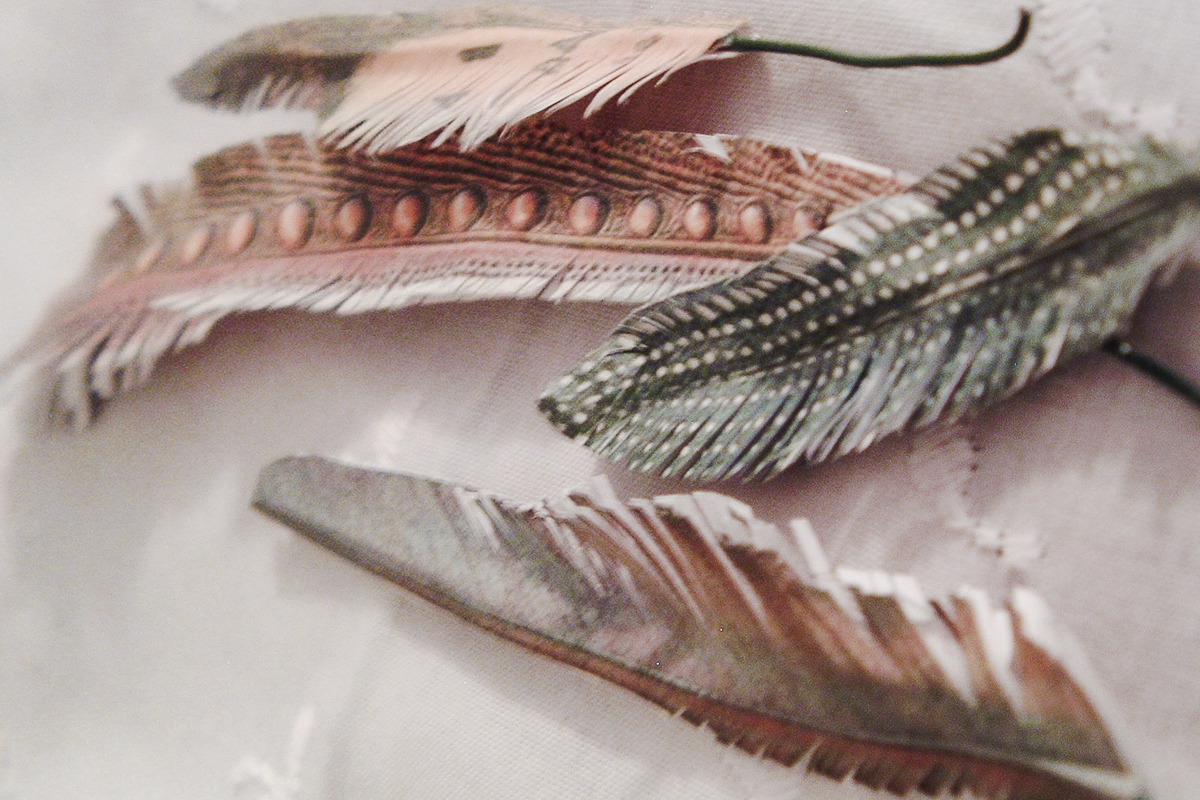
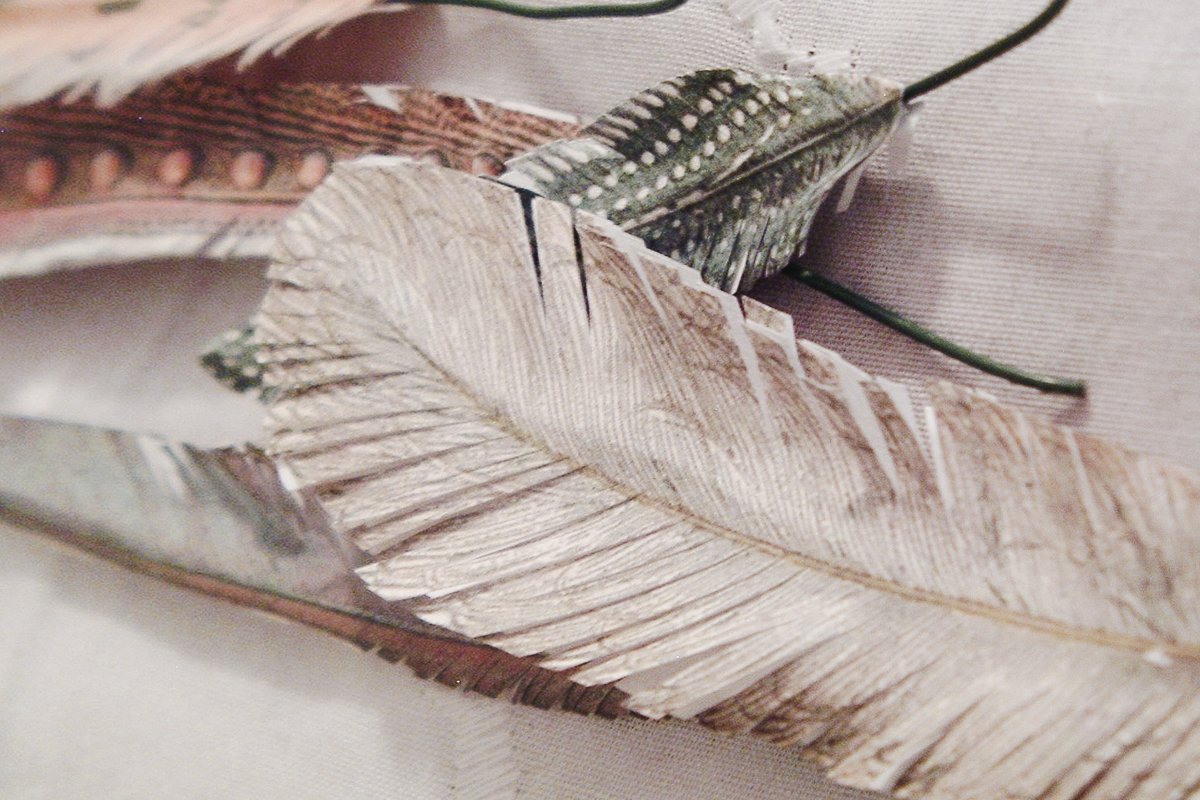
This version almost looks real! You will note that I did not wrap the ends on this version as i thought the wire looked a bit better in this case.
I even made some feathers with old maps! So many great ideas and so little time!
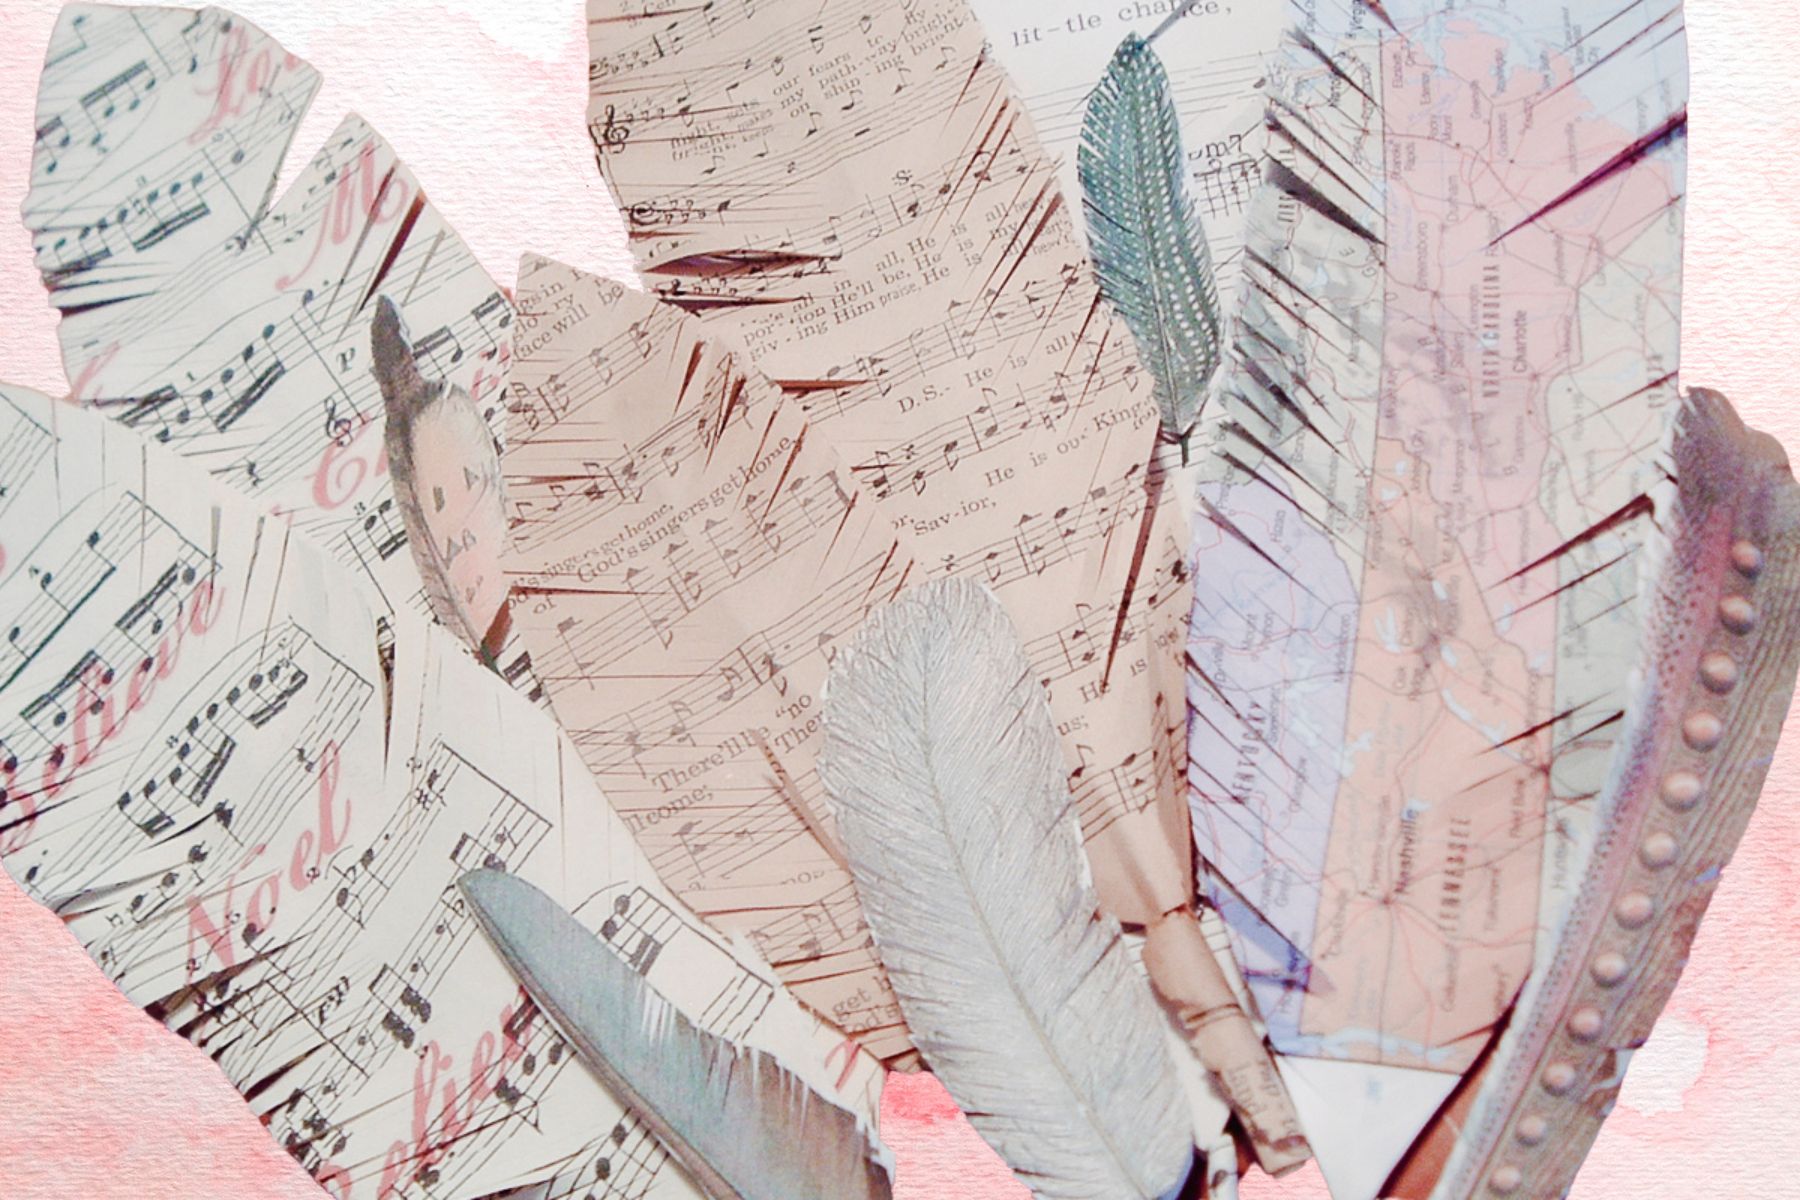
So now I have a feather collection for decor this holiday season and beyond. What about you? Have you ever made paper ephemera feathers? Grab any paper that you have and get started on your version today!


Angie! This is TOO fun! I love them! The vintage ones are fabulous, but the printed ones… wow! Ingenious! They really look like real feathers! Great tutorial! Pinning away… 🙂
I love these, they came out great and are very affordable! I’ve seen some made of fabric I want to try too.
What a unique idea and one that I am so going to be borrowing from you…LOL!! Thank you for the inspiration.
Smiles ^_^
I love this idea! I can see them tied to a package wrapped in brown paper with cloth ribbon instead of a traditional bow.
These look amazing grouped together!!! Thanks so much for playing with the Tacky Adhesives! We love how your project turned out!!! Feathers of any kind are so in right now 🙂
I love these! Especially the ones you made from the real feather pictures–they are beautiful. They really do almost look real!
How cool are these? Love the recycled ones the best…. going to go rummage in my scrap basket now!
This is very cool, can’t wait to try it!! thanks so much for sharing!
Hi Just found you and am in to feathers at the moment and will have a go at yours but what is “Dry Adhesive ” as not heard of it here in uk
Best wishes
Sue
Sue — it is like glue dots. This actually was a long strips. It is just a tacky substance that is on a roll. 🙂
Oh — one thought — you could use double sided tape and just cut a thinner strip of it. Do you have that in the UK?
These are so lovely. Wouldn’t they be so cool that instead of using floral wire, you would use a slim pen. That way they would be like feather quill pens! Thanks for the inspiration!
Wow. These are fabulous. Thanks so much for sharing the tutorial.
These are so charming. Thank you so much for your great instructions.
Blessings,
Tamara
I so ❣️ these. Do you have a video tutorial please.
I don’t have a video for this one! Sorry!