This simple Peeps bunny garland is perfect for your spring mantle! Made with burlap, these bunny shapes make the cutest garland with a rustic touch. This is a simple craft project and comes together easily with a Cricut Maker or Explore.
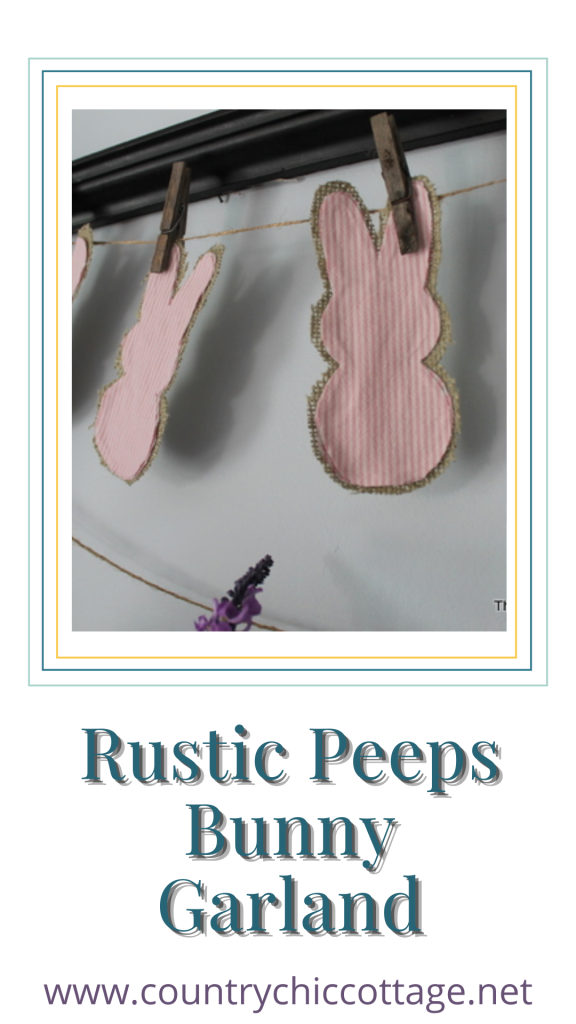
This garland is part of my Easter mantle. I love the shape of the bunnies, but I really wanted a rustic touch for this project.
It looks especially cute with my Easter burlap table runner too!
You probably already have all of the supplies you need to make your own version!
How to Make this Peeps Bunny Garland
This peeps garland Easter garland is so sweet and adds a festive touch to your mantle. You can use your Cricut maker to make cutting the fabric so easy!
Supplies needed
- Cricut machine (Maker or Explore series)
- Fabric grip mat
- Fabric
- Rotary or bonded fabric blade
- Interfacing (if using the Explore series machines)
- Bunny SVG or printable bunny template (click here to download)
- Burlap
- Fabric
- Mod Podge
- Hot glue and glue gun
- Twine
- Clothespins
- Empty picture frame or mantle for hanging the garland
Designing Your Bunny
Next, you will need some bunnies inside of Cricut Design Space to cut from your fabric. You can find free bunny shapes right in Design Space or use this free bunny SVG from Leap of Faith Crafting.
I am going to show you one example below but feel free to pick different types of shapes if you would like.
Click on images on the left-hand side and search for bunny. Then filter for free by checking the box at the top of the screen. Scroll until you find something that will work.
Then click make it to start cutting your bunnies.
How to Cut Fabric with a Cricut
You can cut fabric with either a Cricut Maker or Explore, but there are some differences depending on which machine you have. If this is your first time, make sure to read my How to cut fabric with a Cricut post here first.
Cutting Fabric Bunnies with a Cricut Machine
Now that you have your design, you will want to cut the bunnies shapes from your fabric. The steps for cutting bonded and unbonded fabric are different so I’m listing them both below. If you have an Explore series, you will have to cut the fabric bonded. With the Maker series, you can pick which option you like best.
How to Cut Bonded Fabric
- Add bonding to the fabric by ironing an interfacing to the back according to the package directions.
- Place the fabric with the interfacing side down onto the fabric mat.
- Use a brayer to go over the fabric and ensure it is down really well on the mat.
- Add the bonded fabric blade to your Explore or Maker series machine. This blade is just the fine point blade in a pink housing but it does help to have just one blade for fabric crafts.
- Pick the bonded fabric setting in Cricut Design Space. You may have to turn your dial to custom on an Explore Air 2 or early machine. On a Maker series, you may have to click edit tools to change from the rotary blade to the bonded fabric blade.
- Cut the material then remove the mat from the machine. Pick up your cut pieces with a pair of tweezers to avoid touching the fabric mat.
Cutting Unbonded Fabric
- Place the fabric on the fabric mat and use a brayer over the top to ensure it is down well. I generally cut with the good side of the fabric facing up but you can do the opposite and mirror your cut if you would like.
- Add the rotary blade to your Maker series machine. Cutting unbonded fabric does not work on an Explore series.
- Pick the fabric setting that corresponds to your material. For instance, I used a light fabric setting to cut this cotton material.
- Cut the material then remove the mat from the machine. Pick up your cut pieces with a pair of tweezers to avoid touching the fabric mat.
Which method is best?
Wondering which way is best for this project? Cutting bonded fabric will result in less fraying when you are going to put the fabric directly on something. Since burlap has an even higher chance of fraying, I would choose to use bonded fabric if possible.
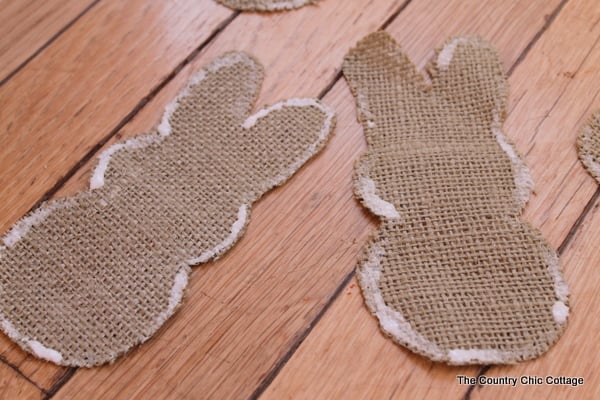
I cut 5 bunnies on burlap.
Nothing is worse than fraying burlap, so I painted the edges with Mod Podge. Then set them aside to dry.
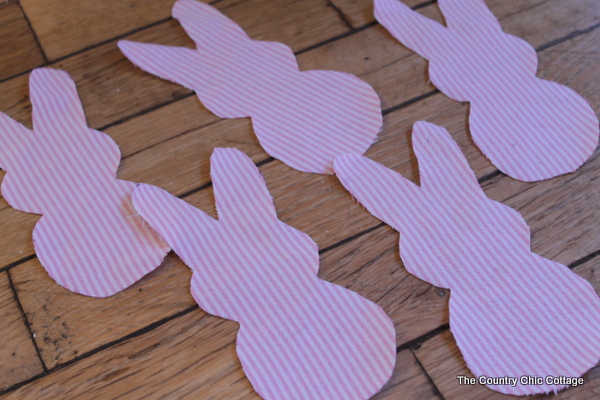
I wanted to add a more spring-like material on top of the burlap. So I went hunting in my fabric stash. I came up with a shirt. Yes a shirt! I no longer liked the shirt itself but the pinstriped pink fabric I loved.
So I kept the shirt in my scraps bin. I cut 5 bunnies from the shirt as well. Try digging in your scrap bin for fabric for this craft. You might be surprised at what you find!
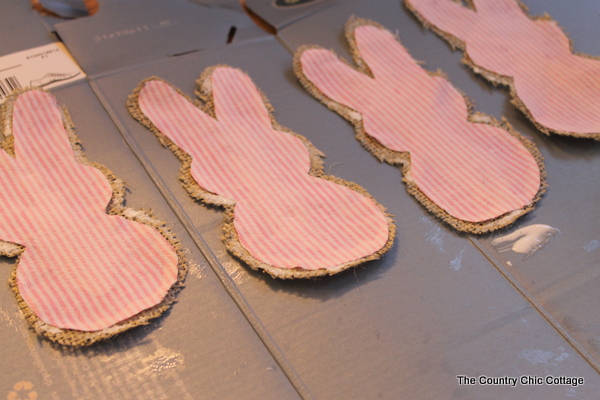
I just used hot glue to put the pink bunnies on the burlap. You can sew them if you feel like it. I was in the mood for a quick and easy craft though.
Allow everything to dry before hanging.
I then just added twine to my frame and hung the bunnies using rustic clothespins. So super simple!
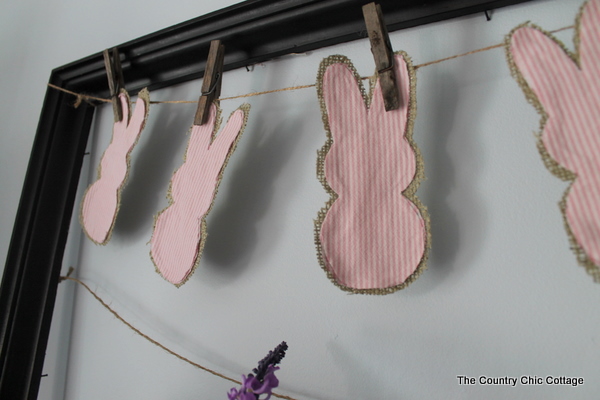
And so super cute! I love the rustic touch while still being all pink and spring inspired.
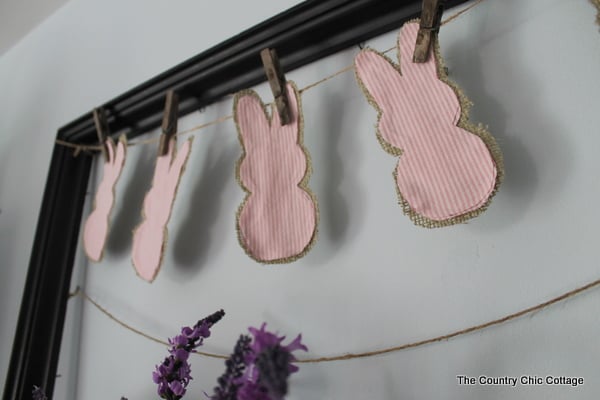
This rustic peeps bunny garland will last for years and look amazing anywhere in your home.
More Burlap Easter Ideas
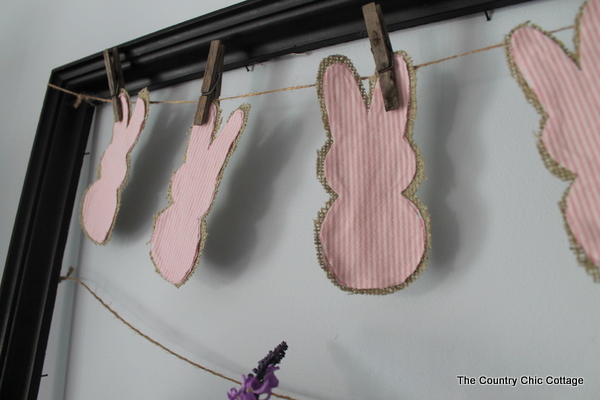
Equipment
- Cricut machine (Maker or Explore series)
Supplies
- Fabric grip mat
- Fabric
- Bunny SVG
- Rotary or bonded fabric blade
- Interfacing (if using the Explore series machines)
- Burlap
- Fabric
- Mod Podge
- Hot glue and glue gun
- Twine
- Clothespins
- Empty picture frame or mantle for hanging the garland
Instructions
- First, you will need some bunnies inside of Cricut Design Space to cut from your fabric. You can find free bunny shapes right in Design Space. I am going to show you one example below but feel free to pick different types of shapes if you would like.
- Click on images on the left-hand side and search for bunny. Then filter for free by checking the box at the top of the screen. Scroll until you find something that will work.
- Then click make it to start cutting your bunnies.I cut 5 bunnies on burlap.
- Then, paint the edges of the burlap with Mod Podge. Set these aside to dry.
- Next, cut 5 more bunnies of the same size from the fabric.
- Use hot glue to put the pink bunnies on the burlap.
- Allow everything to dry before hanging.
- Add twine to the empty frame, or attached the twine to your mantle. Hang the bunnies using the clothespins.
Enjoy making this peeps bunny garland this year!


Very very cute! Your title really got me to come take a look…Peeps are my favorite food group.
Oh my goodness I love this little craft you have posted! I am in love with anything burlap so this is soooo fun! thanks for sharing.
How CUTE! Definitely want to try this! Thanks for sharing!!! ♥
These are SO sweet and you made it easy to follow along! Thanks!! 🙂
XO,
Jane
These are too cute! I just may have to make these!
super cute! i have some garlands i made from yellow felt. i like your burlap variation!
The perfect thing for Easter! The kids would love this.
Super cute…this would be fabulously rustic in our house in the Wisconsin woods!
-Megan, Chaos Served Daily
Just the cutest! LOVE the combination of the burlap and fabric and they way you’ve displayed them in the frame.
Cute bunnies! I too love the combination of fabric and the burlap!
gail
Girls…. CUTENESS!
Adorable!
Stopping in from DIY Showoff….. and you have every reason to show off this craft!
-Joanne
Cute cute project, Angie! I do love me some burlap. 🙂 Stopping by from CG!
That’s so cute! I made something similar with birds. 🙂
how sweet homey with that old familiar look of peeps come see me at http://shopannies.blogspot.com
Ok. I will probally be lynched but I will go ahead and say it. “I HATE PEEPS!”. I just can’t stand the way these little things taste. But I will admit I do love how they look. And yours are they first ones I’ve seen that I actually will make! Great job.
http://buggalcrafts.wordpress.com/