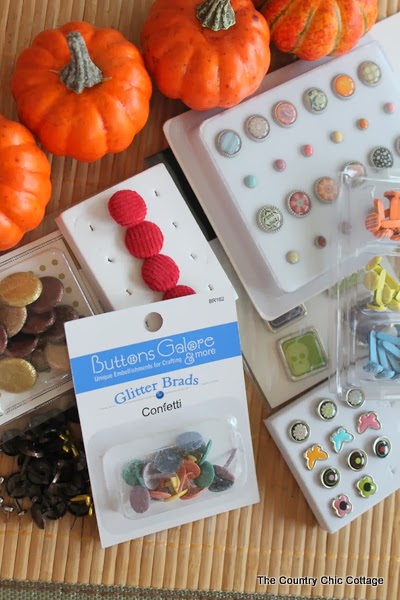
Then literally you just push them into the pumpkin. If you don’t know what a brad is you can see that it has a nail like appearance in the photograph above. However brads are not sharp and can be used when crafting with kids. So they are perfect! I pressed them into fake pumpkins here but they will work on real ones as well. They are so easy to push in it is almost not like a craft at all! No glue is even required y’all.
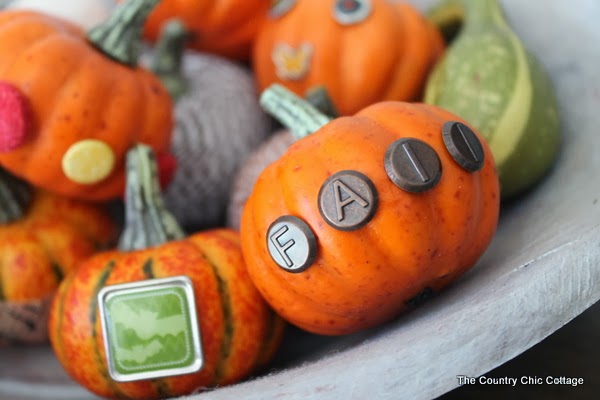
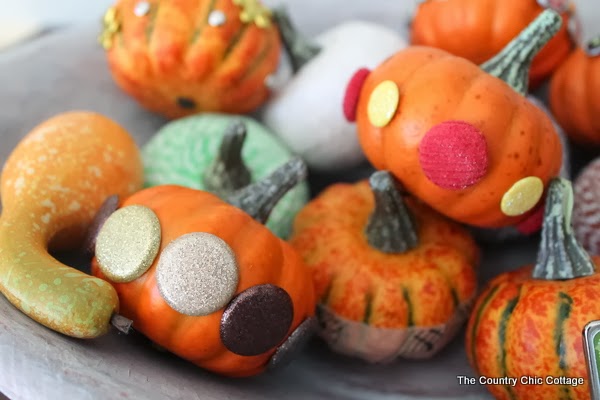
You can spell fall with these antique ABC brads like the picture above. Or grab some fabric and glitter covered brads for some pumpkins like the picture below.
Maybe you don’t like the brads all in a line? Just used them as dots all around your pumpkin. Below I used a combination of tiny jewel rounds and jewel flowers.
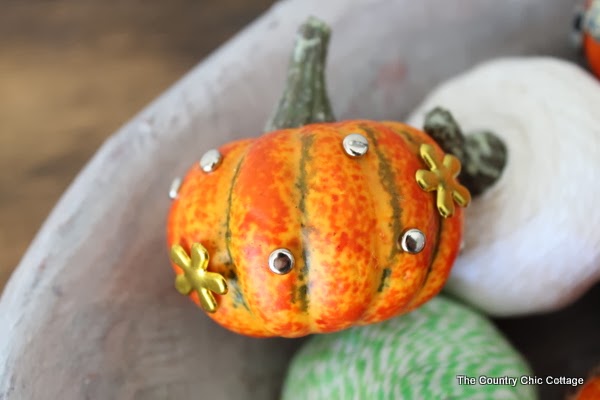
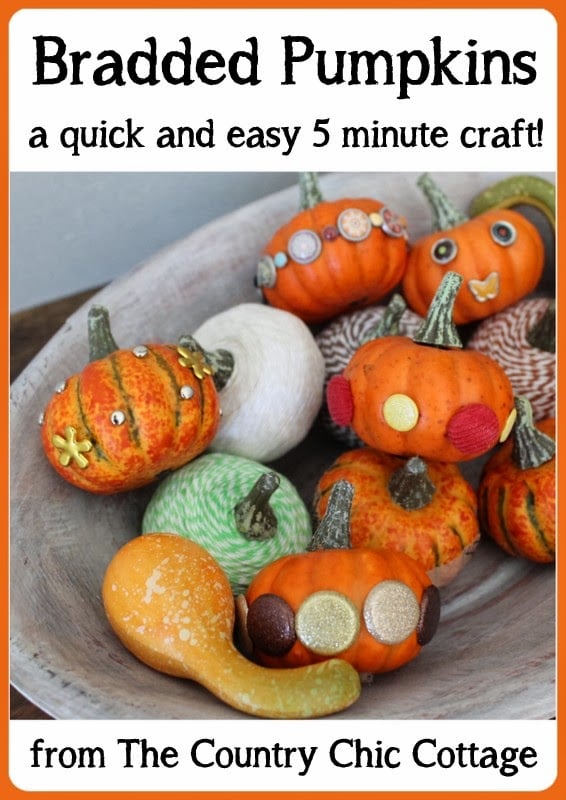
You can even get a little funky with your brads and use them to create a fun pumpkin face. What a fun way to “carve” a pumpkin without ever getting out a knife. The best part? I created all of these in less than 15 minutes. Such a quick and easy craft that there is no reason NOT to do it!
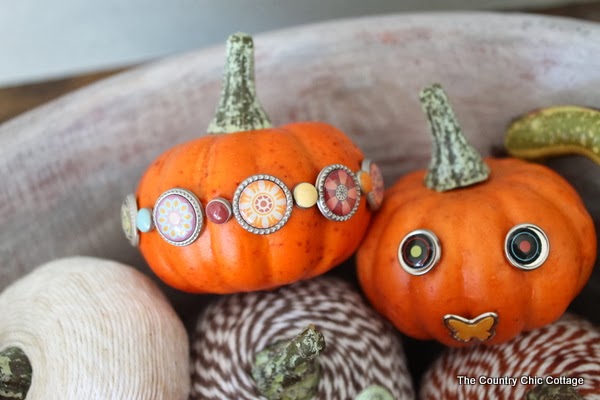
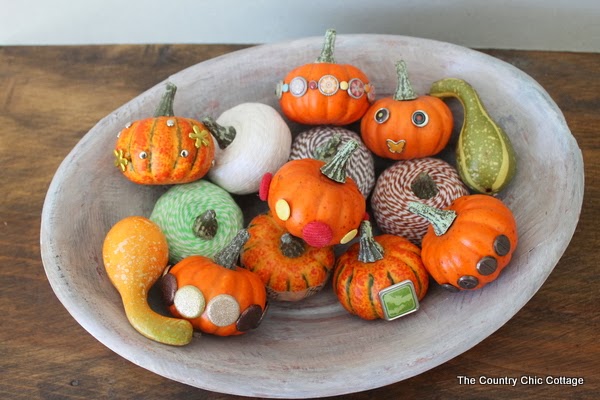
I am displaying mine in a bowl along with my baker’s twine pumpkins. What a fun addition to your fall decor and all in just a few minutes time.


Wonderful, quick, easy, inexpensive, so darned cute. I had to take it one step further. Don’t have brads I would prefer to put on pumpkin but do have some bottle caps so hubs is spray painting them for me with Antique bronze, love the glint of bronze on tops. Going to put letters inside caps, ooooohhhhheeeeeeee. He spray painted a pumpkin silver from $tree for me so I’ll put the bottle caps on middle of pumpkin where there’s a line made to cut it open. Ooh so wish I had some of my other pumpkins but the box is adrift in the shed — somewhere so having to do without this year. Maybe $tree will have some more left I can get tomorrow, payday finally. Great project Angie, as always.
What a great idea! There are so many fun brads out there, that the sky is really the limit with this craft!