These cute DIY sweater pumpkins are cute and just what you need for fall! No sewing is required for these easy craft pumpkins! From sweater sleeve pumpkins to more sweater pumpkins–there are so many fun project ideas!
If you are looking for more autumn-themed crafts, then be sure to look into these free fabric pumpkin patterns that are super fun and a great way to decorate the home during pumpkin season.
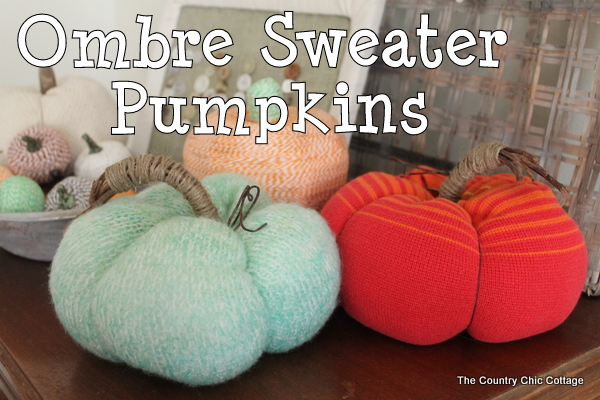
Make Your Own Cute Sweater Pumpkins
You are going to love making these cute pumpkins! Ready with some simple steps, these DIY sweater pumpkins are a great project for anyone who is not wanting to spend any time sewing. Crafted pumpkins are perfect for displaying around the home when you have the cinnamon apple lit. Doesn’t it all scream fall?
Supplies Needed
Some links below may be affiliate links which means you don’t pay anymore.
- Sweaters: You can use any kind of sweaters for this simple project! If you have some old sweaters lying around, put them to great use!
- Rubber bands: Rubber bands can be found almost anywhere like office stores, grocery stores, etc.
- Embroidery Thread or Hemp Cording: You can find this at a craft store.
- Needle: You will need one sewing needle even though there is no sewing required.
- Small grapevine wreaths or other bent stick found in your yard
- Twine: Order online or find at your local craft store!
- Stuffing: You can find this at your local craft store.
Note: If crafting these pumpkins will kids, be sure to supervise them at all times!
How to Make Your DIY Sweater Craft Pumpkin
If you’re looking into different ideas for the perfect craft, then you will love this one because it is so easy and doesn’t take long to make at all! This project is a great way to recycle old sweaters rather than throwing them away.
Gather up your sweaters and let’s get started! I chose a couple of sweaters that had an “ombre” effect to them for this year’s pumpkins.
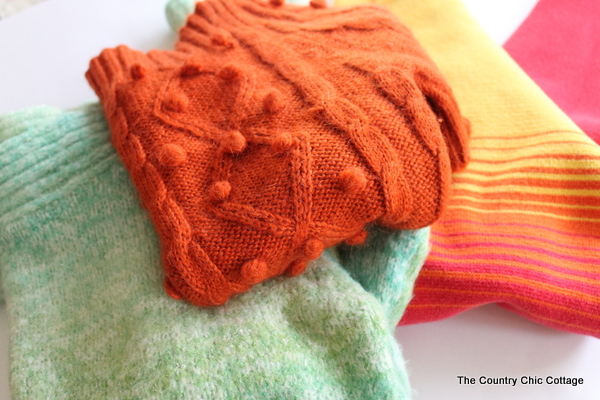
Step 1
Start by cutting off the bottom of your sweater.
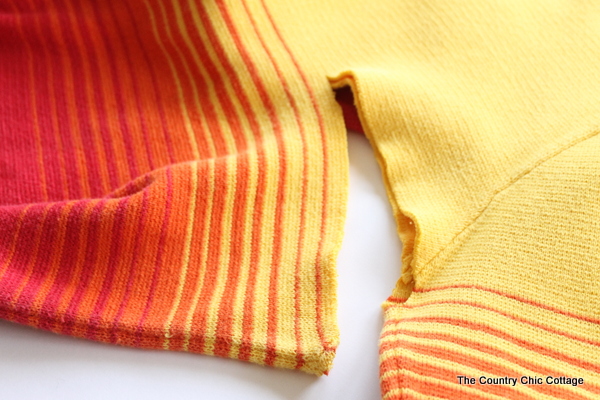
Step 2
Cut your piece into two down the sides.
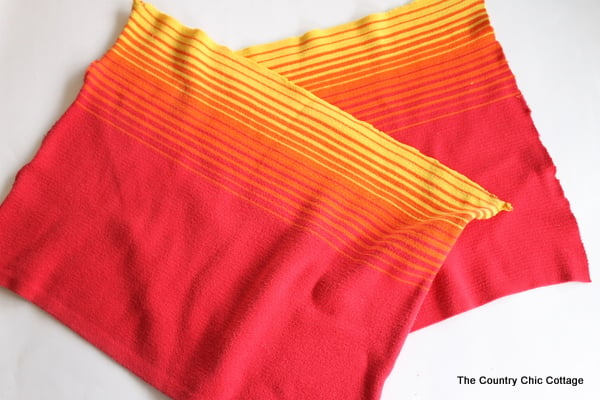
Step 4
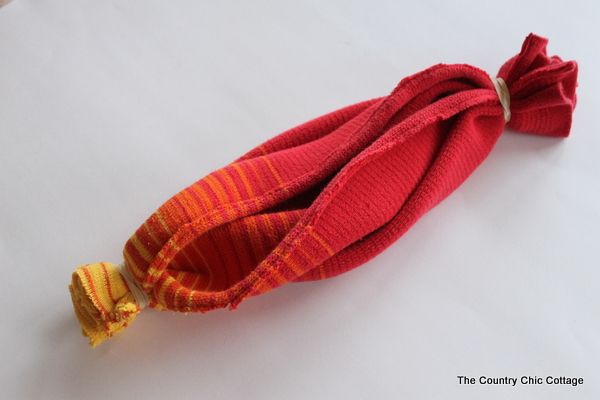
Turn it right side in and gather up each end with a rubber band.
Step 5
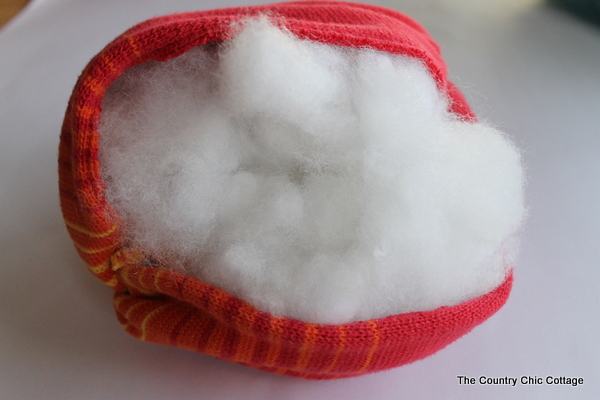
Use the opening to turn it right side out. Insert stuffing into you are happy with how full it is.
Step 6
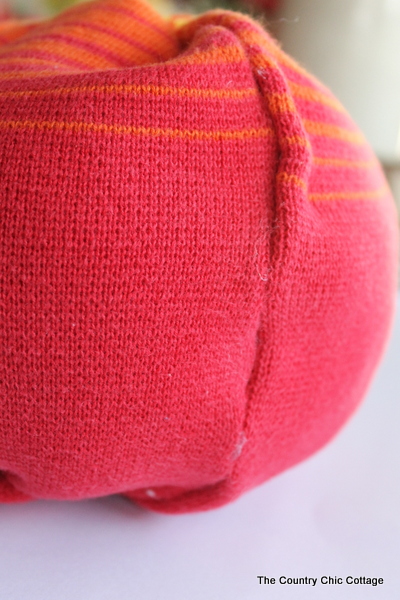
Then just hot glue your seam closed. Don’t be skeptical!! It works and more importantly, it holds up great!
Step 7
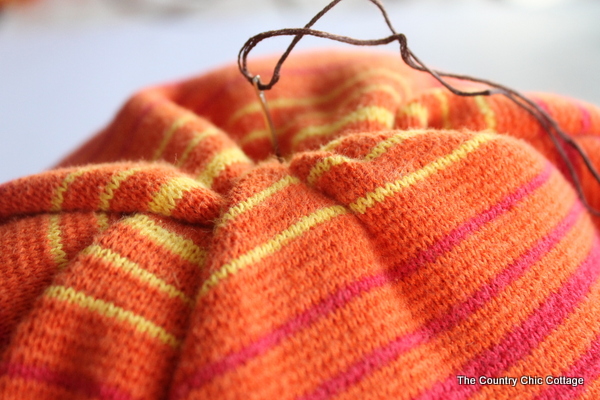
Thread a needle with either embroidery thread or hemp cording. Don’t worry this step is super simple. Insert your needle into one of the ends of the pumpkin.
Step 8
Then push the threaded needle all the way through your pumpkin and out the opposite end.
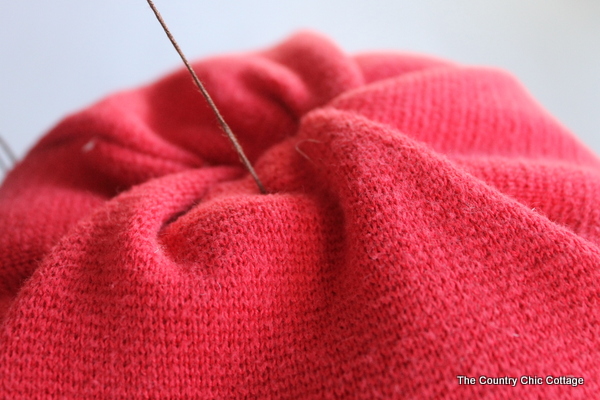
Step 9
Then run the needle around the outside, then through the middle again. Repeat until you have 5 or so “sections” to your pumpkin. Tie off your thread or cording. You will be left with a “sectioned” pumpkin.
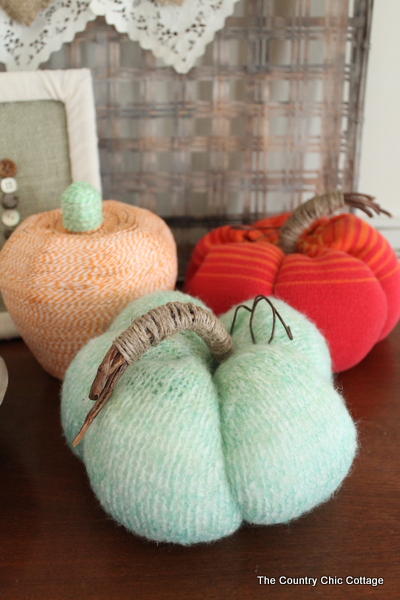
Now for the stems. I had some mini grapevine wreaths.
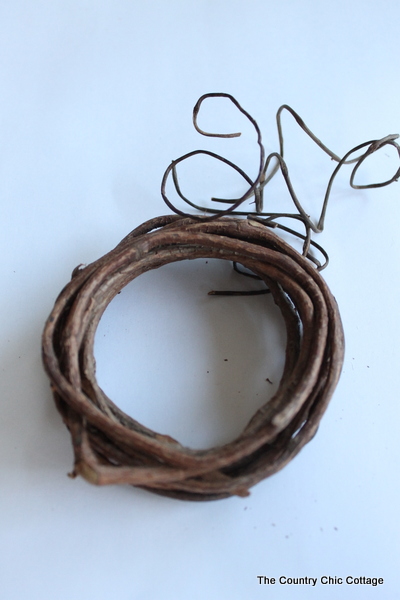
Step 10
I cut the wreaths into pieces.
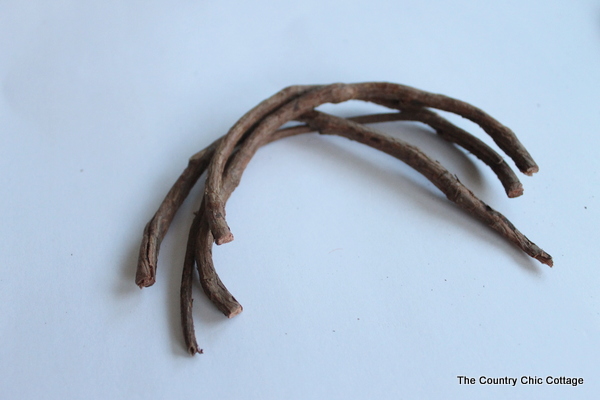
Step 11
I then wrapped those pieces with twine.
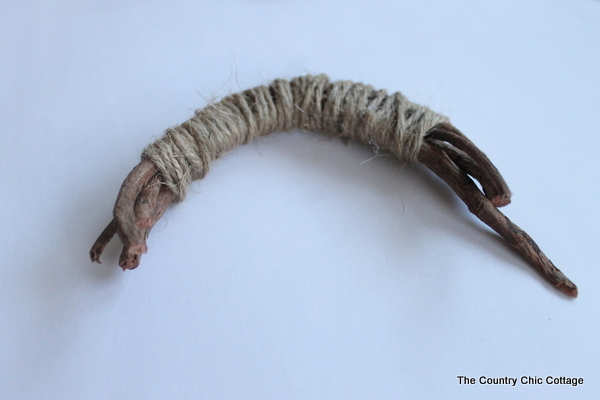
Step 12
The stems just get hot glued onto the tops of the pumpkins along with some of the curly remnants of my grapevine wreaths.
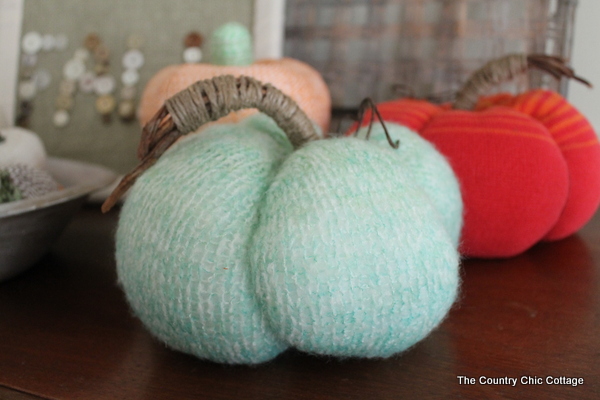
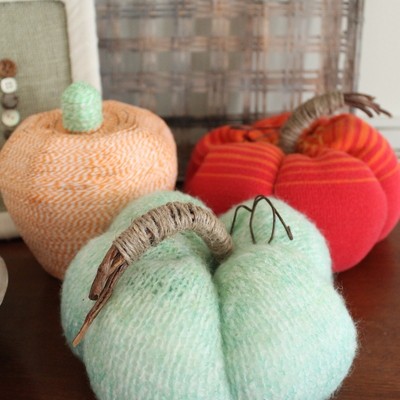
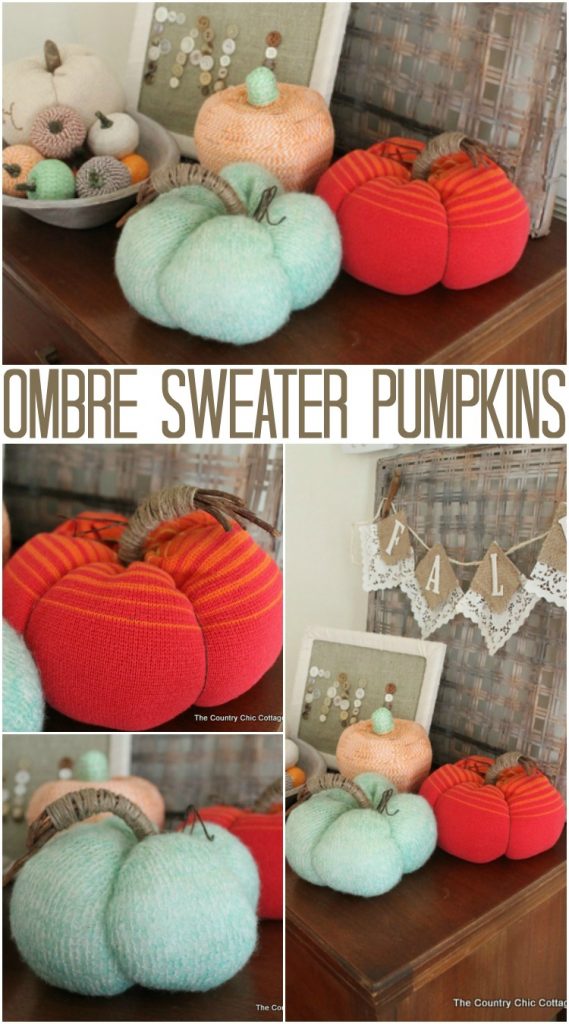
The ombre effect on this one is a little hard to see but it is definitely there. The orange one with the striped ombre is slightly easier to see.
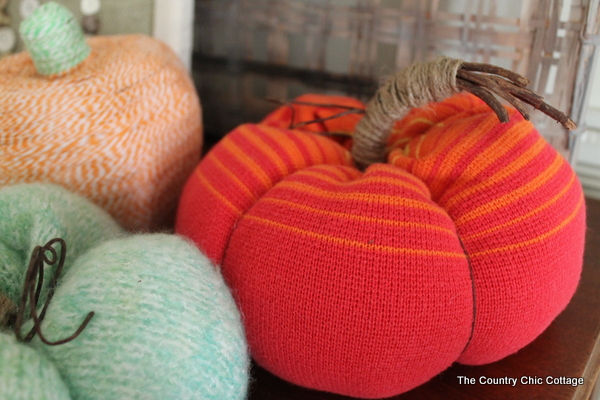
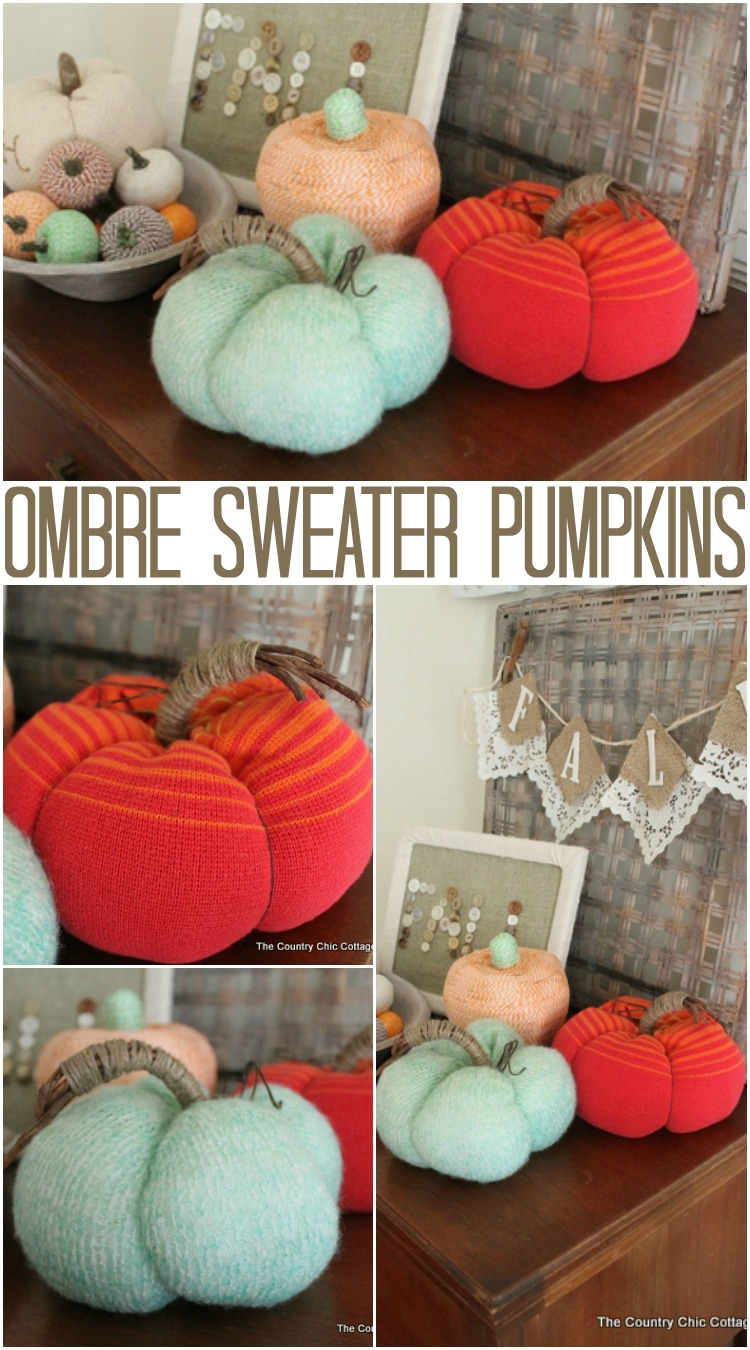
I love these new additions to my sweater pumpkin family! For the other items in this picture check out how to make baker’s twine pumpkins, a fall button sign, and a monogrammed pumpkin. Y’all enjoy and get started on your own version of the sweater pumpkin today!
How to Use
Use these sweater pumpkins to display around the house during the fall season. You can place these pumpkins on tables, mantles, and other types of furniture. You can even string so battery-powered led lights around them to make them glow!
Decorate with these cute pumpkins whenever you are wanting to make the house a little more festive.
Love This Idea for Sweater Craft Pumpkins and Want More? Click the Links Below!
- Thankful Pumpkin Craft
- Easy DIY Pumpkin Door Hanger
- Pumpkin Decor: Farmhouse Options
- Make Your Own Burlap Pumpkin
- Homemade Pumpkin Shaped Soap
Supplies
- sweaters
- rubber bands
- embroidery thread or hemp cording
- sewing needle
- twine
- stuffing
Instructions
- Start by cutting off the bottom of your sweater.

- Cut your piece into two down the sides.

- Turn it right side in and gather up each end with a rubber band.

- Use the opening to turn it right side out. Insert stuffing into you are happy with how full it is.

- Then just hot glue your seam closed. Don’t be skeptical!! It works and more importantly it holds up great!

- Thread a needle with either embroidery thread or hemp cording. Don’t worry this step is super simple. Insert your needle into one of the ends of the pumpkin.

- Then push the threaded needle all the way through your pumpkin and out the opposite end.

- Then run it around the outside, then through the middle again. Repeat until you have 5 or so “sections” to your pumpkin. Tie off your thread or cording. You will be left with a “sectioned” pumpkin.

- Gather the stems or grapevine wreath. Gather the sticks and wrap them twine.

- The stems just get hot glued onto the tops of the pumpkins along with some of the curly remnants of my grapevine wreaths.




what a cute idea to do with sweaters! they turned out fantastic!
Helen
Love it!
It is adorable!
Great idea!
This craft is really cute!!so beautiful!!
very cute!