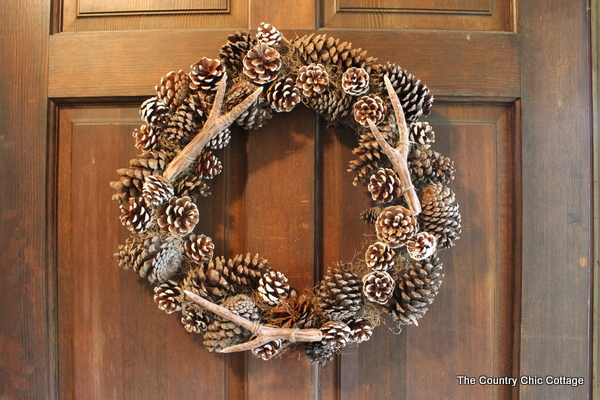
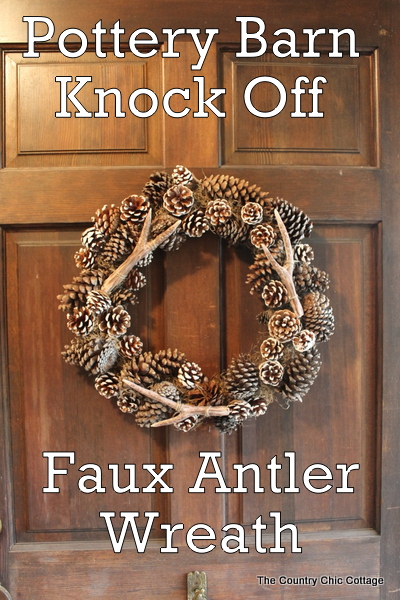
Learn how to make antlers and turn them into a gorgeous (and inexpensive) faux antler wreath! This wreath’s rustic design is perfect for the fall but could easily be kept up all winter long!
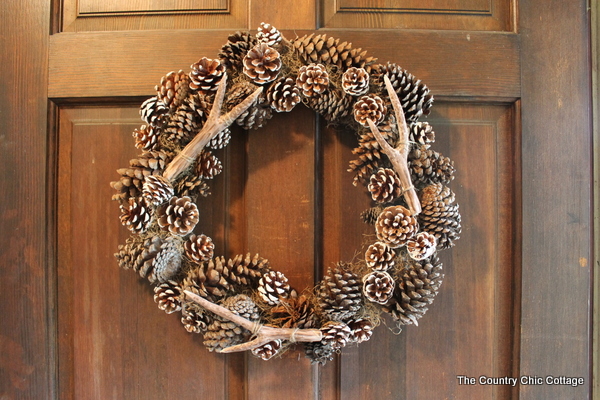
How To Make Antlers For Faux Antler Wreath
Not too long ago I was glancing through my Pinterest feed and fell in love with faux antler wreaths. I LOVE the combination of rustic and chic but some of the wreaths that I was seeing were $100. Personally, there is no way I would spend that much money on a wreath, so I decided to make my own instead!
In today’s tutorial, I’m going to show to how to make antlers and how to add them to a wreath form. The idea of making faux antlers and a wreath might sound complicated, but it’s not! The process is easier than you think and is so much fun to do. Plus, this tutorial can be customized in a variety of ways to fit your decor style.
For my wreath, I went with a rustic look so I could leave it up throughout the fall season. However, you could make your wreath more season or holiday-specific by using different colors, items, textures, etc. I will talk more about that at the end of this post, so make sure you check that out below!
Supplies Needed To Make Faux Antler Wreath
- Wire wreath form
- Pinecones
(I got some plain ones from my yard and some white-tipped ones)
- Spanish moss
- Hot glue
- Twine
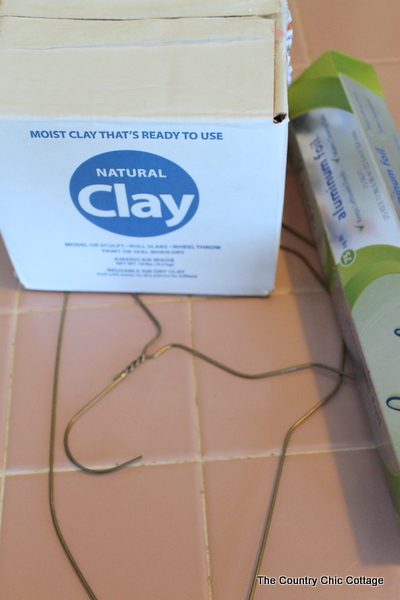
- Clay (I used air dry)
- Metal coat hangers
- Aluminum Foil
- Water
- Paint in various colors
- Paintbrush
How To Make Antlers
Let’s get started on the antlers first!
The antlers that inspired me were from Craftberry Bush. I did a lot of research on making antlers from clay and ended up loosely following a couple of tutorials. Many tutorials called for sticks, but I decided to use metal coat hangers to create my antlers instead. Below is what I did.
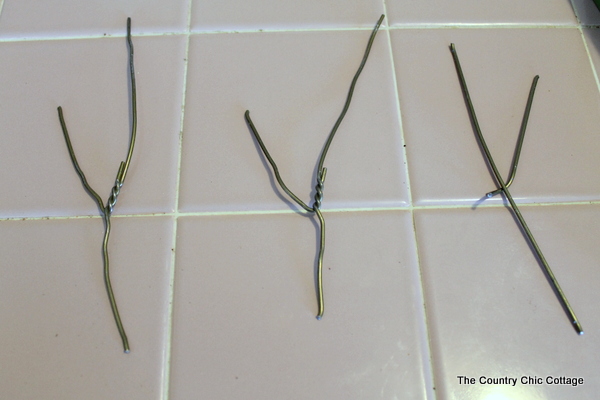
Step 1: Shape Coat Hangers Into Antler Shape
I cut the coat hangers and shaped them into three different “antler-like” shapes.
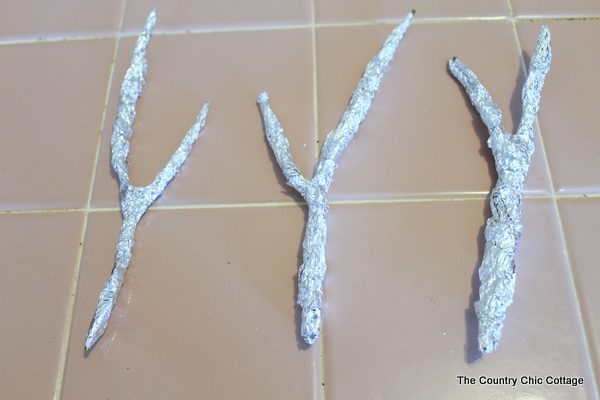
Step 2: Cover Coat Hanger Antlers In Foil
Then I covered my shapes with aluminum foil, making sure the tips were pointed but the end was not.
Step 3: Add Clay To Coat Hanger Antlers
Next, I covered the shapes in air-dry clay until I was happy with the results. Again, I made sure the tips were pointed and the ends were not so that the antlers looked as realistic as possible.
Step 4: Stipple Antlers
I took an old paintbrush and stippled the ends in a few places along each antler.
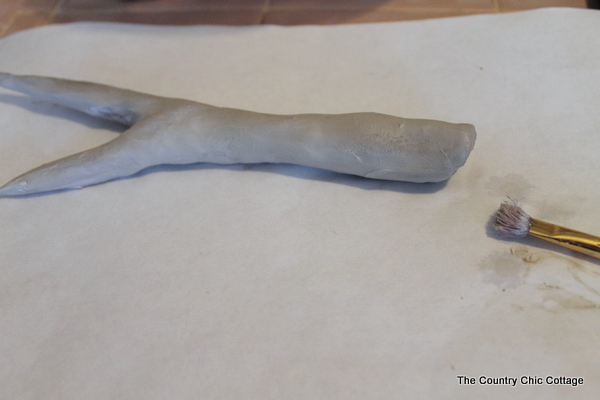
Step 5: Set Antlers Aside To Dry
When all three were done I set them aside to dry for over 24 hours.
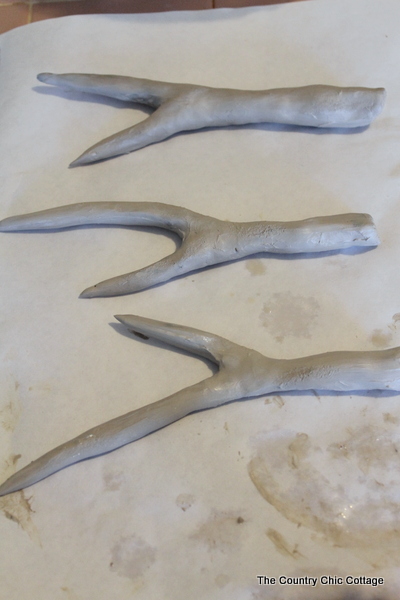
Step 6: Touch Up Antlers (If Necessary)
They cracked, y’all! I really thought I might have a craft fail and was upset but forged on.
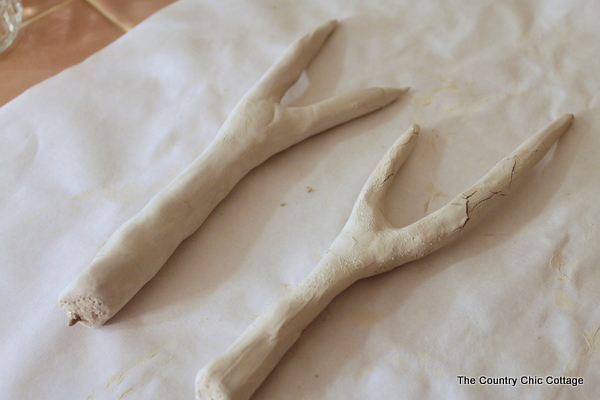
I took a little water on my hands and smoothed each antler out. The one on the left below has been smoothed, and the one on the right has not been. It worked!
I had to do this twice for each antler, letting it dry in between. I did have a few small cracks after that, but the paint worked to fill those in. Also, noticed that my wire came out of the bottom of one of the antlers. I just snipped that off with some side cutters.
Step 7: Painter Antlers
Now for paint! FYI, I am not an artist. I simply pulled up a picture on my computer, broke out a few shades of white and brown, and experimented. Don’t be afraid. Just break out your brushes and get started!
The worst that can happen is that you paint over it and start over. I played around until I was happy with the results.
Are they perfect? Not even close. But they ARE pretty!
How To Make Antler Wreath
Ok, now it’s time to make the wreath!
Step 1: Lay Wreath Form In Box
Put your wreath form inside of a box because this gets messy!
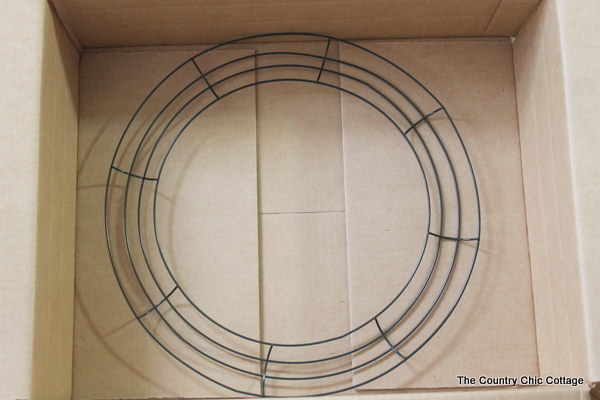
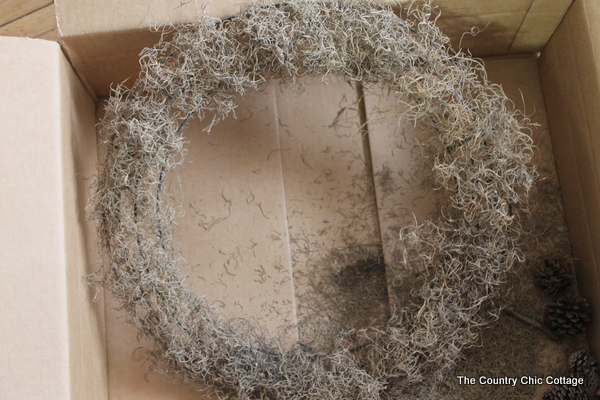
Step 2: Cover Wreath Form With Spanish Moss
Cover the form loosely with Spanish moss and LOTS of hot glue.
You can see that not all areas got covered, but that is okay. The Spanish moss just provides a background to help hide the frame once the pine cones are added.
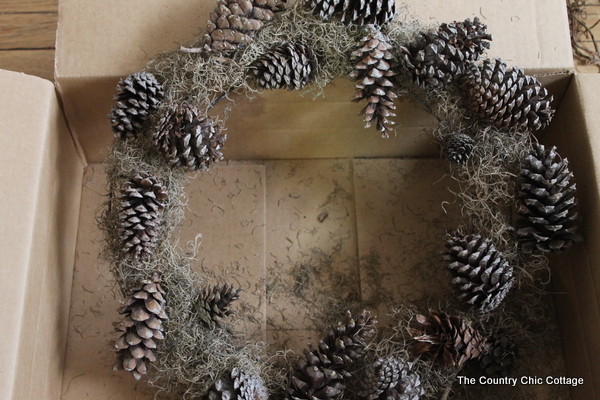
Step 3: Add Plain Pine Cones To Wreath
Next, use hot glue to adhere a few plain pine cones to the wreath form in a random way (there’s no pattern to follow – just use your eye).
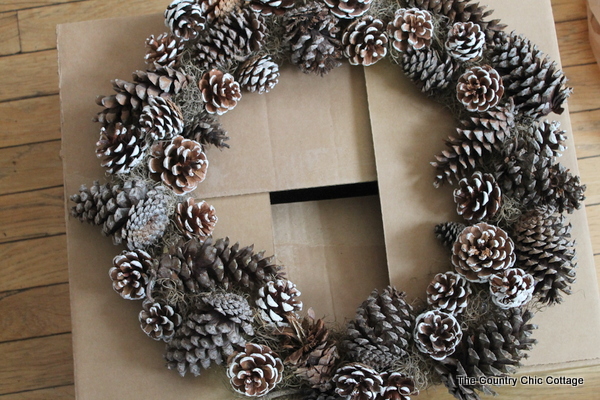
Step 4: Add White Tipped Pine Cones To Wreath
Now take white-tipped pine cones and add them around the wreath to fill gaps until you are happy with the results. Again, use hot glue to adhere the pine cones to the design.
Step 5: Add Faux Antlers
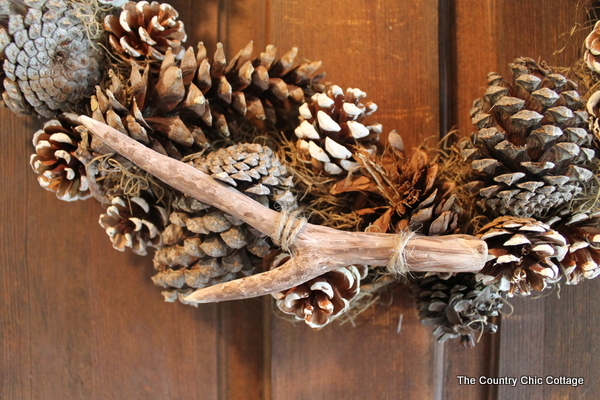
Now take your (painted and dry) faux antlers and just tie them onto your wreath with twine.
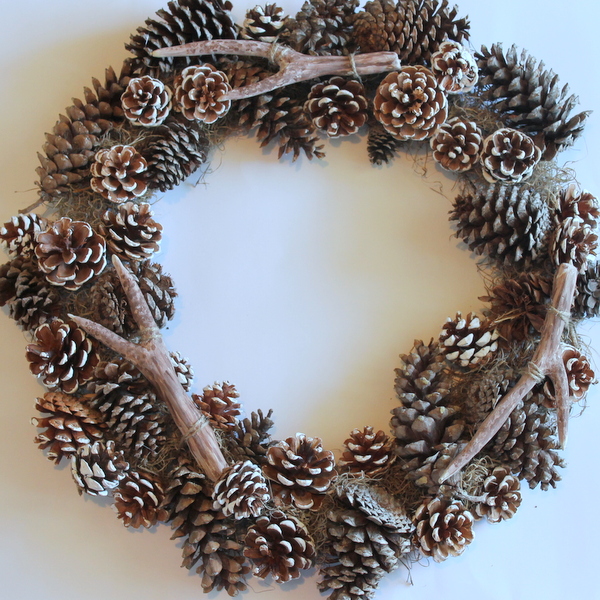
This wreath is done and ready to hang on your door to welcome all of your fall guests!
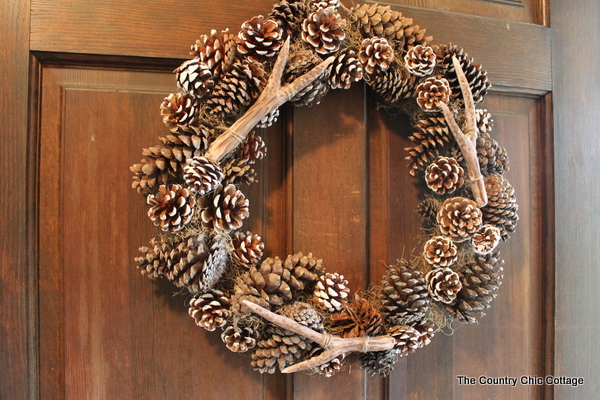
I made this wreath for fall, but it really could be an everyday design if you live in a log cabin, have a mountain home, or have a passion for very rustic home decor. It could also double as a holiday wreath because it would be awesome with a red bow for Christmas.
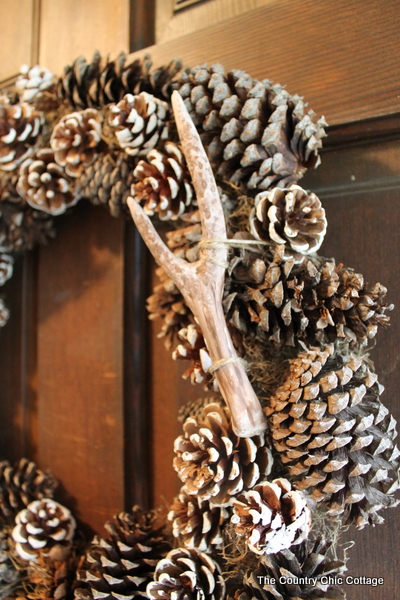
Seriously this might be my favorite wreath that I’ve ever made!
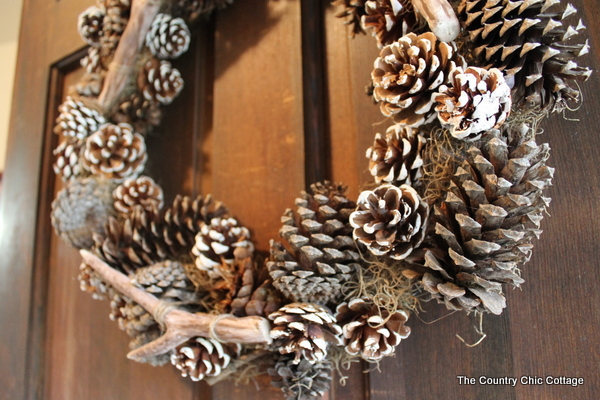
I hope y’all have enjoyed this wreath as much as I have and will make your own! This one would be good for fall, Christmas, winter, and really any season!
FAQs About How To Make Antlers
Here are some questions that I frequently see readers ask about how to make antlers. If you don’t see your question already answered below, please leave it for me in the comments!
Could I Use A Different Wreath Base Instead Of A Wire Base?
Sure! For the look I wanted, the wire base was the best fit. However, you could modify this design and use a foam base. FYI, you’ll probably see the twine tied to the wreath more easily, but I’m sure you could hide it with some greenery pieces.
Another fun option could be to use an evergreen wreath base. It would change the look of the design pretty significantly, but it would be amazing!
Can I Tie My Pine Cones Onto The Wreath Instead Of Using Hot Glue?
Yes, you can. But I recommend against it for two reasons. First, it will create more work and be more time-consuming for you to individually tie each pine cone onto the wreath (and make sure the twine stays hidden).
And second, the twine won’t be as strong or last as long as hot glue. It will wear down over time, and you’ll begin “losing” pine cones because they’ll fall off.
Hot glue is the safest, fastest, and best choice to use for this project.
Can I Glue My Antlers To The Wreath Instead Of Using Twine?
Yes, you can. I liked the look that twine gave but you can easily hot glue your antlers to the wreath instead.
Can I Hang This Wreath Outdoors?
Unfortunately, no. Your faux antlers are NOT made to get wet. I have mine on a door that is protected by a glass storm door. Please do not hang outside, or your antlers may melt away.
5 More Wreath Crafts
Did you love learning how to make antlers for this faux antler wreath and are looking for more wreath crafts? Then check out the projects below!



Amazing job! I love this and may have to try it out myself!
xx
Lia
Smart n Snazzy
This is truly amazing and impressive! You should sell them!!
Wow, It looks identical to the pottery barn one! I would LOVE for you to link this up at my Ginger Jamboree Link Party!!
AMAZING!!! Pinning. Stumbling and Tweeting. You rocked this, Angie!!
Wow!! This is so seriously good 🙂
Oh my!!! Girl that is super gorgeous! I may have to try that. I am going to pin it for sure! Thank you for the great tutorial.
Hugs, Cindy
I cannot believe you MADE those antlers!!! Totally awesome!!!
Thank you! I had actually ordered this wreath, and pottery barn just informed me today that they are permanently out of stock. This sounds like more fun anyways, I think I will try it!
Thank you! I had actually ordered this wreath, and pottery barn just informed me today that they are permanently out of stock. This sounds like more fun anyways, I think I will try it!
Wow your wreath looks exactly like the PB one! Great job!
Susan
Another winner.
Wow, that is a good knock-off. Pottery Barn ‘d better watch out!
Merry Christmas to you and your family.
Hey Angie! I’ll be featuring this on Copycat Crafts on the 29th. Love it!
Gotta say – I liked your knock off better than their original! Great job =)
This wreath is fabulous! It looks so much better than the Pottery Barn wreath! You are so creative. I love how you kept the mess down by using a box! Your antlers are the best! You should be very proud of this wreath! Now it’s my turn to give it a try. !
You sure won me over with your with all your crash that you do love the all : )
Sorry I crafts.
Love it’s! I have some pine cone wreaths from restoration hardware that would be great for this project. Just tie on some antlers!
Awesome. I like yiur idea of making wreath in a box. I’ve made several if these and yes they r messy. I like your better than the other ine!Love your antlers