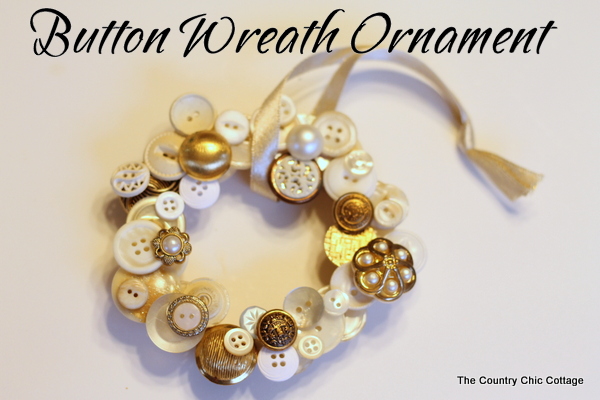
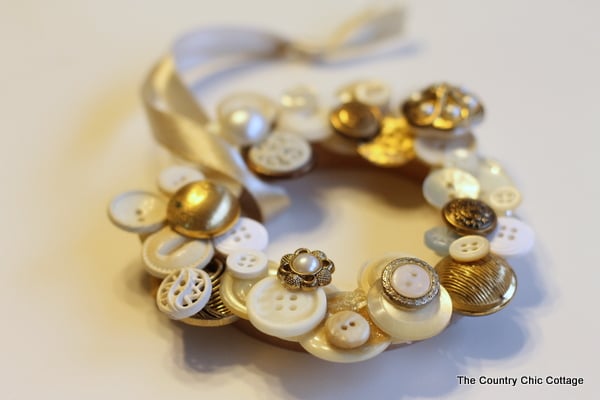
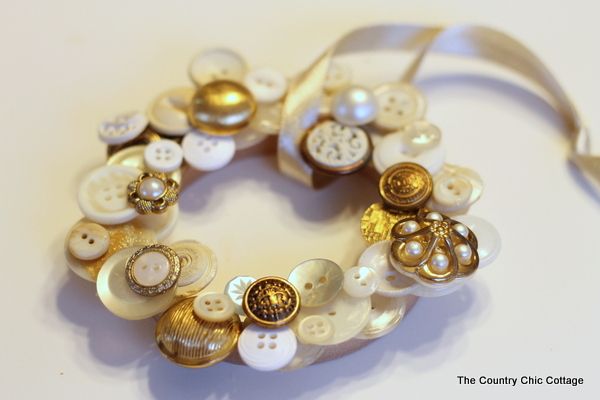
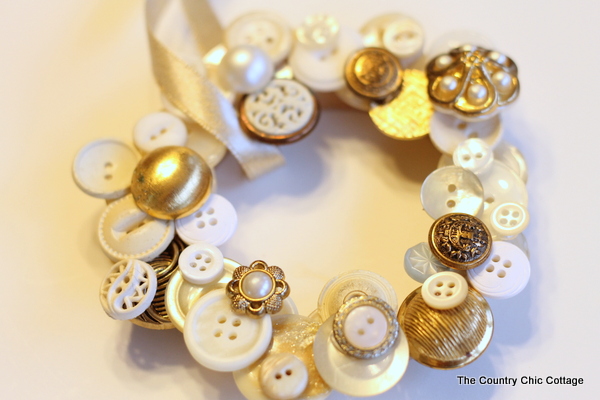
I have one more ornament to show y’all before Christmas gets here! It is very simple and full of vintage buttons. We all love vintage button ornaments, right? Well, today, I am going to be showing you how to make a button wreath ornament in under 10 minutes!

Button Ornaments
The holiday season is upon us and what better way to get into the festive spirit than with a fun and easy DIY project?! If you’re looking for a unique and eye-catching decoration for your tree, look no further than a button wreath ornament. This craft is perfect for all ages and skill levels, and can even be a great way to repurpose old buttons or other materials you may have lying around.
You can use any colors or size buttons you like, but be sure it all balances out! If you already have an overflowing button jar, feel free to use them up with this craft!
How To Make Button Ornaments
Selecting the right materials is key! You want to make sure that your ornament stands out and catches everyone’s eye. Be sure to choose smaller decorations so that they don’t overpower the embroidery hoop. Once you’ve got that nailed down, it’s time to think about color and texture!
Mixing materials like shiny ornaments, glittery ribbon, and fuzzy pom poms will add depth and interest to your creation. So, go ahead and have fun with it – after all, a wreath is the perfect opportunity to let your creative side shine!
Supplies Needed For Button Ornaments
- Buttons
- Embroidery hoop
- Hot glue gun and Hot glue stick
Step 1: Gather Supplies
Just grab an embroidery hoop, buttons, and a hot glue gun. I used a 3-inch embroidery hoop.

Step 2: Glue Buttons To Embroidery Hoop
Then layer on the buttons and use hot glue to secure them into place on your embroidery hoop. I went with a white and gold theme for my ornament.

Step 3: Add Ribbon
Thread through a ribbon for hanging and this ornament is done!

If you are doing any vintage-themed gift wrapping this year, you can use one of these button wreath ornaments to embellish your package. You can even get the kids involved and let them pick the buttons. Enjoy and sneak in a little craft time before the Christmas madness starts!
Tips and Tricks for Button Ornaments
Now that you’ve seen these fun button ornaments, are you ready to make your own? Here are a few tips and tricks to ensure your project goes as smoothly as possible!
- Have Fun With Colors – As I mentioned before you can use any colors that you like for this project! I liked the look of the white and gold because it gave off a vintage look. However, you could make a button ornament that gives off a retro, kitschy, winter wonderland, or traditional Christmas look.
- Adjust The Size – Want to make a smaller or bigger ornament? Then simply change up the size by using a different-size embroidery hoop!
- Create A Layout – If you don’t want to dive head first into making your ornament, you can create a layout of your design by placing your buttons in a circle. Doing this will allow you to test out different looks before you commit to gluing down your buttons on your embroidery hoop.
- Don’t Skip The Hot Glue – As much as you may want to use another type of glue, my suggestion is don’t. This is because hot glue makes this project go ten times faster, plus you don’t have to wait that long for your ornament to dry.
5 More Christmas Button Crafts
Did you love learning how to make button ornaments and are now looking for other Christmas button crafts? Then check out the projects below!


I think this is so cute! I’ve shared on Google+, pinned, tweeted!
This is absolutely beautiful Angie!!
This craft is right up my alley. I’m going to try to reblog (I’m a blogging newbie). Thanks for sharing – Merry Christmas!
I LOVE this – pinning and FB sharing!
Kelly
NICE!
wonderful!