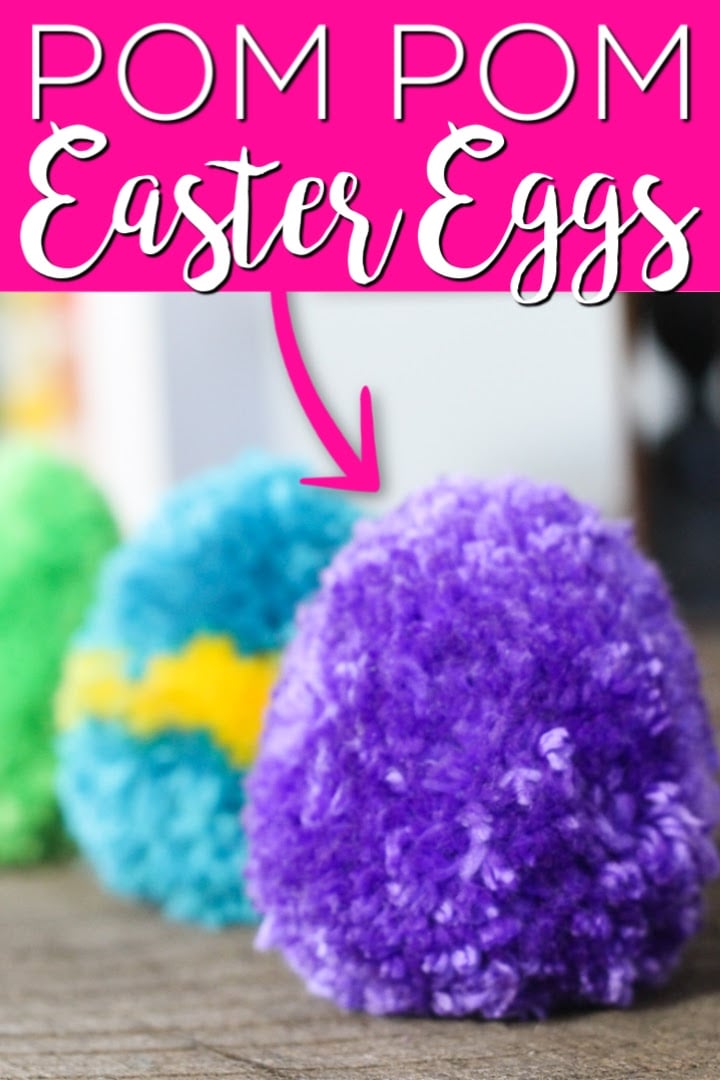
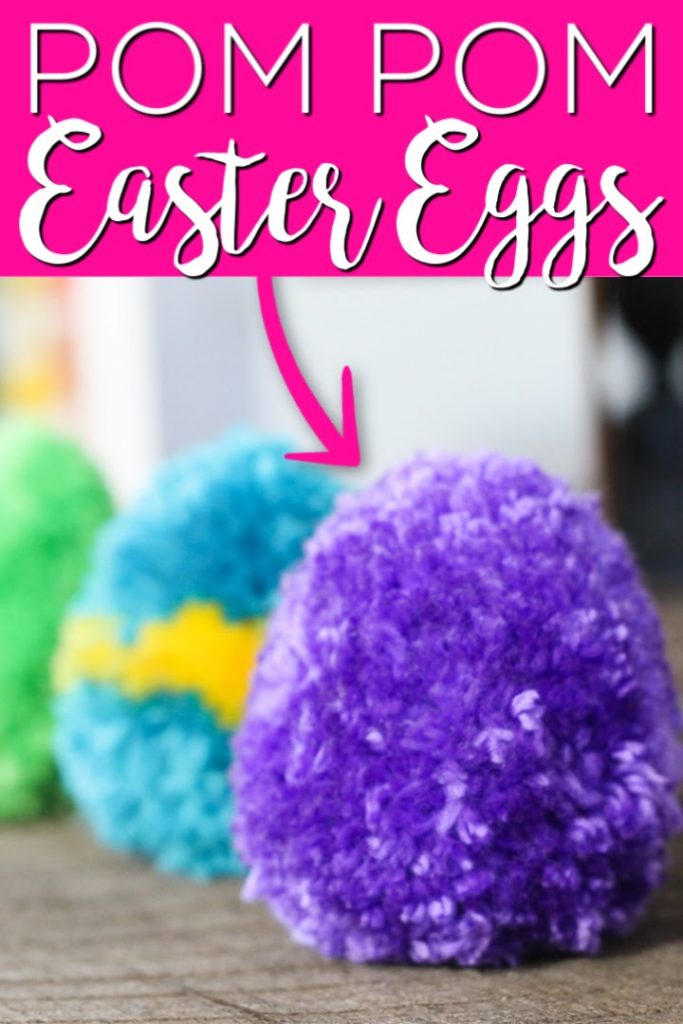
Today, I am going to share with you how to craft these fun yarn Easter eggs from pom poms! Made with your preferred color of yarn, you’ll love making these colorful eggs. The kids will love joining in on this Easter craft as well!
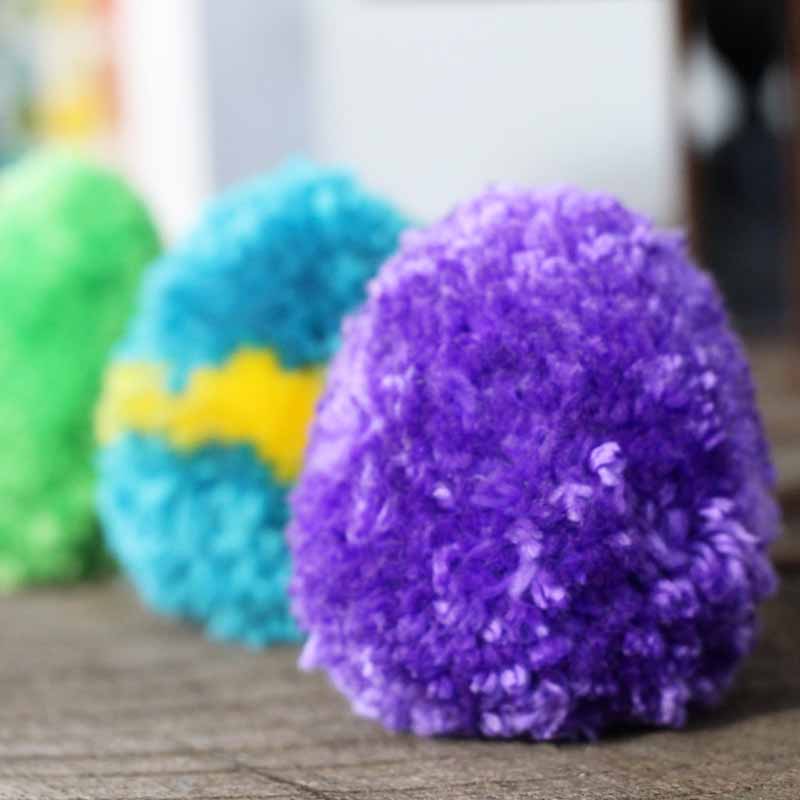
How To Make Yarn Easter Eggs
There are so many things you can do with pom poms. From wreaths and installations suspended from ceilings, there are so many options! Recently, I got this book in the mail called Adventures in Pompom Land: 25 Cute Projects Made from Handmade Pompoms.
In this book, I discovered that pom poms can be shaped into almost any shape! It’s so fun to discover the different crafts that can be created from yarn, especially pom poms and these wrapped Easter eggs.
The book inspired me to create today’s yarn Easter eggs which are fun, easy to make, and mess-free! Not only will you enjoy this craft, but the kids will have so much fun trimming the yarn.
The best part about these pom pom Easter eggs is the fact that you can use them for an egg hunt! If the weather doesn’t permit, then you can hide these yarn Easter eggs indoors and have a blast hunting for them!
Supplies Needed For Yarn Easter Eggs
- Yarn – You can use any color you love! These pompom eggs can be more than one color, too.
- Cardboard – A 3″ x 5″ piece of cardboard is needed for this craft. You can simply cut a small rectangle from any box you have lying around.
- Hemp twine
- Scissors
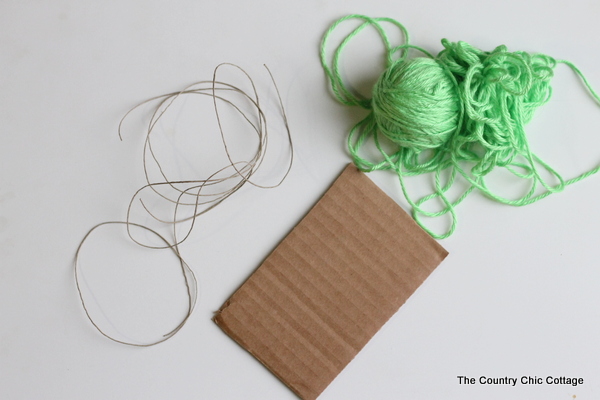
Step 1: Wrap Yarn Around Cardboard
First, begin by wrapping your yarn around the cardboard piece.
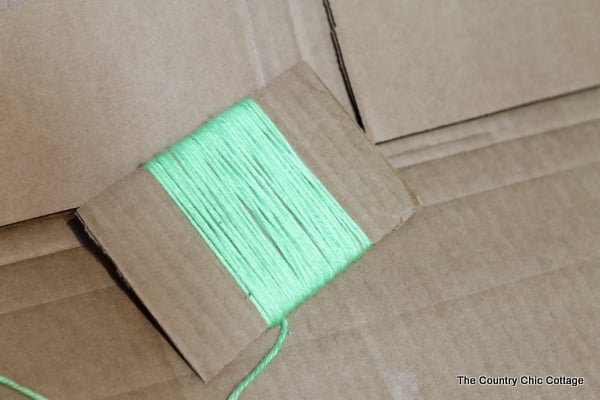
You will need A LOT of yarn for this craft. The yarn Easter eggs will need to be dense so keep wrapping the yarn around the cardboard until you’ve got a good amount of thickness.
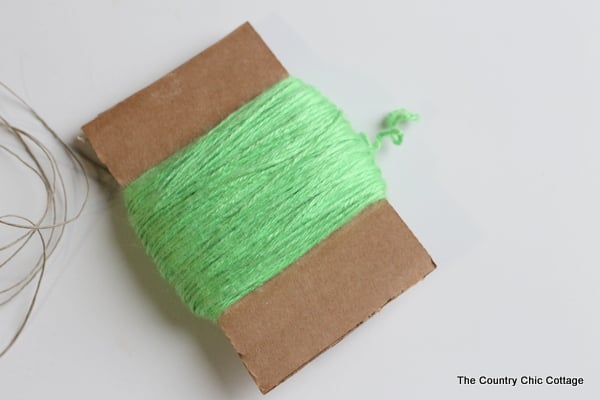
Step 2: Crease Cardboard
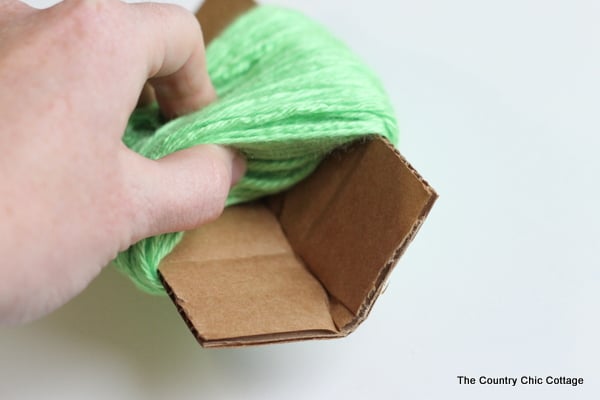
Next, crease the cardboard down the center and make a “tunnel” like shown below.
Step 3: Tie Off Yarn
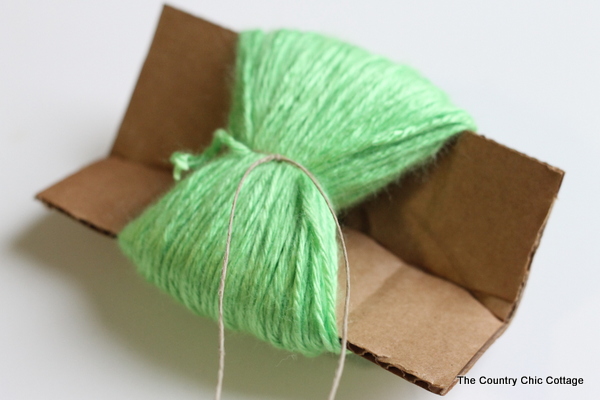
After that, slip a piece of the hemp twine into the tunnel and tie off the yarn in the center. It will look like a bow.
Step 4: Slip Yarn Off The Cardboard
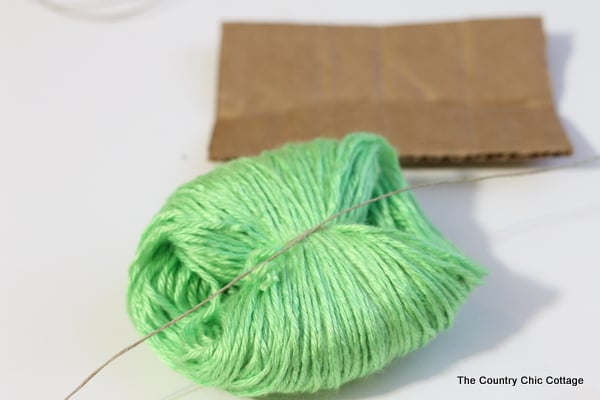
Now, the bundle will be able to slip off of the cardboard piece.
Step 5: Tie Off Hemp Twine
Next, wrap the hemp around the back of the bundle and tie it off. Each knot should be tied just as tight as you can get it.
Step 6: Tie Hemp Twine Again
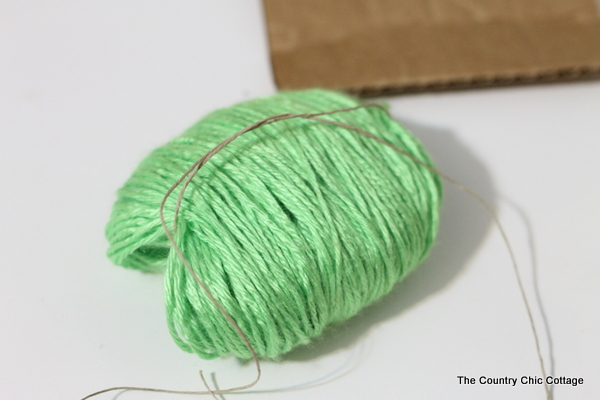
Bring the hemp around the front once more and tie it again. This is just for some extra security. Next, cut off any excess hemp cording with scissors.
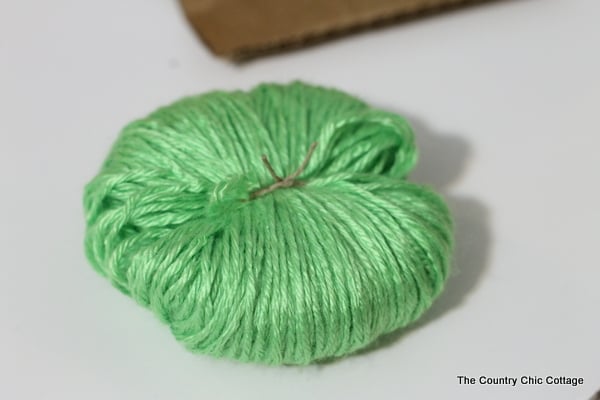
Step 7: Cut Yarn Loops
Now, we are ready to snip the yarn loops. Pull them with scissors and cut them a small bunch at a time.
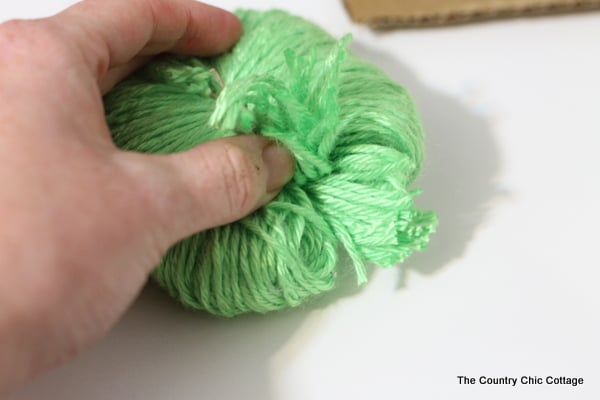
After you cut the loops, you will have a very wild-looking yarn pompom. Don’t worry, we’ll take care of it!
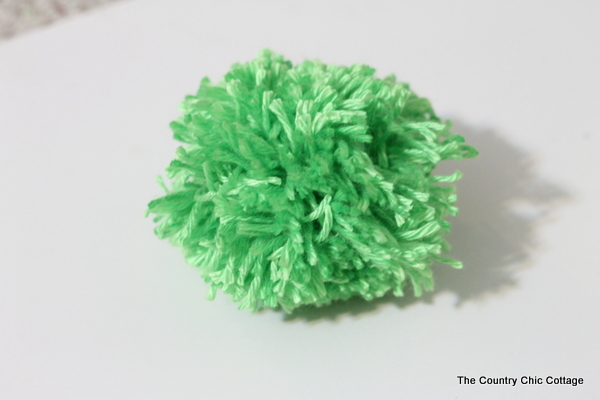
Step 8: Shape Pom Pom Into Egg Shape
Finally, trim the yarn with your scissors. Gradually, take away the frazzled ends and shape the pom pom into a small egg.
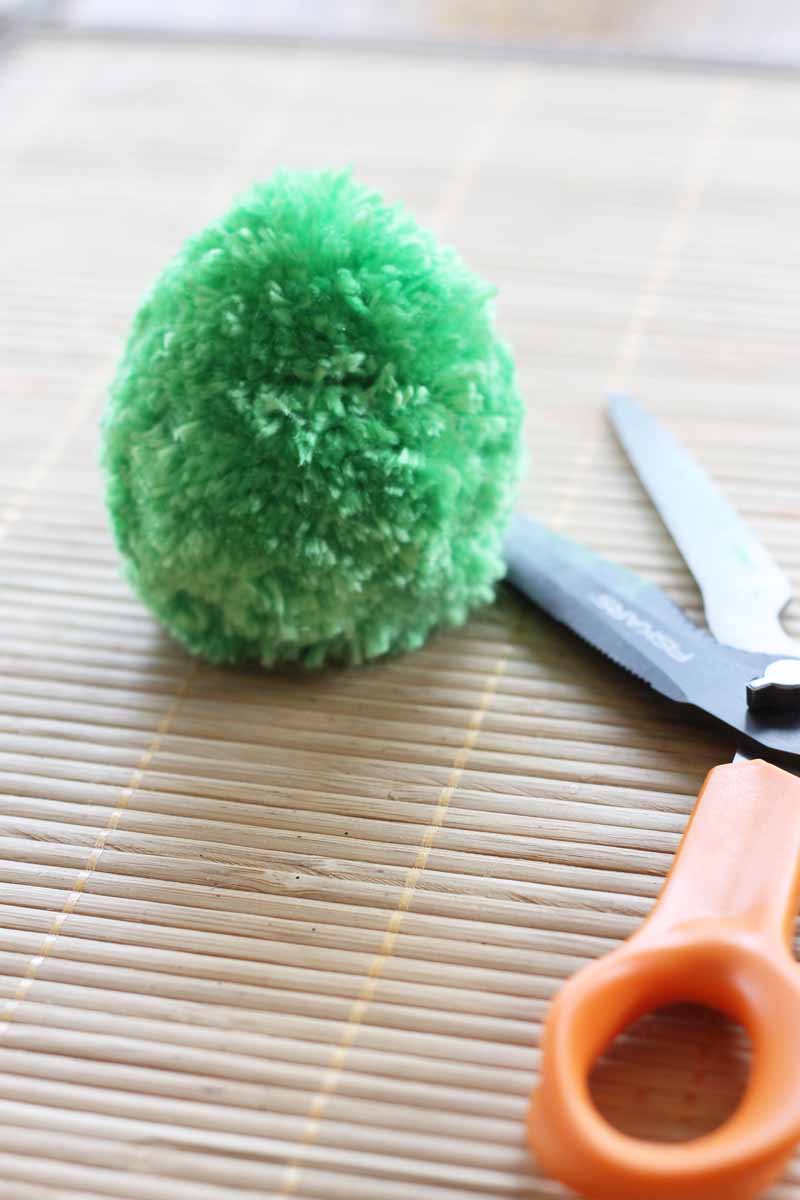
As you can see, you really have to cut a lot of the yarn off and shape the pompoms to get them to look like this. This kids will love this part: give them a pair of scissors and let them give the pompoms haircuts.
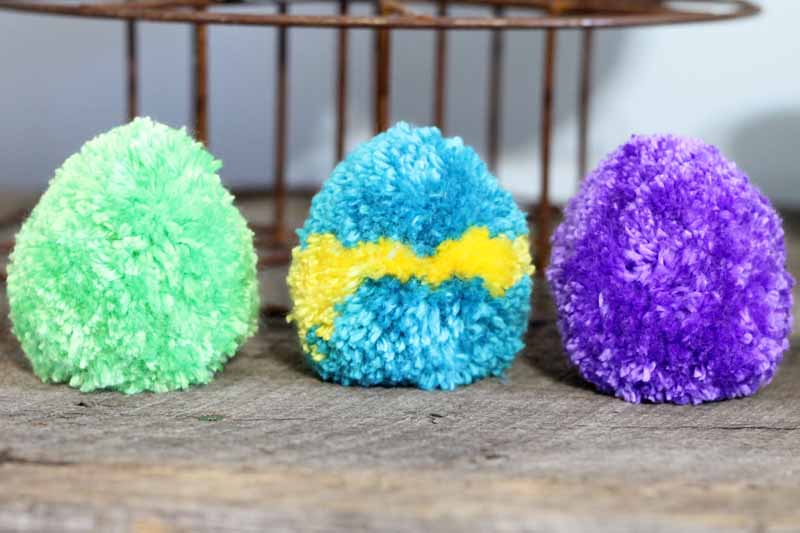
Once your yarn Easter eggs have been trimmed, you are ready to add them to an Easter basket!
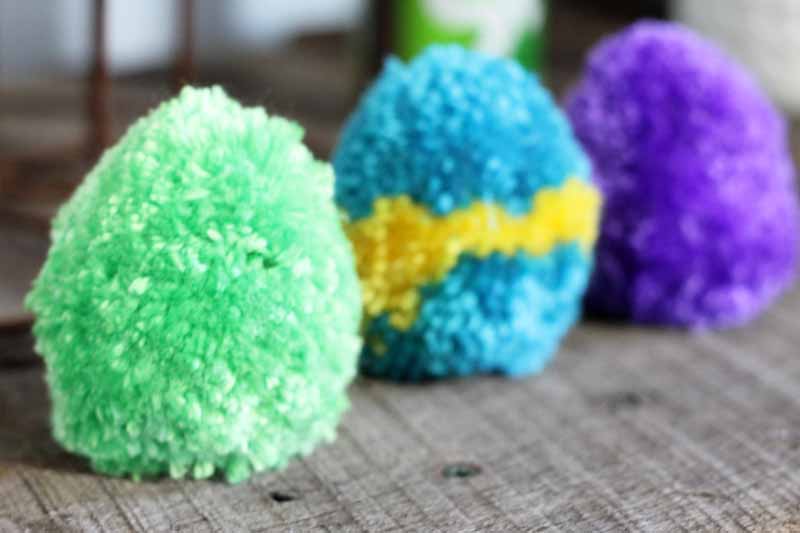
Can you guess where these Easter eggs are displayed? Yep, they are on my barn wood mantle!
What a great way to bring some pom pom love and decor into your home for spring and Easter! Be sure to make some of these yarn Easter eggs with the kiddos this spring.
Tips and Tricks for Yarn Easter Eggs
Now that you’ve seen these yarn Easter eggs, are you ready to make your own? Here are a few tips and tricks to ensure your project goes as smoothly as possible!
- Create Colorful Yarn Easter Eggs – Want a stripe in the center of the pom pom egg? Then wrap your yarn like the picture below and follow the instructions above!
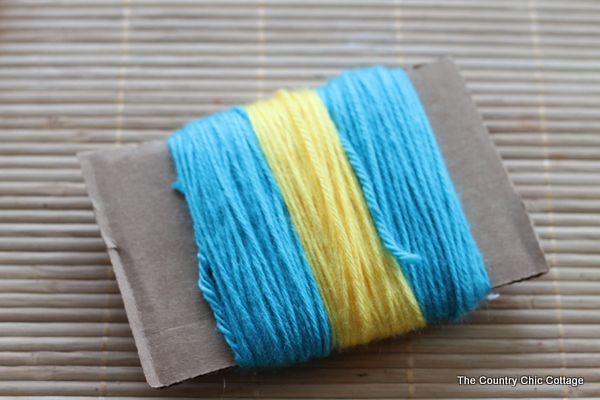
- Use Sharp Scissors – Make sure your scissors are sharp enough or the yarn will become frayed!
- Have Fun With Different Yarns – For my yarn Easter eggs, I chose to use solid yarn colors. However, you could use color-changing yarn or yarn that has a different texture.
Yarn Crafts You’ll Love
If you want more yarn crafts, check out the projects below that are perfect to make all year round!
- Yarn Wreaths
- How to Make Pom Pom Keychains
- Tassel Keyring
- Yarn Tassel Garland
- How to Make a Door Wreath
7 More Easter Egg Crafts
Did you love these yarn Easter eggs, and are now looking for more Easter egg crafts to make? Then check out the projects below!



These are ADORABLE, Angie!! What a great idea!
These are ADORABLE, Angie!! What a great idea!
What a great way to use those bits of yarn that aren’t enough to do a major project
So cute!! What a great idea to use up that left over yarn!