Are you on the lookout for Mother’s Day gift ideas? I have an amazing project that any mom will love. If that special mom in your life enjoys gardening, then these DIY plant markers will be the perfect Mother’s Day gift.
Mother’s Day will be here before you know it. It always seems to sneak up on me, so more often than not, I’m scrambling to create Mother’s Day gifts.
It’s a good thing that most moms prefer handmade gifts because that’s usually all I have time to do!
A few of my favorite Mother’s Day gifts have been our Handprint Pillow, Printable Art, and Mason Jar Bath Bomb projects.
Today, I have a super simple Mother’s Day gift for y’all that can be made by adults or kids. Garden plant markers are not only inexpensive and super simple to make, but they’re also extremely helpful for any mom who likes to set up a summer garden or an herb garden.
And, since Mother’s Day is the traditional time when many people set up their gardens, the timing couldn’t be more perfect. Let’s get started with this simple Mother’s Day gift idea.
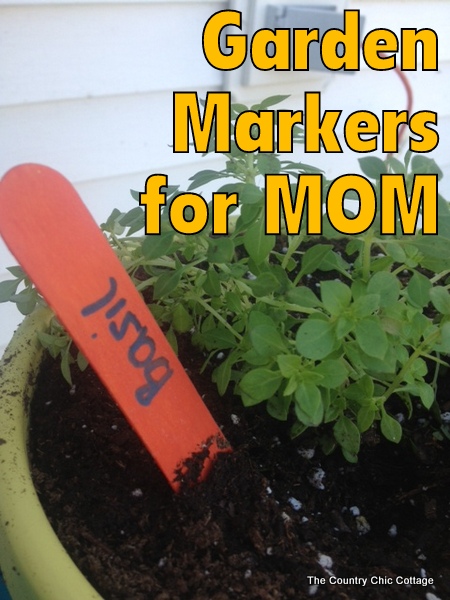
How To Make Plant Markers For The Garden
This project is very, very simple. In fact, it’s perfect for kids to help make it!
Supplies Needed
Here’s what you’ll need to gather for this project.
- Large popsicle sticks
- Americana craft paints from DecoArt
- Paintbrush
- Paint pens
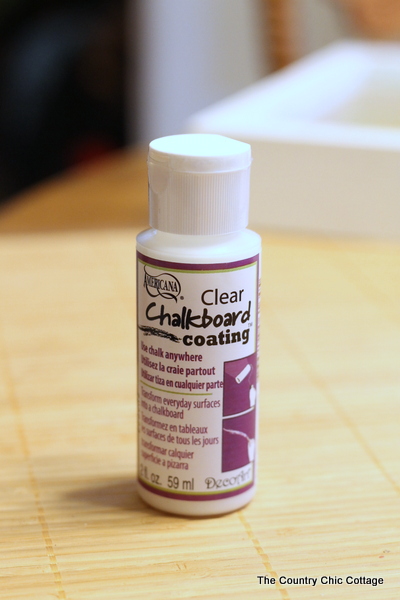
- Clear Chalkboard Coating from DecoArt (if making the chalkboard version)
- Chalk marker
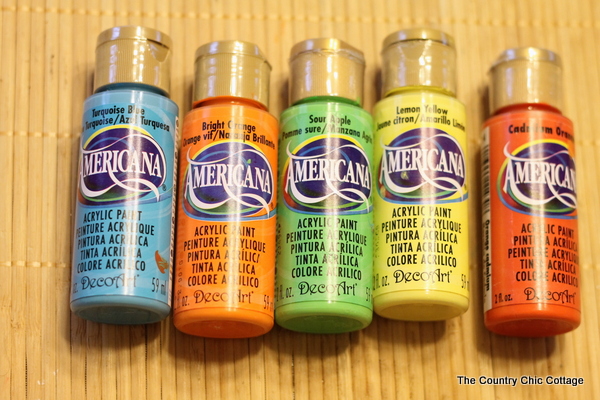
Instructions For Making Makers For Plants
Follow along with these step-by-step instructions, and you’ll soon have an entire set of garden markers ready for gifting. And as an added bonus, I have two variations of this project to share with you!
Now I talked about doing these plant markers two ways. The first method involves making them plain and painting the words on them with a paint pen. On the other hand, the second method involves making them with chalkboard plant markers.
Note: I recommend painting the words on the sticks if these are going to be used in an outside garden. The chalkboard version is amazing if they are going to be inside, but it will wash off in the rain outside.
Step 1
Start by letting the kids paint the popsicle sticks on both sides and allow them to dry.
Step 2
Then if you are using the chalkboard coating, apply it according to the package directions and allow it to dry.
You will then need to condition the surface with chalk, as shown below. All of these steps are easy enough for a child to complete for Mom.
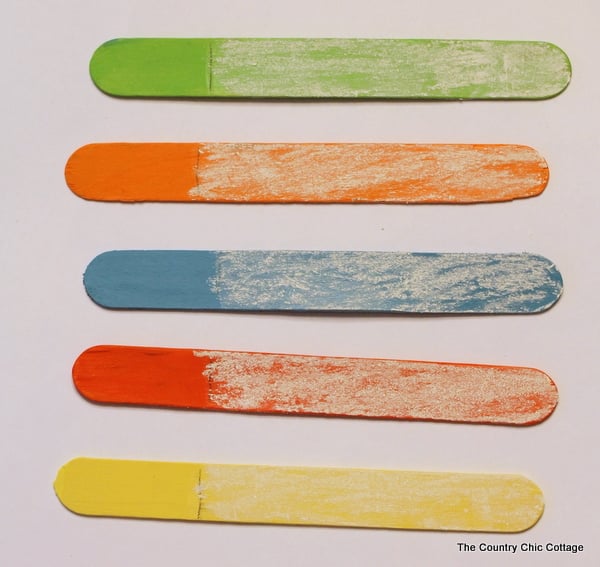
Step 3
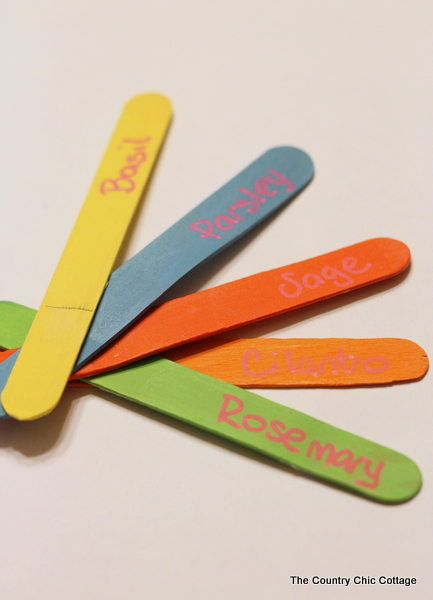
Next, use a paint pen or chalk marker to add the names of plants to your sticks.
This is a super simple project, yet it’s a handmade gift from the heart that will delight mom.
FAQs
Here are a couple of questions that I receive from readers regularly about making garden markers. If you have a question, please check to see if I’ve already answered it below. Don’t see your question? Leave it for me in the comments!
What can I use as a plant marker?
For this project, I used large popsicle sticks because I wanted my garden markers to be quick, easy enough for kids to make independently, and affordable on a frugal budget. However, this is the type of craft that you can make on a dime, or you can create more extravagantly.
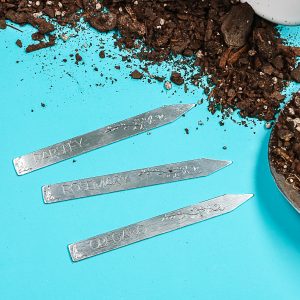
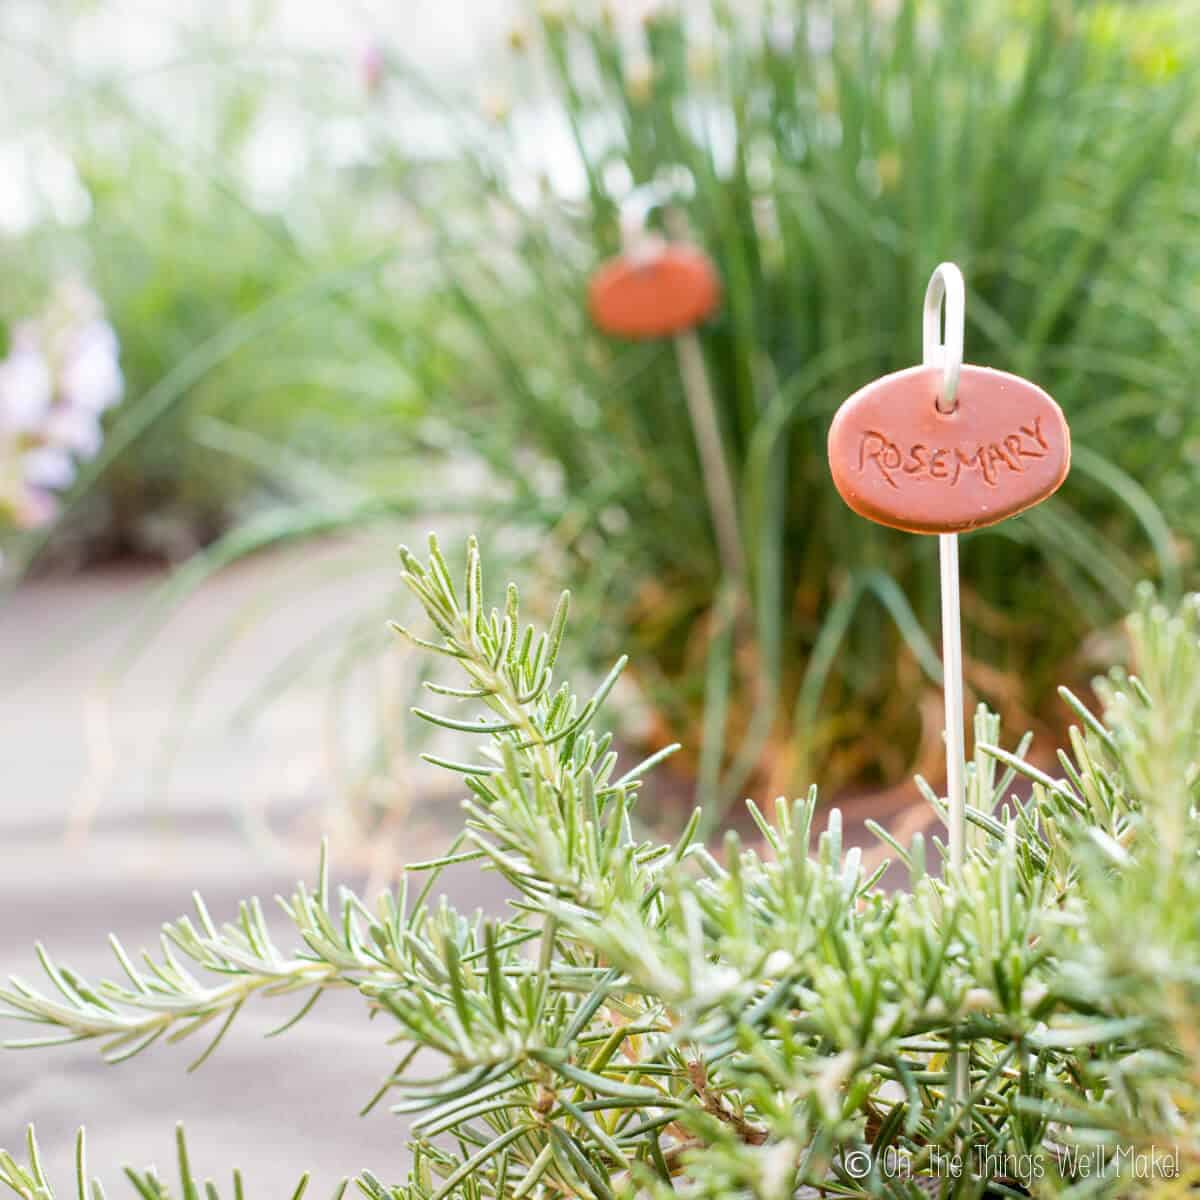
If you would prefer to use different materials, you can make plant markers out of metal, spoons, or forks (like this great tutorial from Creative Green Living), shrinky dinks, polymer clay, painted rocks, and much more!
How do you make plant markers that don’t fade?
If you garden each year, you probably know that most garden plant markers fade in the sun over the course of the growing season. These plant markers will too, but they’re so easy to make that it isn’t a problem to make them over again each year.
However, more permanent methods (such as ceramic or polymer clay) won’t fade like these sticks will. Also, I recently discovered a way that helps prevent fading so you can still see your writing on these markers at the end of the season. Here’s what I’ve seen but haven’t personally tested yet.
First, spray your wood with polyurethane a couple of times. Then, while the wood is still wet, write what you want on the wood in pencil. Finally, spray over the writing with polyurethane and let it dry. Check out a video of the process on YouTube.
How can I package this gift for Mother’s Day?
The great thing is that you don’t need to do a lot to pretty up this gift for giving! I recommend making a Mother’s Day card and slipping these inside.
Or, maybe wrap this painted popsicle sticks up in a gift bag with a paint pen or chalk marker so mom can make her own garden markers.
This is a great project for the kids, and they will feel so special giving mom something they have made themselves.
More Garden Inspiration
Need more gift ideas for mom? Check out the links below for garden projects that are sure to be a hit!

Supplies
- Large popsicle sticks
- Americana acrylic paint
- Paintbrush
- Clear chalkboard coating only if you use the chalk method
- Chalk marker only if you use the chalk method
Instructions
- Paint both sides of the popsicle sticks and let them dry.
- If you are using the chalkboard coating, apply it to the popsicle sticks and allow it to dry. Once dry, condition the surface with chalk.
- Add the names of the plants with paint pens or chalk markers.


