It is super fun and easy to make eraser stamps. Yes! You can carve stamps from erasers. I even made a video of the process just to show you the process. You can carve stamps from an eraser in a flash. Grab a pack of those big white erasers from the Dollar Tree and get started today. There is no limit to what you can create. This is also a fun craft for older kids as they will love carving and stamping away so be sure to get them involved as well.
This post was originally published on May 15, 2013, however, I am republishing with more information.
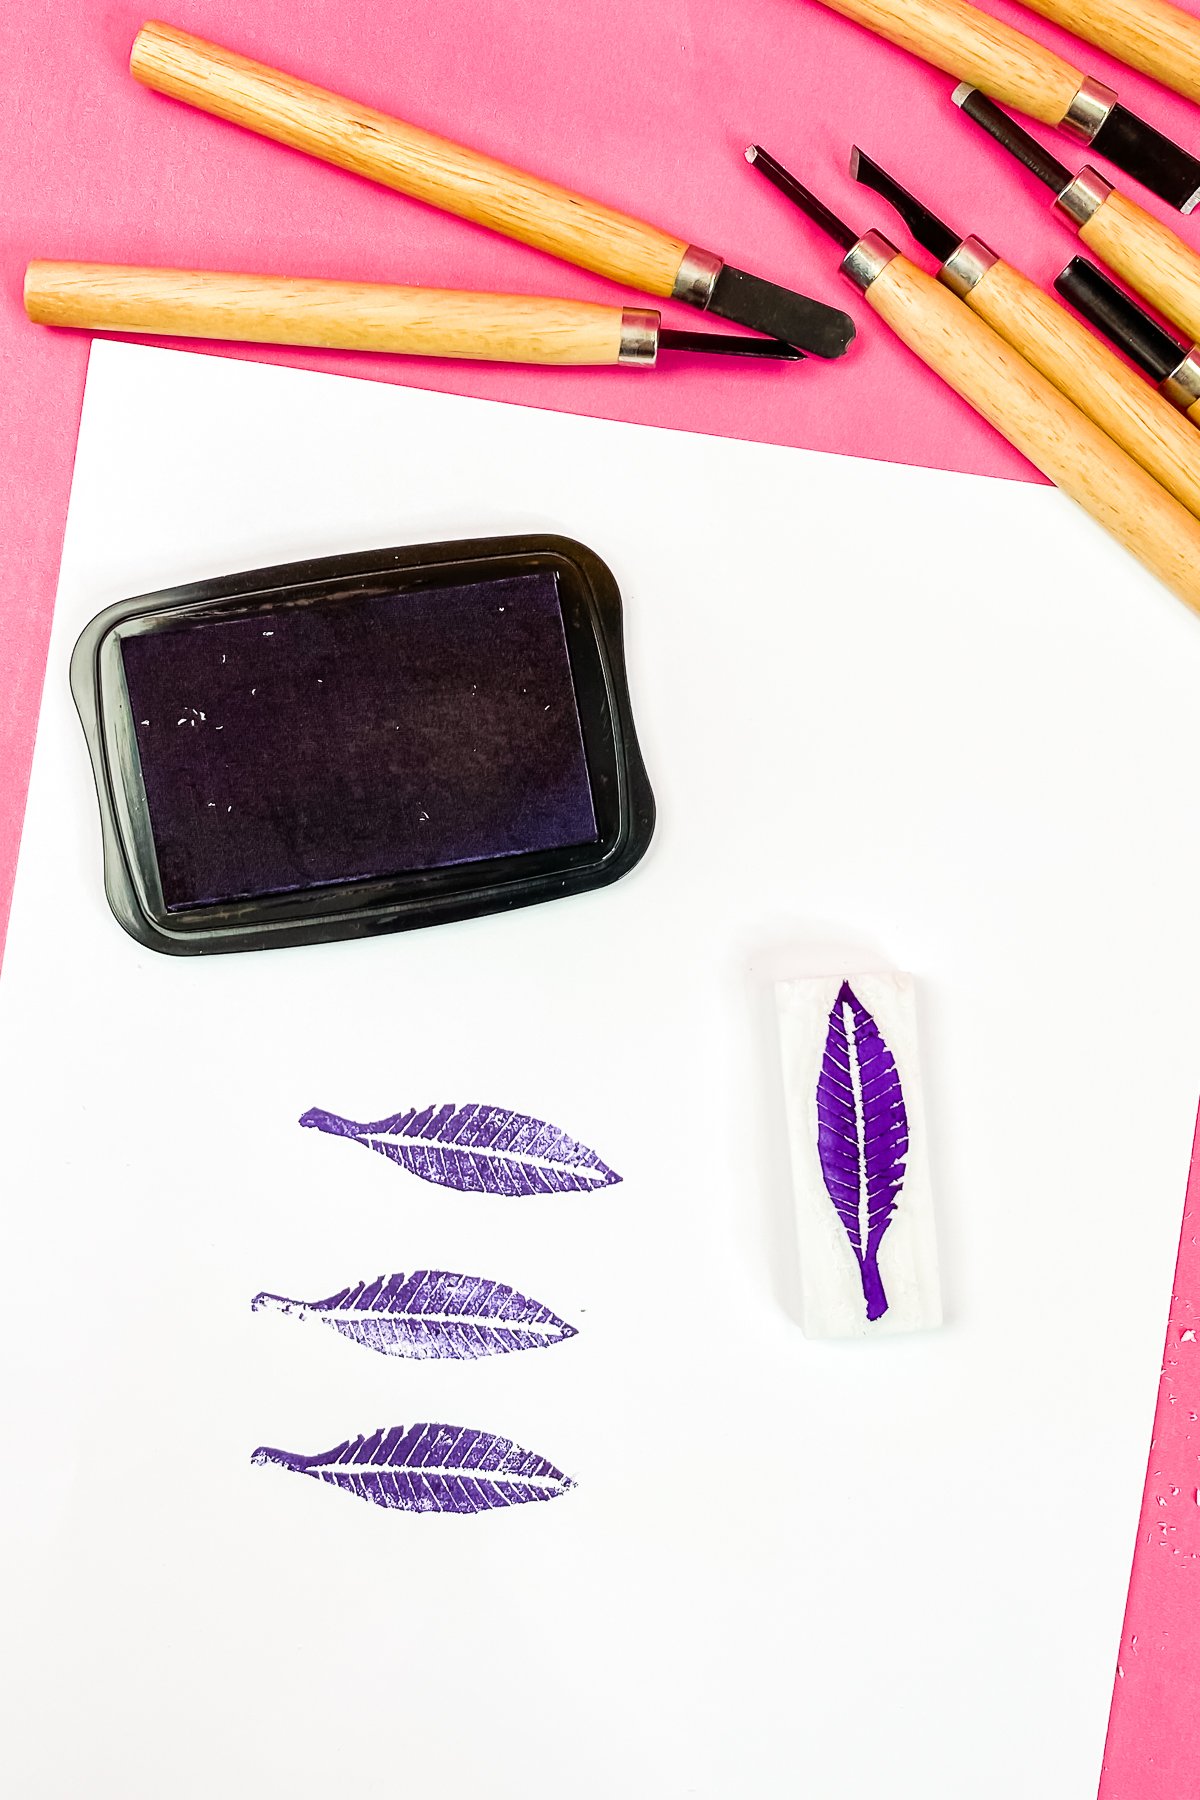
Eraser Stamps
I specifically like to get the white stamps for this. They seem to be a bit softer and easier to work with than the pink ones. You can definitely give both a try and see which one you prefer for your crafts.
Supplies needed:
- Eraser
- Wood Carving Tool Set
- Stamp Ink (My favorite for crafting is Staz-on, however, it is permanent.)
- Pencil
How to Make Stamps
The process is so super simple. You can actually watch me make an entire stamp in the video below.
@countrychiccottage Did you know that you can carve stamps from erasers? So easy and so fun! ##craft ##stamp ##stamping ##craftinghacks ##craftsathome
♬ original sound – Angie Holden
Can’t watch the video or missed some of the steps? I also have all of the information you need below!
- Start by sketching a rouch outline of the stamp shape you want to make directly on the eraser with a pencil. You can get as detailed as you would like with your sketch.
- Then start using wood carving tools to remove the eraser material. I like to start by removing as much material as possible from around the outside.
- Once your outside is fairly clean, you can start adding details to your stamp. Again, use whatever size and shape of wood carving tool works best for you.
- Once you think you are done, test the stamp with some ink on some scrap paper. You may find you need to remove more material in some areas to get a clean impression. Keep working with the stamp and the wood carving tools until you have a stamp you love!
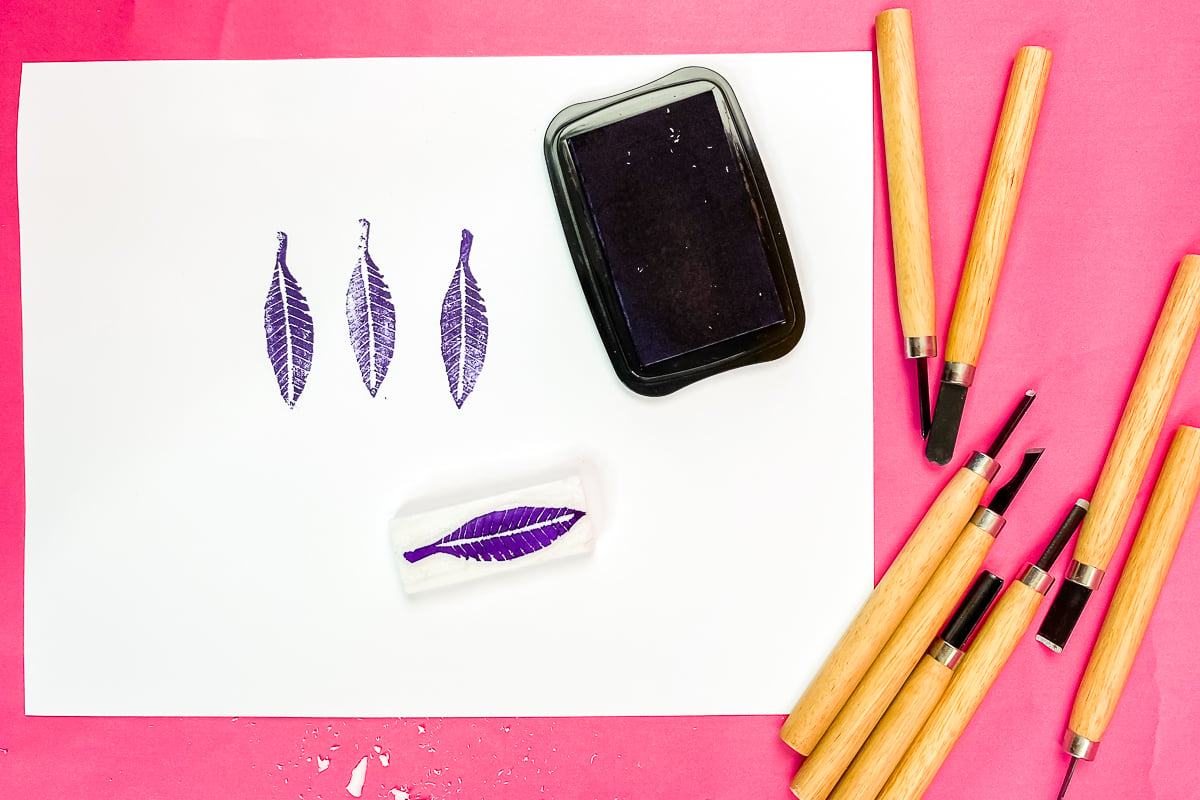
That is literally all there is to making eraser stamps. All you really need now is a bit of practice to create stamps you will really love. I do recommend starting with a simple shape and working your way up to more complicated designs. You will find that practicing this skill leads to your ability to make just about any stamp that you can imagine!
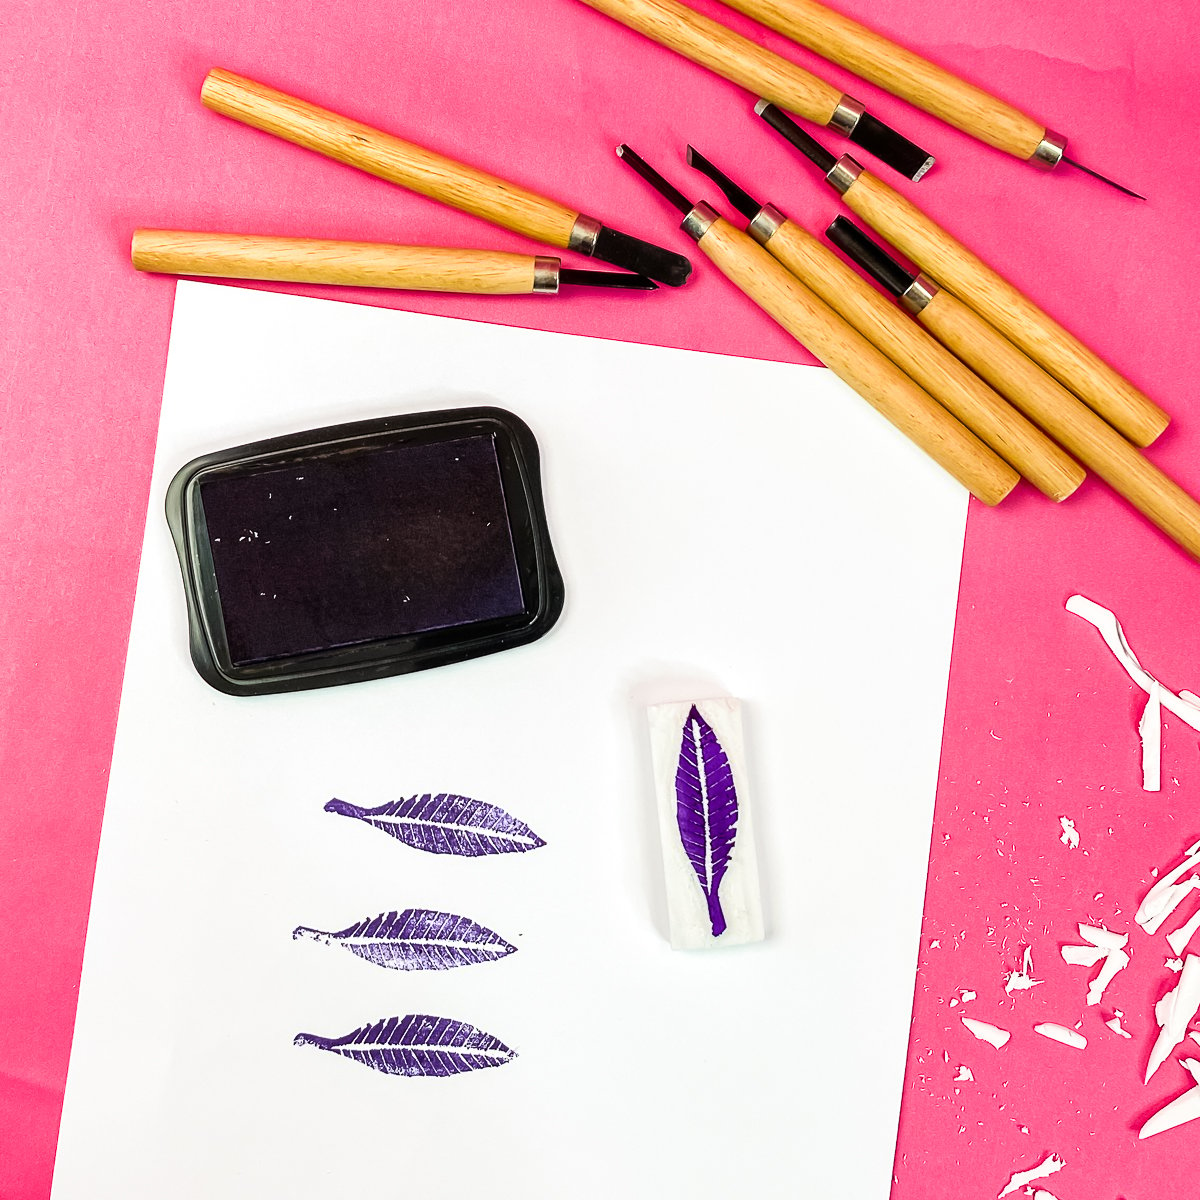
Finally, if you are going to add text to your eraser stamps, remember that it will have to be mirrored on the stamp surface itself. This can be really difficult when starting out so be sure to start with a shape instead of text until you get the hang of making your own stamps.
Love this and want more craft ideas? Try the links below as well!


You can also use the card below to print the instructions if you need to!
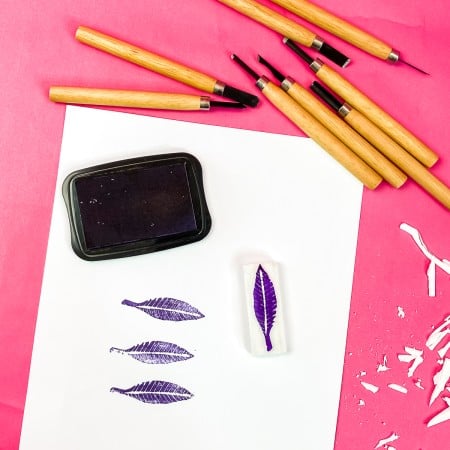
Supplies
- Eraser
- Wood Carving Tool Set
- Stamp Ink My favorite for crafting is Staz-on, however, it is permanent.
- Pencil
Instructions
- Start by sketching a rouch outline of the stamp shape you want to make directly on the eraser with a pencil. You can get as detailed as you would like with your sketch.
- Then start using wood carving tools to remove the eraser material. I like to start by removing as much material as possible from around the outside.
- Once your outside is fairly clean, you can start adding details to your stamp. Again, use whatever size and shape of wood carving tool works best for you.
- Once you think you are done, test the stamp with some ink on some scrap paper. You may find you need to remove more material in some areas to get a clean impression. Keep working with the stamp and the wood carving tools until you have a stamp you love!


These look great 🙂 Now I am trying to think what I can create with stamps 😛
I love this idea Angie! The video is perfect. I want to make an owl.
I love this idea Angie! The video is perfect. I want to make an owl.
Video is great, I want to make the feather you showed. I love feathers on things so that would be really cute to add on little cards with birds stenciled or stamped. You have so much talent, are very inspiring. Happy Days