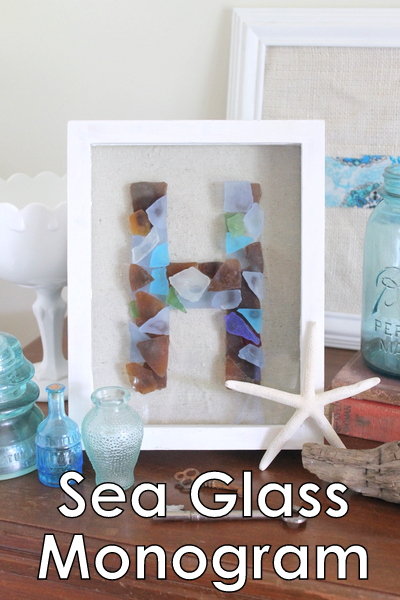
Looking for a beach-themed project to do this summer? Use the ocean water and sandy beach as inspiration for this DIY sea glass art. Create this lovely monogram wall art with beautiful sea glass in just minutes, but keep the memories alive for years to come!
Let’s Talk About The Beach
I LOVE the beach! The sand, the waves, the wonderful salt air…it all just makes me so happy. Since we live in a landlocked state, we don’t get to the beach as often as I would like. That’s why I love making and having beach decor to make me feel a little less landlocked and a little more, well, beachy!
Sea glass is one of my favorite things from the beach. It’s muted, smooth, beautiful, and every single piece is unique as it’s worn down by the sand and the surf.
If you love sea glass as much as I do, be sure to also check out my Sea Glass Wind Chimes, Sea Glass Mason Jar, and Decorative Flower Pots with Sea Glass!
How To Make DIY Sea Glass Art
I grabbed my sea glass collection and got creative with this project. My monogram sea glass art will make a lovely addition to your home. Plus, it’s a great way to display those vacation memories!
The process for this project is so simple that it just may surprise you how quickly it comes together. Just follow these steps to create your own monogram wall art with sea glass!
Now, let’s get crafty!
NOTE: If you want to create other types of sea glass wall art, you can use a similar process!
Supplies Needed For DIY Sea Glass Art
- Sea glass
- Shadowbox
- Pencil
- Ruler
- Hot glue gun
- Hot glue sticks
Supply Notes
You will need some sea glass either collected from the beach or purchase it online. Of course, I prefer using the sea glass I collected when possible, but I’m grateful to be able to purchase sea glass for projects when I run out of my own before our next beach trip!
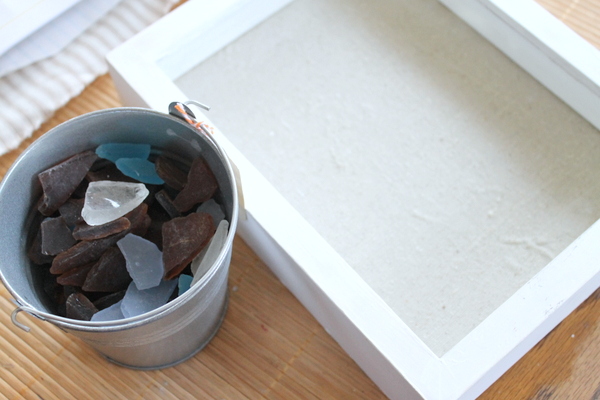
I also used a shadow box, as shown below. It is already painted white and has some fabric that I added over the back. You can always find one at Michaels or Hobby Lobby.
Step 1: Draw Monogram
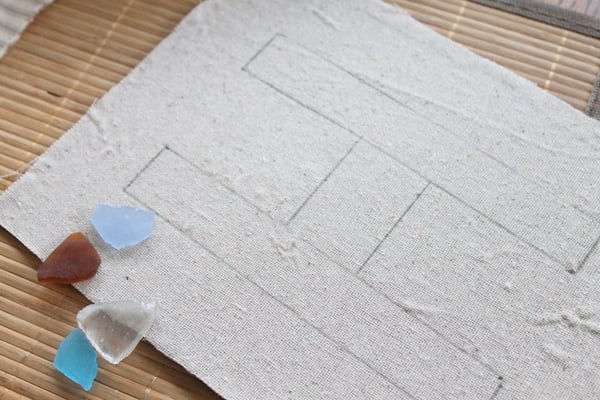
I used a ruler to draw my monogram since ours is so simple. If you have a more complex letter you want to use, you could free-hand it.
Step 2: Glue Sea Glass To Monogram
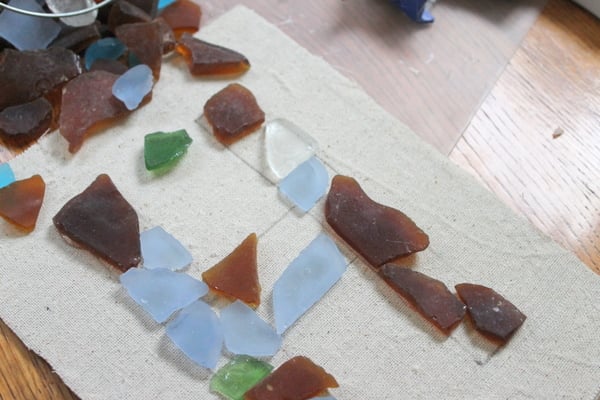
The next part of the process is sort of like working on a puzzle. Add in pieces of sea glass here and there until you have completely filled your monogram.
Instead of keeping all the pieces of sea glass on the same level, I opted to layer the sea glass pieces on top of one another for a lovely three-dimensional effect. I simply used hot glue to attach my sea glass pieces.
Step 3: Add Sea Glass Monogram To Shadowbox
Once your monogram is filled completely with sea glass, just add it to your shadowbox for a fun addition to your beach-themed decor. Don’t hide your sea glass collection away in a box – display it by making my sea glass monogram craft!
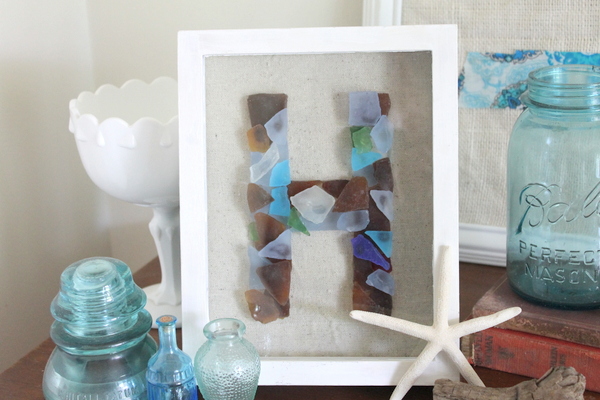
Isn’t it amazing? I love that perfect beach touch it adds along with my other beach decor!
FAQs About DIY Sea Glass Art
Here are a few common questions that I often see readers asking about making this DIY sea glass art. If you have a question, please check if I’ve already addressed it below. If you don’t see your question listed, please leave it in the comments!
Can I Use Any Shadow Box For This DIY Sea Glass Art?
Yes, you can use any size or shape shadow box that you like for this project!
Where Can You Buy Sea Glass?
You can buy sea glass online and at your local craft store!
I Don’t Like Drawing, Can I Add My Monogram In Another Way?
If drawing feels too intimidating, you could print a letter from the printer and trace it onto your fabric!
Can I Use A Different Type Of Glue?
You can, but hot glue is the best for this craft because it has a strong hold and dries fast. However, if you want to skip the hot glue, you can use industrial-strength glue, tacky glue, or super glue instead.
9 More Beach-Themed Projects
Do you love this DIY sea glass art and are looking for more beach-themed projects? Then check out these popular projects!
- DIY Beach Decor Using Rope
- Beachy Mason Jars (With Coastal Texture Paint)
- A Beach Themed Bathroom on a Budget
- DIY Beach Hat with Heat Transfer Vinyl
- Beach in a Bottle Keepsake
- Free Beach SVG Files For Cricut and Silhouette
- Beach Lantern Tutorial
- Personalized Beach Coasters Made with Infusible Ink
- Starfish Craft: Easy Beach Wall Art



Beautiful! Thank you