So you love gorgeous sea glass? Don’t know of a way to display it around your home? I have an answer for you with my sea glass wind chimes. The perfect sea glass craft for your sea glass collection. Come see how to make these wind chimes then get to collecting! Read on even if you don’t have a sea glass collection as I have a solution for you as well. This tutorial was originally posted over at Crafts Unleashed and is sponsored by Consumer Crafts.

I love sea glass and the many things you can do with it. We pick up pieces when we visit the beach and bring them home to make different crafts to remember out trips.
We’ve used sea glass to decorate flower pots, make monogrammed art, mason jar lanterns, and more!
How to Make Sea Glass Wind Chimes
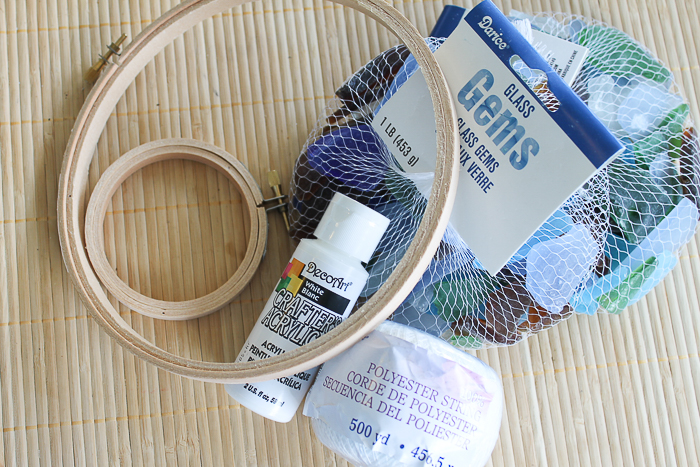
Materials needed for this sea glass wind chimes craft:
Some links below may be affiliate links which means that you do not pay anymore, however, a small commission will go to this site.
- Sea Glass — either some you have gathered from the beach or you can buy your own. Yes, they sell sea glass and that is perfect for those of us that didn’t get to the beach but love the look.
- Embroidery Hoop 7 inches
- Embroidery Hoop 3 inches
- White Craft Paint
- Poly String
- E-6000
Sea Glass Mobile Instructions
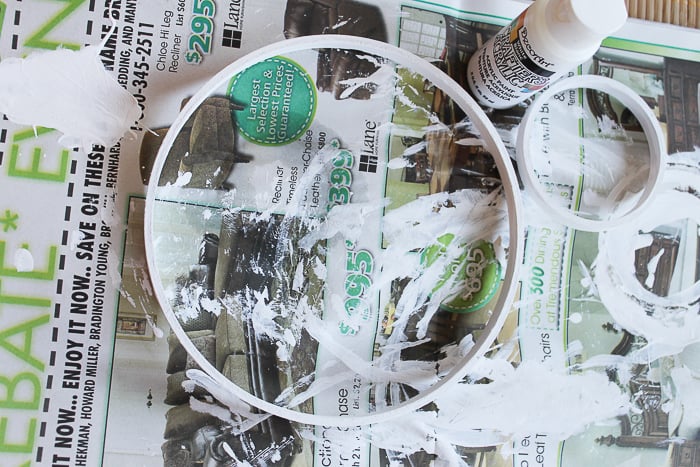
Remove the outer ring on your embroidery hoops. We will only need the inner circle. Then paint them both white. My kids helped with this step. Bet you never would have guessed that from this picture!
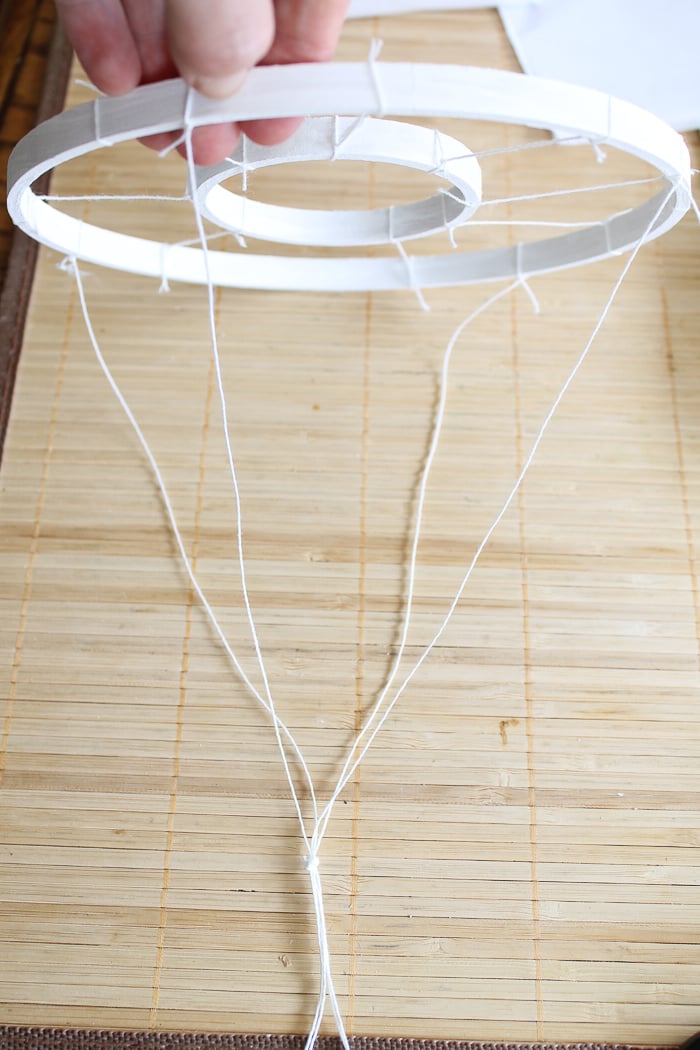
Allow the paint to dry completely. Next, we are going to tie the rings together. Use the poly string to tie the smaller ring in approximately the center of the larger ring.
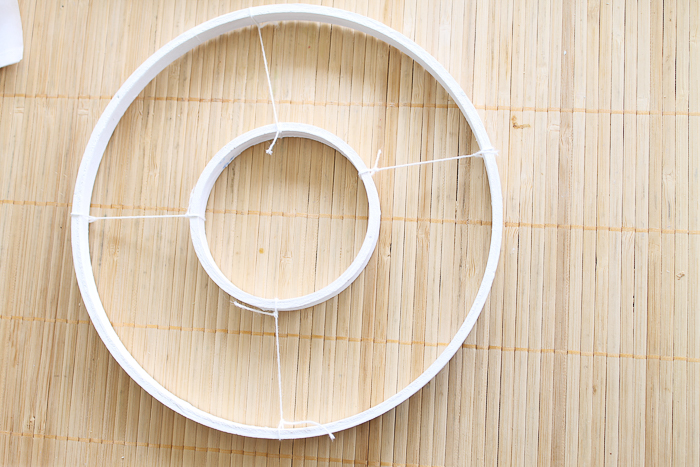
Then, because I like things to be secure and safe, I tied the rings together in 4 more places. Each string should be tied tightly.
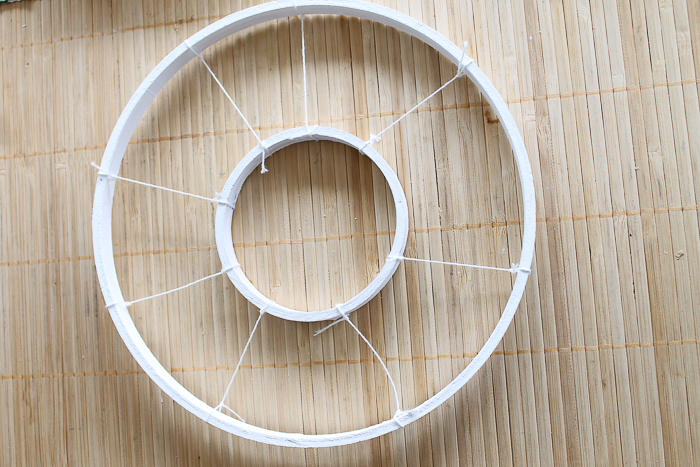
Next, we are going to use the string to make a hanger. I used two long pieces of string and tied them to the larger hoop in two places, opposite of one another. Then gather the strings at the top and knot into a loop. See picture below for illustration. Use a drop of E6000 anywhere you have a knot on the rings and set aside to dry. Again, I wanted this to be secure and E6000 definitely does the job of securing your string to the hoops.
Now get your sea glass.
My set of wind chimes took approximately one bag, however, I was choosy on the colors I wanted to use so I had to open both bags.
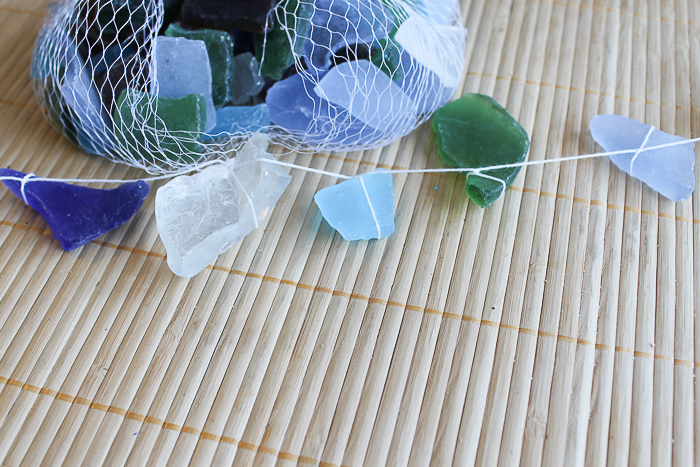
Using the poly string, tie your sea glass into long chains. The sea glass should not touch each other as illustrated below. I made 6 short chains and also 3 longer chains. My short chains were around 9 inches long. The longer chains were around 11 inches long. Again, a dot of E6000 needs to be placed between each knot and the glass for safety.
After your components have dried according to the manufacturer’s instructions on the E6000, then tie your chains of sea glass onto your rings. The six shorter chains go on the outside ring. The three longer chains go on the inside ring.
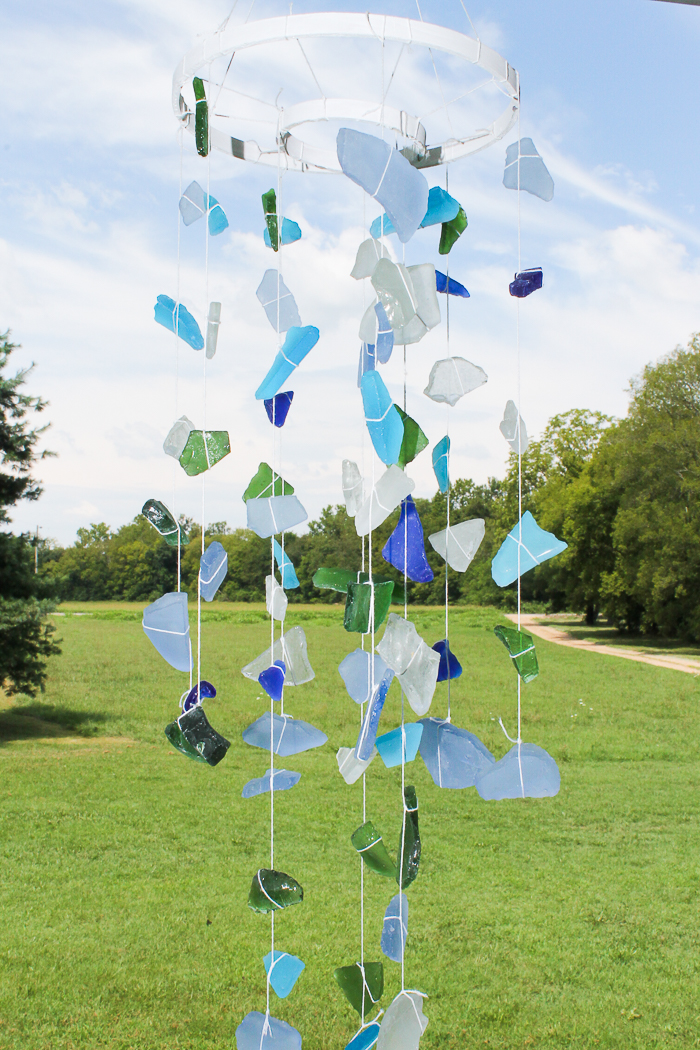
Again, before hanging, secure each knotted place to the ring with a drop of E6000 and allow to dry. Then hang up your wind chimes and enjoy the sunlight reflecting off the glass each and every day.
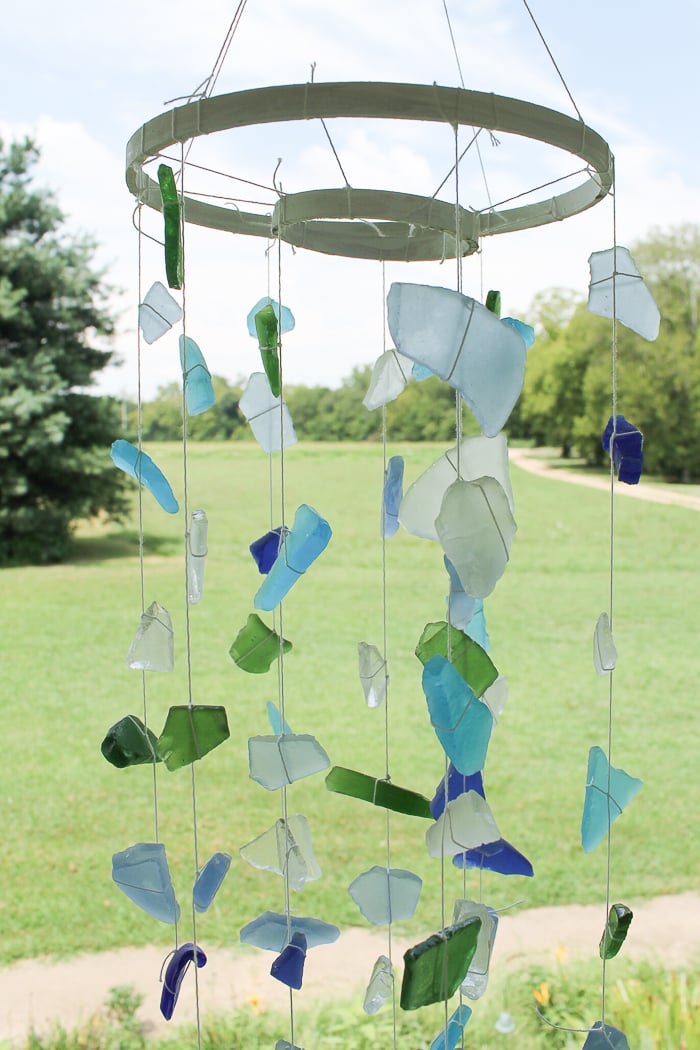
Sit back on your porch and enjoy the tinkling of sea glass each day. This project is perfect for any home or beach house.
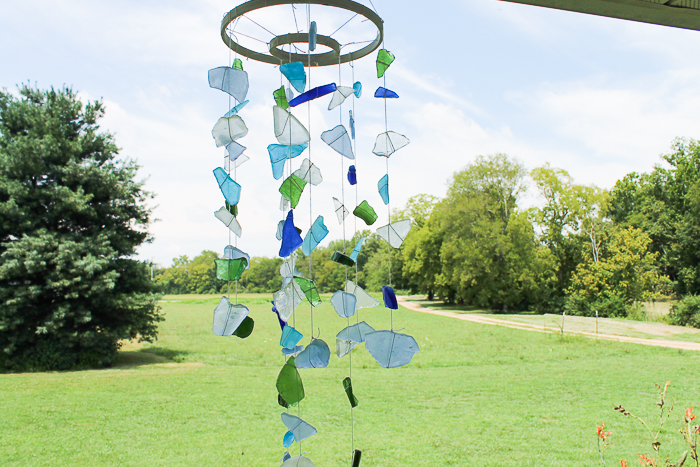
Display your collection of beach glass or buy some to add to this lovely project. You will love this sea glass craft and so will your kids. I hope you will make my sea glass wind chimes with your vacation mementos this year.

So, do you love these sea glass wind chimes and want more ideas? You might also try the links below!
- Sea Glass Mason Jar
- Painted Mason Jars with Sea Glass Paint
- Decorative Flower Pots with Sea Glass
- Sea Glass Monogram
- Sea Glass Necklace

Supplies
- Sea Glass either some you have gathered from the beach or you can buy your own.
- Embroidery Hoop 7 inches
- Embroidery Hoop 3 inches
- White Craft Paint
- Poly String
- E-6000
Instructions
- Remove the outer ring on both embroidery hoops. We will only need the inner circles. Then, paint both inner hoops white.
- After the paint has dried, tie the rings together. Use the poly string to tie the smaller ring in approximately the center of the larger ring.
- Then, tie the rings together in 4 more places. Each string should be tied tightly.
- To create a "hanger", tie two long pieces of string to the larger hoop in two places, opposite of one another. Then gather the strings at the top and knot into a loop. Use a drop of E6000 anywhere you have a knot on the rings and set aside to dry.
- Using more poly string, tie your sea glass into long chains. The sea glass should not touch each other and dangle as traditional wind chimes.* Again, a dot of E6000 needs to be placed between each knot and the glass for safety.
- After your components have dried according to the manufacturer’s instructions on the E6000, then tie your chains of sea glass onto your rings. The six shorter chains go on the outside ring. The three longer chains go on the inside ring.
- Again, before hanging, secure each knotted place to the ring with a drop of E6000 and allow to dry. Then hang up your wind chimes and enjoy the sunlight reflecting off the glass each and every day.




I love beach glass and I love this project, just might have to make myself one. 🙂 Thanks for sharing this great project!
I was wanting a new windchime and love the look of this, maybe I’ll just DIY one!
Thank you so much for sharing,,, this is so cute, & something that our grandbabies can help to make.
Finally, I can use my sea glass that I collected while living in Puerto Rico.
I can not find the link for the cards.
Are these the ones? https://www.thecountrychiccottage.net/print-greeting-cards-at-home/
This is beautiful. My house was built on the old town dump site – I find shards of many shapes and colors of glass in the yard. I make them safer to craft with by tumbling them over night in a rock tumbler. It takes off all the sharp edges – not as smooth as the ocean, but it does not cut me.
My sister had sent me a glass ball to hang in my kitchen. I thought it seemed plain and wanted something like this to surround it. Someone knew a person who worked with glass but it would cost over $100! I thought “I can do this”. Now I know how!!! Thank you!!!
Yay! I can’t wait to see your finished project!