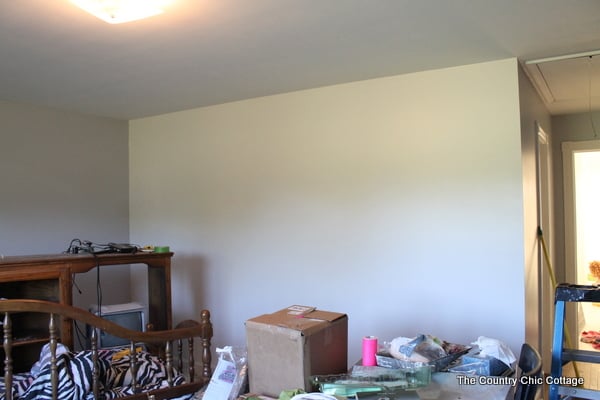
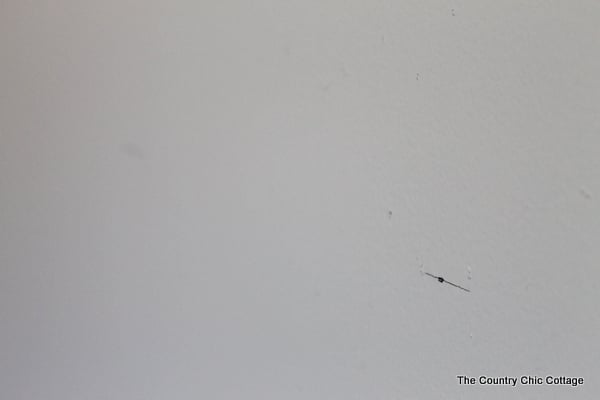
Step 1: Start with a Blank Canvas
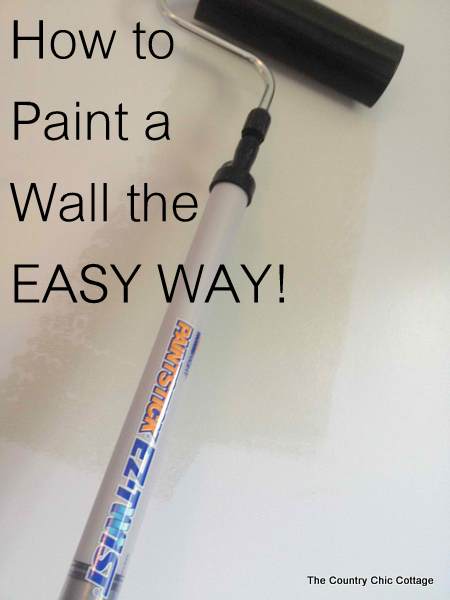
Before we continue with the gradient color wall details I have a painting tip for you. HomeRight was nice enough to send me their PaintStick EZ-Twist to try out in this room. I am going to tell y’all….I hate painting. So why not give it a go right? I painted an entire 13 x 16 room plus a hallway in 45 minutes. That my friends is progress. There are some other benefits to this paint roller as well. First of all it was super easy to use and my teen could help with the painting. Second the mess in the room was minimal. The PaintStick comes with an attachment for your paint can and it just sucks the paint right out of the can. No messy drips down the side as you try to pour. I will say that the clean up of the PaintStick itself is a bit time consuming but I did get better at it after a few times. All in all ladies and gents….if you want to paint a wall the easy way….use your PaintStick EZ-Twist to get the job done!
Step 2: Measure and Tape Your Wall
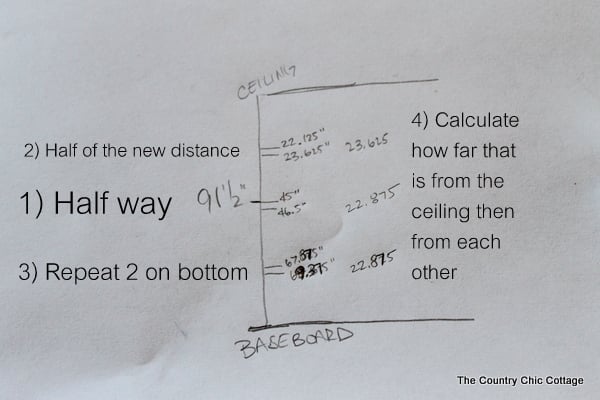
Now back to the math portion of our program today. Ugh. Math. Here are your steps along with my fancy illustration:
1) Start with a measurement of your wall from ceiling (or bottom of molding) to top of baseboard. Cut that in half and mark your paper. Then take the width of your painter’s tape and divide that in half. The two lines at 45 inches and 46.5 inches represent both SIDES of my painter’s tape. So half way for me was 45.75 inches. I then added 3/4 of an inch and subtracted 3/4 of an inch for my 1 1/2 inch wide painter’s tape. Making sense?
2) Now divide your first distance in half. So half of my 45.75 was 22.875. I then had to again add and subtract my 3/4 of an inch for the painter’s tape.
3) Repeat number 2 but on the bottom.
4) Now to actually place my tape I had to calculate how for it was from the ceiling to the bottom of the painter’s tape on the first line as well as how for it was from the bottom of the first piece of tape to the bottom of the next piece of tape and so on. So I was left with measurements to go to the bottom of each piece of TAPE and could then start on my wall.
Boy that is confusing….huh?? I did some serious trial and error on this one. Do your math, mark your wall, step back and make sure it looks right. You can always recalculate and remark before committing to paint.
Step 3: Make Sure the Stripes are Perfectly Even Before Painting!
Mark your wall with a level and a pencil given the measurements you have from above. Again stand back and look once you have marked to make sure your lines look correct. You can always remove your marks and calculate again.
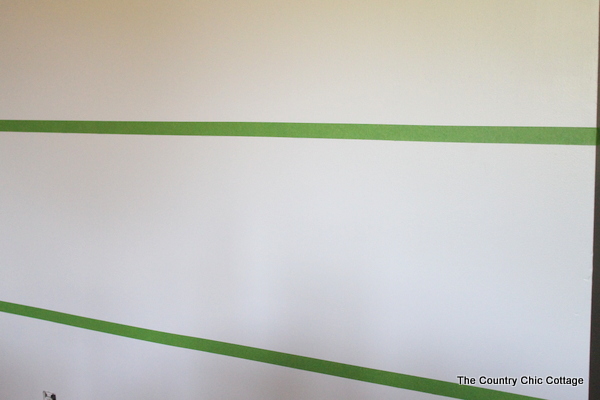
Now you can apply your painter’s tape to those marks with the BOTTOM of the painter’s tape on your markings. I used Frog tape
for my lines and was super happy with the results.
Step 4: Choosing the Perfect Gradient Wall Color Paint
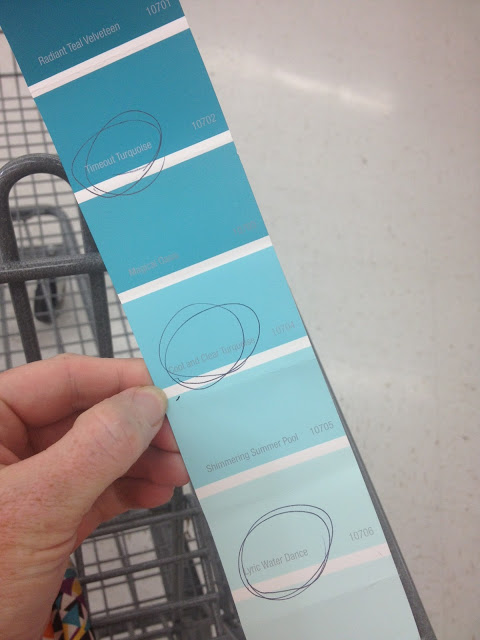
Now how do you choose your colors you may ask? I took a paint strip that we had chosen to be our colors. Then had paint mixed in every other color on the strip. That way there is a noticeable gradient.
The only other tip is to remove your tape while your print is still wet. The picture below is my wall with only one coat of each color. Retape your lines and paint with a second coat again removing the tape while it is wet.
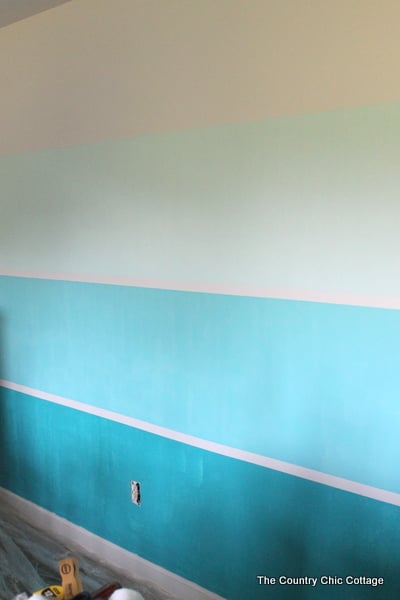
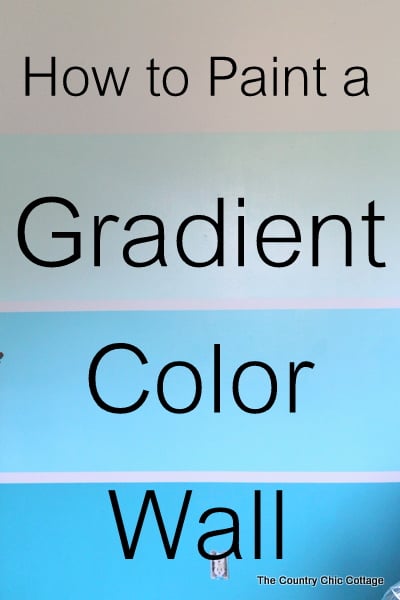
Your DIY gradient color wall will be complete in no time with these simple steps. Now who is excited to see this teen room come together? No one can be as excited as I am right now! Okay my teen daughter is more excited than me. So what about you? Will you be using my tips on how to paint a gradient color wall anytime soon?


This is awesome!! I actually did a canvas that looks like this but I haven’t posted it yet . . . I can’t wait for you to see it. Your daughter and I have the same color taste!!
What a great idea! The wall turned out great and thanks for giving the PaintStick EZ-Twist a try.
Laura Clark
HomeRight
Fabulous result!! Great explanation of steps too – thanks!!
Bailey
http://akabailey.blogspot.com
Fun colors!!
And yes… makeover = big giant mess at our house 🙂