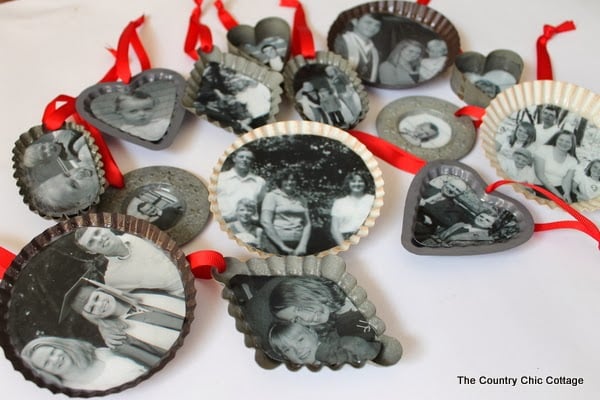
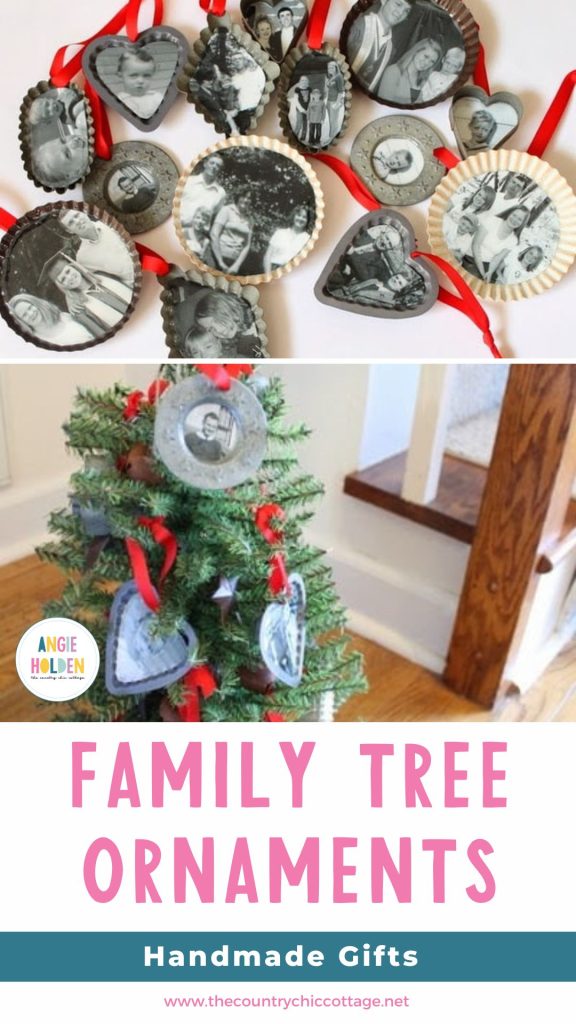
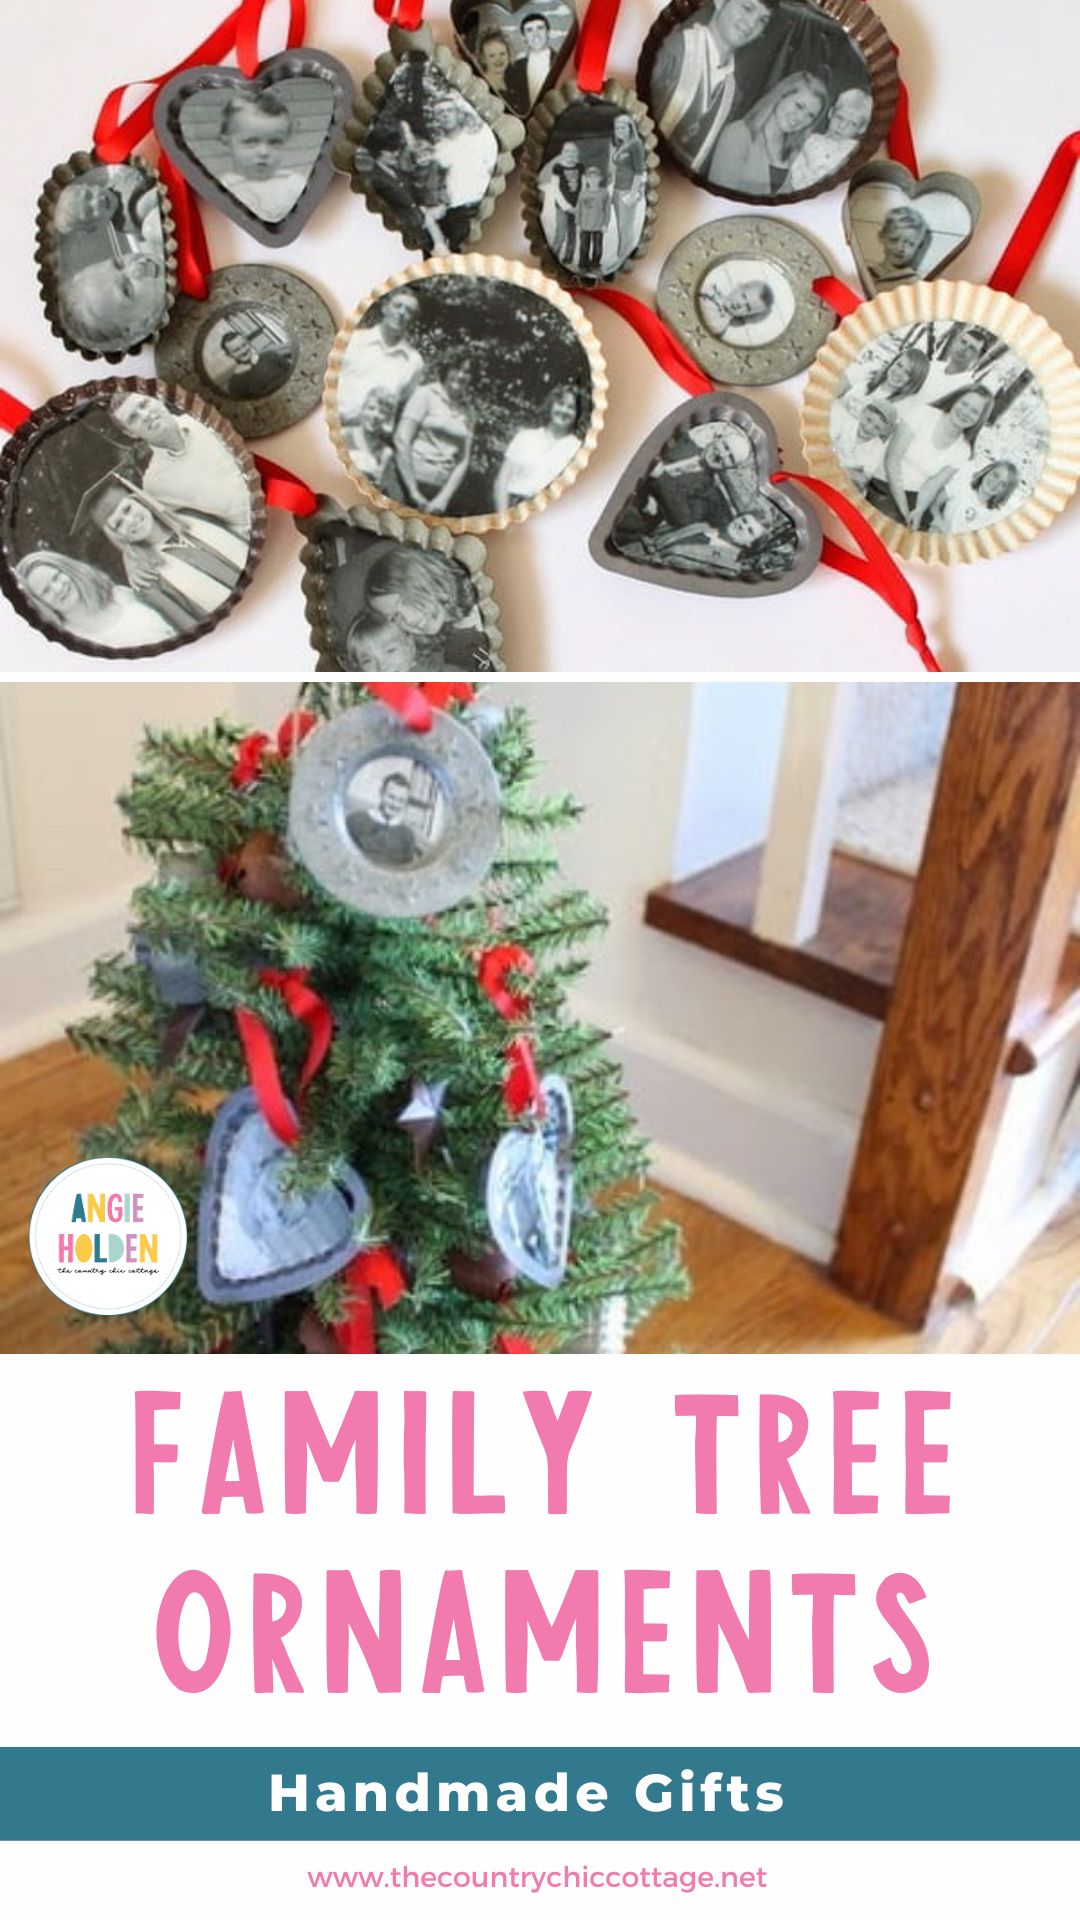
I am continuing with my handmade gift series today with a family tree ornament that will please almost anyone on your holiday gift-giving list. This tutorial takes old or new photos and turns them into heirloom ornaments. A perfect addition to any tree, gift, or add them to their own special tree, like I did below.
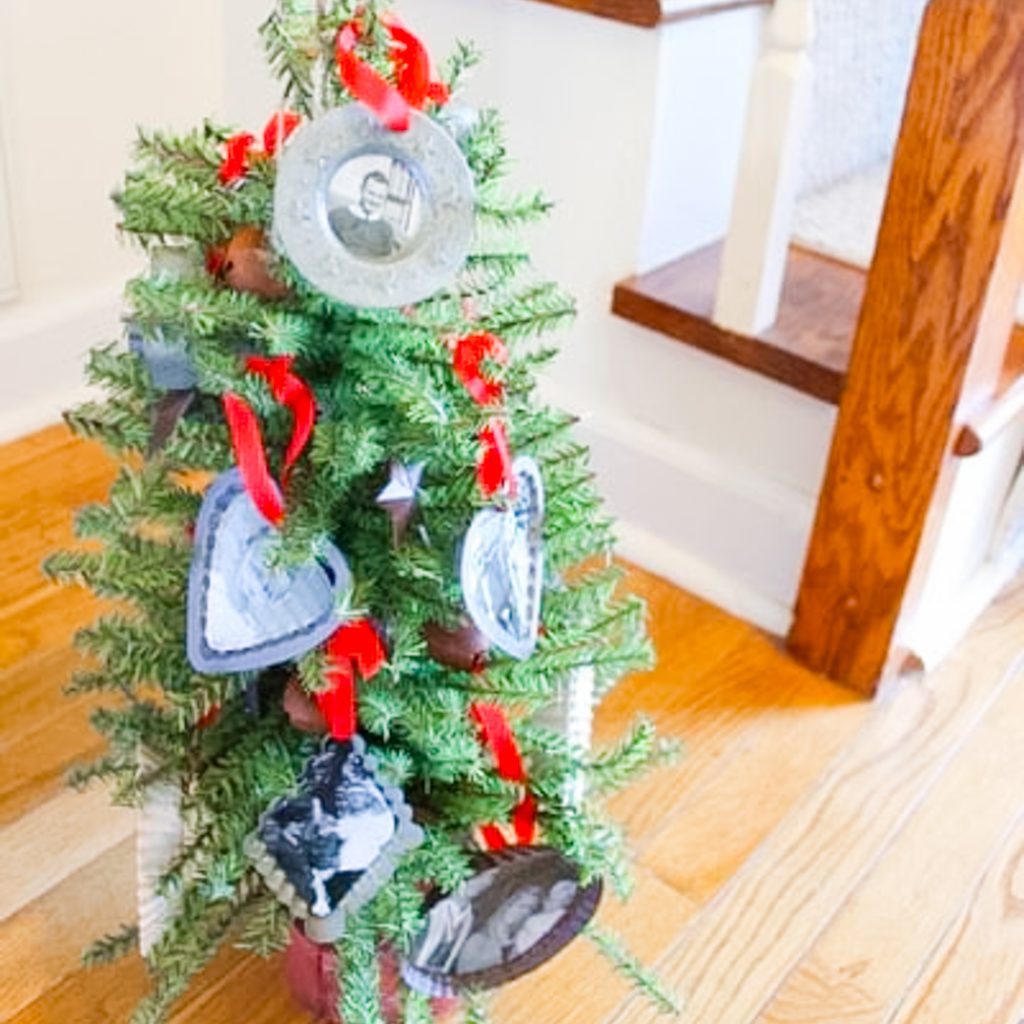
How To Make A Family Tree Ornament
Christmas ornaments are a beloved tradition for many families. Handmade ornaments add a special touch to your holiday decor and can become a treasured family heirloom.
Making your own ornaments is a great way to express your creativity and make memories that will last a lifetime. Whether you’re a beginner or an experienced crafter, handmade Christmas ornaments are sure to add a special sparkle to your holiday.
If you are looking for more handmade Christmas ornament ideas, try these found object ornaments, rustic style ornaments, and tons of ornaments for the kids to make!
Supplies Needed To Make A Family Tree Ornament
- Assorted metal decor items. – These exact items are no longer available. These are similar and can be painted to match your decor.
- Mod Podge (gloss or matte would be acceptable)
- Mod Podge Dimensional Magic
- Red Ribbon
- 24″ Pine Tree
- Rusted Tin Stars (for tree top)
- Rusted Star Garland
- Rusted Jingle Bells
- Jute Twine
Step 1: Gather Up Photos & Print Them In Black And White
First, you will need some black and white pictures. I used a variety of old and new pictures. Then I converted them all to black and white on my computer and had them printed at the local drugstore. I think my total was around $4, and I actually printed more than I needed.
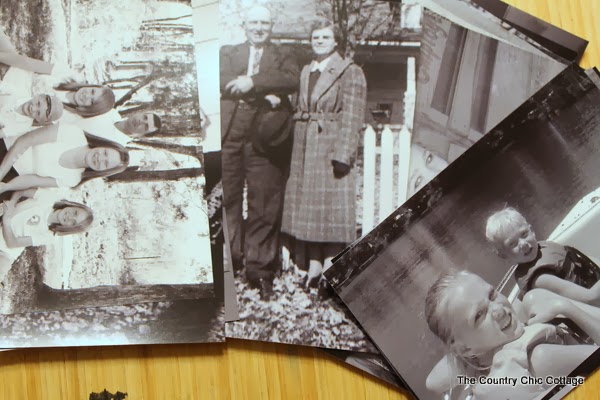
The “ornaments” used are a variety of shapes, and I was unsure how the pictures would look in them. Better to have too many than to have to run back to the store to print more pictures.
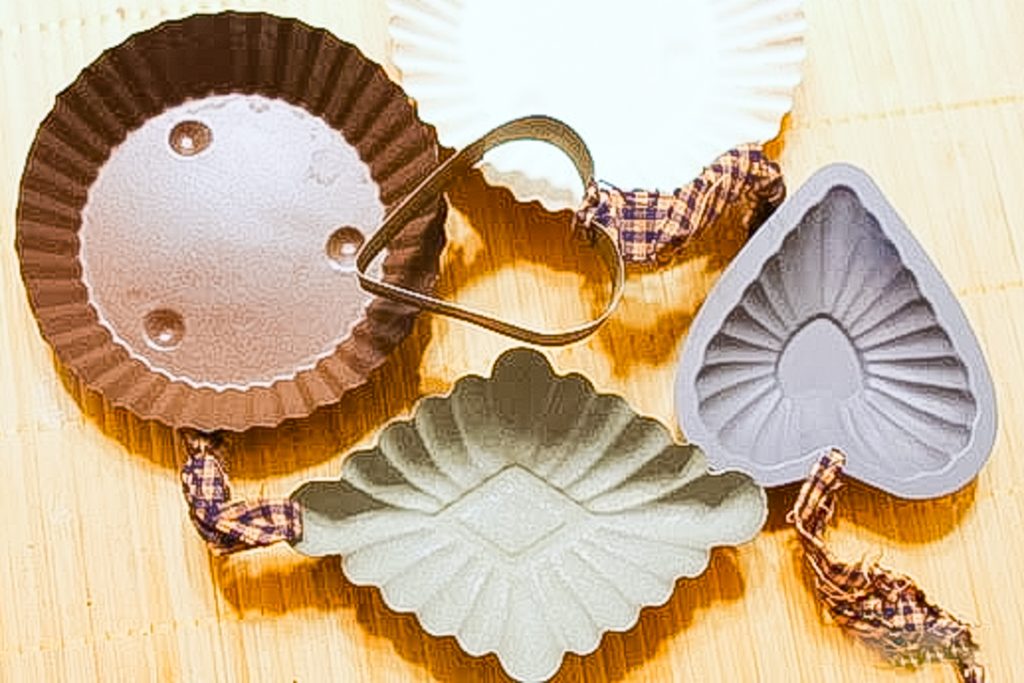
Step 2: Trim Pictures To Fit Into Metal Objects
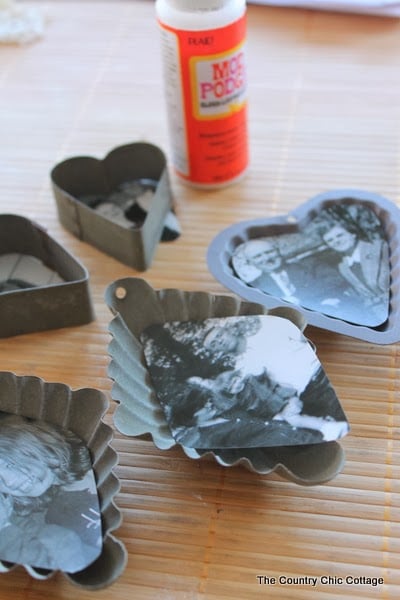
I started with my pile of pictures and determined which photo would look best in each metal object. I trimmed my pictures so they would fit inside and removed any ribbon that came with the metal objects.
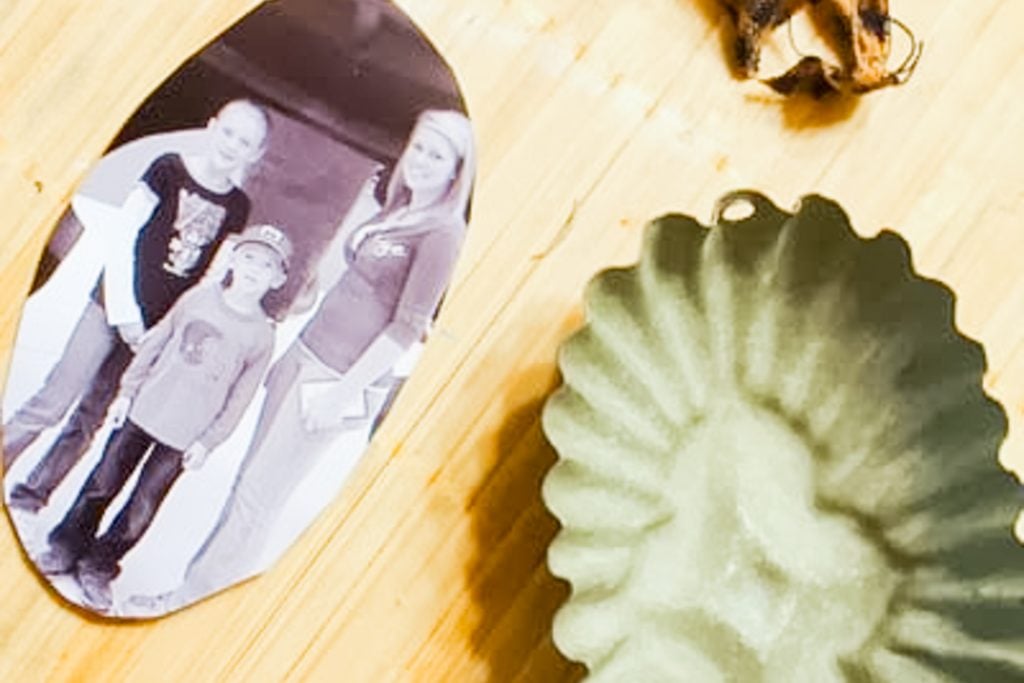
The pictures did not sit all the way down inside the metal objects. I made them where they would sit slightly inside, but not all the way on the bottom.
Step 3: Mod Podge Photos To Metal Objects
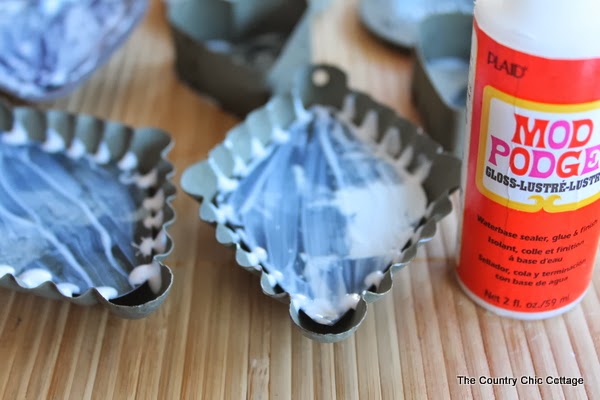
Next, coat the pictures with two coats of Mod Podge (matte or gloss). Allow them to dry in between coats.
I also used the Mod Podge to hold the picture inside the metal object, so I used excess Mod Podge wherever the picture touches the metal. This is shown in the picture below. I allowed the Mod Podge coats to cure overnight before going onto the next step.
Step 4: Add Mod Podge Dimensional Magic To Ornaments
After both coats of Mod Podge have dried completely, it is time to use Mod Podge Dimensional Magic. This product will add a dimension and luster to your project not found with regular Mod Podge.
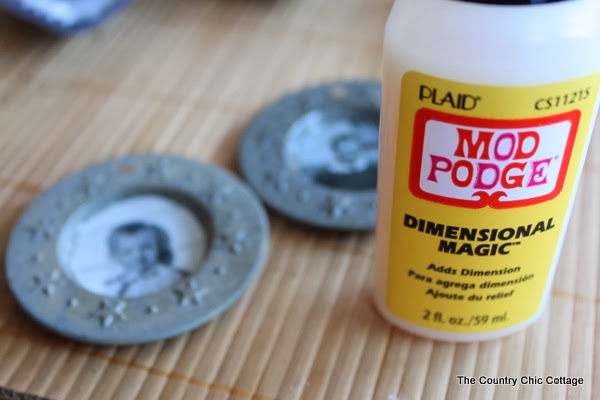
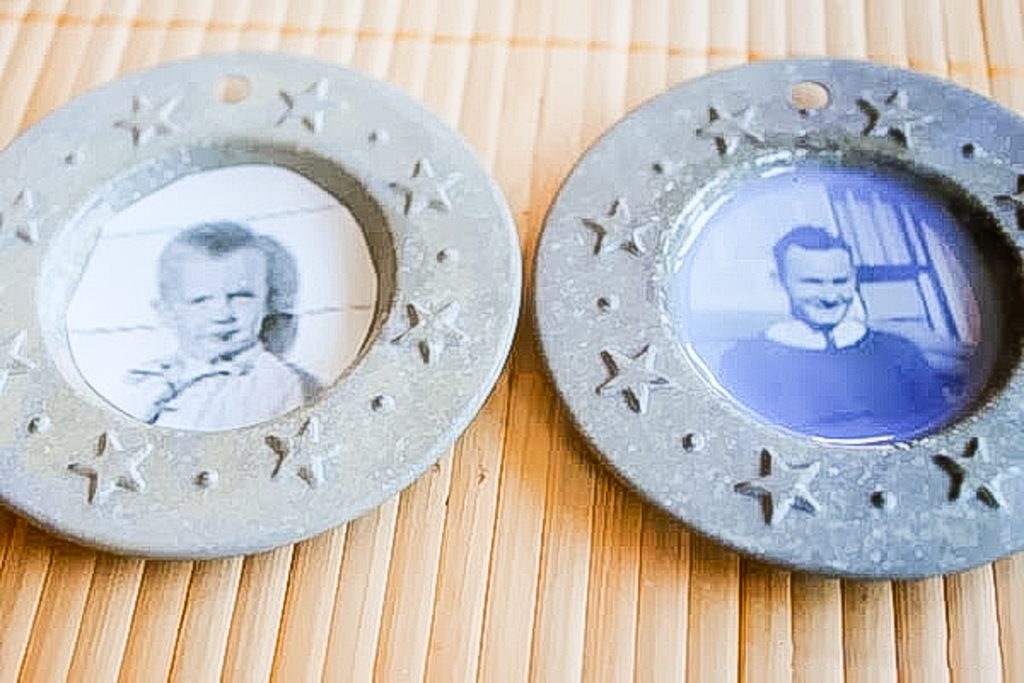
The ornament on the left below only has two coats of regular Mod Podge applied. The ornament on the right has the Dimensional Magic. This is what it will look like wet. Apply an even coat to all of your ornaments and allow them to dry. I find that leaving it to dry overnight is preferred.
Step 5: Add Ribbon To Ornaments
I added a ribbon to each ornament. Either threading it through the already present hole, or using hot glue to adhere to the back.
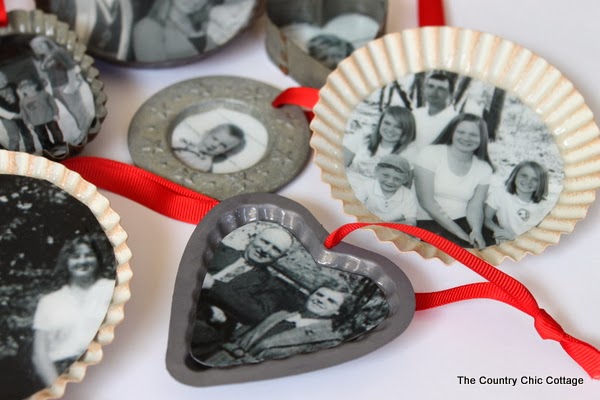
Step 6: Add Ornaments To Tree
I then pulled out my mini tree and decorated it! First layering on rusty stars and jingle bells tied with jute cording. Then I added all of my family tree ornaments!
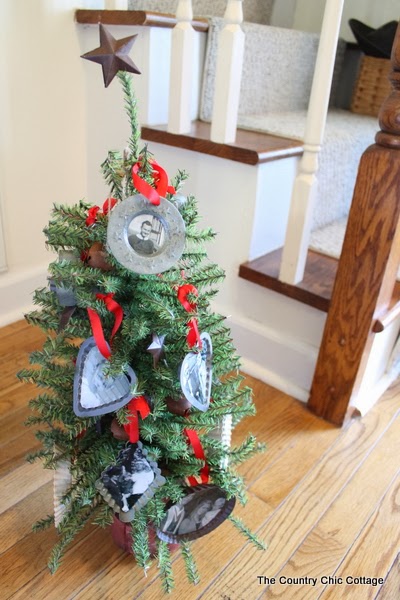
I made my little tree tell the story of my husband's family, from years gone by all the way to the present day. This is a fun and memory-filled addition to our Christmas decor.
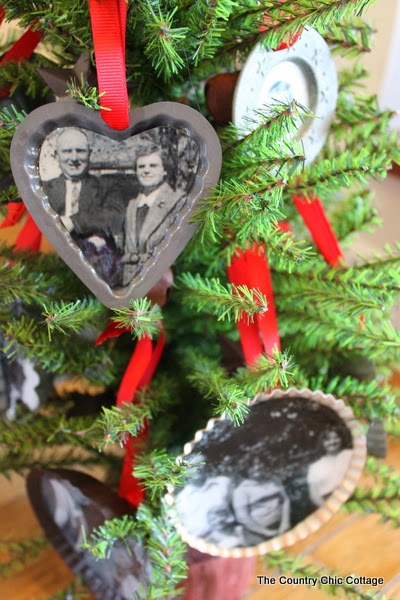
Each ornament in this collection has a special meaning to us. I can imagine giving a collection of these to someone for Christmas. You know the gifts that make the recipient cry….this would be one of those.
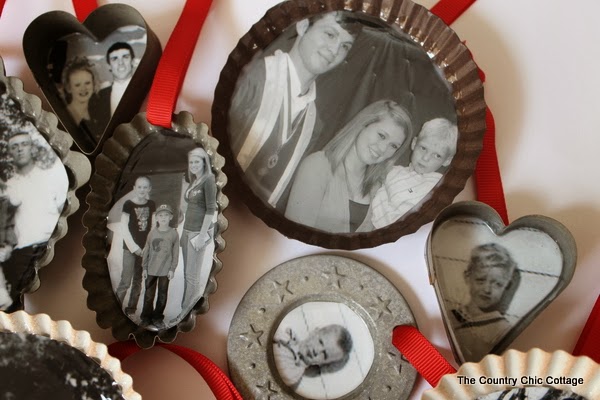
Grab your pictures and get started on your own set of heirloom ornaments today. Make a set for mom, grandma, or anyone else special on your holiday gift-giving list. My handmade gift idea of family tree ornaments is sure to put a smile on their faces.
Handmade Gift Series
Have you missed any of our handmade gift series? Visit all of the links so far:



Also, don't miss our Handmade Gift Gallery Page and stay tuned for even more handmade gifts!
FAQs About Family Tree Ornament
Here are a couple of questions that I see readers ask about this family tree ornament. If you have a question, please check to see if I’ve already answered it below. Don’t see your question? Leave it for me in the comments!
Can I Print The Pictures Off Myself?
You can, but you would need a laser printer. This is because when you add Mod Podge to the top of a photo that has been printed from an inkjet printer, the ink in the image will bleed.
Could I Use Thrifted Metal Decor For This Project?
Absolutely! If you come across metal decor at your local thrift store or antique store, you can definitely use it for this project. However, the only thing to remember is that you might need to clean your metal decor and possibly drill a hole into the decor if you don't want to glue your hanger to the back.
Do You Have Any Tips On Using Mod Podge Dimensional Magic?
Yes, I do! If you have never used Mod Podge Dimensional Magic before, I recommend following the tips below so you get the best results and no air bubbles!
- Don’t Shake The Bottle – Shaking the bottle can cause more air bubbles, which is something you don’t want!
- Have A Toothpick Or Sewing Pin On Hand – If an air bubble does occur, you can pop it easily with a toothpick or sewing pin!
- Don’t Touch Your Ornaments While They Dry – After you have added your Mod Podge Dimensional Magic to your picture charms, let them dry on a flat surface. Don’t pick them up or move them around because that could cause air bubbles to occur.
5 More Handmade Ornaments
Did you love this family tree ornament, and are looking for more handmade ornament ideas? Then check out the projects below!



What a lovely and thoughtful idea!
This is a great idea, I would love to try this as a gift for those hard to shop for family members. Thanks for sharing.
Love these ornaments! What a great gift idea for family members. Thank-you for sharing again Angie…I missed these on Crafts Unleashed.
Awesome
I love this idea! Where did you get the tins?
Thank you. I updated the links in the post.