I’m so excited to share a beautiful Christmas table centerpiece with you today. You’ll love the rustic burlap accents, and the best part is it’s super easy to make! If rustic burlap isn’t your style, don’t worry – you can customize this centerpiece in many ways to match your Christmas decor!
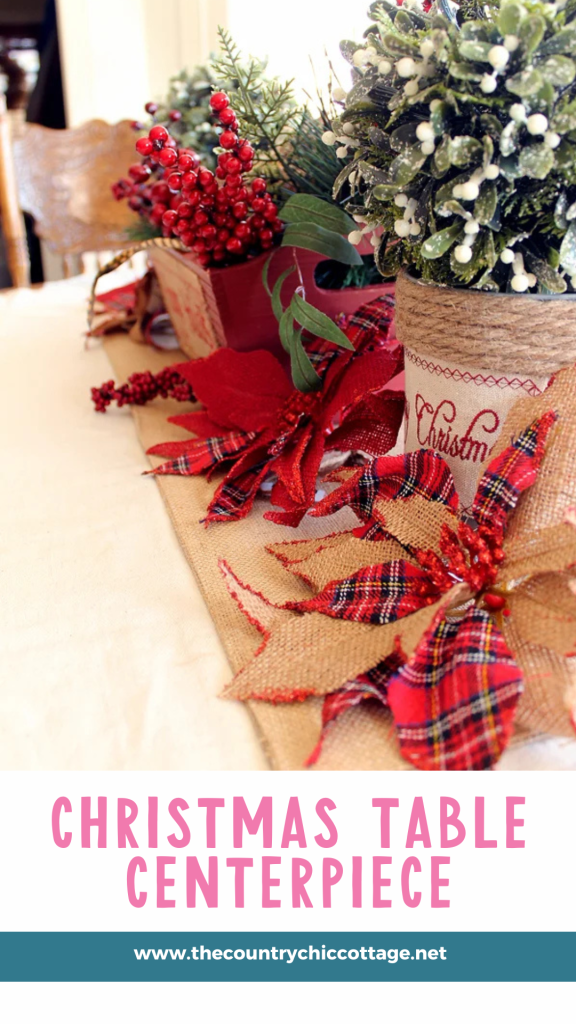
How To Make Christmas Table Centerpiece
As much as I love decorating for Christmas, I don’t want to spend a ton of money on those pieces that will only be up for a short amount of time, or that will possibly be moved during the holiday season.
An example of this would be a Christmas table centerpiece!
Don’t get me wrong, I love a festive table as much as the next person. However, some of these tablescapes you see online can be overwhelming, costly, and a hassle to move (in case you need to use your table).
So, with all that in mind, I wanted to show you how to take inexpensive holiday items (from your favorite decor store) and put them together to create a simple but gorgeous Christmas table centerpiece! You will be shocked by how easy and fun it is to put together!
Also, if you are looking for other Christmas decor ideas, try this front porch Christmas decoration, Christmas mantel decor, and other holiday decor ideas!
Supplies Needed To Make Christmas Table Centerpiece
- Wooden basket or box
- Holiday-themed floral spray
- Artificial red berries
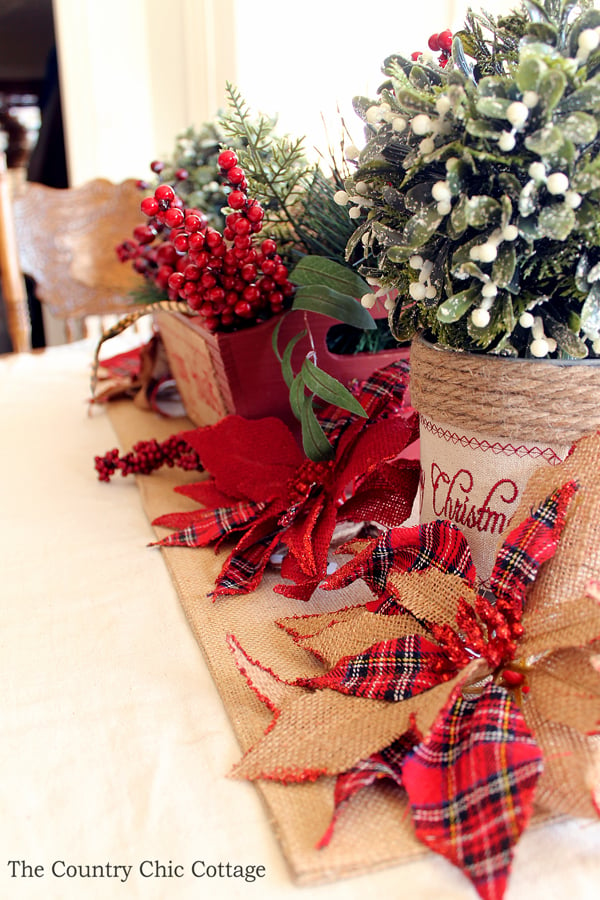
- Plaid burlap poinsettias
- Galvanized buckets
- Mistletoe balls
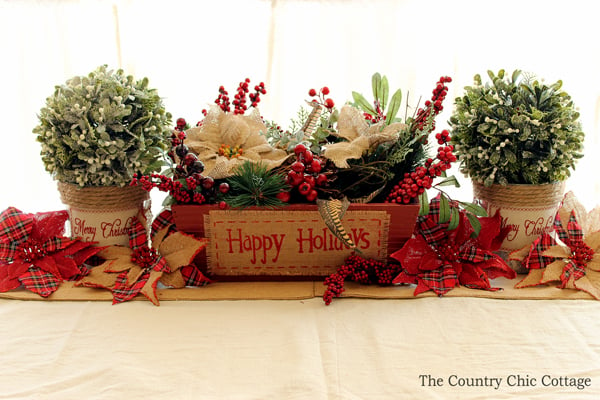
Step 1: Choose Box
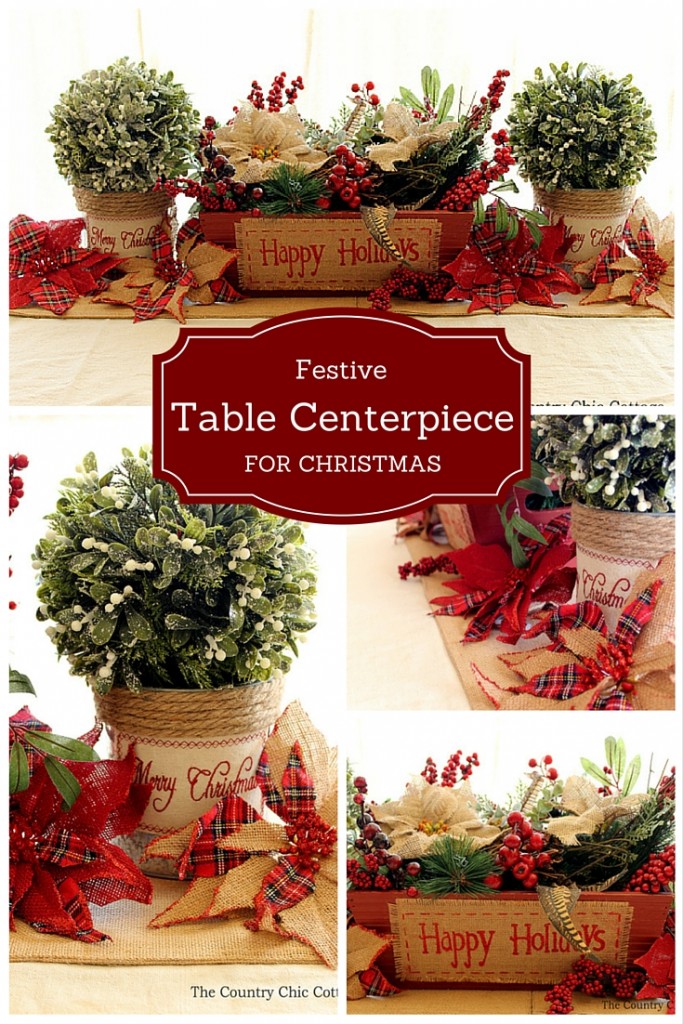
I started with the wood basket in the center to inspire my table centerpiece. It already had that burlap on the front with the “Happy Holidays” sentiment. I decided right then and there to go with a rustic burlap table centerpiece for Christmas.
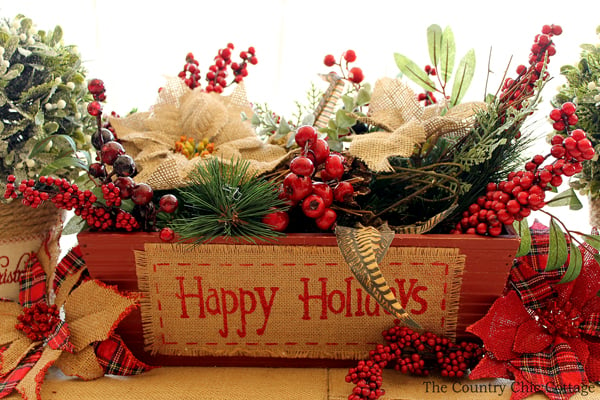
Step 2: Arrange Florals Inside Of Box
I filled the wood box with a floral spray. It had those gorgeous burlap poinsettias already on it, and I fell in love. It fit perfectly inside of the box. I added a box of those artificial red berries to my cart as well. I tucked them in around the flowers to create a gorgeous centerpiece.
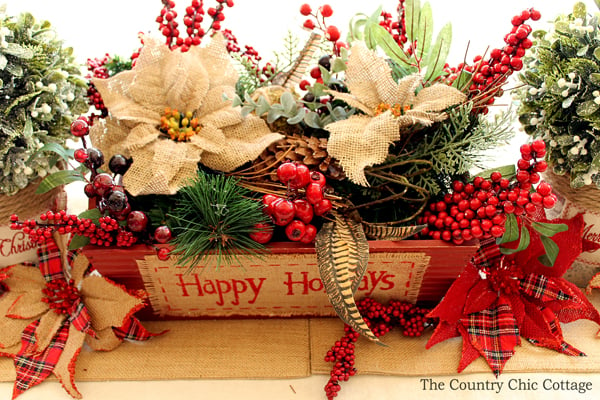
Step 3: Add More Poinsettias
I just couldn’t stop there! While shopping, I found these amazing plaid and burlap poinsettias that could be purchased individually, so I filled my cart. They have a clip on the back so you can put them on your tree as well.
Step 4: Add Galvanized Buckets
The galvanized buckets that I used on both ends are a set of three nested containers. That means I have plenty to use in other areas of my home! I loved the rope wrap and the “Merry Christmas” on the front. The mistletoe balls were in the Christmas floral section, and it was love at first sight, y’all. I thought they looked perfect in the buckets.
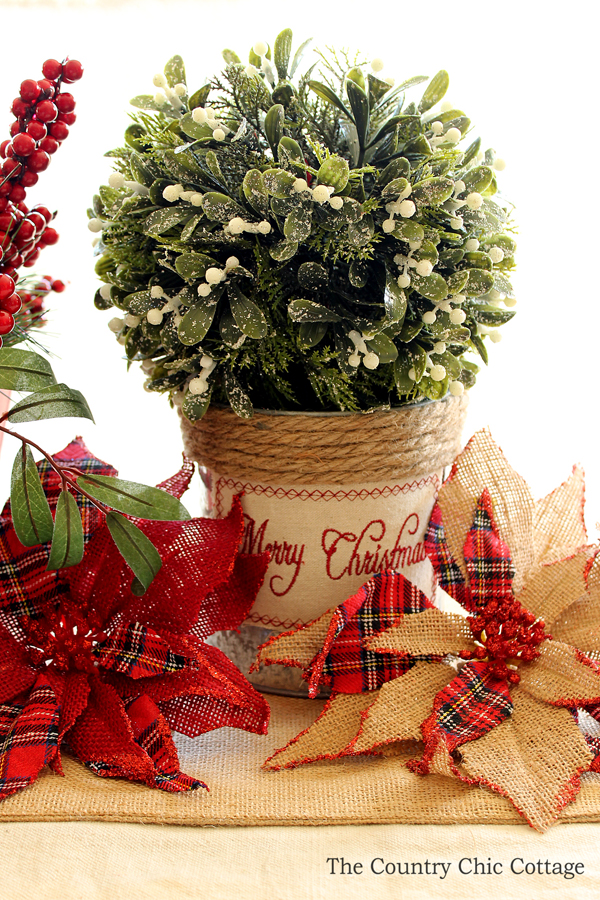
I repeated the same bucket and mistletoe ball on the other end and filled it in with more amazing poinsettias.
Step 5: Arrange Pieces On Your Table
Once I had all my pieces, I played around with the arrangement until I was happy with my Christmas table centerpiece.
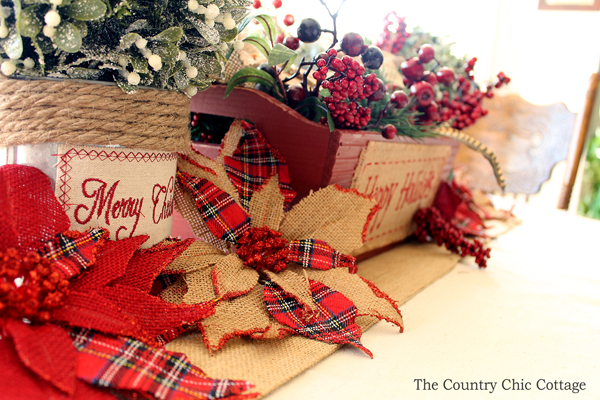
How fun and simple was that?! As much as I love the rustic look, my favorite part about this centerpiece is how easy it is to move around! This is because, whether I need to use the table for dinner or to wrap gifts, there are not that many pieces of decor to move. Plus, it’s simple to reassemble.
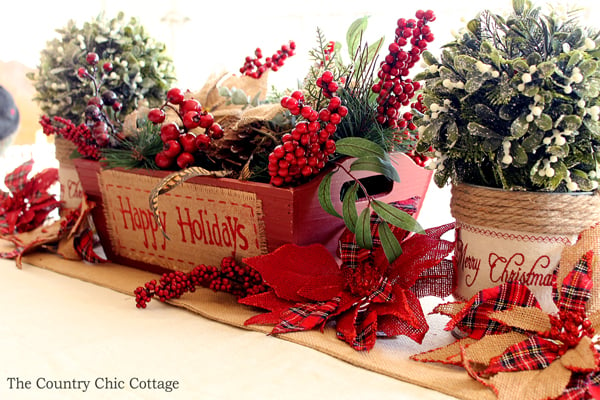
If you love a rustic Christmas, then you need to create this table centerpiece for your home!
Tips and Tricks for Christmas Table Centerpieces
Now that you’ve seen this fun Christmas table centerpiece, are you ready to make your own? Here are a few tips and tricks to ensure your project goes as smoothly as possible!
- Take Your Time Going Through Your Favorite Decor Store – Whether shopping in person or online, take your time shopping! This is because most decor stores have many great options in their different Christmas sections that can easily be mixed and matched to create your centerpiece.
- Feel Overwhelmed? Pick A Theme! – If you are overwhelmed by all your options, pick a theme for your centerpiece! Doing this will help you to narrow down colors, textures, and the overall style. Below are a few themes that you could use for your centerpiece.
- Classic, Modern, Country, Kitchsy, Winter Wonderland, Pastels, Santa, Mrs. Claus, Gingerbread, Peppermint, Woodland, Nutcrackers, Candy, Grinch
- Use Styrofoam – I chose not to use styrofoam in this project, but you could put styrofoam in the bottom of your box or buckets to make your floral picks stand up better.
- Don’t Overthink Your Centerpiece – Decorating is supposed to be fun, not stressful! So, when creating your centerpiece, have fun and remember that nothing is permanent and can easily be changed!
5 More Christmas Home Decor Crafts
Did you love this Christmas table centerpiece and want more Christmas home decor crafts? Then check out the projects below!



Beautiful. And you know I love those plaid poinsettias!
Very cute! I’ve heard of At Home but haven’t shopped there. I will have to take a look at what they have. Your post inspires me to add some plaid to this year’s Christmas decor.
NO “at home” stores in our neck of woods unless in Denver. Not even going there after i saw news tonight. I70 was shut down in few places, having blizzard, accidents everywhere. Unless i want to die not going over those mountains.
Love your centerpiece, got couple ideas for my own. Have some trugs out on deck so will paint one to make centerpiece with for half wall between kitchen/living room. bought some picks at Michaels and some stuff at $tree, will be decorating for holidays with that stuff and what I’ve made this year. Not getting holiday decorating boxes out at all. Too much mess and confusion all over house after holidays. Not going to be up to it this year. Having right shoulder replaced on Dec. 7th. so have to rely on hubs to do any decorating and he’s not exactly mr. cooperative.
You always have your home so pretty and homey, warm and welcoming, love it. Your decorations are awesome Angie, can hardly wait to see your home for holidays. Are your kids getting excited about holidays and writing their letters to Santa? Such fun with small children. I envy you. Your wonderful centerpieces are great start for your holiday decorations, need to go back to see post you referred to.
i used to do holiday decorating when I was kid in our house, my Mother worked 6 days a week and cooked/baked, did laundry on her only day off. In those days there weren’t washing machines like now, was one of those wringer washers and hanging out to dry. Good thing Tucson had good weather most of time. My Dad would advise me as I made things and decorated. Think any arty I got was from my Dad, he was really good oil painter.
Enuf of this, have great rest of week
I did see the weather report for Denver! Amaazing!
Glad you got some ideas anyway! Best of luck on the surgery!
My youngest is 10 so I hope he will write a letter to Santa! He is borderline on believing and not!!
Love all of these ideas! Very creative 🙂
– Seri
http://www.Serisblog.com
How pretty! I love all of them! Thanks for sharing, visitng form Weekly Create & Share LInk Party.
Angie I just love how your centrepiece turned out! I am totally in love with burlap and twine and anything red 🙂 So pretty. Thanks so much for linking this up to the Bewitchin’ Projects Block Party. Hugs, Lisa