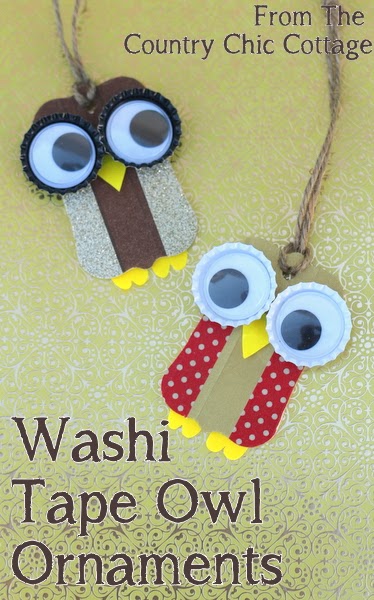
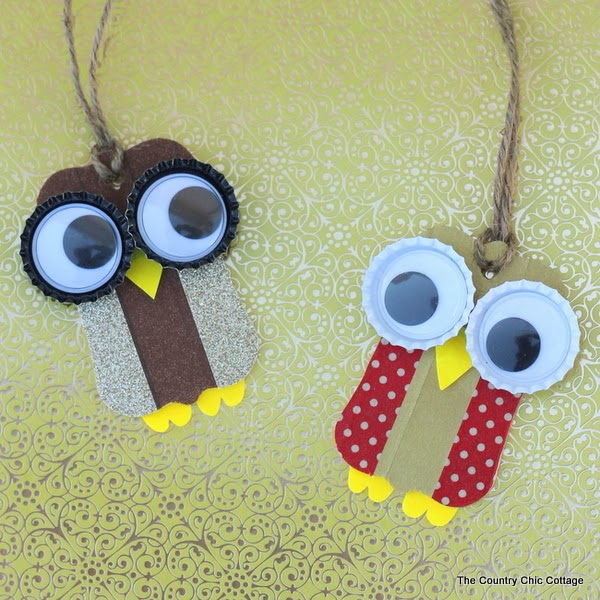
Washi Tape Owl Ornaments Supplies:
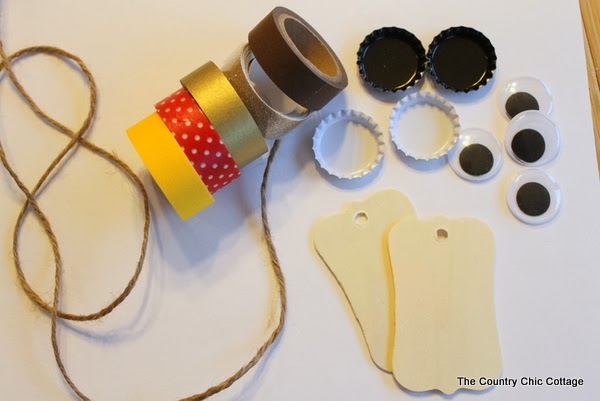
- washi tape in assorted colors
- wood shapes with holes
- bottle caps
- google eyes
- twine
- hot glue
- craft knife
Washi Tape Owl Ornaments Instructions:
Add your google eyes to the bottle caps with hot glue.
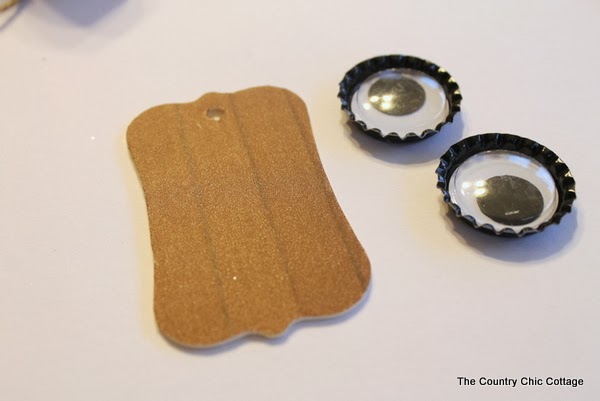
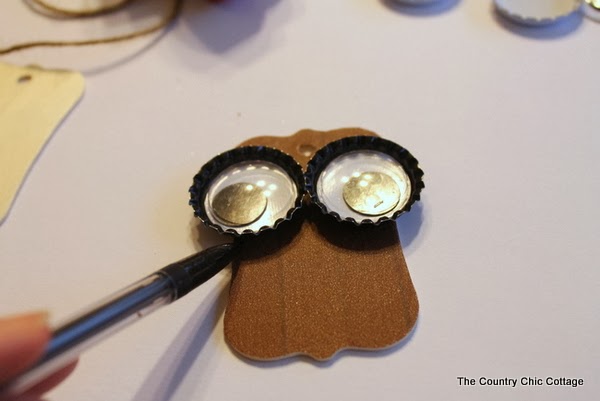
Place your eyes on the shape but DO NOT glue. Use a pencil to mark on both sides where the eyes are.
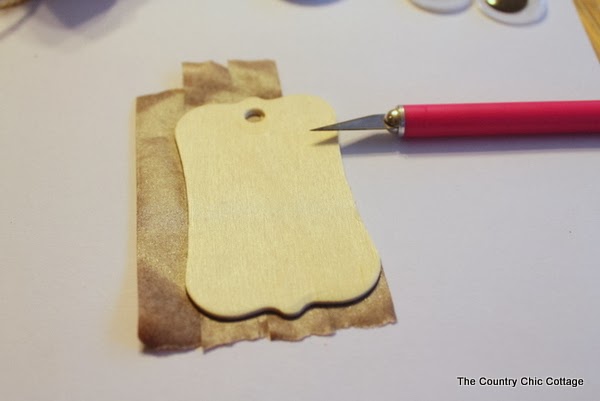
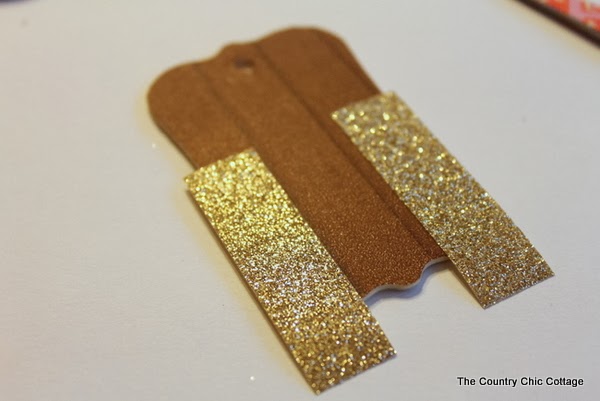
Run a strip of washi tape on both sides of your shape covering up slightly where you made the mark in the previous step. Again turn this over and trim away excess using your craft knife.
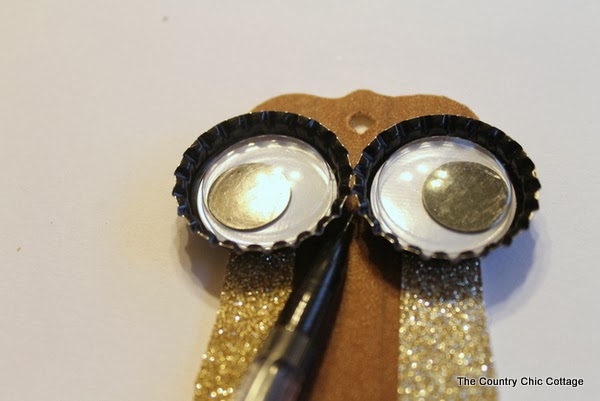
Again place your eyes but DO NOT glue. Mark the center of your eyes with a pencil.
Next we need to make a beak. Fold over a short piece of washi tape as shown below. Be sure to leave a small strip of sticky tape at the top.
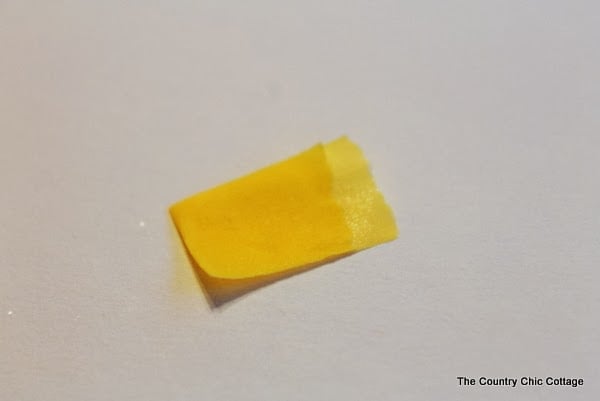
Cut into a triangle shape.
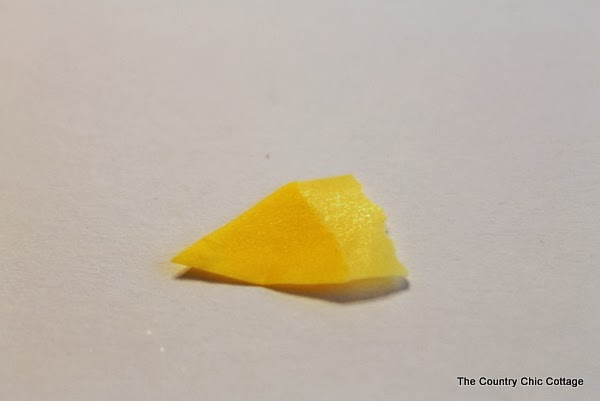
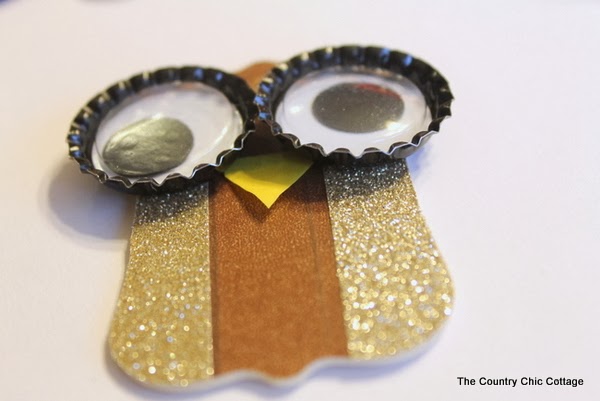
Use the sticky area on the beak to adhere the beak where your pencil mark is located. Then use hot glue to adhere your bottle cap eyes.
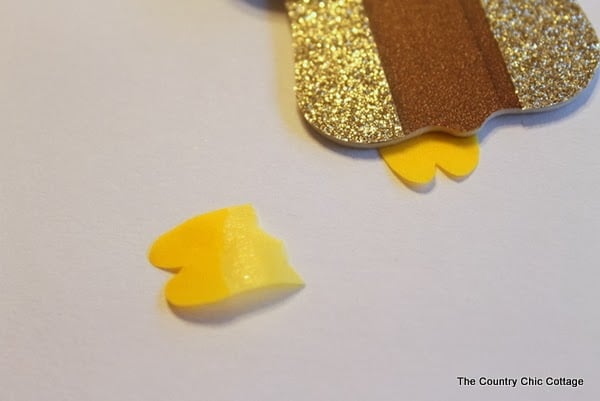
Use the same technique that you used for the beak to make feet. This time trim into a shape similar to the top of a heart. Adhere the feet to the back of your wood shape.
Add a piece of twine to the top of your owl to hang on the tree.
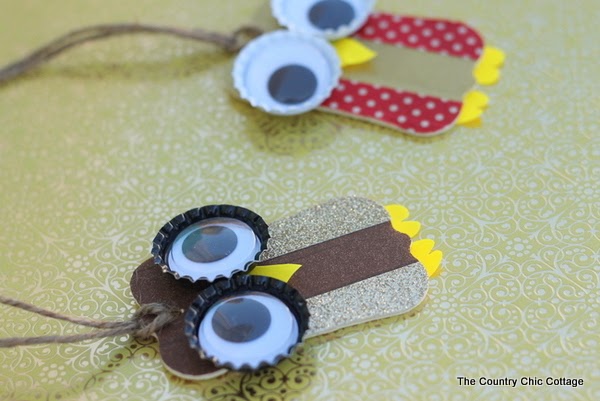
I hope you will make some of these fun washi tape owl ornaments with your kids this Christmas. Do you love crafting with your kiddos this time of year? I know I do!


These are super cute! Where did you get the wood tags from?
They were from Pick Your Plum some time ago.