Are you searching for a clock with just that perfect touch of pizazz? Make a DIY clock with a personalized button frame! Here’s how.
When I was decorating my craft room, I wanted to add a clock. Without a clock, I get hopelessly sidetracked with my crafting and lose track of time!
Unfortunately, just any old clock wouldn’t cut it. I wanted something that fit the vibe in my craft room, so it had to be special. After spending some time looking around stores as I was doing errands, I decided that I just needed to make my own.
Wait. Make my own DIY clock?
Yep!
By using a DIY clock kit, you can make your own clock and customize it to fit your home and decor perfectly.
I took my DIY wall clock and added a button frame with the colors that I wanted. It’s perfect for creating a clock that fits your craft room, kids’ room, or any other room in your home. It’s also a great DIY gift idea!
If you love making fun decor projects, check out our Rustic Wall Art, DIY Canvas Wall Map, and Dinosaur Wall Art ideas!
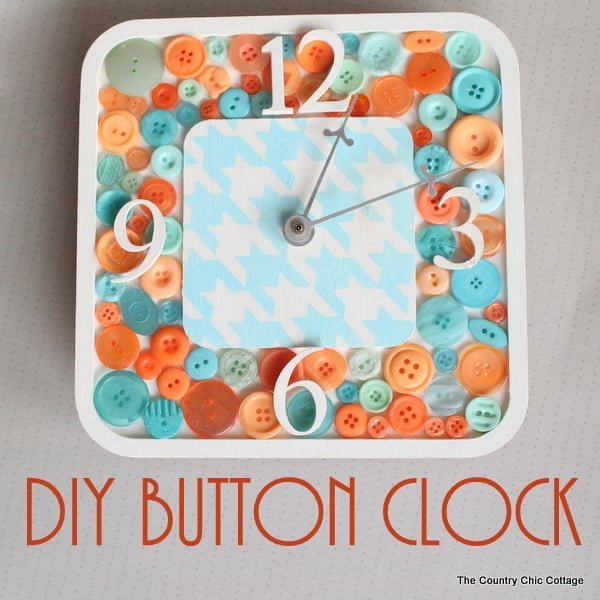
How To Make A DIY Clock With A Button Frame
This DIY button clock is super simple to make – I think you’ll be pleasantly surprised at how quickly and easily this project comes together!
Supplies Needed
Here’s everything you’ll need to make this DIY project! I’ve included some handy links to make finding certain items a little easier and faster.
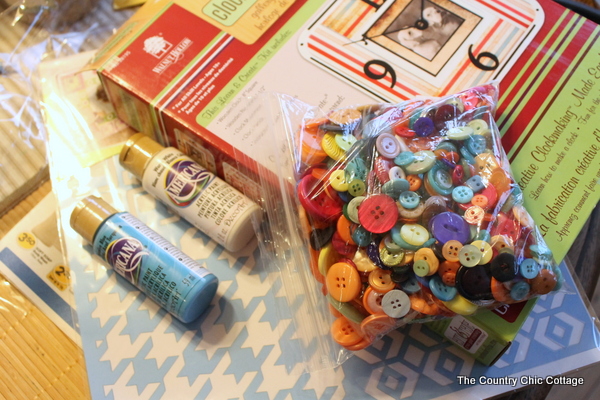
- Clockmaking Kit from Walnut Hollow
- Buttons – I used the fruity mix for this project
- Americana paint – in white and Whispering Turquoise colors
- Americana Stencil
- Glue gun and hot glue
- Tacky Glue
Instructions
This project is oh-so-simple. And that includes making the clock! Just follow these step-by-step instructions.
Step 1
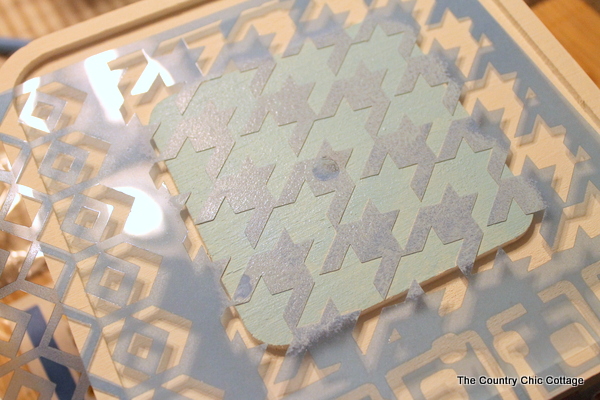
Paint your wood clock base from inside the kit. I did a base coat of white on the entire surface and allowed that to dry before moving on.
Then follow with your stencil and paint blue (or the color of your choice). Paint the numbers that come with the kit in this step as well.
Allow all of your components to dry completely before continuing.
Step 2
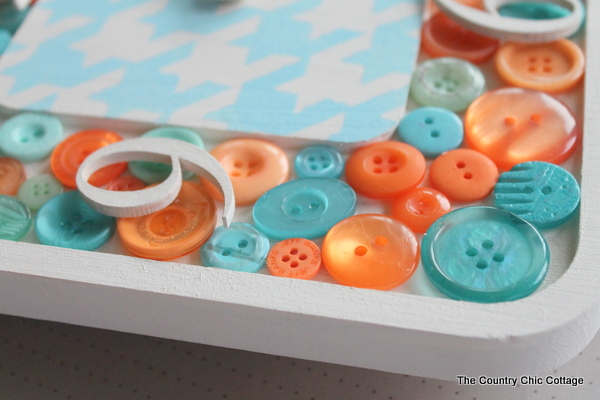
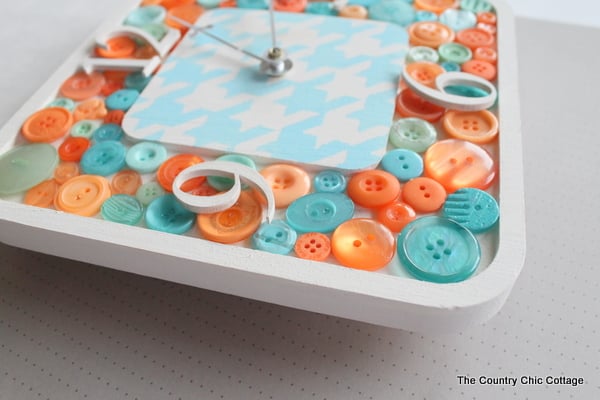
The rim of this particular clock kit is just perfect for laying in buttons. Position your buttons and numbers until you are happy with the results.
Then pick up each button and hot glue it to the surface.
Step 3
Once all the buttons are glued into place, use tacky glue to put your numbers into place on top of the buttons. Allow the glue to dry completely.
Step 4
Add the clock movement to the center of the clock. Adjust hands as needed so they do not hit your numbers.
FAQs
Here are a couple of questions that I see readers ask about making this DIY clock with a button frame. If you have a question, please check to see if I’ve already answered it below. Don’t see your question? Leave it for me in the comments!
How do you decorate a clock?
I made a button clock because I love the way it looks. If you don’t have buttons (they’re cheap to buy!) or would prefer to use something else, other decoration ideas include scrap fabric, pieces of sea glass, or any other material that’s semi-flat so you can glue the numbers on top.
Can I change the look of my DIY clock?
The basic design of the clock (overall shape and number styling) is dictated by the DIY clock kit that you purchase. However, you can definitely change the colors of the buttons and paint to match your home decor and preferences!
Should I protect the surface with Mod Podge?
No, that’s not necessary for a couple of reasons. First, since it’s a wall clock, nothing should be rubbing against the surface and damaging it.
Second, Mod Podge is sometimes used to hold things in place. However, the hot glue has a stronghold, so there’s no need to add a layer of Mod Podge to hold your decorations in place.
Lastly, using Mod Podge on this design runs the risk of leaving unsightly goops, which can negatively affect the look of your clock.
Stick with hot glue for the buttons and tacky glue for the numbers, and you’ll be good.
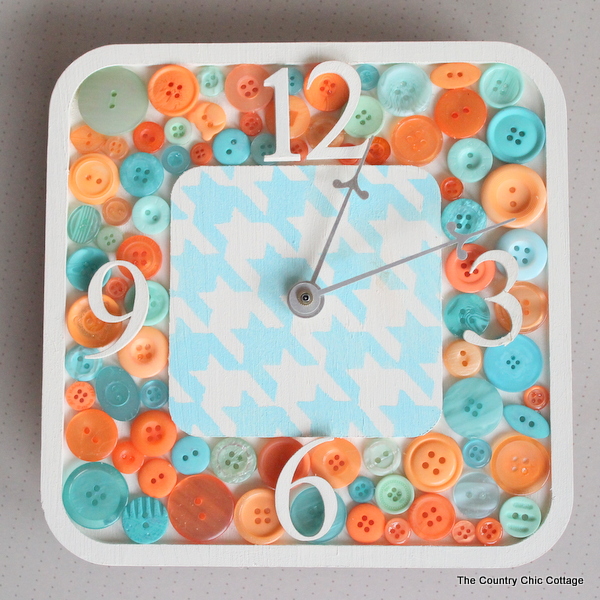
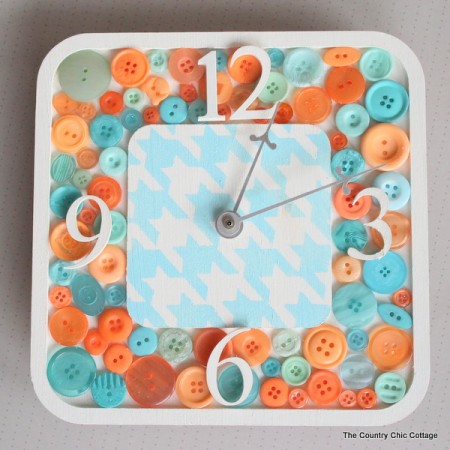
This DIY button clock is ready to hang in any room in your home – I hope you love yours! The clock kit from Walnut Hollow makes this project simple enough that anyone can do it. The hardest part is figuring out how to position all of those cute buttons.
What color will you choose for your DIY button clock?
More Decor Crafting Inspiration
If you love making DIY decor, check out these other popular projects:
- DIY Mason Jar Wall Decor
- Fish-Shaped Driftwood Wall Art
- Starfish Craft: Easy Beach Wall Art
- Capiz Shell Wall Art You Can Make Yourself in Minutes
Supplies
- Clockmaking Kit from Walnut Hollow
- Buttons
- Americana Paint in white and Whispering Turquoise colors
- Americana stencil
- Hot glue and a glue gun
- Tacky glue
Instructions
- Take your wood clock base from the kit and paint a base coat. Also paint the numbers. Allow these pieces to dry completely.Then take your stencil and paint the color of your choice. Once everything is completely dry, you can move on.
- Play around with the position of your buttons and numbers until you are happy with the results.Then pick up each button and use hot glue to secure it to the surface.
- Once all the buttons are glued into place, glue your numbers with tacky glue on top of the buttons. Allow the glue to dry completely.
- Add the clock hands to the center of the clock, adjusting them as needed until they don't hit your numbers.


