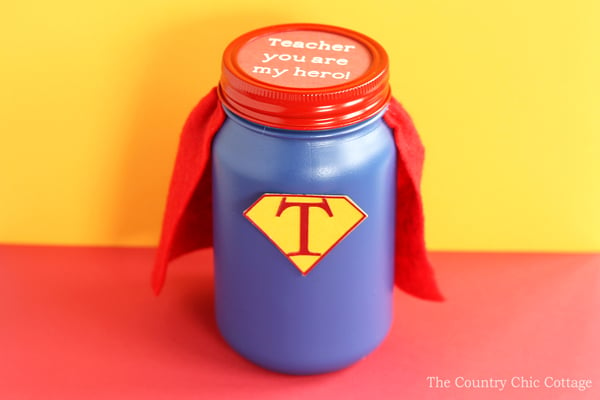
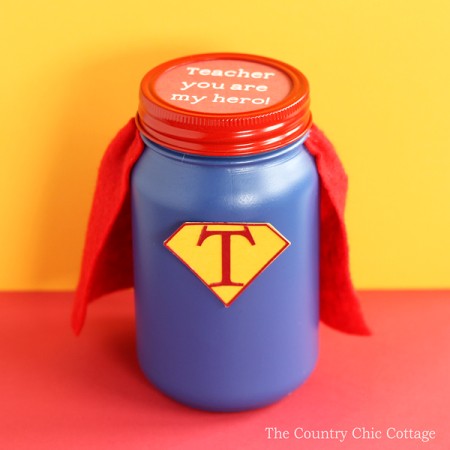
Our hero teacher gift in a jar is perfect for Teacher Appreciation Week. If you are looking for a fun gift to pull together for any teacher, this is a cute and practical idea. You can fill it with any gift that the teacher will love and will fit inside. Then gift to any teacher that is a hero to your child. This post is sponsored by Cricut however all projects and opinions are my own.
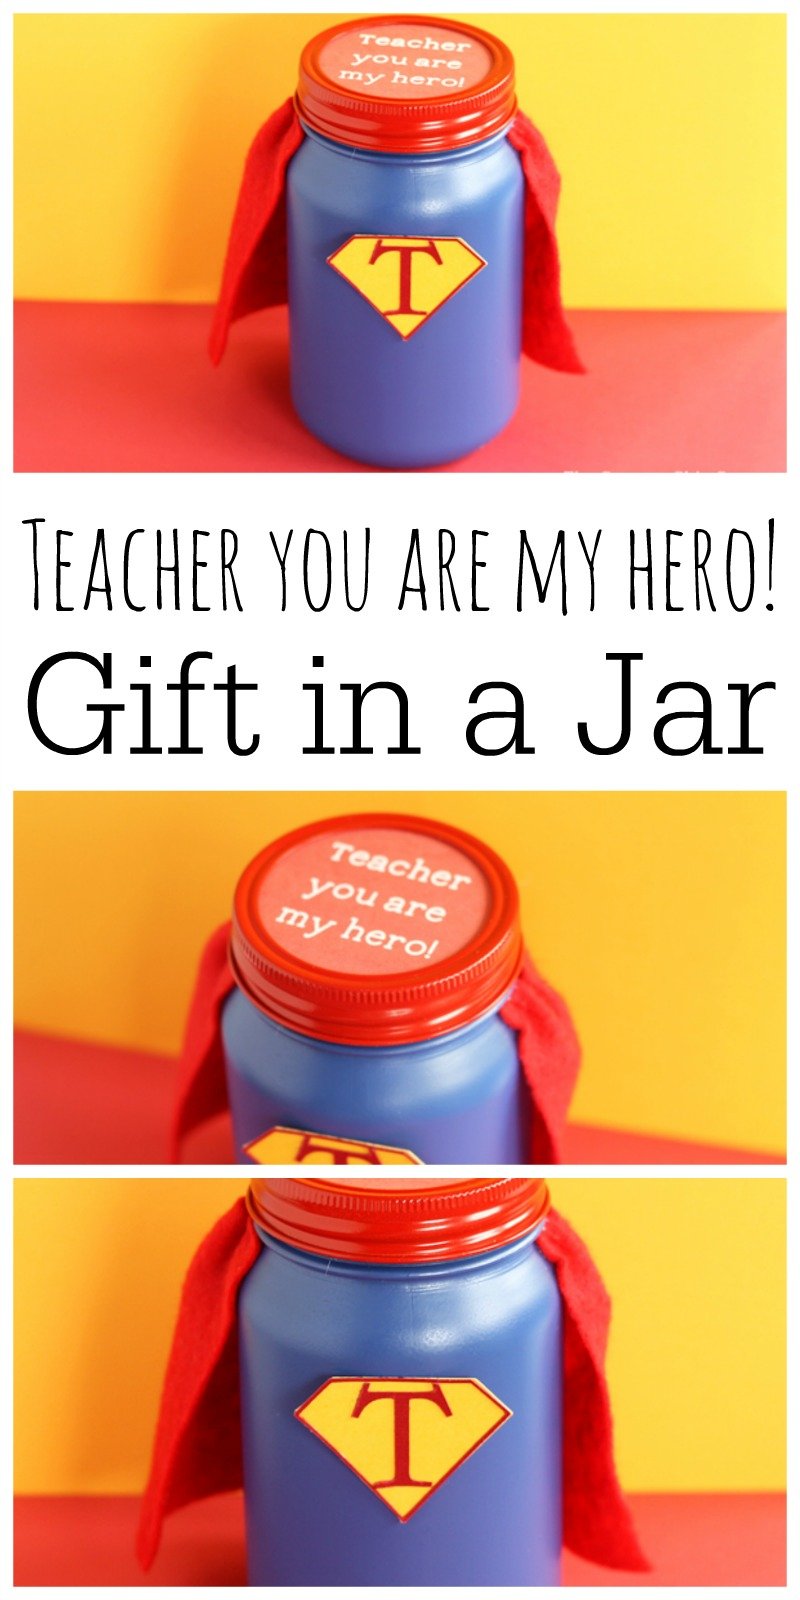
After a year of being with our kiddos, I think we can all agree that teachers deserve great gifts! They work so hard with their students and ask for so little in return.
I have plenty of teacher appreciation gifts on this site. I think the more creative you can get – the better! Anyone can pick up a gift card, but gifts given with thought, consideration, and creativity are always cherished.
You know how much I love mason jars, so it only seemed fitting that my favorite gifts to give come in mason jars. Now, you can fill this jar with homemade sugar scrubs, candy, notes, or any other small token.
How to Make a Superhero Teacher Gift in a Jar
Supplies needed to make your own superhero gift in a jar
Links may be affiliate links.
- Cricut Explore
- Red and yellow card stock
- White card stock
- Printer
- Red felt
- Mason jar
- Blue spray paint
- Red spray paint
- Adhesive runner
- Hot glue and glue gun
Steps for making a superhero mason jar gift
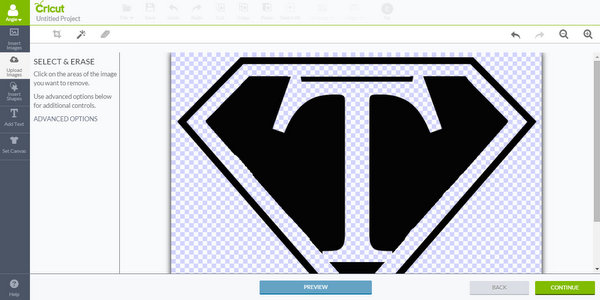
Start by painting your mason jar blue with the spray paint and allowing to dry. You can work on the graphic for the front of the jar in the meantime. You will need to download the following graphics for use in Cricut Design Space. The following was what I had intended to use for the red portion.

I then created the below graphic for the yellow portion.

I ended up having to isolate the border and the “T” in the red portion as my mat would not hold the card stock securely during the cutting process. You can use the same graphics as above just upload to design space.

Then use the erase function to get rid of some of the areas. I continued to erase until the outside border was by itself. I then added it again and isolated the “T”.
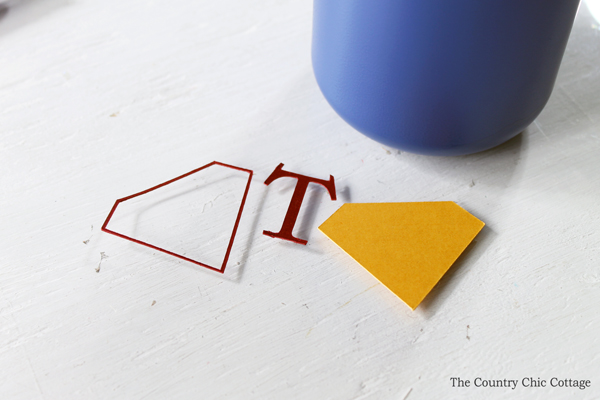
I cut those from the card stock and was left with the below cutouts for the front of my jar. I think if I had a strong grip cutting mat available that it would have worked. I ended up improvising with the standard grip mat. Either way will look great on your jar. And I love the fact that with the Cricut software it is so easy to use the eraser to customize your graphics in this way. That way you can easily turn an uploaded image into a custom cutout right in the software.
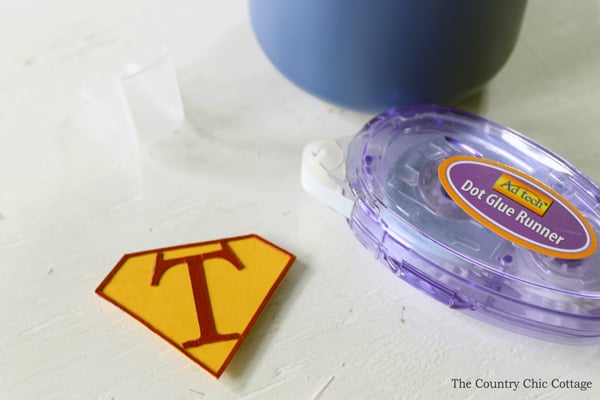
I used an adhesive runner to attach the pieces together.
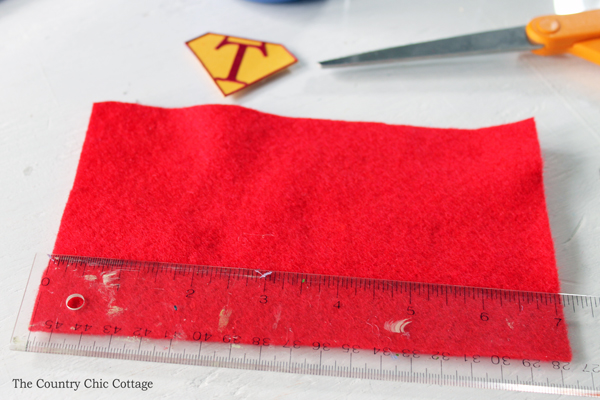
I then cut a piece of red felt about 7 inches long and a little shorter than the jar is tall. It should go from the neck of the jar to almost the bottom.
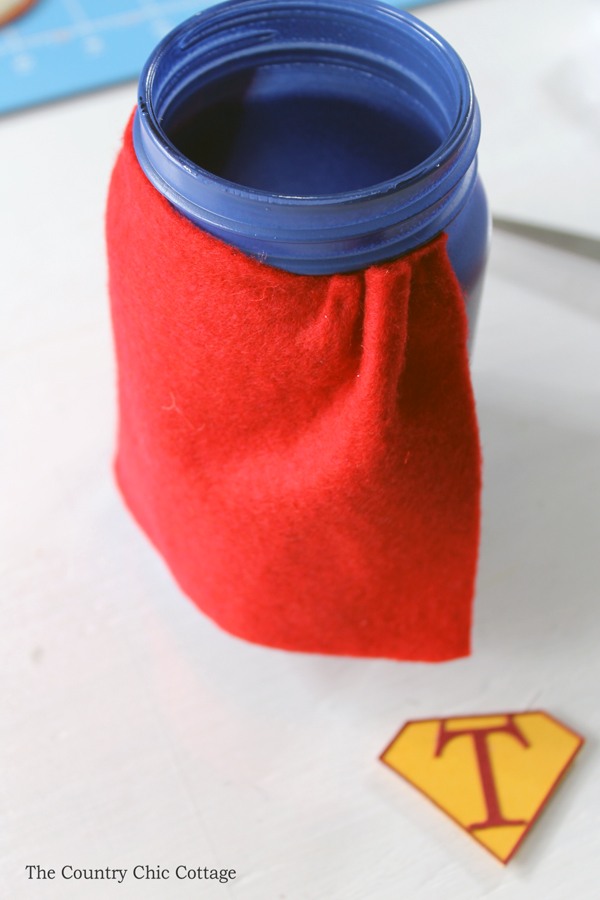
Use hot glue to put the felt cape on the painted jar. I gathered the cape on both sides when gluing as shown in the image below.
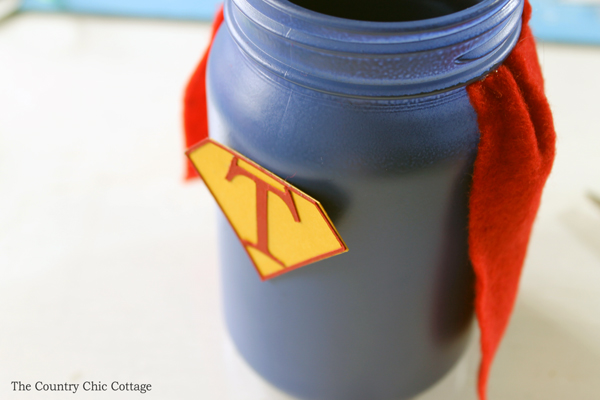
Use additional hot glue to put the “T” logo on the front of the jar as shown below.
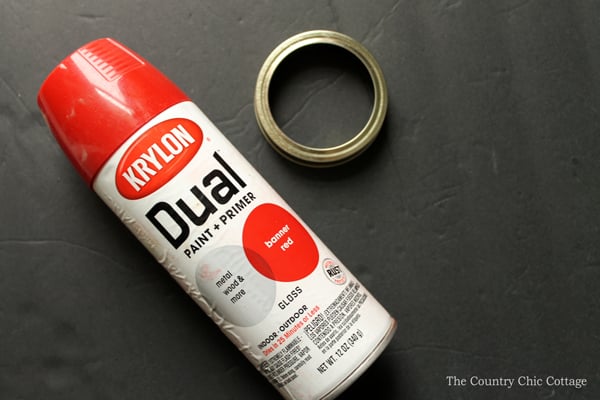
Now we need to work on an awesome lid as well! Paint the band of the mason jar lid with red spray paint and set aside to dry completely.
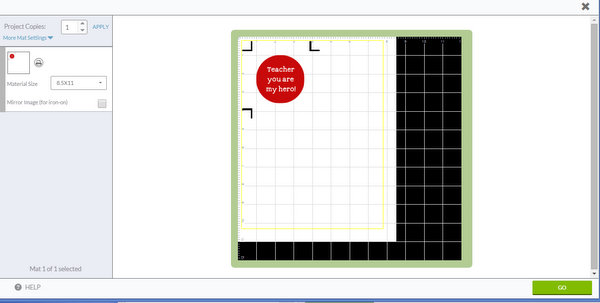
I then designed a lid in Cricut Design Space. You can draw a circle the size of your lid and make it red. Then add letters that read “Teacher you are my hero!” A picture of what I used to design my lid is below.

I then used the print and cut function to make my lid. I printed on white card stock then used my Cricut to cut out the circle.
I then added it to the lid (no glue needed).
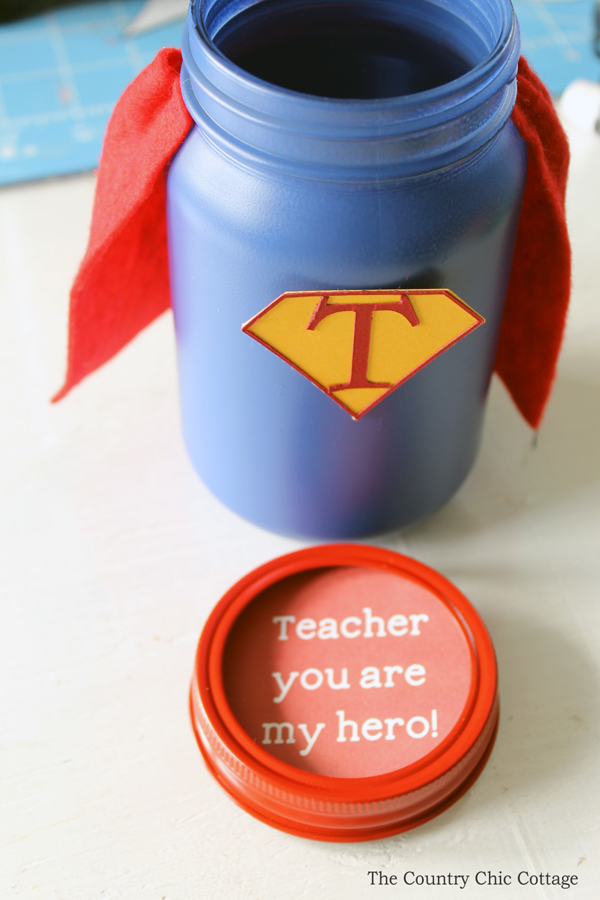
And screwed the entire thing onto the mason jar.

Now you just need to fill your jar with any gift that your teacher will love.
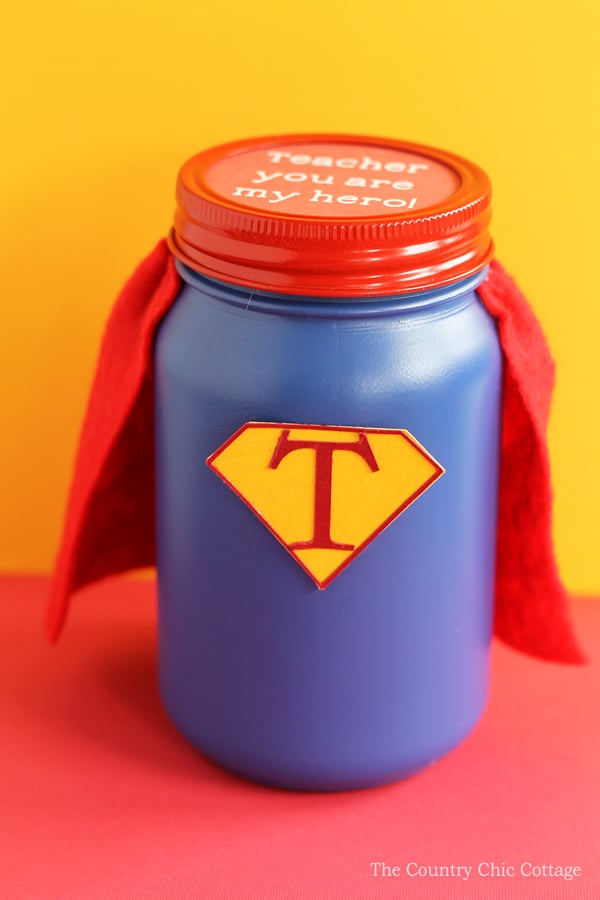
They will love getting this token of your appreciation during Teacher Appreciation Week.
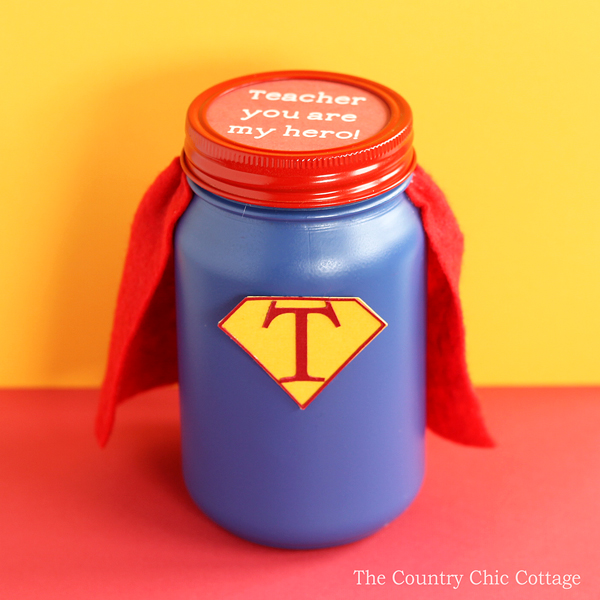
This adorable mason jar is sure to brighten the day of any teacher! Make our hero teacher gift in a jar for every teacher your child has this year!
Supplies
Instructions
- Spray paint the outside of the mason jar blue and set aside to dry.
- Download the graphics in Cricut Design Space.
- As needed, use the erase function to remove some of the areas.
- Print and cut the designs from the card stock.
- Then, use an adhesive runner to attach the cutouts together. Set aside.
- To make the “cape” of the jar, cut a piece of red felt long enough to go from the neck of the jar to almost the bottom. Attach the “cape” with hot glue. I gathered the cape on both sides when gluing as shown in the image below.
- Attach the “T” logo on the front of the jar with hot glue.
- To make the lid, paint the band of the mason jar lid with red spray paint and set aside to dry completely.
- Then, design a lid in Cricut Design Space by drawing a circle the size of your lid and make it red. Then, add text that reads “Teacher you are my hero!” (or other message)
- Then, print and cut the design and add it to the lid.
- Fill the jar with goodies!


This is such a cute idea! Excellent step by step.
oh this is just too cute!
I would love for you to share this at my Facebook Group for Recipes, Crafts, and Tips and Tricks!! https://www.facebook.com/groups/pluckyrecipescraftstips/
Thanks for joining Cooking and Crafting with J & J!
This is so cute! My daughter’s teacher actually has a Superhero theme in her classroom so this would be perfect!
This is adorable. I love creative teacher gifts ideas. I will be pinning this to my Teacher Appreciation board for sure! Thanks for sharing.
This is such a cute idea! I’m sure any teacher would appreciate this gift. Thanks for sharing at the #MMM Link Up 🙂
Thank you for the idea and the cricut template! I was able to swap out the T to personalize it for my daughter’s teacher and the teacher’s aide. I filled the jar with pencils and pens and labeled each with a miniature logo as well.
We would love to see it! Send us a picture to thecountrychiccottage@yahoo.com or upload one to our Facebook page! Thanks for sharing!