Transform your old or upcycled furniture with this simple painting method! I made a chalky painted nightstand, but you can use the same process on a coffee table, end table, or any other piece of furniture.
Not too long ago I completed a project that I am so excited to share with you because I LOVE how it turned out.
I painted my previous nightstand about three years go, and I was ready for a change. I didn’t realize it until I had finished this painted nightstand project, but it turned out to be just the transformation that my bedroom needed!
Note: If you love creating furniture pieces (or making them over), check out my DIY Footstool, Teen Room Painted Chair, and How To Refinish Wood Furniture.
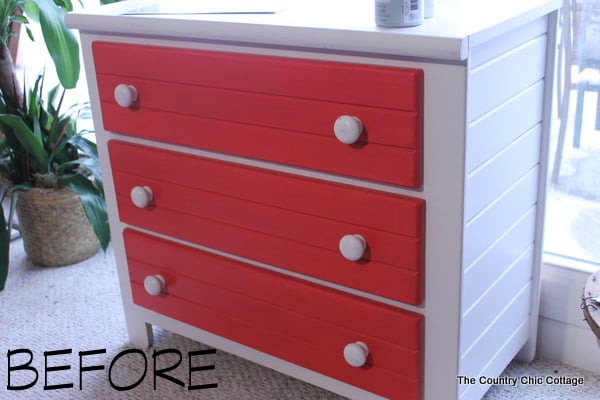
I picked up a small dresser at a second-hand furniture store for $65. It is solid wood, and the shape was perfect for my needs. However, the paint job that they had given it to try to sell it was…um…not my style.
How To Make A Painted Nightstand
A change was in order before I added it to my bedroom. I had been itching to do a furniture makeover project for a little while, so this project gave me the opportunity. Here’s how I transformed this nightstand into a farmhouse-style piece of furniture.
Supplies Needed
Here’s everything that you’ll need to gather for this nightstand painting project.
- Americana Chalky Paint from DecoArt
- Paintbrushes
- Brocade motif stencil (or make your own stencil, instructions below)
- Painter’s tape
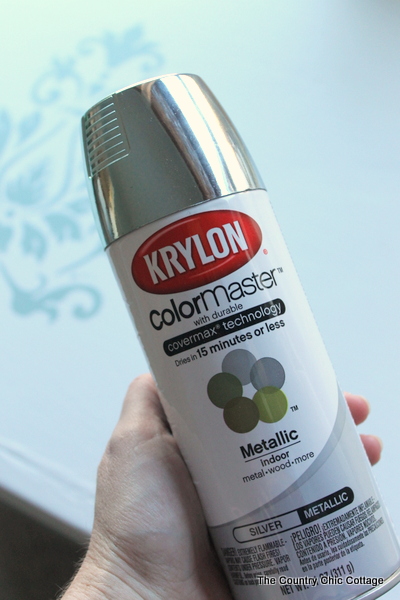
- Krylon ColorMaster spray paint
- Americana Creme Wax
How To Paint A Nightstand Instructions
Follow these step-by-step instructions to see exactly how I transformed this great piece of furniture!
Step 1
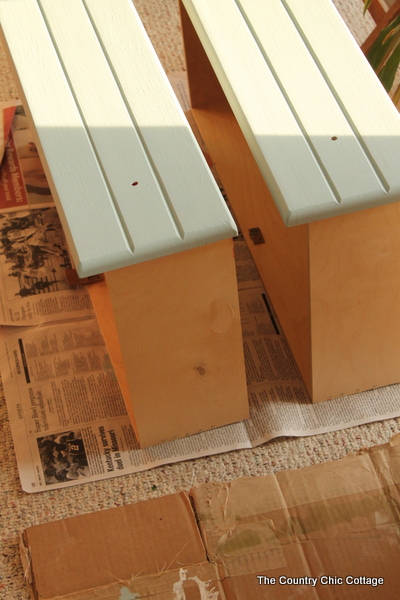
Even though the chest was white, I used Americana Chalky Paint to give the entire piece a makeover. I painted the chest itself with the color Everlasting and the front of the drawers with the color Vintage.
Note: The chest was already white so just going over it with one coat of chalky paint was sufficient. It took two coats of vintage to cover up the day glow red on those drawers, however.
Step 2
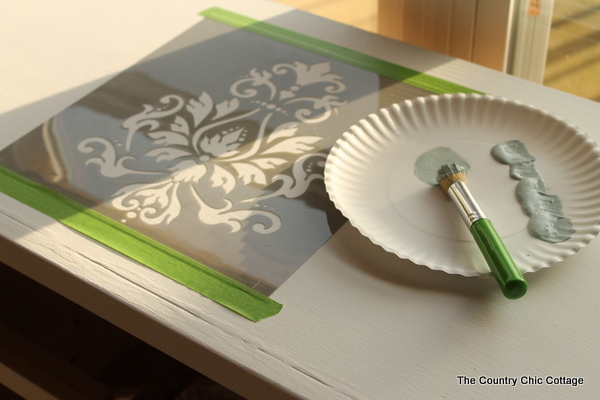
Once the white chalky paint was dry on the chest, I used a brocade motif stencil also from DecoArt on the top of my painted nightstand. I used a removable adhesive sprayed on the back to ensure clean lines.
Then I applied the chalky paint in Vintage to a stencil brush. Remove your stencil as soon as you are done painting so that you don’t risk removing paint when you remove the stencil.
Make your own stencil
If you have a Cricut or other cutting machine, you can cut your own stencil to really personalize this nightstand. If you’ve never made a stencil with your Cricut, it’s an easy process that I’m sure you will get hooked on! You can use a cut file in Cricut Design Space, or here are a few that I like for this project:
Note: Make sure to use a very dry brush and apply light coats when using a stencil.
Step 3
For the hardware on the piece, I loved the size and shape of the hardware on the original. However, they were painted wood, and I did not love the look.
I grabbed some silver metallic spray paint from Krylon and gave the hardware a few coats. It did the trick! The hardware looked perfect in shiny silver.
Step 4
After the entire piece was dry, I applied two coats of Americana Creme Wax to protect the surface and give it more shine.
Note: When starting with chalky finish paint for the first time, be sure to read the tips and techniques page and watch the instructional videos.
Step 5
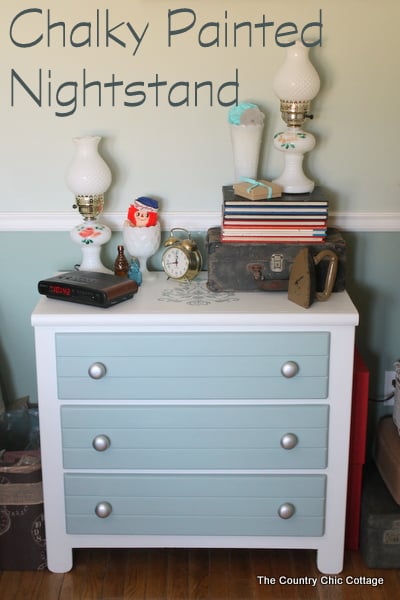
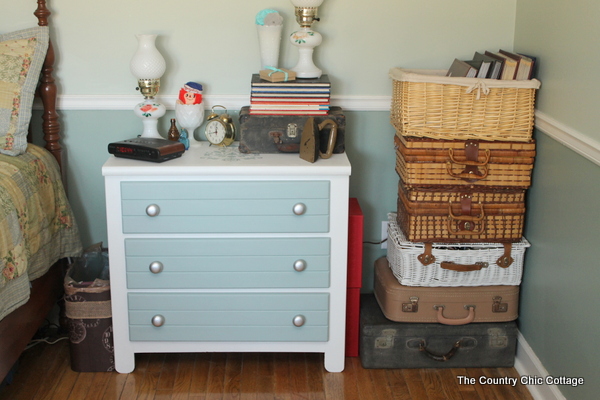
Once I completed that, and it was dry, I moved my painted nightstand into place and loaded it up with fun vintage treasures. It is the perfect height to use as a nightstand, and all of those drawers offer up storage that was desperately needed in this room.
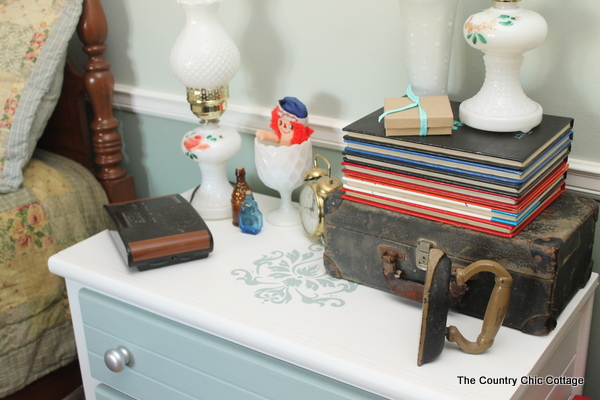
What’s more, I am in LOVE with how the stencil on top turned out. It breaks up the top and adds detail to the otherwise plain piece of furniture!
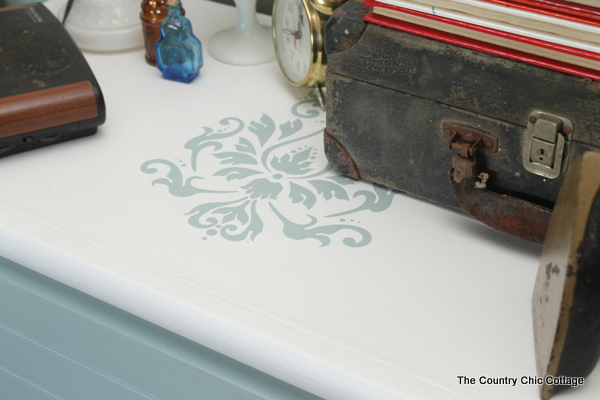
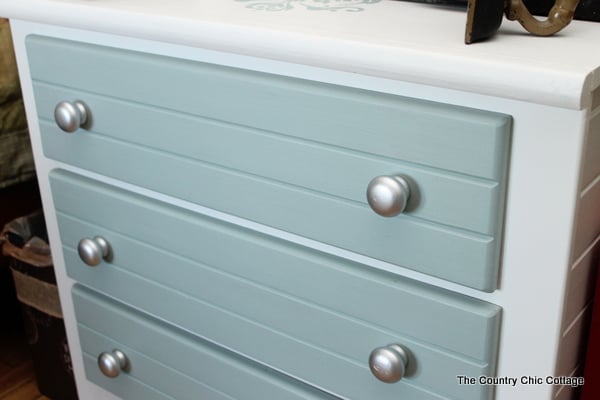
And then there are those spray-painted knobs. Pretty great, huh? Much better than the painted white knobs that were on this painted nightstand when I bought it.
While I was cleaning and organizing my bedroom, I took advantage of the opportunity to organize 40-plus years of photos in this space. You can read more about the labels used in my organized craft closet.
FAQs
Here are a couple of questions that I see readers ask about DIY painting nightstands. If you have a question, please check to see if I’ve already answered it below. Don’t see your question? Leave it for me in the comments!
Do I need to use sandpaper to rough up the old paint before painting the new paint?
Normally, I would say yes. And if the furniture you want to paint is stained or you aren’t using chalky paint, then the answer is definitely yes. However, for this specific painted nightstand project, I used chalk paint that has great hold and doesn’t require prep work, so I wasn’t worried about sanding the old paint first.
Should I use primer on the nightstand before painting it?
I recommend doing that when you’re painting over stained wood because the stain can bleed through the paint. And sometimes it might be useful if you’re painting over black or very dark paint so that you don’t need to use as many coats of paint to cover up the old color.
However, for this project, I didn’t need to take the extra step (and time) of using primer because the main piece only needed one coat of chalky paint. And the drawers only needed two coats to cover up the old red paint.
When should you use a roller instead of a brush?
When painting large pieces of furniture like a dresser or armoire, using a roller can be helpful for saving time. Since this nightstand was small, I just used a brush to paint it.
Now my chalky painted nightstand and a stack of organized photos have their homes in my bedroom. The bonus? It does not look like a cluttered wreck – gotta love that!
More Furniture Rehab Inspiration
If you enjoyed this painted nightstand tutorial and love giving the furniture a fun makeover, check out these other ideas!




Looks great Angie!
It turned out great! ! Love the color you chose too. 🙂
Nancy
This is gorgeous. The color is subtle but provides a nice contrast with the white.
Looks SOOOO good!!!!
Beautiful work, girlfriend!
I love the color you chose for the drawers. It looks great Angie!
I love the way you transformed your nightstand. It is lovely, so fresh. You have given me ideas for one in my bedroom which is very much in need of a makeover. Many thanks. Deirdre