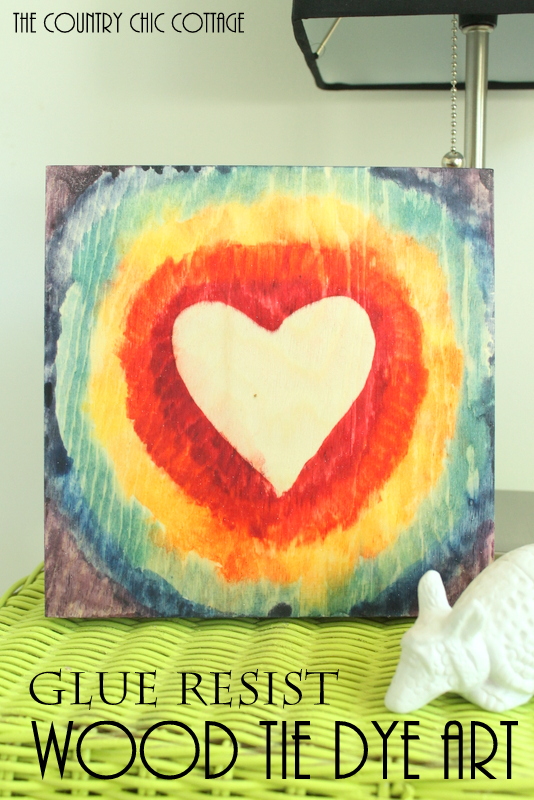
If you’re looking for a fun summer project to do with the kids, I have a fabulous summer kids’ craft for you today with my wood tie dye art. It’s fun and easy to do, perfect for kids to make, and will look terrific in your home!
Summertime is a wonderful time of the year, but it can have its challenges too. I have found that my kids are great every summer through the middle of July and then boredom (and heat) starts to REALLY settle in.
That’s when I start pulling out all the stops and coming up with creative crafts, games, and other ideas to keep them happy and busy until school starts. Then I toss those ideas into our DIY Summer Fun Idea Jar and let the kids pull out one idea at a time!
Today, I have a tie dye art project to make on wood!
Use this as a fun project with your own kids or as a kids camp craft. Yep, that is RIT Dye right on the wood. Amazing right? And I’m showing you how to do it yourself. 🙂
If you’re looking for more fun ideas to do with the kids this summer, check out my Chalk Spray Paint For Lawn Painting Fun, DIY Backyard Four in a Row Game, and Checkers and Tic Tac Toe Board for endless hours of fun and entertainment!

How To Make Tie Dye Art On Wood
Grab some wood and dye to experiment on your own with these supplies and instructions!
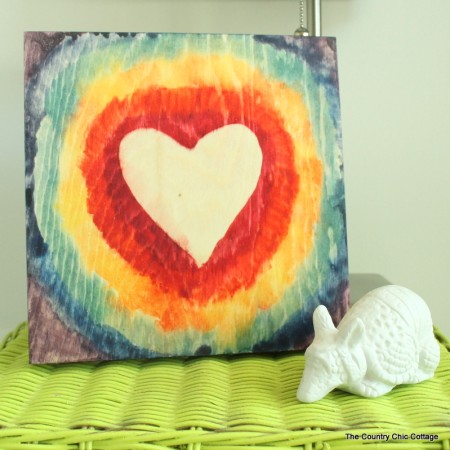
Can you guess how I masked off that heart in the middle? No tape or vinyl was involved y’all. Be sure to read all about the secret ingredient and the method to get it looking just right!
Supplies Needed
Gather together these supplies:
- Elmer’s blue school glue
- Wood canvas
- RIT dye
- Paintbrush
- Old towels or rags
- Iron
Project Instructions
Just follow these instructions to create your own unique and beautiful piece of tie dye art. You’re going to love seeing it hanging up around the house!
Step 1
Apply Elmer’s blue school glue to the wood canvas in any pattern you choose. I did a heart.
NOTE: Large shapes work best with this method. Allow your project to dry overnight before continuing.
Step 2
Start with your RIT dye and a paintbrush in the center of your project. Drip the dye straight out of the bottle and paint onto the wood canvas approximately in a circle.
I started with red and moved outward with the colors of the rainbow.
Step 3
Wash your paintbrush between colors. Feel free to wipe it off on an old towel while you’re working on a color if that color alters too much for your taste.
NOTE: You don’t have to wait for each color to dry before continuing. Just paint on all of your colors as a slight mixture of the colors is intended. Once I got to the edge, I wrapped my “circle” around as shown.
Step 4
Finish the entire canvas (sides included) with your last color. Allow the dye to dry overnight before continuing on with this project.
Step 5
NOTE: The rest of these steps are for adults only! Please beware of hot irons and children.
Once the dye has dried, get an old cotton rag or towel SLIGHTLY damp and fold it to the approximate size of your dried glue.
Use HOT water to aid in lifting the glue. Apply a HOT iron. Keep moving and applying.
Step 6
Lift the rag to check your glue occasionally. Your rag will look like the picture but do not panic. Some dye will lift but not all of it.
Refold the rag to a clean side before applying to the glue again. You do not want to risk any mixing of colors or getting dye on your plain wood surface.
Step 7
Finally (when you lift to check), you should see a slight lifting on the edge of the glue. If you pull on it the glue will begin to peel back and off the canvas.
If you meet any resistance, use a plastic ruler or another plastic edge to help push the glue off of the wood.
Your glue should come off in one sheet. You will be left with un-dyed wood underneath.
Step 8
Apply a few coats of a spray sealer before displaying your project. You don’t want anyone getting dye on their hands once they have handled your art.
Once your sealant has dried, your art is ready to display. Add your wood tie dye art to your child’s room. They will love displaying something that they helped make!
FAQs
Here are a couple of questions that I see readers ask about projects like this one. If you have a question, please check to see if I’ve already answered it below. Don’t see it? Please leave it for me in the comments!
Can I use another kind of glue for this tie dye art project?
In order for this project to work properly, you need to use a type of glue that will stick to your canvas without permanently adhering to it. I believe Elmer’s is the best option here. Hot glue MIGHT work, but I haven’t tried it, so I can’t say for certain that it will.
Can I create different tie dye designs?
Yes! I did a circle because that’s what seemed to be the best fit for me. If you would like to, create any design you want: stripes, spiral, or anything else!
More Crafting Inspiration
If you loved this tie dye art project, check out these other ideas before you go!
- DIY Tie Dye Curtains
- Easy Tie Dye with Testors Fabric Spray Paint
- How To Dye Shoes (Toms Or Other Canvas Shoes)
- How to Dye Your Rugs

Supplies
- Elmer’s blue school glue
- Unfinished wood canvas
- RIT liquid dye
- Paintbrush
- Old towels or rags
- Iron
- Sealant
Instructions
- Apply Elmer’s blue school glue to the wood canvas in any shape you like. Large shapes work best.NOTE: Allow your project to dry overnight before continuing.
- Drip the RIT dye straight out of the bottle and paint onto the wood canvas in a rough circle shape using your paintbrush.I started with red and moved outward with the colors of the rainbow.
- Wash your paintbrush between colors but feel free to wipe it off on an old towel during a color if there's more contamination from a previous color than you like.NOTE: You don’t have to wait for each color to dry before moving on to the next.
- Finish the entire canvas (sides included) with your final color. Let the dye dry overnight before moving on to the next step.
- NOTE: The rest of these steps are for adults only! Please beware of hot irons and children.After the dye dries, slightly dampen an old cotton towel or rag and fold it to the approximate size of your dried glue.Use HOT water to help lift the glue off the canvas. Apply a HOT iron but keep it moving.
- Lift the rag to check your glue every now and then. Some dye will lift but not all of it.Refold the rag to a clean side before applying to the glue again. You do not want to risk any mixing of colors or getting dye on your plain wood surface.
- Finally, you should see a slight lifting on the edge of the glue when you life your rag to check on it. If you pull on it the glue will begin to peel back and off the canvas.If you meet any resistance, use a plastic ruler or another plastic edge to help push the glue off of the wood.
- Apply a few coats of a spray sealer before displaying your project. Once your sealant has dried, your art is ready to display.


Sounds like a great project for kids and adults too! blessings, Catherine
Love the way this looks. However, when I click on the link for detailed instructions it is a blank page. Is there another link I can go to read the full instructions?
Maybe the website was down when you were trying to access it. Try this link: https://www.ritstudio.com/2014/05/28/wood-tie-dye-art-with-glue-resist/