Grab your neon paint and make some DIY solar lights today! These easy to make lights are perfect for lighting up a porch, patio, or walkway. I love an easy DIY project and this one only takes a few minutes. So, grab those supplies and get started. These are also great if you want to make a few of these to keep in your camper or RV for a fun touch of whimsy and light around the campsite. Now let’s get crafty on these solar lights!
This was first published July 25, 2014, however, I am republishing with more information.
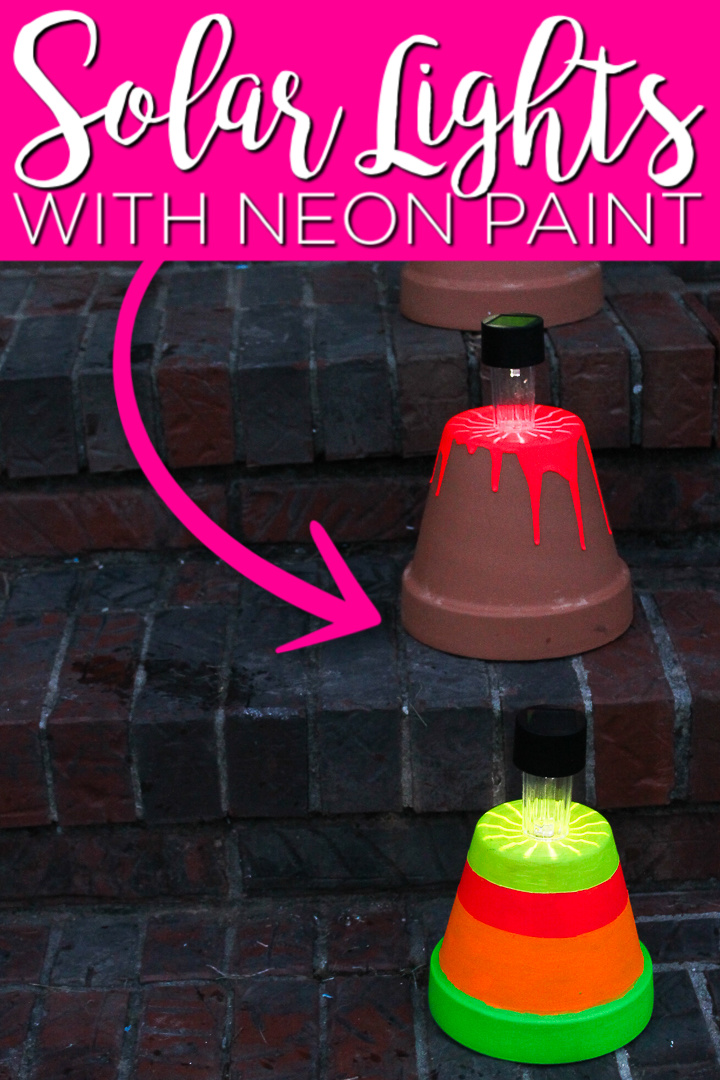
How to Add Solar Lights to Clay Pots
Supplies needed:
- Clay pots
- Masking tape
- Neon paint (I like patio paint for terracotta)
- Solar lights
- Paintbrushes
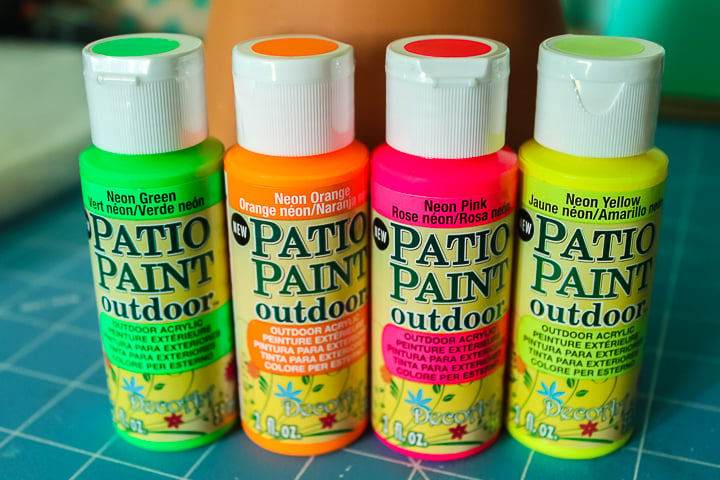
Instructions
First, you will need to add the solar lights to the terracotta pots themselves. Start with a pot and a solar light. When you are in the store make sure that the solar light will fit into the hole in the bottom of the pot.
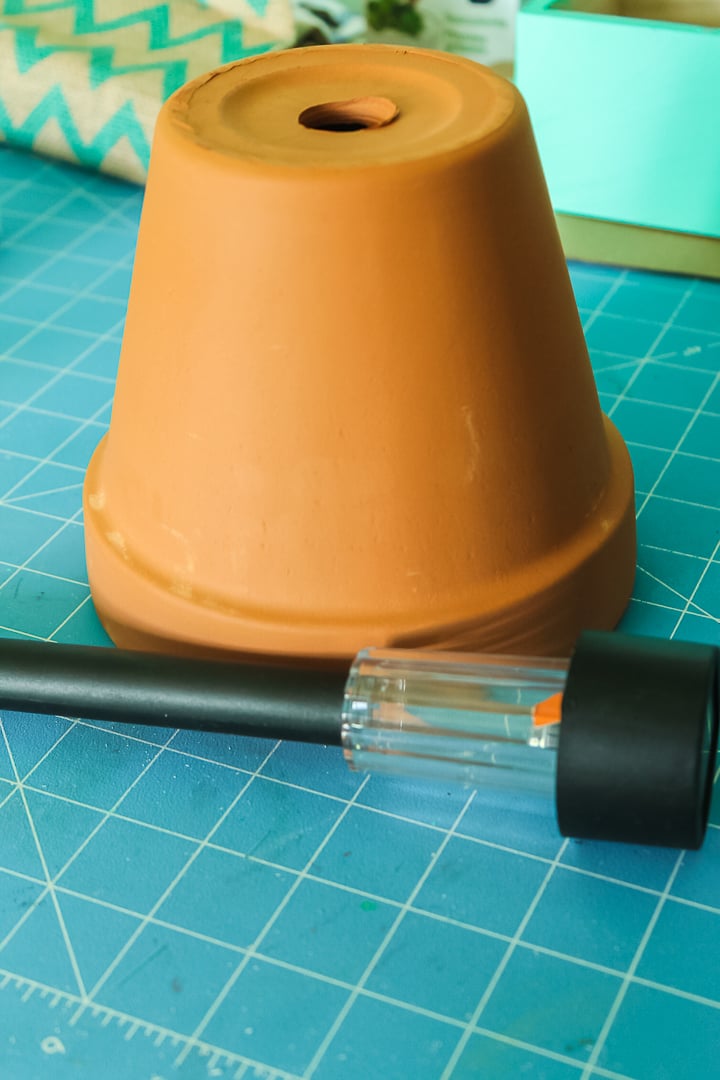
When we “assemble” these pots with the lights, you may have to throw out that spiked piece that holds the light into the ground. Especially if you are using these on concrete or a porch.
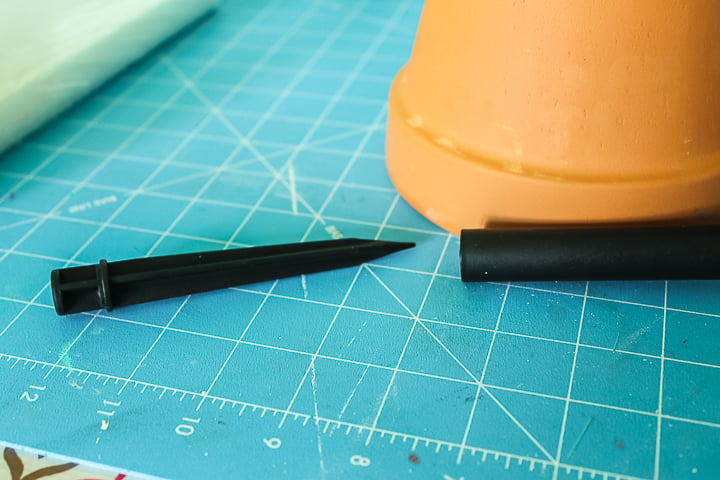
See my light fits wonderfully with that spiked piece removed sitting on a hard flat surface.
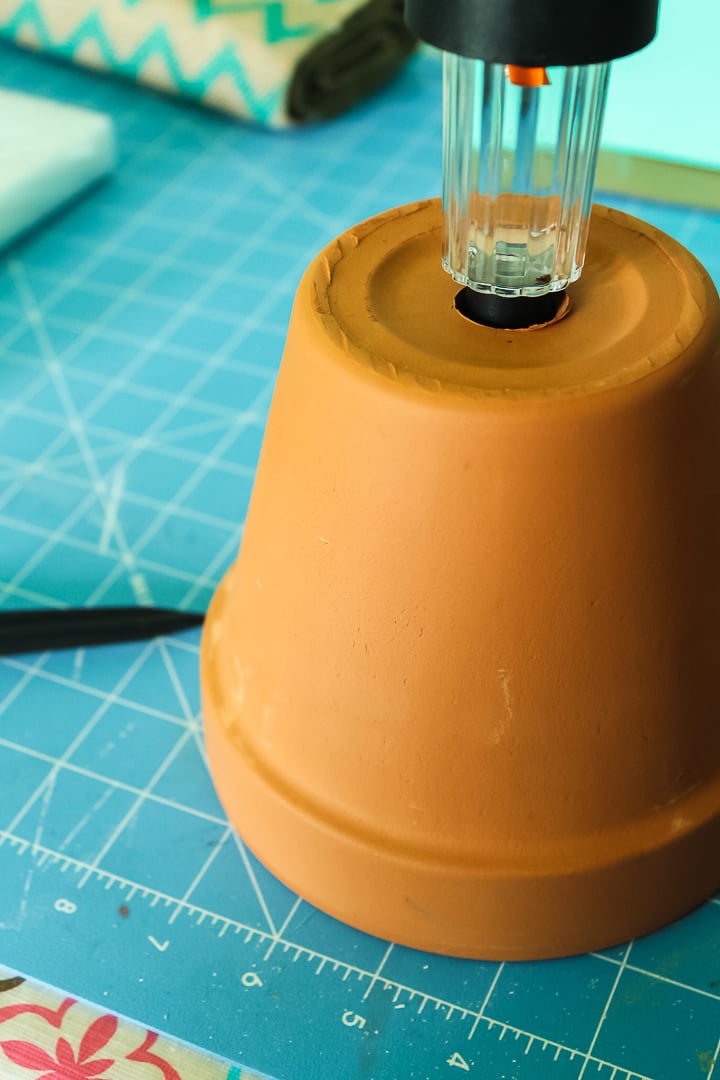
Now, it’s time to paint our solar pots!
How to Add Neon Paint to Terracotta Pots
Painting these pots is super easy and kids can go wild with their imagination. That makes them a great craft for moms and kids alike. Will you be making these with your kids? Or maybe you will be making a ton of these for yourself! Either way you can light up the night in a really unique way with this quick and easy craft.
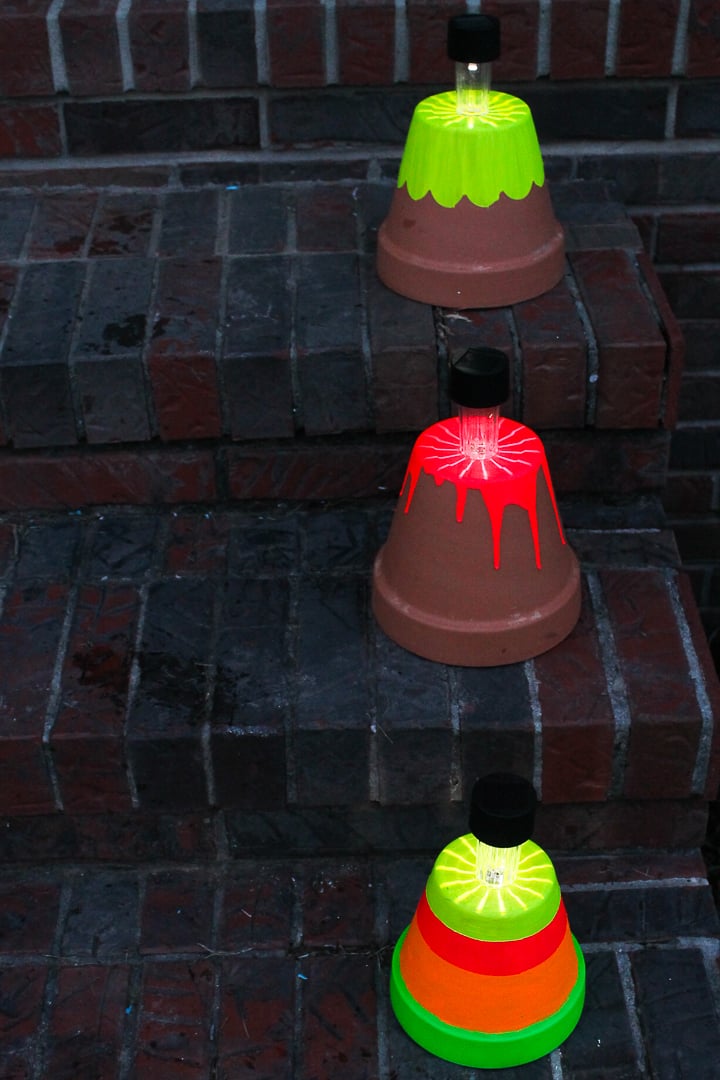
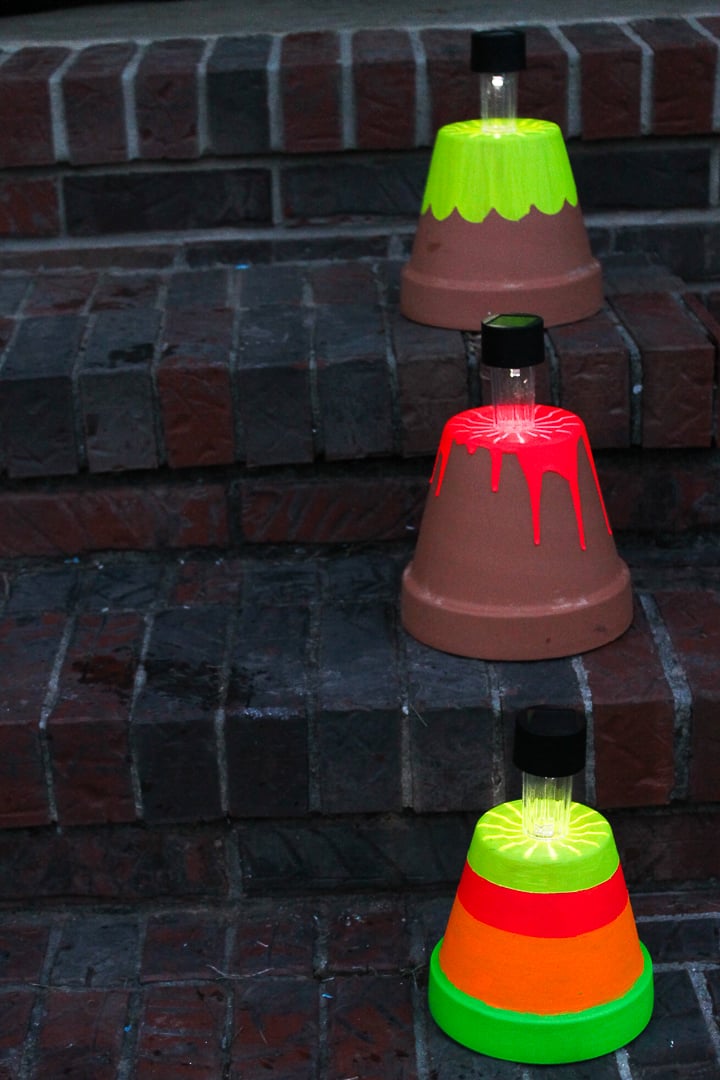
I am going to show you three methods for painting these terra cotta solar lights. You can go with all three or pick your favorite and make a bunch. I do recommend Patio Paint or any other paint that says it will work on terra cotta. Terra Cotta is very porous and you will use a ton of paint if you don’t buy the proper formula.
Striped Version
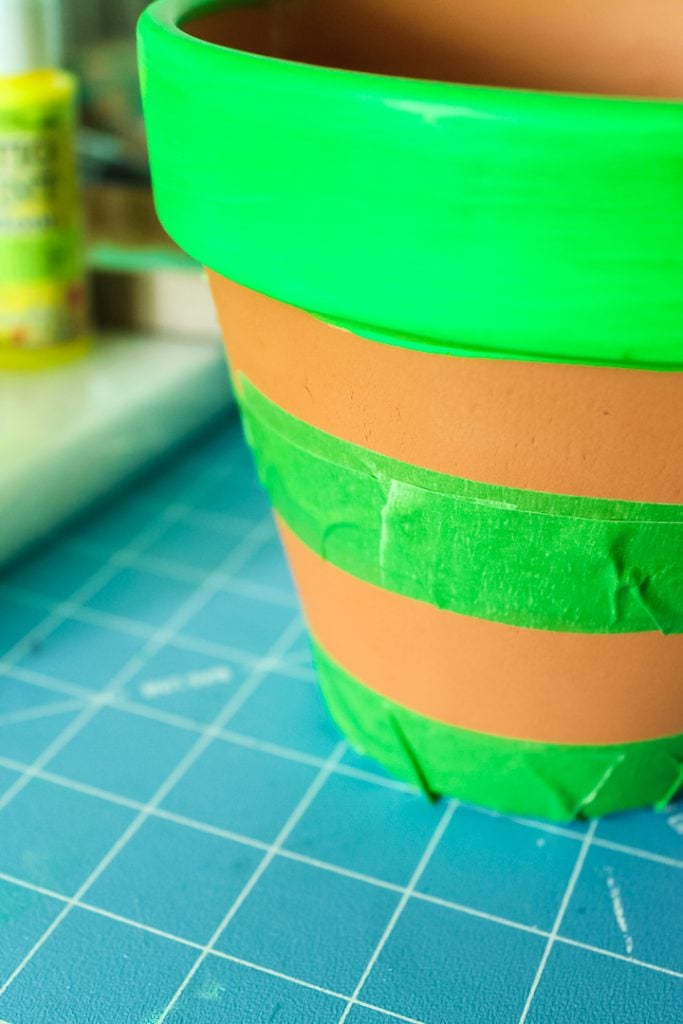
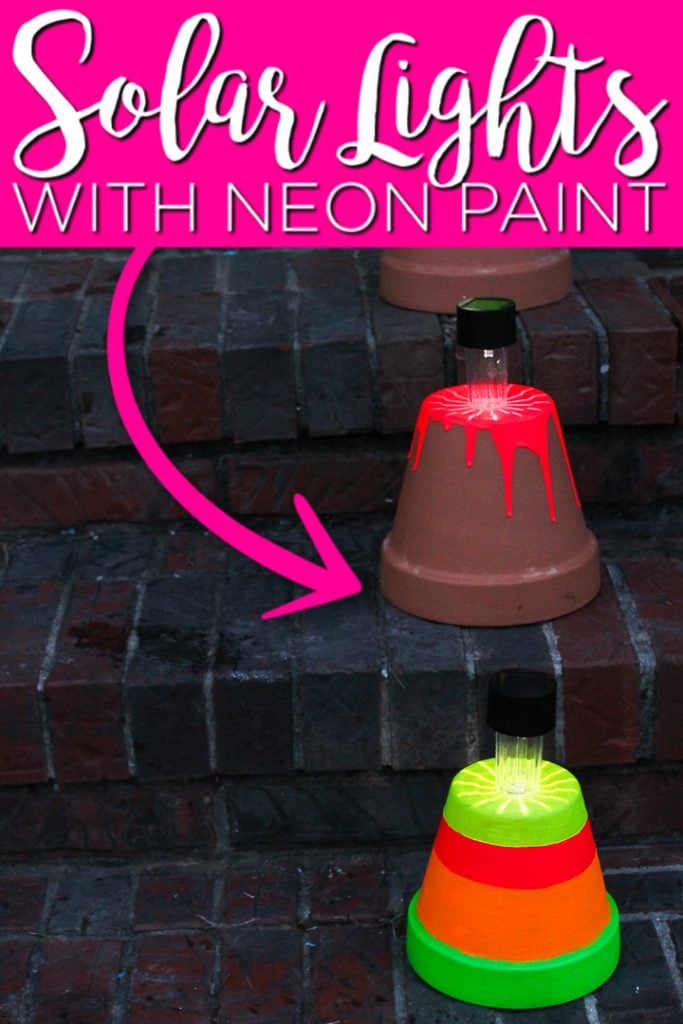
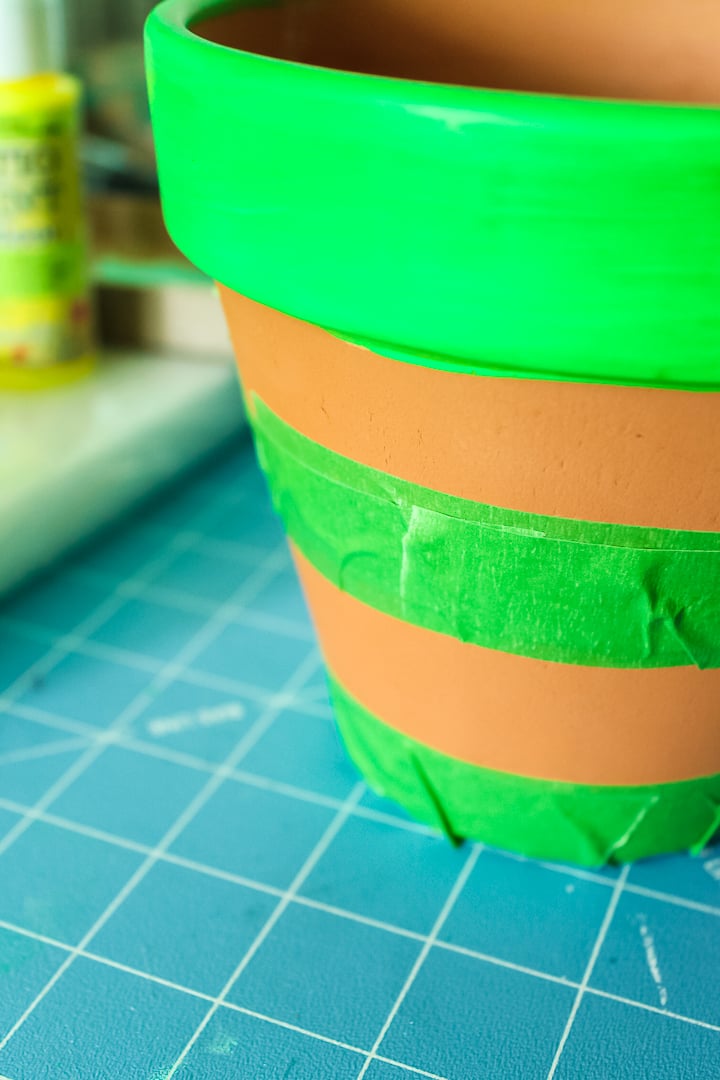
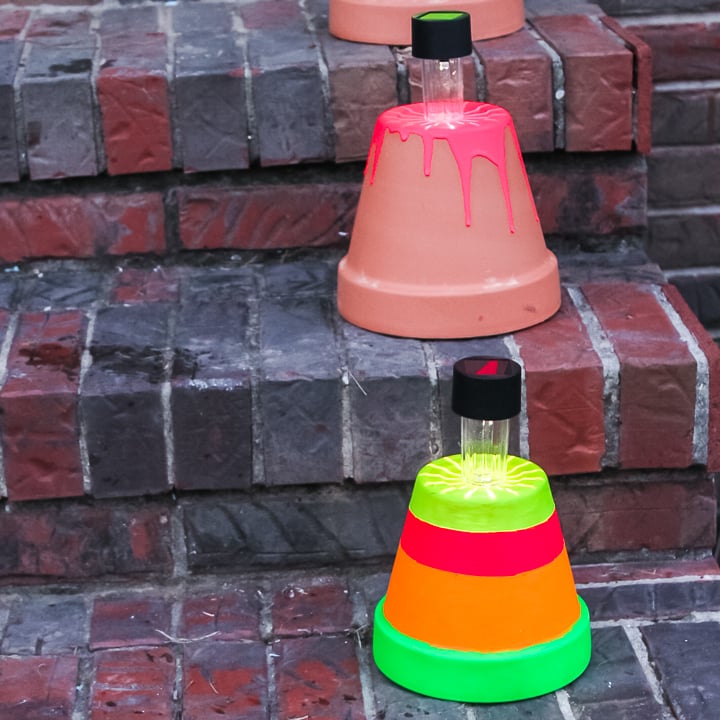
First up is a striped version of our terra cotta solar light. Apply painter’s tape, paint a stripe, and allow to dry. Then remove and apply tape to another area. Continue until the entire pot is striped just the way you want it. Use caution to apply in straight lines as that is difficult on the angled surface of the pot. Each stripe could take 3 to 4 thin coats of paint. Be sure to allow to dry completely and according to the package directions between coats.
Poured Paint Technique
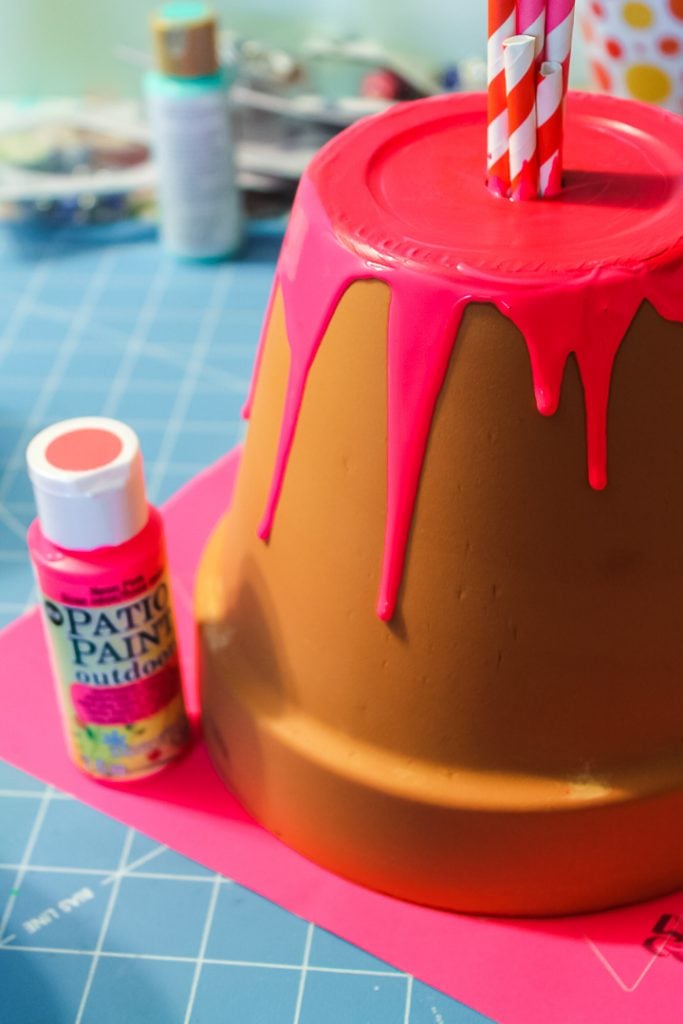
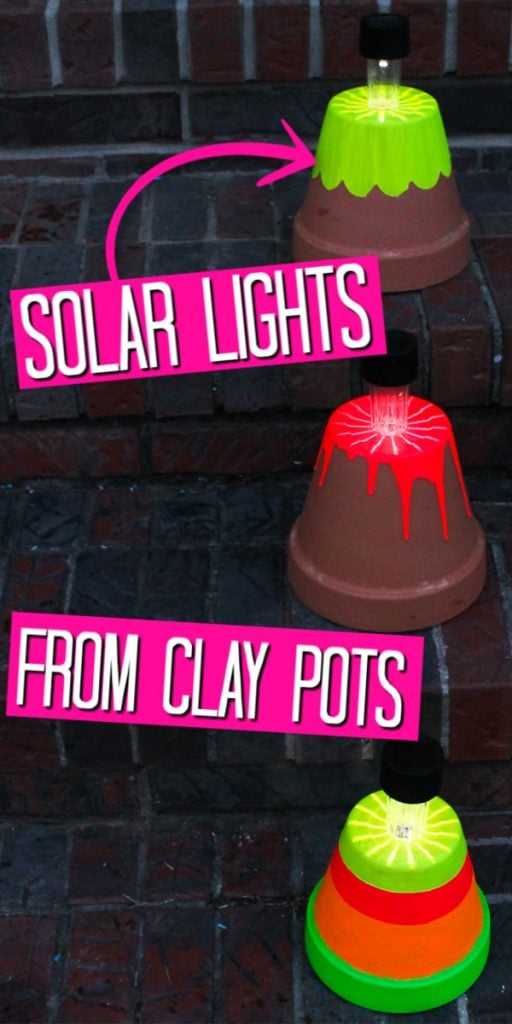
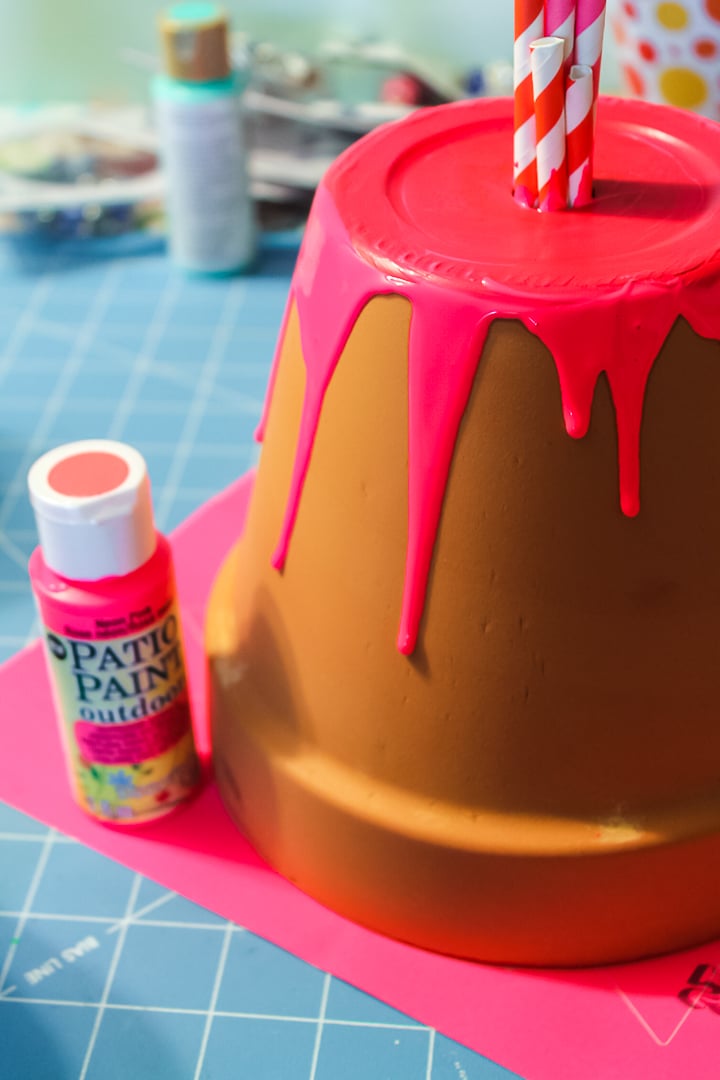
My next version is a poured paint technique. Add something to the hole so your paint does not escape then pour on the paint. Force it over the edge if you have to. Allow to dry completely. I found that the very top of my pot needed a few more coats but the “poured” area was fine the first time. Start with just a small pool of paint, you can always add more but it is hard to remove excess.
Scalloped Edge Version
Next up is a scalloped edge pot. You can find scalloped edge painter’s tape at your local home improvement store. Add that to the pot then paint with 3 to 4 coats of the Patio Paint to get the desired color.
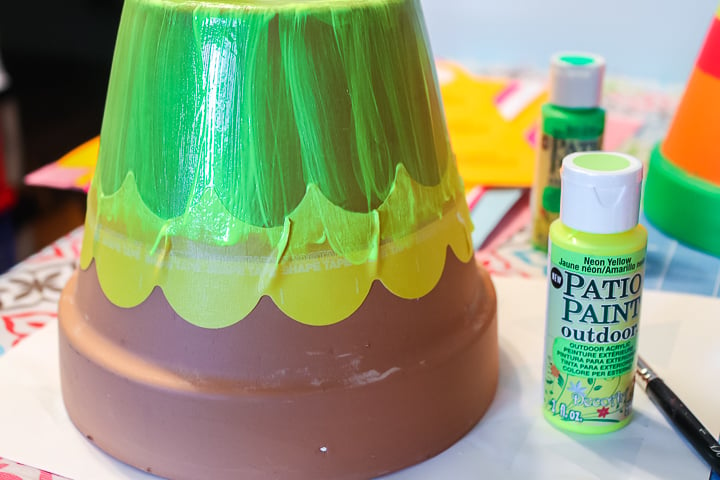
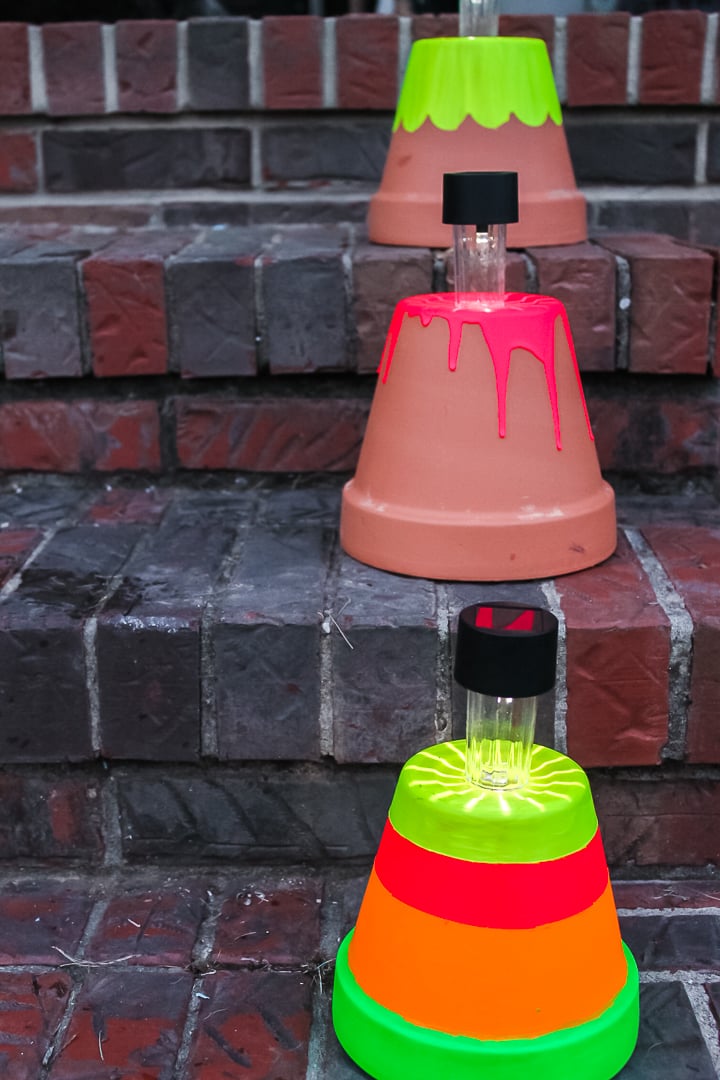
I love the way the light shines on the neon paint! And each of the designs are really special.
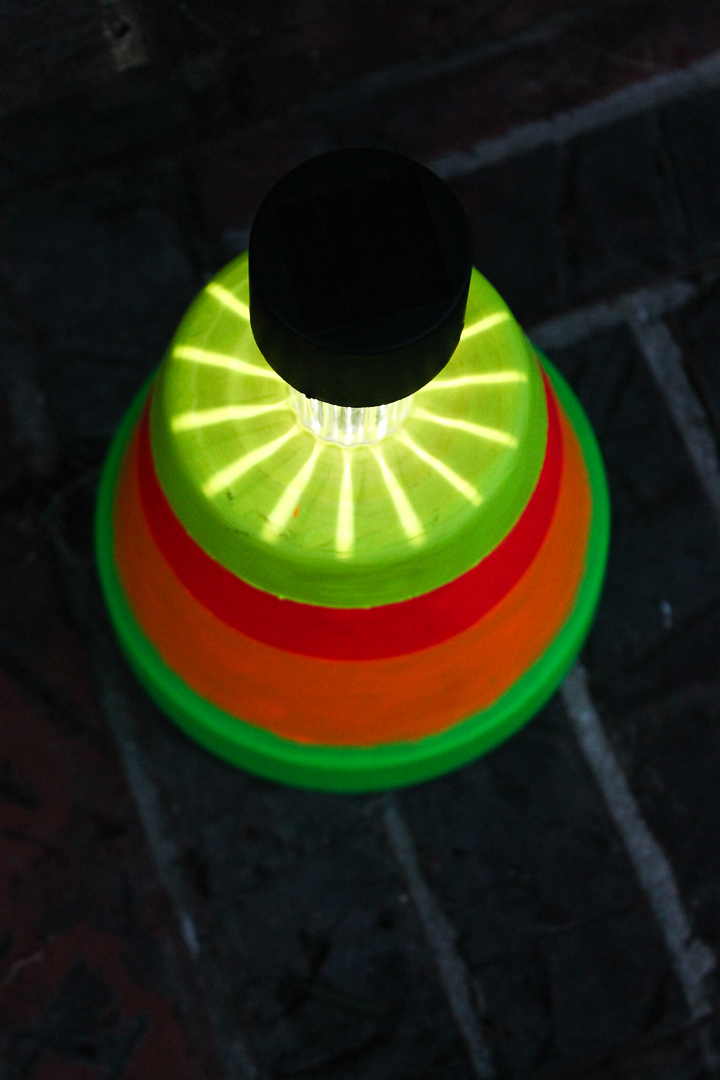
You will love how much these add to your outdoor spaces. Don’t love neon? Try other colors with these same painting techniques.
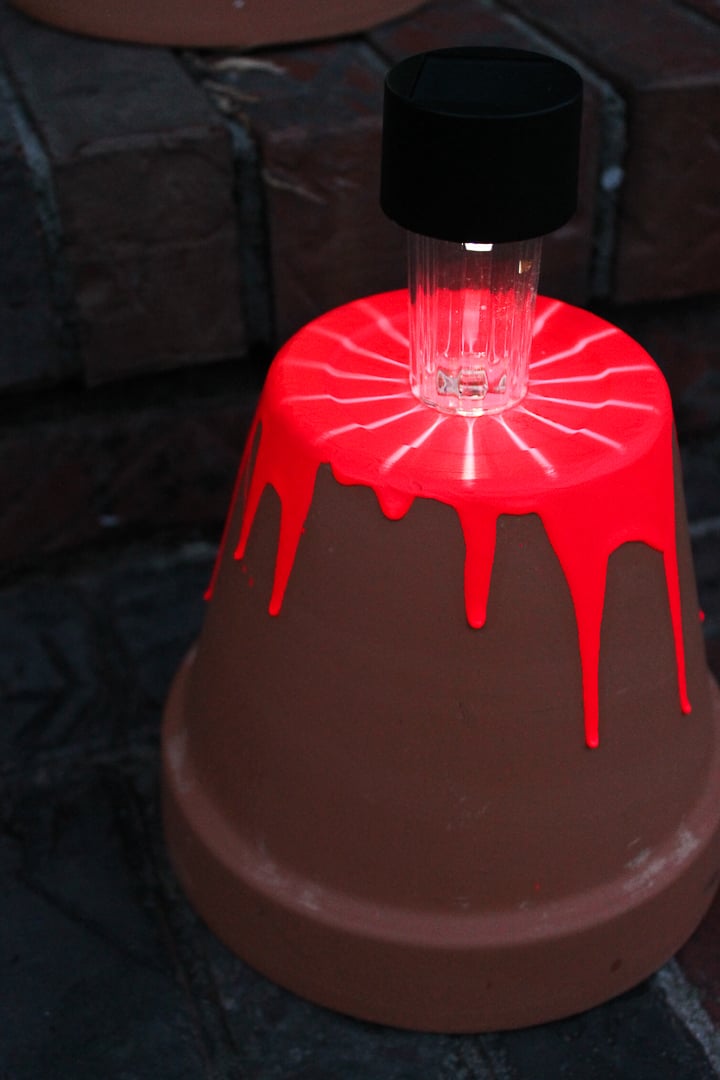
How many of these DIY solar lights will you make this year?
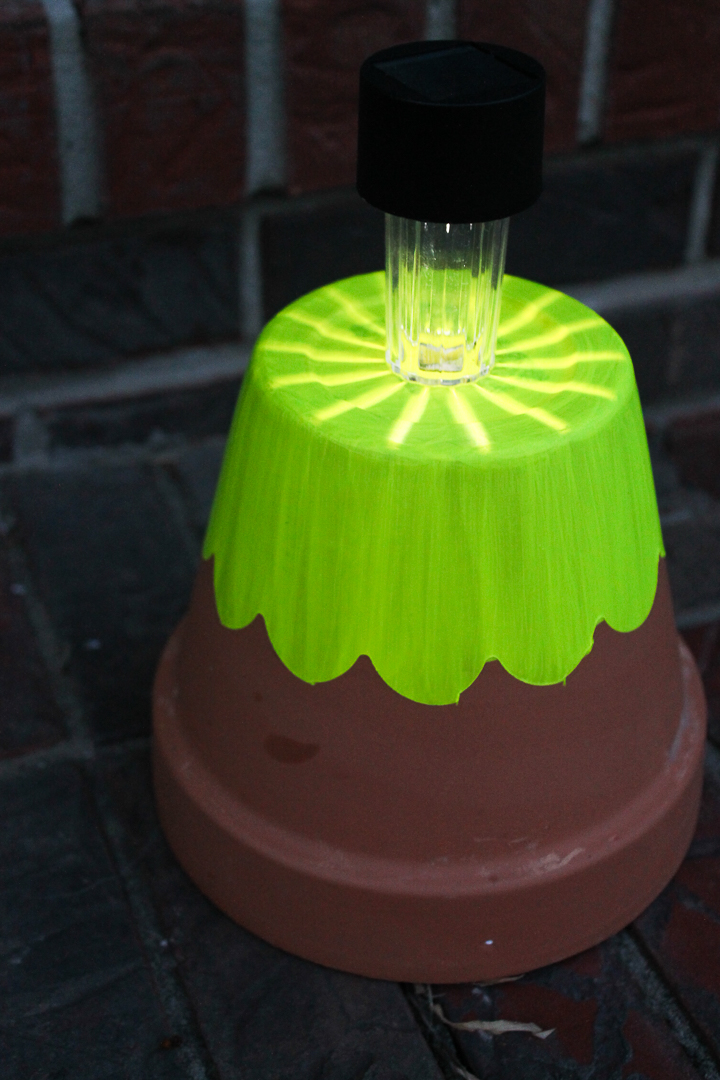
These actually look great in the day as well as at night. Make enough of these to line a walkway or the edges of your entire patio.
I hope you enjoy this project as much as I did. An easy project with big impact is the perfect thing to kick off summer. So, make some DIY solar lights for your outdoor area.
Supplies
- Clay pots
- Masking tape
- Neon paint I like patio paint for terracotta
- Solar lights
- Paintbrushes
Instructions
How to Add Neon Paint to Terracotta Pots (3 ways)
- Choose all three or pick your favorite and make a bunch.
- First up is a striped version of our terra cotta solar light. Apply painter’s tape, paint a stripe, and allow to dry. Then remove and apply tape to another area. Continue until the entire pot is striped just the way you want it. Use caution to apply in straight lines as that is difficult on the angled surface of the pot. Each stripe could take 3 to 4 thin coats of paint. Be sure to allow to dry completely and according to the package directions between coats.
- My next version is a poured paint technique. Add something to the hole so your paint does not escape then pour on the paint. Force it over the edge if you have to. Allow to dry completely. I found that the very top of my pot needed a few more coats but the “poured” area was fine the first time. Start with just a small pool of paint, you can always add more but it is hard to remove excess.
- Next up is a scalloped edge pot. You can find scalloped edge painter’s tape at your local home improvement store. Add that to the pot then paint with 3 to 4 coats of the Patio Paint to get the desired color.
- Once everything has dried and cured completely (the Patio Paint recommends at least 72 hours before exposing your project to moisture), you can add your solar lights and put your creations outdoors. If you have animals and are worried then might knock over the lights, you can glue the pot and light together with a product like E6000. I have puppies so I know that is a worry around our home. If not, these should be fine just sitting inside one another.
Add Solar Lights
- Start with a pot and a solar light. When you are in the store make sure that the solar light will fit into the hole in the bottom of the pot.
- When we “assemble” these pots with the lights, you may have to throw out that spiked piece that holds the light into the ground. Especially if you are using these on concrete or a porch.
Love these painted solar lights and want more ideas? Try the links below!





These are so fun! Love the bright colors. Pinning!
These are so cool, Angie! You come up with such fun stuff!
These look so cool – I’m thinking Halloween for sure!
I love these! So colorful… and bright! 😀
Love these, what a great idea!
Hi, I’m looking for the instructions for this but don’t see them posted on this page…can you please share? Thanks!
This is a post that I have to fix and haven’t had a chance yet. You can find instructions for painting terra cotta here: https://www.thecountrychiccottage.net/paint-terra-cotta/
I actually just fixed the post with the instructions if you want to take a look!
These are great! I love the bright neon colors. I want to make a few!
Kadie ♥ The Great Canadian Housewife & A Story About A Girl
hi I have 4 —-4 in Tera cotta pots I’d like to do up with lights What type of solar lights fit the small hole and where did u find them Thanks
Sorry not sure. I just picked up some from Walmart. Maybe use a similar pot there to see which lights work.