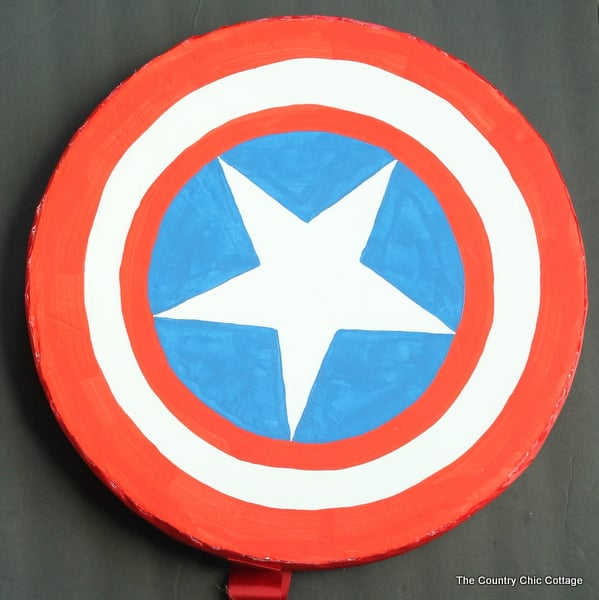
You too can make your own Captain America shield! A wreath form and a few sheets of foam board are all it takes to make a Halloween accessory that any child will love. Now I have to tell y’all however that this shield has NOTHING to do with Halloween for me. My teenage daughter needs it for superhero day for homecoming week. The things we do for our kids y’all.
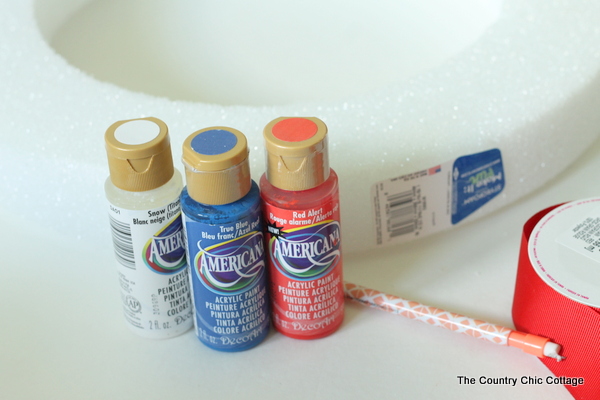
Supplies needed to make your own Captain America shield:
- 14 inch Styrofoam wreath form (can use larger or smaller but it needs to be a FLAT wreath form where the edges ARE NOT rounded)
- Foam core board in white (2 sheets)
- Americana paint in Red Alert, True Blue, and Snow
- Red ribbon that is approximately the width of your wreath form plus the width of the two sheets of foam board
- Additional red ribbon that can be thinner as the above
- Hot glue gun with LOTS of hot glue sticks
Making Your Own Homemade Captain America Shield
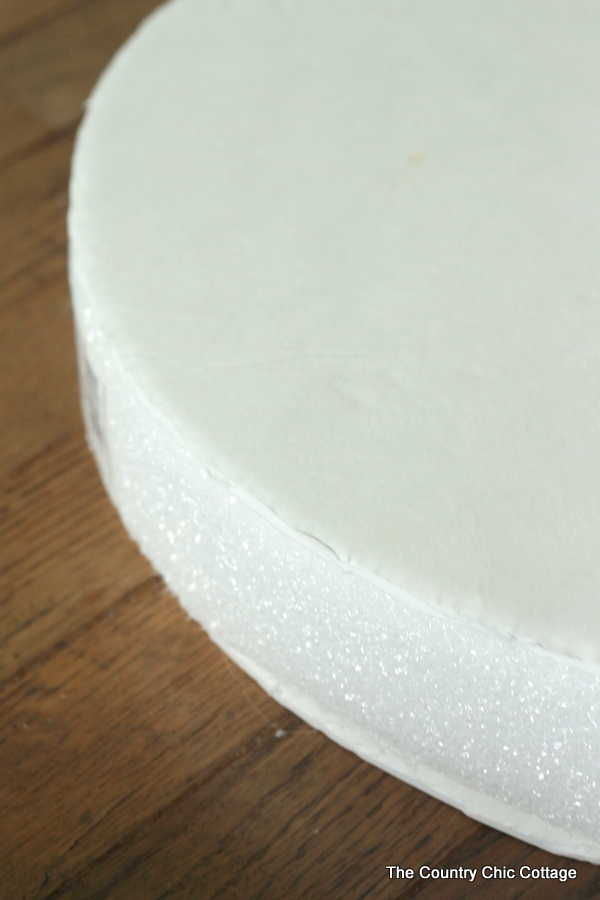
Trace the outside of the wreath form on the foam core board and cut out two large circles. These will make a sandwich with the wreath form when we put together the shield. I found it was easier to paint the board when not assembled however so DO NOT glue yet.
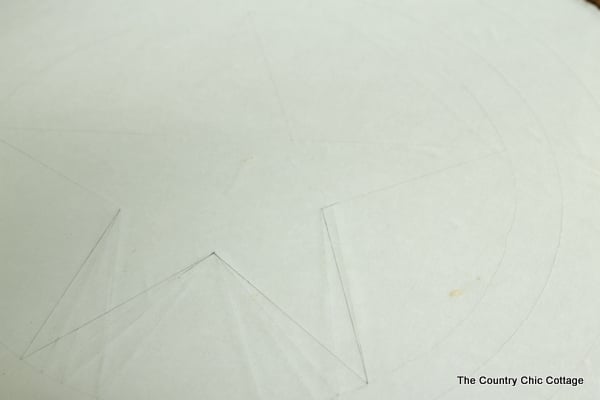
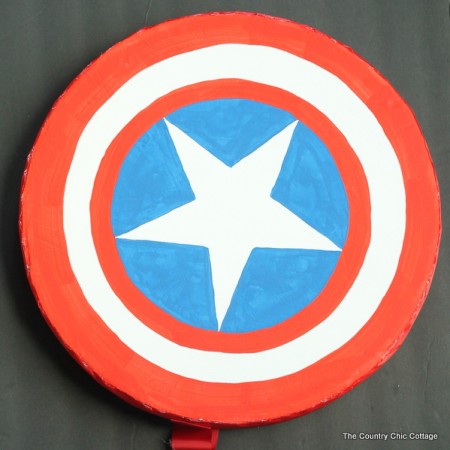
On one of the foam core board circles, you need to draw the shield before painting. I used various items from around our home to trace the circles. Then I actually freehanded the star with a straight edge by measuring. You could also print one-off and then trace it onto the board.
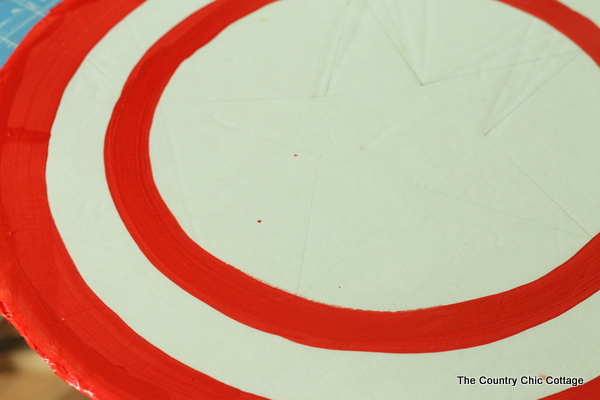
Now just start painting! Yes I painted the white parts white. I found my foam board to have some dirty spots on it and I really wanted it to be pure white. Allow each area to dry before painting anything next to it. So for instance do both red circles and allow to dry. Then do the white areas and allow to dry. Then do the blue area.
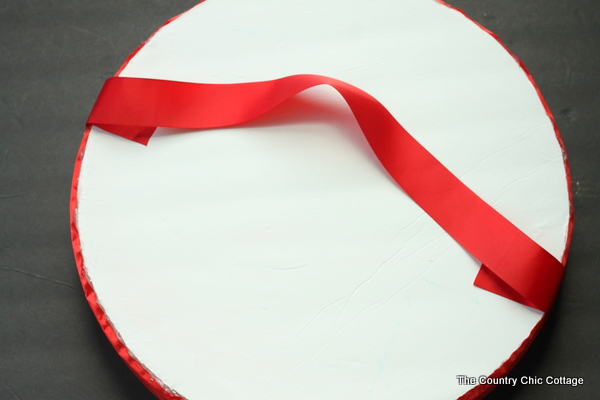
You can also paint the back circle solid white if desired or leave the white foam core board by itself. After the board circles have dried, attach them to the wreath form using hot glue. Then run the ribbon around the edge using LOTS of hot glue. I found it easiest to stand the shield up on a table as shown below to do the gluing.
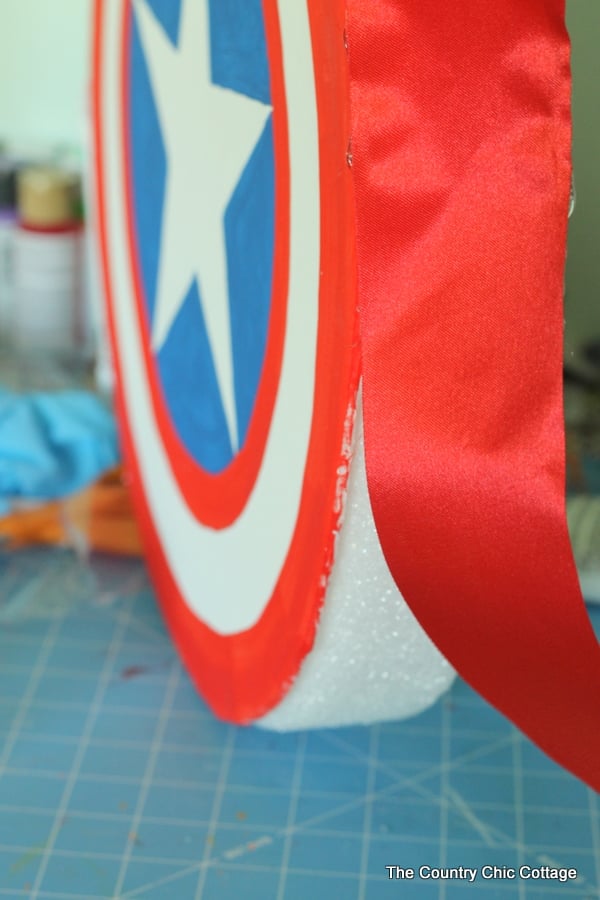
Once you have gone all the way around with the ribbon your shield is done!
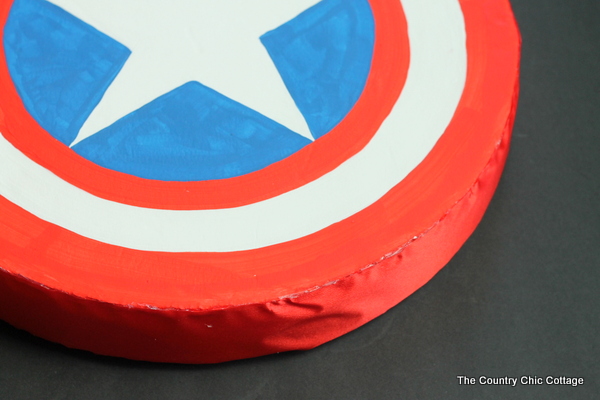
I did want to add a way to hold and carry the shield so I added a thinner red ribbon to the back as shown below using hot glue.
This one is ready for Halloween or in my case homecoming week. Be sure to make your own Captain America shield for a special event or just for your little superhero to play dress up. Either way this easy project is the perfect thing to whip up this fall.
Use the craft card below to print out the step-by-step directions to make your own Captain America shield!
Supplies
- 14 inch Styrofoam wreath form can use larger or smaller but it needs to be a FLAT wreath form where the edges ARE NOT rounded
- Foam core board in white 2 sheets
- Americana paint in Red Alert True Blue, and Snow
- Red ribbon that is approximately the width of your wreath form plus the width of the two sheets of foam board
- Additional red ribbon that can be thinner as the above
- Hot glue gun with LOTS of hot glue sticks
Instructions
- Trace the outside of the wreath form on the foam core board and cut out two large circles. These will make a sandwich with the wreath form when we put together the shield. I found it was easier to paint the board when not assembled however so DO NOT glue yet.
- On one of the foam core board circles, you need to draw the shield before painting. I used various items from around our home to trace the circles. Then I actually freehanded the star with a straight edge by measuring. You could also print one-off and then trace it onto the board.
- Now just start painting! Yes I painted the white parts white. I found my foam board to have some dirty spots on it and I really wanted it to be pure white. Allow each area to dry before painting anything next to it. So for instance do both red circles and allow to dry. Then do the white areas and allow to dry. Then do the blue area.
- You can also paint the back circle solid white if desired or leave the white foam core board by itself. After the board circles have dried, attach them to the wreath form using hot glue. Then run the ribbon around the edge using LOTS of hot glue. I found it easiest to stand the shield up on a table as shown below to do the gluing.
- Once you have gone all the way around with the ribbon your shield is done!
