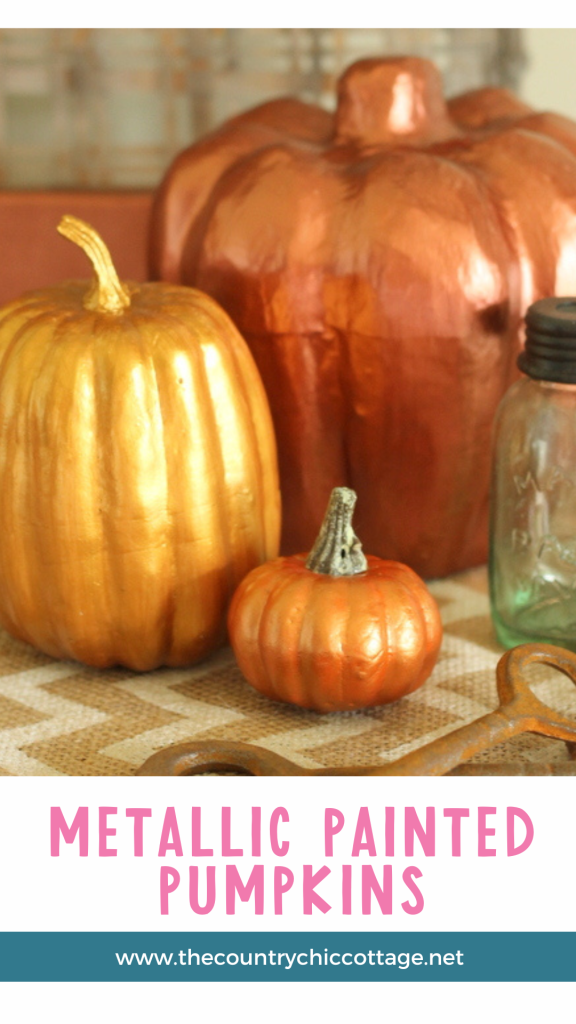
Do you love the shiny, eye-catching, metallic fall decor you see in stores? Now, you can create your own! Use this tutorial to make your own metallic pumpkins!
Carving pumpkins may be a time-honored tradition, but you can’t keep them as part of your indoor Halloween decor unless you want your home to smell like a rotting pumpkin (ew!).
However, I have a way to avoid the mess and glam up your Halloween decorations too! This year, try pumpkin painting!
Painting pumpkins has quickly become a hot new Halloween activity to do solo or as a family for several reasons. It doesn’t require any potentially dangerous or sharp items, it’s easy for people of all ages, and it allows for some incredible decorating creativity (glitter pumpkins, anyone?)!
Today, I am taking this painted pumpkin idea and creating some timeless metallic pumpkins.
This activity differs from making our Marbled Pumpkins With Resin, but the final result is just as amazing!
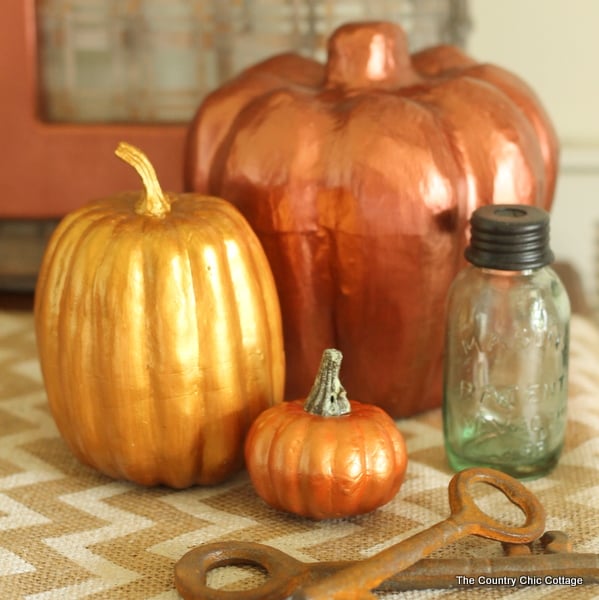
How To Make Metallic Pumpkins
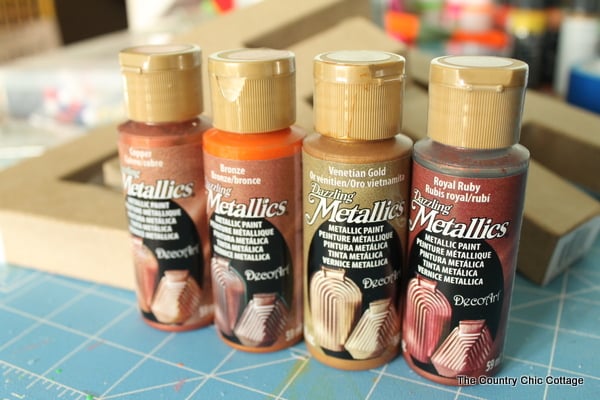
The process for making these decorative pumpkins is super simple! I had several faux pumpkins that needed a bit of a facelift, so I chose to use some of all four of the colors (shown in the picture below) on various pumpkins I had in my stash. However, you can choose your favorite metallic paints for your pumpkins.
Pumpkin carving has its place, but pumpkin painting is SO much fun! Let’s paint some pumpkins….metallic!!
Note: If you can’t get enough of pumpkin crafting in the fall (me neither!), check out our DIY Burlap Pumpkin Wreath, Fabric Pumpkins, and Sweater Pumpkin projects.
Supplies Needed To Make Metallic Pumpkin
- DecoArt Dazzling Metallics Copper
- DecoArt Dazzling Metallics Bronze
- Pumpkins (plastic, foam, paper mache, etc.)
- DecoArt Dazzling Metallics Venetian Gold
- DecoArt Dazzling Metallics Royal Ruby
- Paintbrush
Step 1: Clean Pumpkins
Gather any pumpkins needing a facelift and ensure their surfaces are clean and dry.
Step 2: Paint Pumpkins
Paint two to three coats of Dazzling Metallics paint on them. Let your painted pumpkins dry completely before moving or displaying them.
That’s it – easy, right? The results will be stunning, and you can use these pumpkins in your fall and holiday decor year after year!
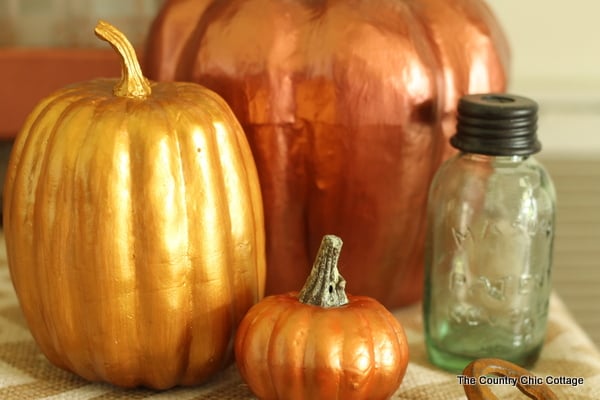
When dry, the paint actually looks like metal, which is completely amazing to me. You can choose any color you like from the entire Dazzling Metallics line, which has many options.

In just minutes, you will have a gorgeous display of metallic-painted pumpkins. Arrange them on your mantle, side table, or dining table as a centerpiece. Guests will pepper you with questions about where you got them and then be amazed when you tell them you painted them yourself!
FAQs About Metallic Pumpkins
Here are a couple of questions that I see readers ask about making these metallic pumpkins. If you have a question, please check to see if I’ve already answered it below. Don’t see your question? Leave it for me in the comments!
What Type Of Pumpkins Can I Use For This Project?
For this project, you can use any non-fabric faux pumpkins.
Where Can You Find Pumpkins For This Project?
You can find pumpkins for this project at the craft store, Dollar store, or even online.
What Kind Of Paint Will Stick To Pumpkins?
I highly recommend using acrylic paint over oil-based paint. Acrylic paint is water-based, so it doesn’t have fumes to contend with. Also, if you make a mess and need to start over, it’s a breeze to clean up with a rag.
Finally, it dries much faster than oil-based paint, which is a huge bonus for families.
Is It Better To Paint Or Spray Paint A Pumpkin?
You can paint your decorative pumpkins with acrylic spray paint. However, if you want to use metallic paint, use a paintbrush with the DecoArt Dazzling Metallics collection.
What Type Of Paintbrush Do You Recommend For Painting Pumpkins?
I would use a broad, flat brush to allow you to paint your pumpkin quickly.
5 Fall-Themed Crafts
Did you love these metallic pumpkins and are looking for more fall-themed crafts? Then check out the projects below!
