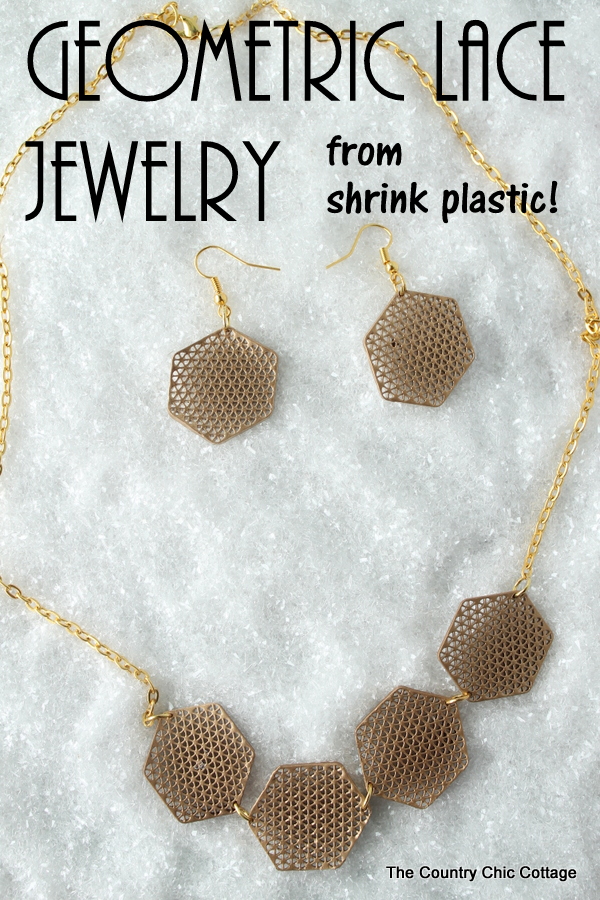
I am thrilled to be partnering with Cricut to bring you a few months worth of amazing craft. This month our topic is fashion and gear. Our team chose lace as a theme. I was hung up on that top for a while until I starting searching images of geometric lace. I fell in love. So here is my take with some geometric lace jewelry that you can make with shrink plastic! Yep the very same shrink plastic you watch shrivel up in the oven as a kid. Let make it all grown up and use it to make shrink plastic jewelry.
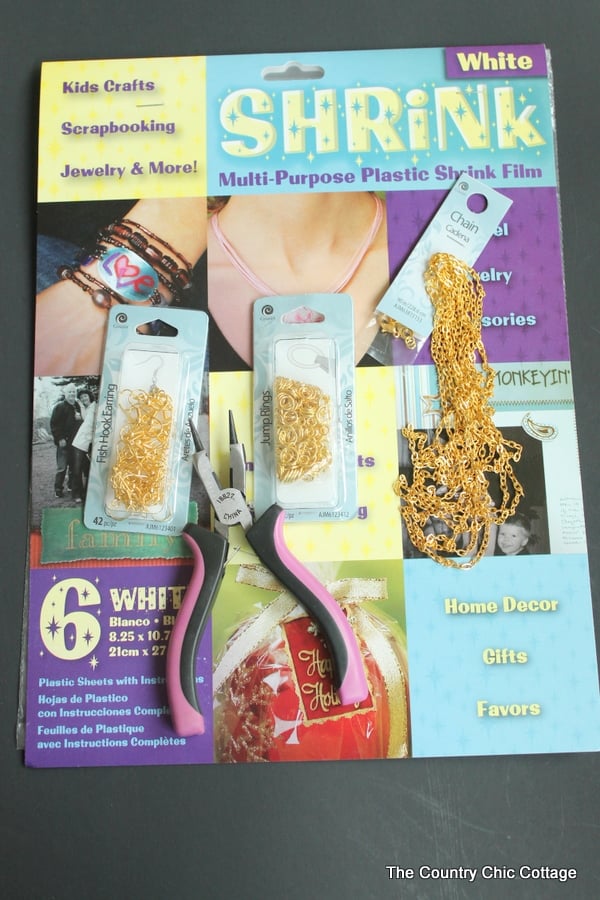
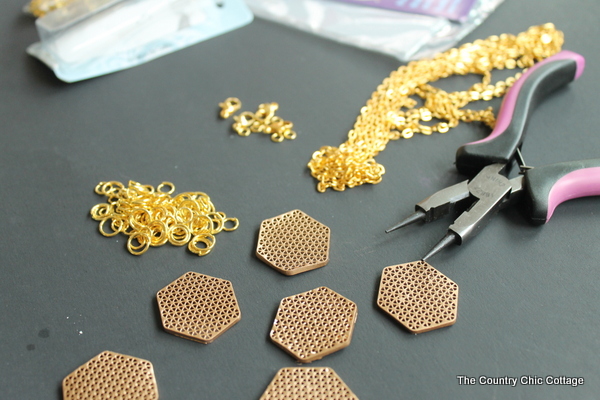
Items need to make this geometric lace jewelry:
- Cricut Explore™
- Shrink Film Sheet Opaque Plastic
- Metallic Spray Paint, Gold
- Gold jump rings
- Gold chain
- Gold earring hooks
- Gold necklace closures
- Jewelry pliers
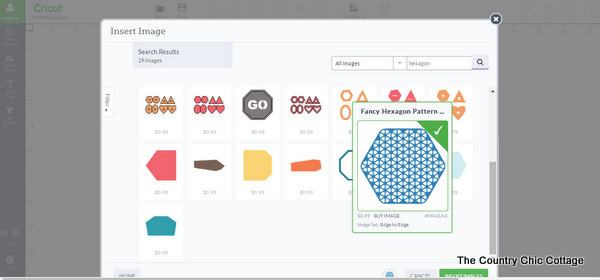
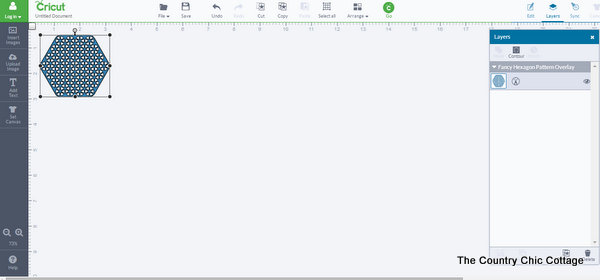
Use Cricut Design Space to resize and shape the hexagon cut file.
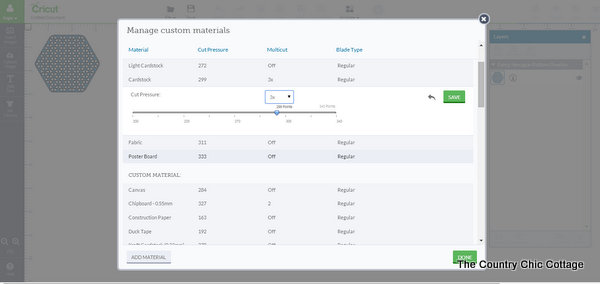
This is actually the first time I have used the Cricut Explore™ and I must say I love it so far. Cricut Design Space™ is easy to use and the machine cut even this small intricate pattern with ease. For shrink plastic, I used the setting for card stock as it is about the same thickness. However, I had to set the machine to cut 3 times over the same area. The settings are all available when you are using Cricut Design Space™. First thing is to get to the design space, install all plug-ins, etc. Then insert the hexagon image into your space. One sheet will fit at least 6 hexagons of this size. The image is 99 cents.
I did NOT resize the hexagons when inserting them into the design space. You can duplicate the hexagons now or when you cut you can tell the machine to cut multiple images. I cut three at a time. I would then work on removing all of the little bitty triangles from the three I had cut while the other three are being cut out (flip the shrink plastic sheet on the mat to do it this way).
Be sure to click to set your cut settings and be sure to choose 3X before starting to cut. This is important for the shrink plastic.
Cut, then shrink the geometric jewelry pieces.
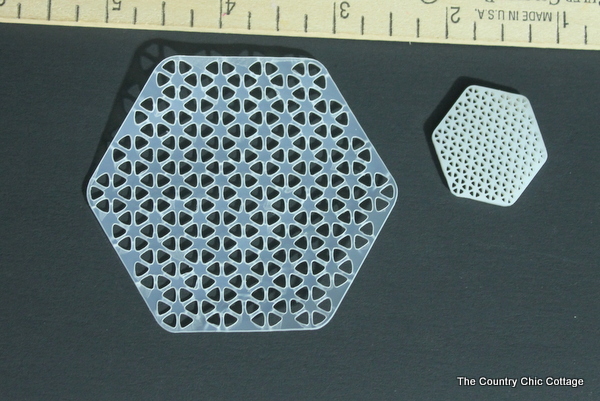
Let the Cricut do the work for you while you enjoy a glass of tea and a little television. Cut as many of these shapes as you need to make your geometric lace jewelry. Then shrink them in the oven for about 5 minutes (follow the directions on your package). The image below shows on the left a shape from my Cricut and on the right the same shape after being shrunk in the oven. What a difference a little heat makes! Watch your items carefully when shrinking. They should never curl up and touch each other. If they do, use a heat resistant glove and push them back apart then continue to shrink. You don’t want to remove from the oven until they are completely flat and the thickness of a nickel.
Time to paint and assemble your geometric jewelry!
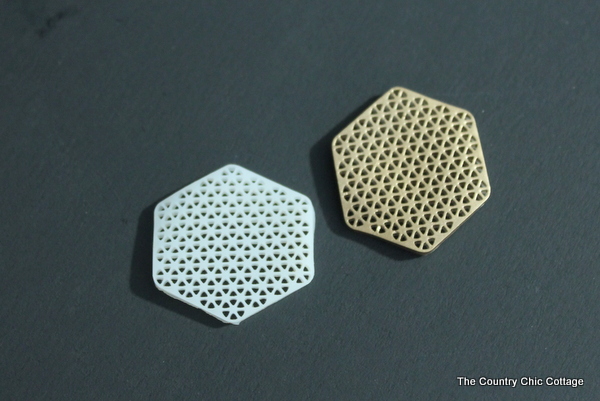
Take your shapes outside and give them a few light coats with a metallic gold spray paint. Allow to dry completely then flip over and spray the opposite side as well. Once these are completely dry you can continue.
Gather your jewelry making supplies in gold.
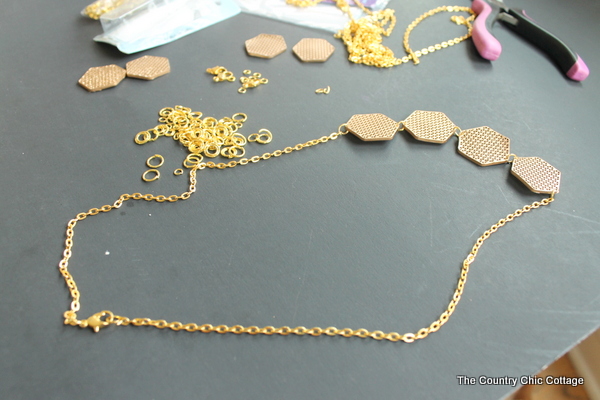
Use jump rings to attach the shrink plastic pieces together then attach each end to a chain. Attach a closure to complete your necklace.
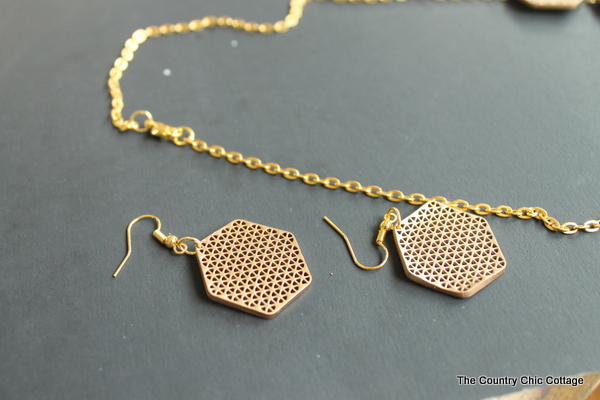
Use a jump ring to attach two shrink plastic pieces to earring hooks.
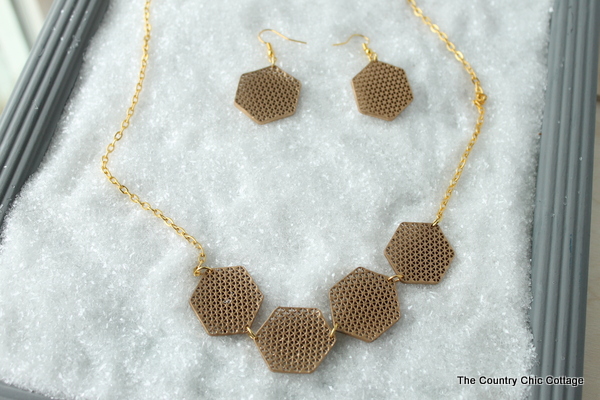
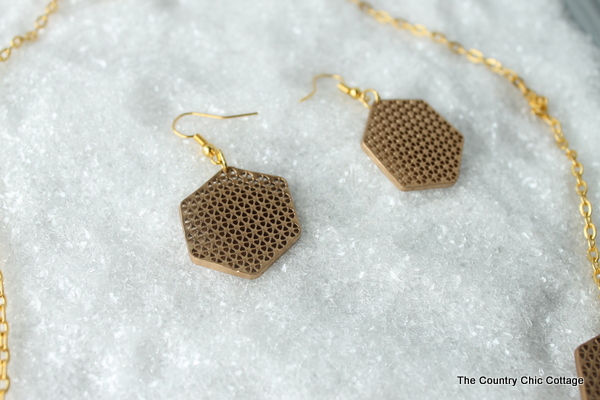
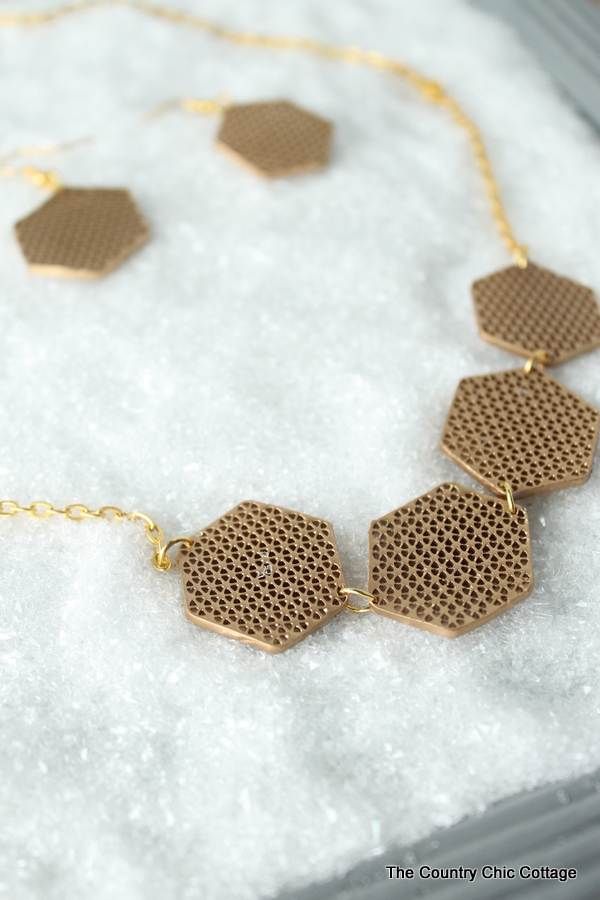
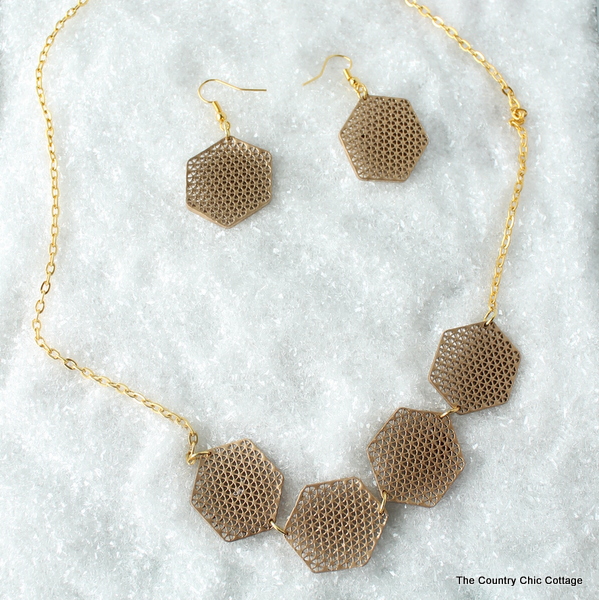
Your geometric lace jewelry is now complete and ready to wear.
The items look metallic although they are simply plastic. No one has to know that you made this set with very little effort.
Print out the step-by-step instructions to make this fun and fashionable geometric lace jewelry using the craft card below!
Equipment
- Cricut Explore™
- Shrink Film Sheet Opaque Plastic
Supplies
- Metallic Spray Paint Gold
- Gold jump rings
- Gold chain
- Gold earring hooks
- Gold necklace closures
- Jewelry pliers
Instructions
Use Cricut Design Space to resize and shape the hexagon cut file.
- For shrink plastic, I used the setting for card stock as it is about the same thickness. However, I had to set the machine to cut 3 times over the same area. The settings are all available when you are using Cricut Design Space™. First thing is to get to the design space, install all plug-ins, etc. Then insert the hexagon image into your space. One sheet will fit at least 6 hexagons of this size.
- I did NOT resize the hexagons when inserting them into the design space. You can duplicate the hexagons now or when you cut you can tell the machine to cut multiple images. I cut three at a time. I would then work on removing all of the little bitty triangles from the three I had cut while the other three are being cut out (flip the shrink plastic sheet on the mat to do it this way).
- Be sure to click to set your cut settings and be sure to choose 3X before starting to cut. This is important for the shrink plastic.
Cut, then shrink the geometric jewelry pieces.
- Cut as many of these shapes as you need to make your geometric lace jewelry. Then shrink them in the oven for about 5 minutes (follow the directions on your package).
- Watch your items carefully when shrinking. They should never curl up and touch each other. If they do, use a heat resistant glove and push them back apart then continue to shrink. You don't want to remove from the oven until they are completely flat and the thickness of a nickel.
Time to paint and assemble your geometric jewelry!
- Take your shapes outside and give them a few light coats with a metallic gold spray paint. Allow to dry completely then flip over and spray the opposite side as well. Once these are completely dry you can continue.
- Gather your jewelry making supplies in gold.
- Use jump rings to attach the shrink plastic pieces together then attach each end to a chain. Attach a closure to complete your necklace.
- Use a jump ring to attach two shrink plastic pieces to earring hooks.
- Your geometric lace jewelry is now complete and ready to wear.
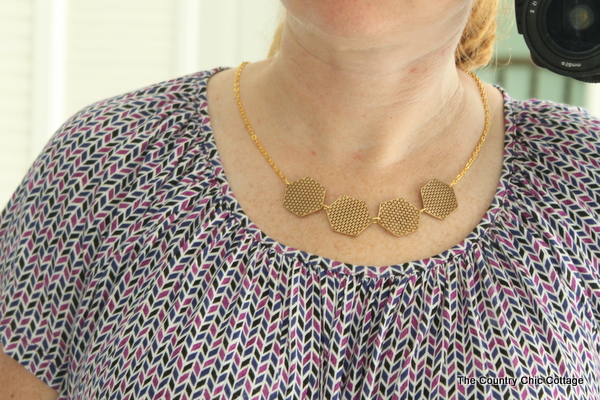
I knew y’all would want a picture of this necklace on so I grabbed my camera and a mirror. This is me modeling the geometric necklace.
You can use a Cricut Explore™ to make this project and so many more. I am off to create another great project with mine to share with you all next month.
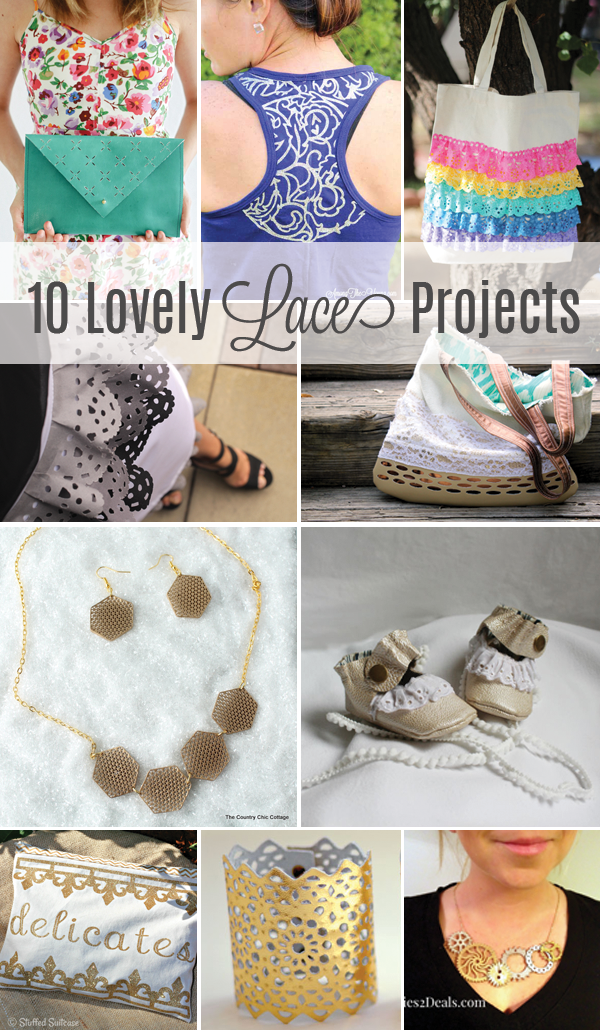
In the meantime, be sure to check out the projects from my Cricut team mates. If you love lace, you will love these great ideas!
If I make it to the voting round you will hear from me again so get your clicking fingers ready! Stay tuned for more Cricut projects over the next few months as I give this machine a work out! I was given a machine for my participation in these posts however all projects and opinions are my own.



Very fun!!
I can’t believe that a cricut can do that! And I’m in love with that ruffle lace tote you linked too. So cool… is it Christmas yet?!
This is so beautiful Angie! I love how it turned out and I can’t believe you did it with a Cricut!
That is aMAzing! Beautiful, Angie!! I used to play with that shrinky plastic as a kid, but I never dreamed you could make something so chic and grown up with it! Wow!!
ANGIE!!! this is so gorgeous & awesome!!! That’s just amazing.
Looks AMAZING, Angie! SUCH a great idea to use the shrinky dinks!
CRAZY! Looks like metal. Great job.
Love them! I need a Cricut !!
I never in a million years would have thought to do that! AMAZING!
This is seriously awesome Angie! I would never have thought to cut shrink plastic with my Cricut. So creatiive!