This mug painting tutorial shows you how to use acrylic paints to decorate your new favorite coffee mug. Plus, make my Rolo hot chocolate recipe to go along with it!
I have such a fun handmade gift idea for you today. You can make your own marbled mug quickly and easily with no special tools at all.
Well, do y’all call a straw special? I didn’t think so!
Read on to learn more about acrylic paints AND to get my Rolo hot chocolate recipe cause TRUST ME- you don’t want to miss that!
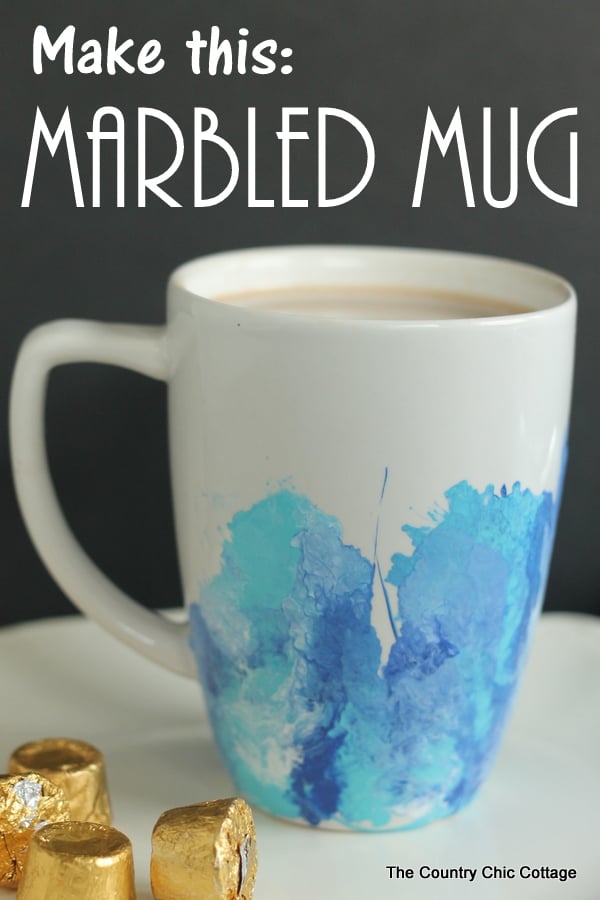
How To Make Your Own DIY Marbled Mug
These hand mugs are so easy to make and you only need a handful of tools and supplies.
Supplies:
Here is what you’ll need before you begin:
- Paper Straw
- Craft Feather
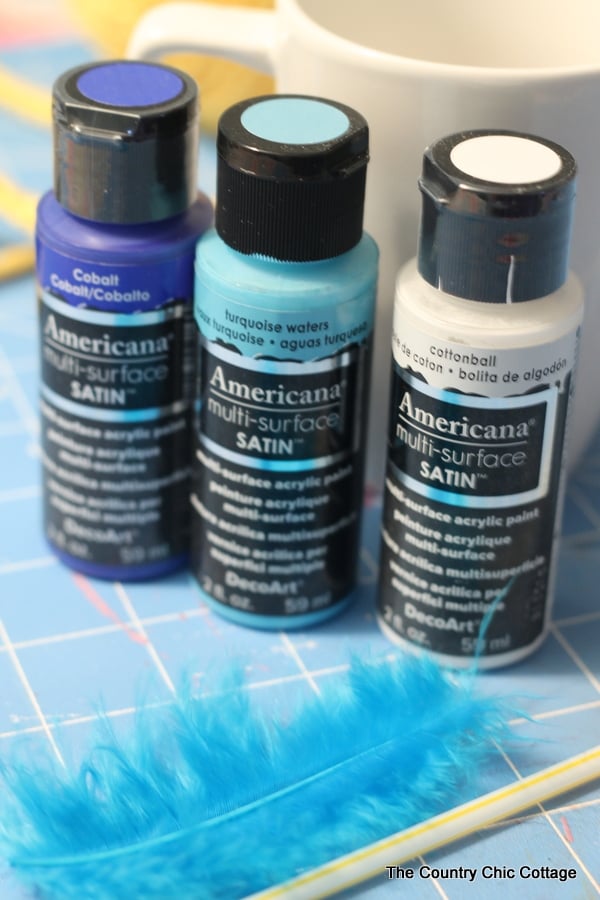
- Acrylic Paint – I used Americana MultiSurface Paint
- White Ceramic Coffee Mug
Start with a plain white mug from any store (I think this one is from the Dollar Tree). You will also need the multi-surface paints from DecoArt in your choice of colors.
Oh, yea, and those “special” tools I mentioned…a feather and a drinking straw. You have those on hand already right?
DIY Mug Painting Tutorial: Step By Step
All of the details for this craft are below, along with some step-by-step pictures of how I made my marbling design on the mugs.
Prep Your Mugs
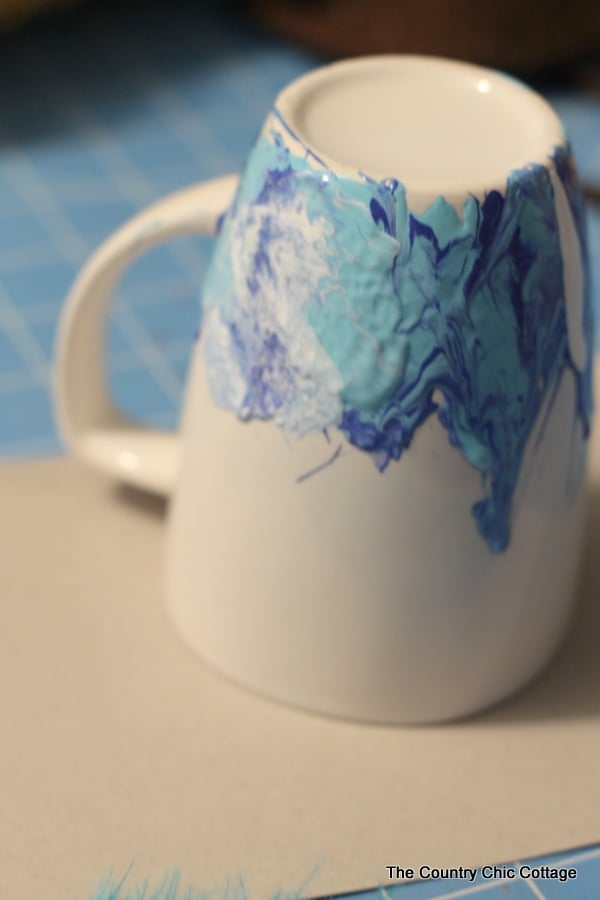
Clean your mug with rubbing alcohol before beginning. Turn your cup upside down on cardboard or paper.
Add The First Layer Of Paint
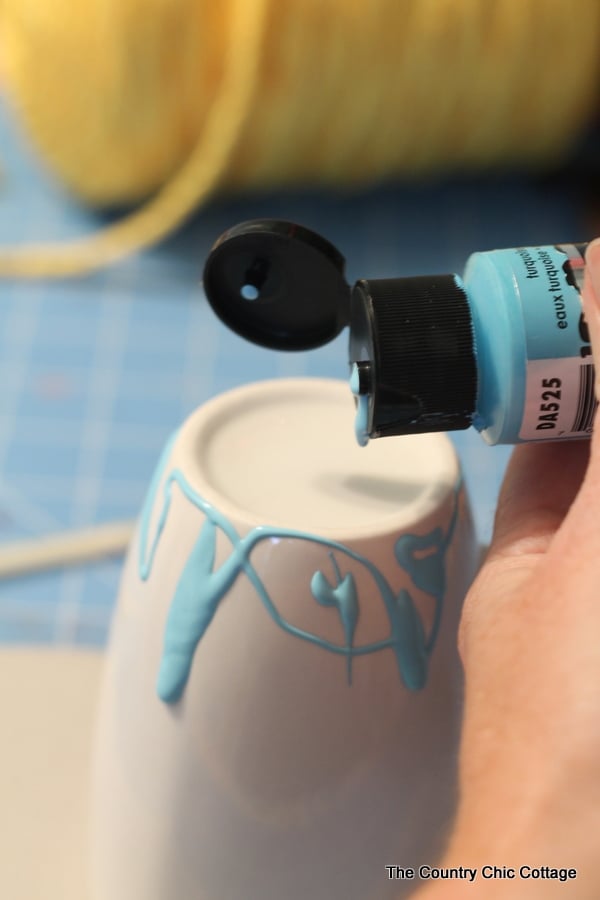
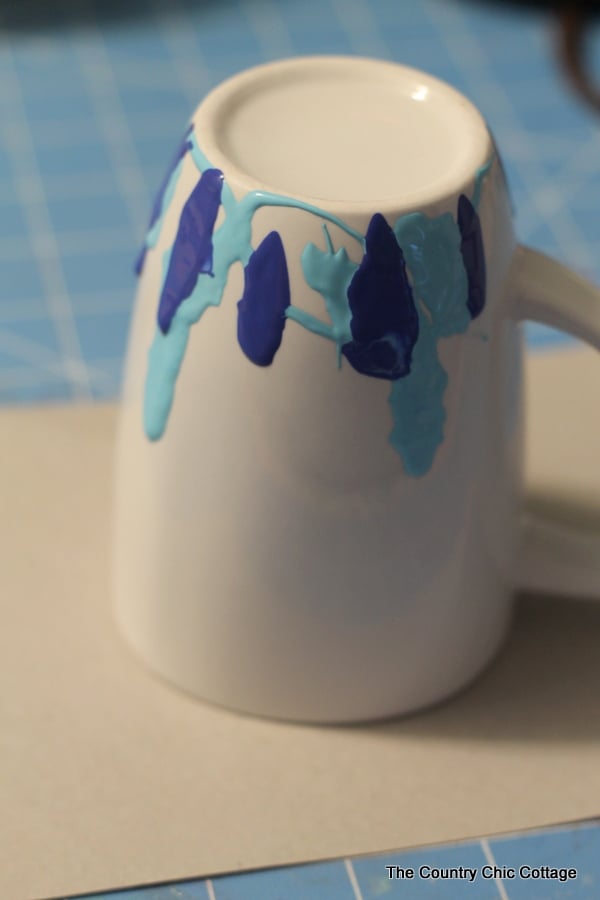
Start dripping on your first color of the paint. I used the first color the most as you can see below.
You don’t need to add a whole lot of paint, just enough to go all the way around the mug.
Use Your Straw To Start Your Marbled Design
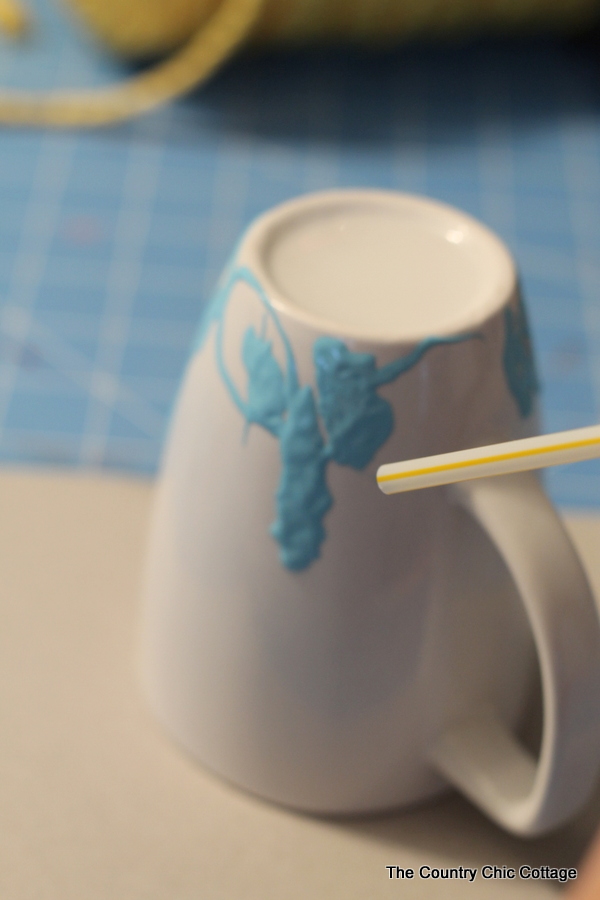
To really make your mug painting have that marbled effect, literally start blowing through the straw to spread out the paint.
Add The Second Layer Of Color
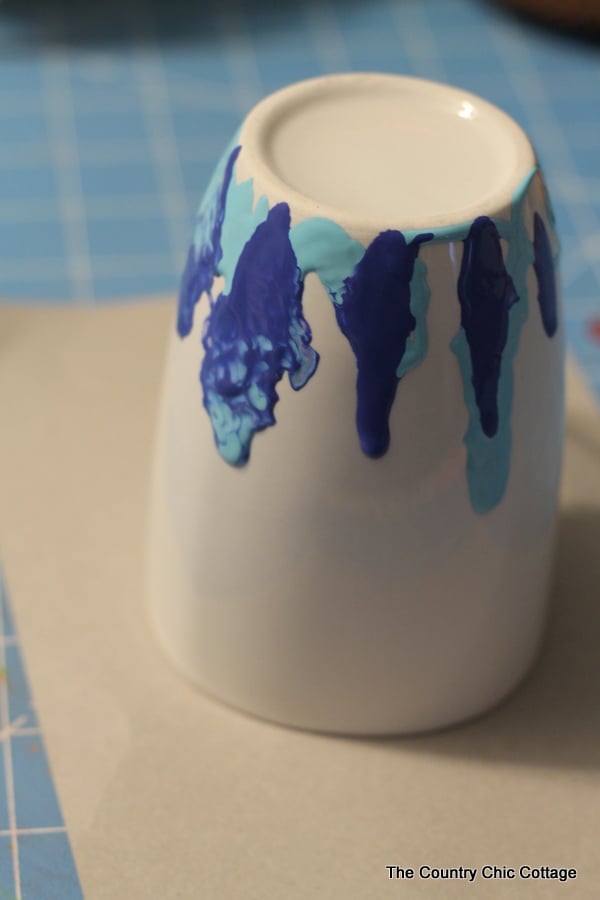
Add on the second color but use slightly less paint this time. I like to add it in between the spaces of the first color.
If you want it to blend well, add a little bit of the second color on top of the first one.
Use Your Straw Again
This time when you start blowing through the straw onto the paint you will see the marbling effect. It gets better! Keep blowing!
Use Your Feather To Add More Dimension
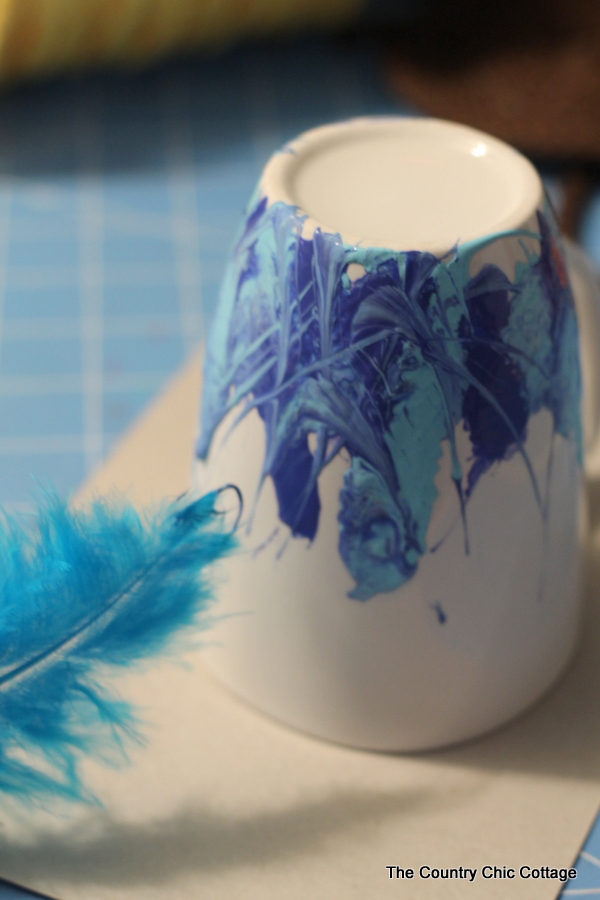
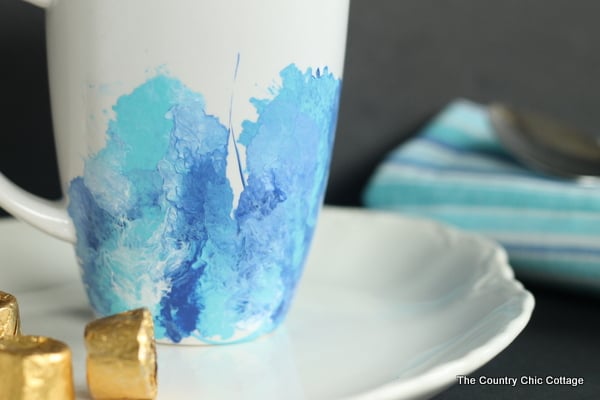
I took my feather and ran it randomly over the paint after I had blown through the straw all the way around. This mixed the paint slightly and added some more dimension.
Add The Final Layer Of Paint
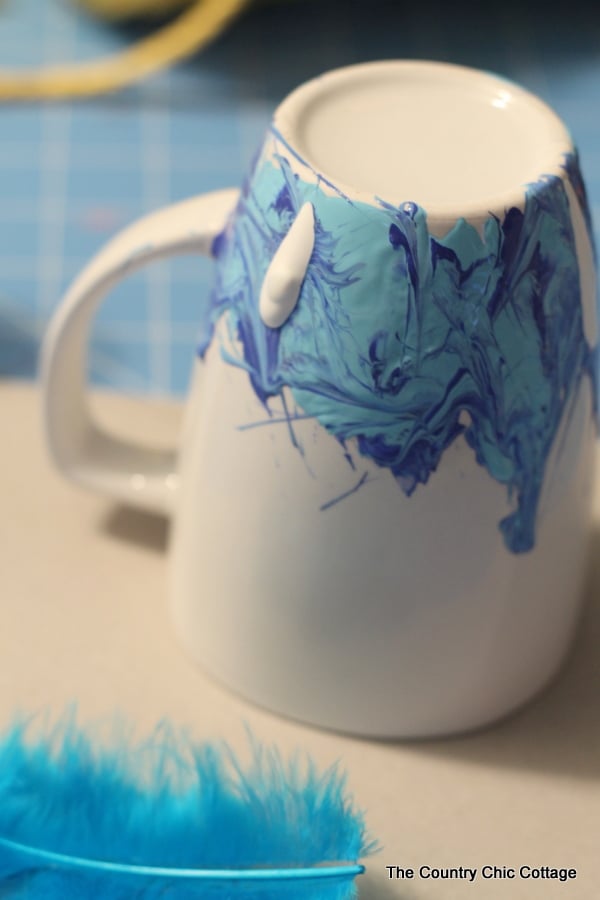
Now drip on your last color but just a little. If you add too much, that color will be the only one you see.
Use that Straw Once Again!
And start blowing through that straw again. This makes it really blend and marbleize!
Blow until you get the look you desire and the paint is a nice thin layer. I did not get the paint up near the mouth portion of the mug on purpose.
Paint Tip:
This paint is not intended to get in contact with your food. Allow your mug to dry completely then bake according to the directions on the paint bottle.
This will make sure that your gift-recipient can wash their new marbled mug without the paint coming off!
Bonus: Rolo Hot Chocolate Recipe
I did promise y’all a recipe to go in this new marbled mug, didn’t I?
My Rolo hot chocolate will knock your socks off!
It’s so easy to make – all you need is some warm milk and Rolo candies.
- Warm up the milk and pour over a few of the candies pieces in a mug.
- Stir until melted and enjoy!
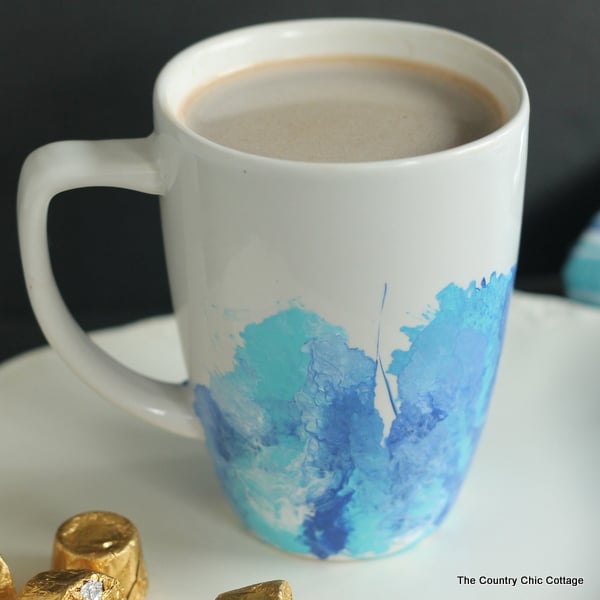
Now, you have a beautiful painted marbled mug and some delicious hot chocolate.
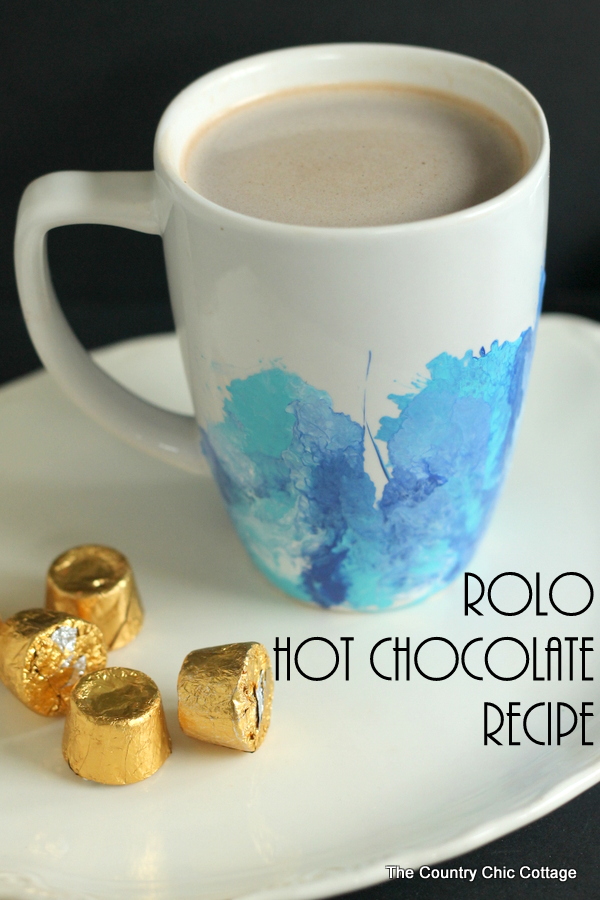
YUM! Y’all enjoy! And be sure to make your own marbled mug plus a bunch for gifts this holiday season. You will want to keep that Rolo hot chocolate recipe all for you. YUMMO!!
More Mug DIY Ideas
These make thoughtful gifts – just imagine what they will say when they receive them from you! They are even more fun to make. Here are some of my favorite DIY mug ideas:

Equipment
- coffee mug
Ingredients
- 7 Rollo Candies
- 1 cup Milk
Instructions
- Unwrap 7 Rolo candies and place in the bottom of your mug.
- Microwave for 20 seconds. Stir and then fill the mug with milk.
- Microwave for 1 minute and 20 seconds. Stir and then microwave for 20 more seconds if your chocolate has not completely melted. Stir again and serve!


