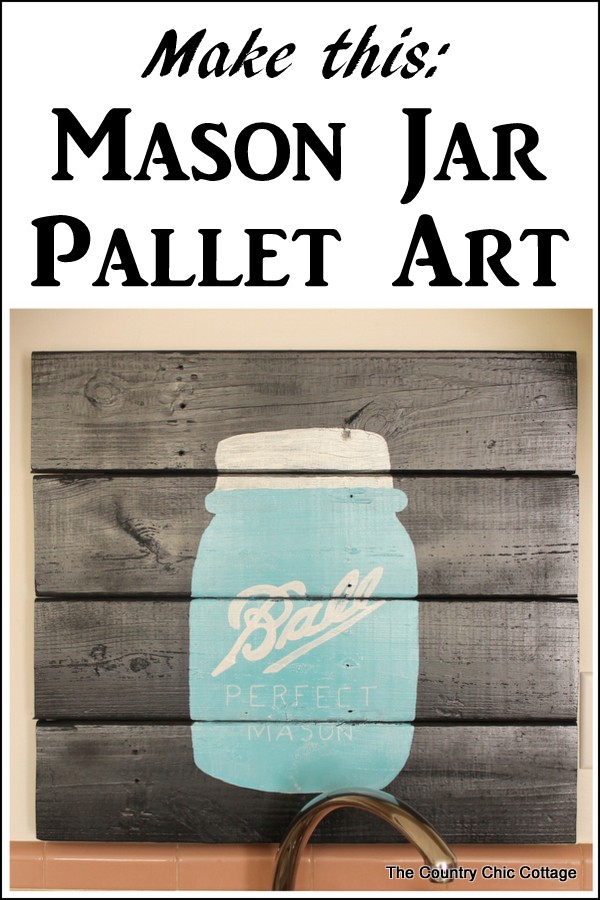
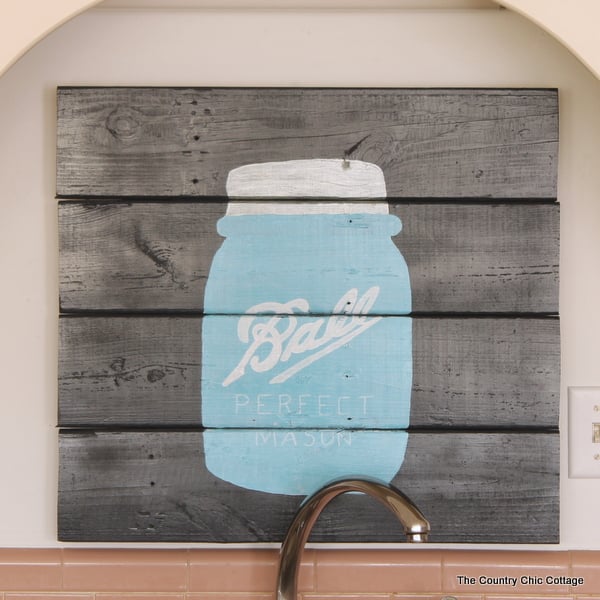
If you have been around here any time at all, you know that I love mason jars. When I needed a bit of new art in my kitchen, I created this fun mason jar pallet artwork to go in that spot. You can paint on the mason jar like my version or anything else that fits with your home.
I have entirely too many mason jar crafts on this site, but I see no point in stopping now! I love mason jars. They are so simple and yet so versatile. You can use them for gifting, planters, storing food, arts, crafts…you name it!
The same goes for pallets. In fact, I’ve combined pallets and mason jars in several crafts. I just love the farmhouse vibe the pair give to a room! This dynamic duo makes excellent planters, wall decor, and more. Not to mention, they can both be painted and customized to your own style.
Anyway, I love homemade art in a room, and I needed something just above my sink in the kitchen. Then, the idea of painting a mason jar on a pallet came to life! This tutorial is for this particular design, but you can switch it up and use one of your own ideas, too.
How to make pallet artwork
Supplies needed to make your own pallet art:
Portions of the supplies used in this tutorial were given to me free of charge however all projects and opinions are my own.
- Boards (I used some old decking we had in the scrap pile.)
- Saw (I used my Rockwell Blade Runner
.)
- Screws
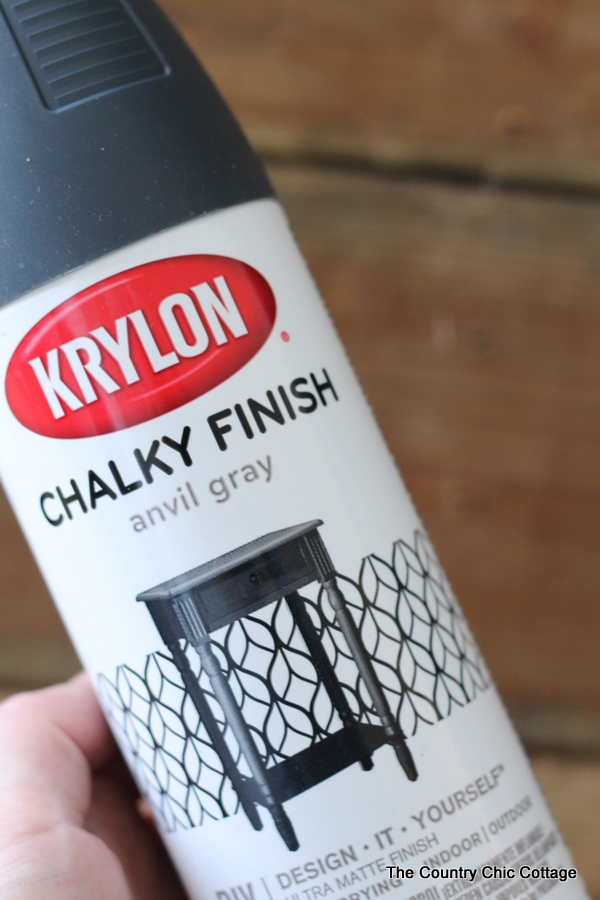
- Krylon Chalky Finish (I used anvil gray.) (NOTE: This is brand new and will be hitting stores soon.)
- Pencil
- Elmers Paint Pen in white
- Americana Chalky Finish
(I used everlasting and escape.)
- DAZZLING METALLICS SILVER SAGE
- Americana Graphite Paper, White
- Americana Sealer/Finish Spray, Gloss
Steps to paint mason jar artwork on a pallet
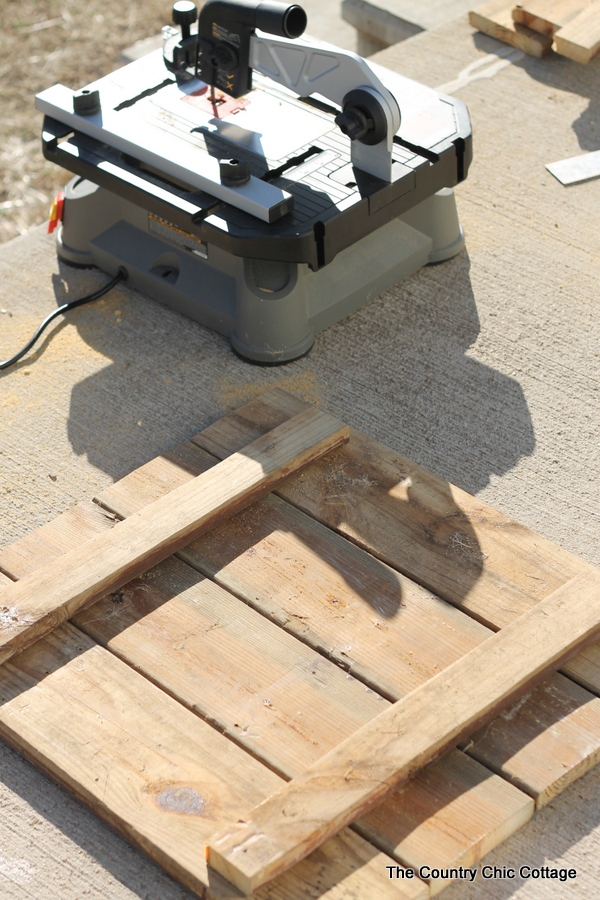
My sign is approximately 22 by 24 inches. I cut four of the used deck boards to 24 inches with my Blade Runner to get the main portion of the sign. A few boards that had been ripped were then cut for the back of the sign as shown below.
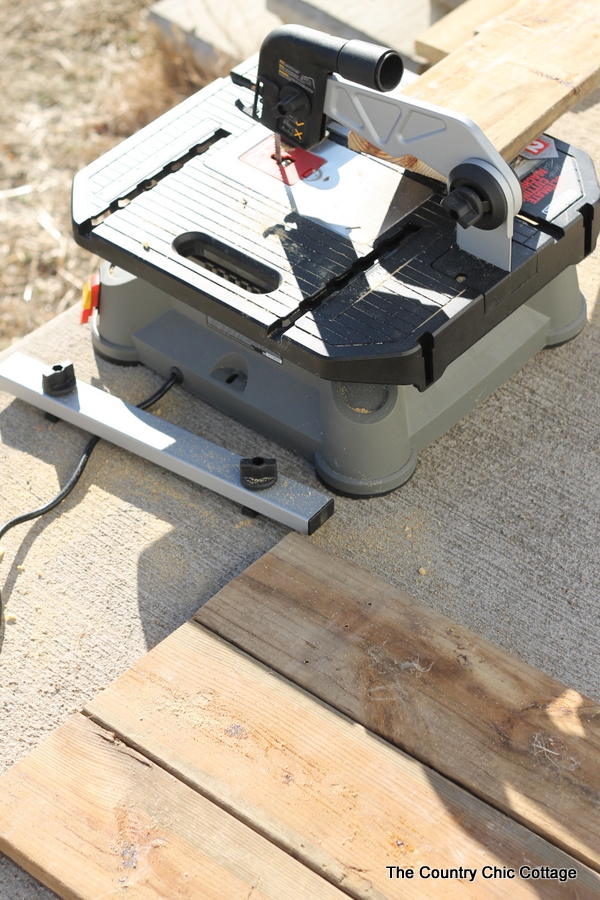
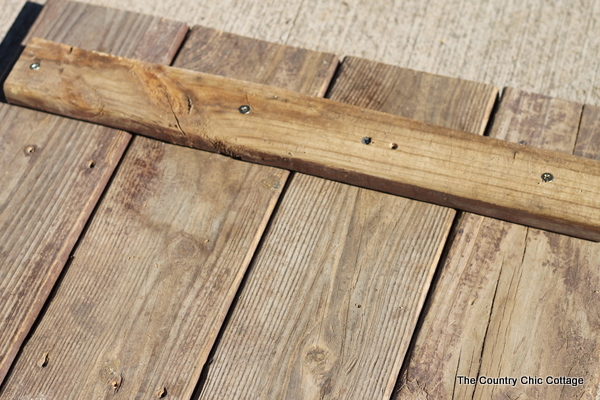
I drilled holes first then used screws to secure everything together from the back of the sign.
Flip the sign over and it is time to paint the front. I wanted to give the Krylon Chalky Finish a spin since it is absolutely a brand new product.
I am in love! Literally within about 10 minutes my sign was completely covered with three light coats of paint. I just set it aside to dry.
Next we are going to start on the design on the front of the sign. Choose any design that you wish. If you choose the mason jar, you will need to either free hand the jar or find something to stencil it from.
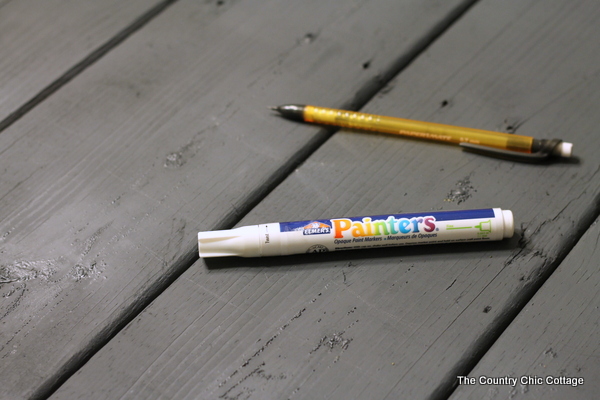
I used a chalkboard that is shaped like a mason jar and just drew the one on the sign slightly larger. It actually worked really well. Draw your design first in pencil and then go over it with the Elmer’s Painters Marker.
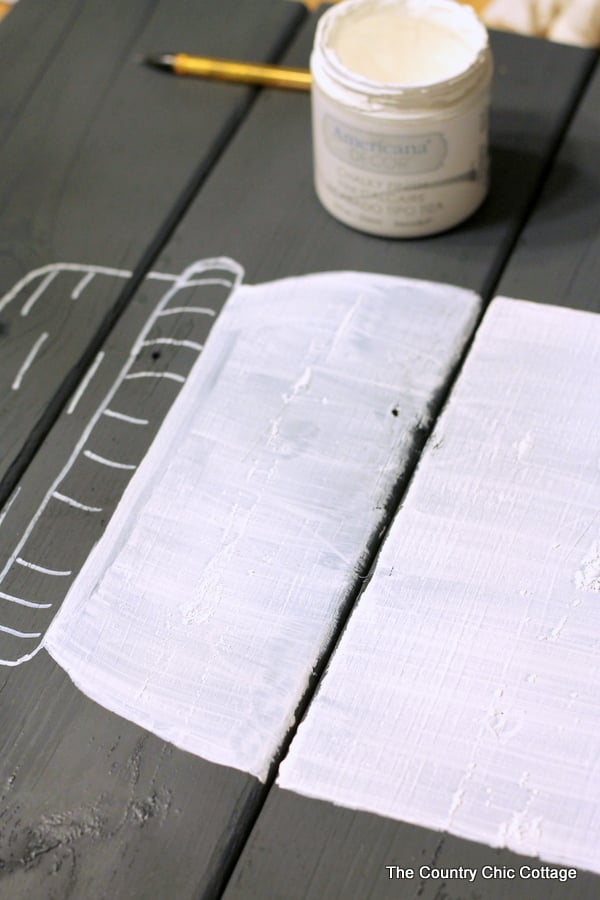
Then, I went over the “jar” portion with the Americana Chalky Finish in Everlasting.
I ended up also painting that lip on the jar with the white and aqua. Also note those lines in the lid that I drew with the paint pen. They show through the silver paint used next and I love the effect!
To get the aqua for the jar, I mixed the Americana Chalky Finish paints in Escape and Everlasting. It was about equal parts of each.
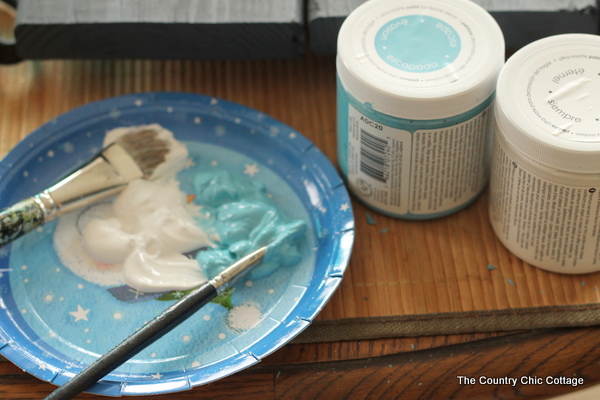
Paint the aqua on the entire jar. I was careful to use all horizontal paint lines on my final coat as you don’t want vertical brush strokes on your jar.
Also paint the lid with a couple of coats of Dazzling Metallics paint in Silver Sage.
For the lettering on the sign, I used a cropped version of an image from The Graphics Fairy and printed it on a regular sized sheet of paper. You can then use the transfer paper under your image and trace the entire thing onto your sign.
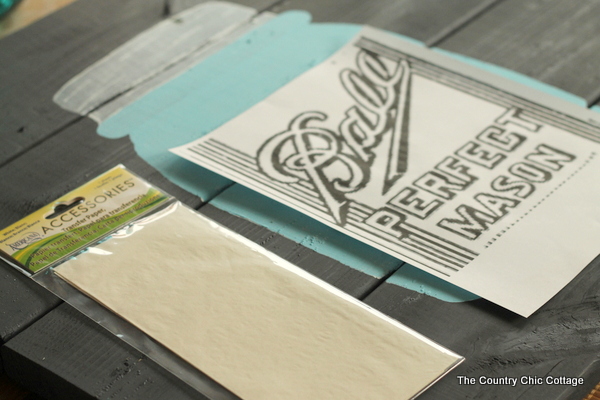
If you look closely below you can see the outline that I traced from the image I printed. Now you just have to fill it in. The absolute easiest way to do that is with an Elmer’s Painters Marker. It is just like writing with a pen, y’all!
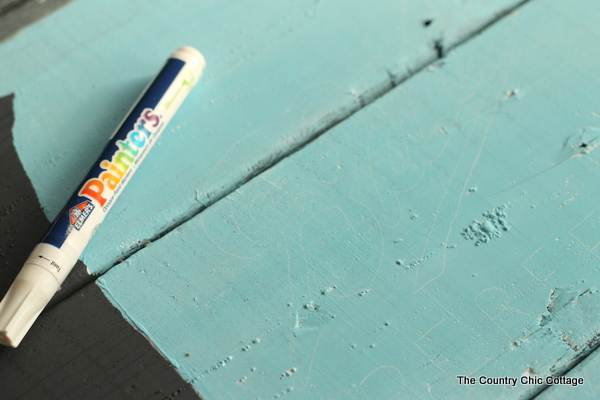
After you fill in the lettering, allow your entire sign to dry completely, then give it a few coats of Americana Glossy Sealer to finish it off and make it easy to clean.
This is hanging above my sink so that was an absolute requirement for me!
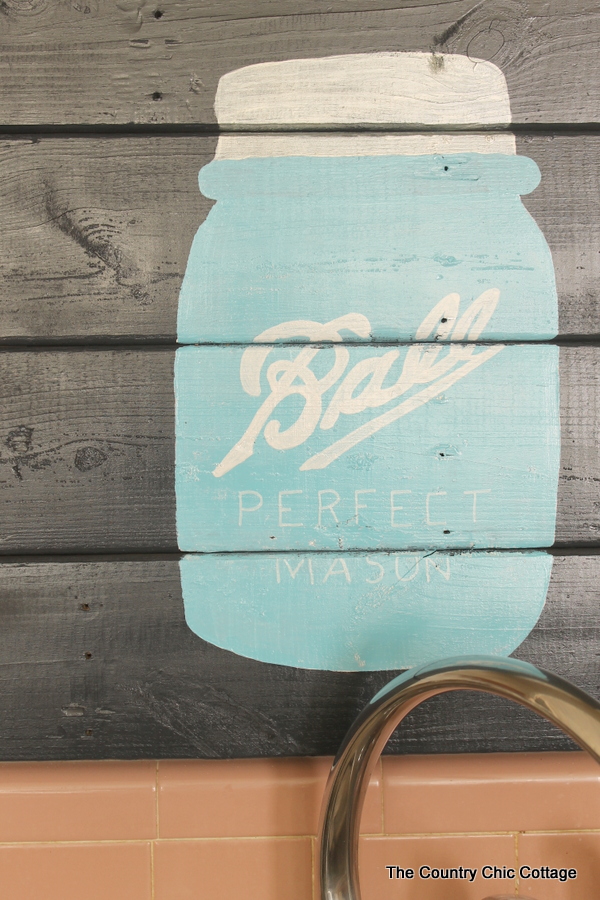
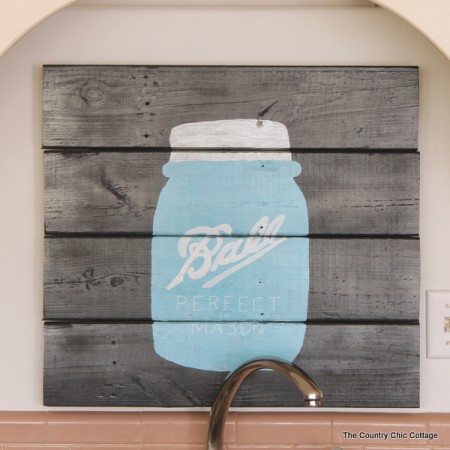
This gives an amazing touch to my slightly rustic farmhouse kitchen. I will be showing you more of this space tomorrow so y’all stay tuned. For now, here is a shot of the sign hanging above the sink.
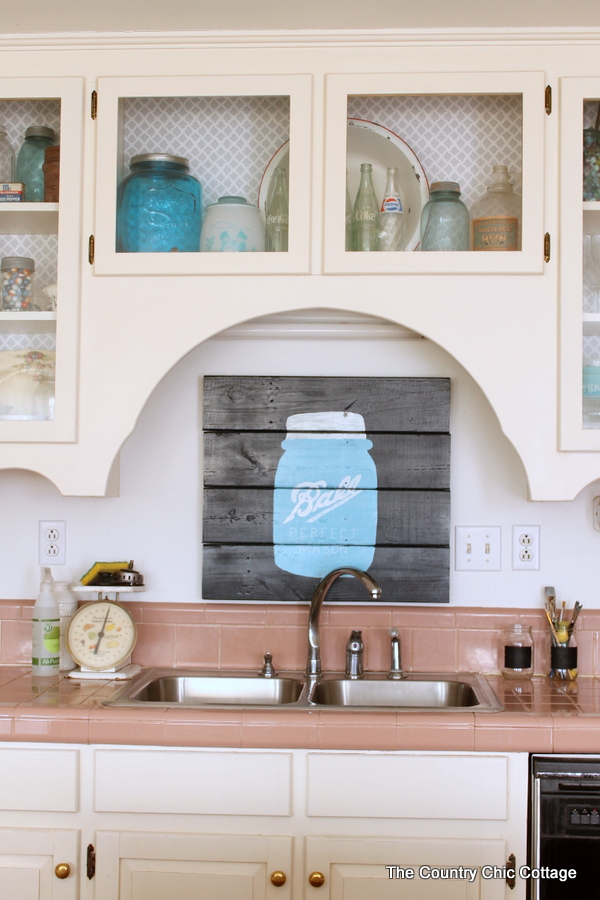
Please excuse me while I ooooh and aaaaah over this sign for a bit. It is one of my favorite projects ever already as it really fits in our home and with my style. I love when I can make something that does that! Grab some old wood and make your own pallet art. You can add a mason jar like mine or anything of your choice with my method above. Y’all enjoy!
Supplies
- Boards I used some old decking we had in the scrap pile.
- Saw I used my Rockwell Blade Runner.
- Screws
- Krylon Chalky Finish I used anvil gray. (NOTE: This is brand new and will be hitting stores soon.)
- Pencil
- Elmers Paint Pen in white
- Americana Chalky Finish I used everlasting and escape.
- Dazzling Metallics Silver Sage
- Americana Graphite Paper White
- Americana Sealer/Finish Spray Gloss
Instructions
- Start by sanding and prepping your pallet. You might need to secure a few nails or smooth out a few rough spots.
- Spray the entire front of the board with the Krylon Chalky Finish spray paint. Then, sketch the design onto the front of the pallet by freehand or stencil. Then, go over the design with the Elmer’s Painters Marker.
- Paint the jar in an aqua color by mixing the Americana Chalky Finish paints in Escape and Everlasting. It was about equal parts of each.
- Paint the lid with a couple of coats of Dazzling Metallics paint in Silver Sage.
- For the lettering on the sign, print the image (linked in the notes below) from The Graphics Fairy and printed it on a regular sized sheet of paper. You can then use the transfer paper under your image and trace the entire thing onto your sign. Fill in the lettering with the Elmer's Painters Marker.
- Allow the entire sign to dry completely, then give it a few coats of Americana Glossy Sealer to finish it off and make it easy to clean.
A Year of Jar Crafts

Sign up for our email list to get a FREE book with an entire year of jar crafts! 12 months, 12 crafts, tons of fun!


Angie – this is SO cute and perfect for your kitchen! Totally pinning this – I’m going to make one for my mom’s mason jar themed mantel!!
I sooo want to do this!! Absolutely adore it!
Angie, this is adorable! I’m amazed at how perfect it turned out! I don’t think I could ever execute this as well as you did. You’ve got skills, lady!
Angie, I love this artwork! A mix of mason jars and a pallet…two of my favorite things. Job well done!
The colors are absolutely perfect, and I love where you hung it above your sink! I miss having a backsplash area! I bet this would be great above a stove too!
Angie, your Mason jar pallet art is super cute! I pinned it right after you posted it, knowing I would make this ASAP. I gathered my materials, but then Life Happened… Now a year later, I discovered that the Graphics Fairy no longer has that Mason jar image on her site. She has some jar images that look like the Mason jar but the logo isn’t on them. I haven’t been able to find the image with the logo on any other sites. I am kicking myself all the way around the block for not downloading it when the Graphics Fairy had it on her site. So… do you know of any site that has the image like you used? I love love love Mason jars, and own quite a few vintage jars, and even a few that are actually antiques I reallllly want to make this pallet art, and I realllllllly want mine to have the name and logo, like yours. 🙂 Thank you for sharing all your creativity with us.
Try right clicking it and downloading it from Pinterest. Like this pin: https://www.pinterest.com/pin/180636635024860772/
Thank you SO much Angie Holden. It worked! It never occurred to me to try that. I am very grateful to you for suggesting it. And now I know I can do that on other Pinterest pins also. Thank you for taking the time to suggest it. Be blessed!
Hi, my project is to build a koi pond madeup of wooden pallets, a chair for us to sit in, a table and a chicken coop