
Making Easter eggs is a long-time tradition that many families still enjoy doing! However, because it’s a time-consuming process, fewer and fewer families partake in it. Use this tutorial to make a gorgeous painted Easter egg in just minutes!
Let’s Talk Easter Eggs
When my kids were little, we used to dye Easter eggs. I loved doing it, but my kids would get tired of it after a while, and we couldn’t display the eggs as decorations.
Gone are the days of making Easter eggs all afternoon because many families don’t have the time to commit to such a long project. However, I have an alternative for you so that you can make your Easter eggs in just 5 minutes! It’s a different method than the one I used to make my Coloring Page Decoupage Easter Eggs.
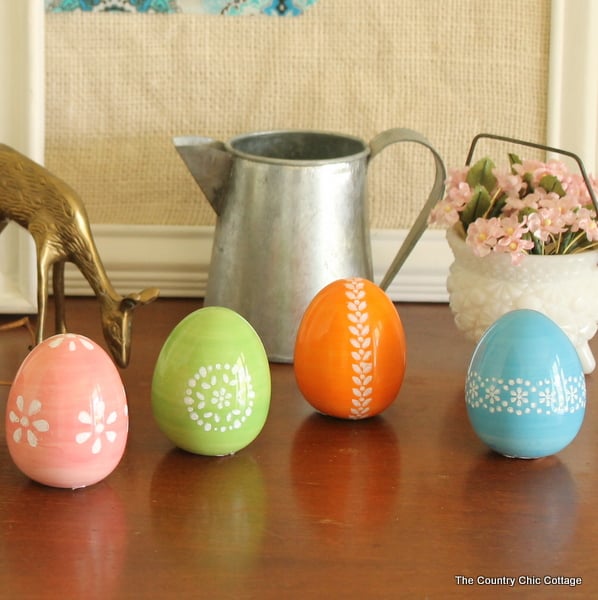
Now you can have the best of both worlds when you make these easy Easter-painted eggs! This project is for you if you want to make beautiful decorations that you can display around the house (without fear of horrible aromas).
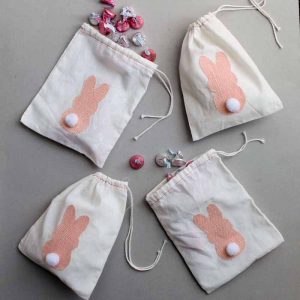
Note: If you love spring and Easter crafts, check out my Pom Pom Yarn Easter Eggs, Marbled Eggs And Moss Easter Wreath, and Burlap Table Runner For Easter.
How To Make A Painted Easter Egg
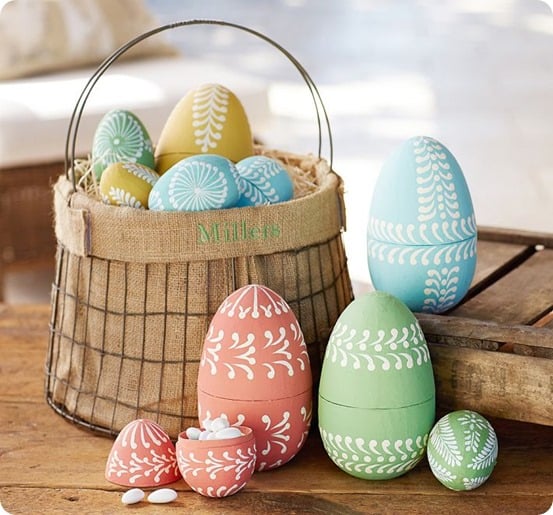
I was inspired by some eggs I saw in the Pottery Barn catalog. You can see what they looked like in the image below because they aren’t available from Pottery Barn anymore. I did mine a little differently, but I love both versions!
This is the perfect spring and Easter craft. Grab a few supplies and make a dozen or so to add to your home decor for Easter. They are so quick and easy that you will wonder why you never thought of them before!
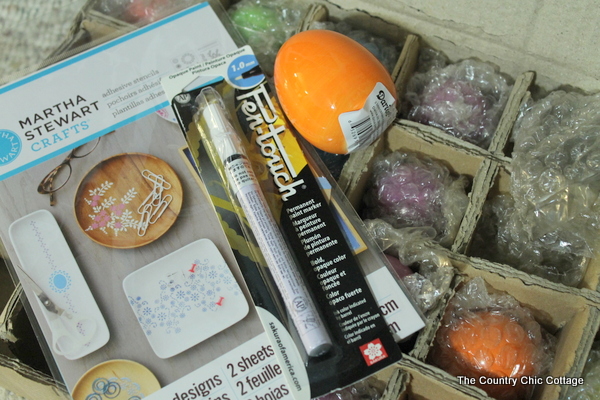
Supplies Needed To Make Painted Easter Egg
NOTE: I used a premade stencil for this project, but you can make one using a Cricut machine instead. I discuss how to use a Cricut machine to create a stencil in step 1. If you would like to use your Cricut to create a stencil, you will need to add the following supplies to the list above.
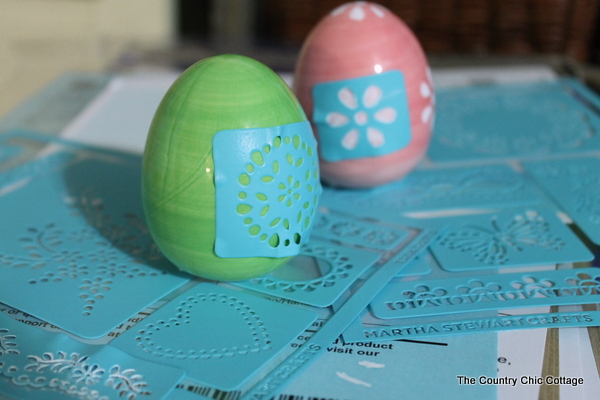
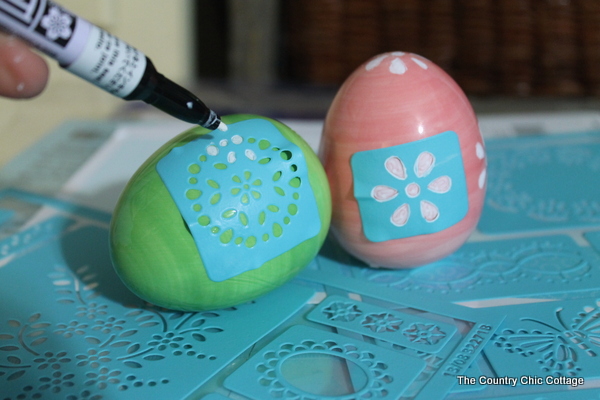
Step 1: Apply Stencil To Ceramic Egg
Apply the peel-and-stick stencil to the ceramic egg and press down. Because the eggs are rounded, you will probably have gaps in the stencil. This is okay and shouldn’t affect your design too much.
How To Make A Stencil With A Cricut Machine
If you don’t want to use a store-bought stencil, you can make your own using your Cricut machine!
Depending on your supplies, there are several different ways to make a stencil with your Cricut machine. I think making a stencil out of vinyl would be the best option for this project because, like an adhesive stencil, you could easily apply it to your ceramic eggs.
To make a vinyl stencil, first find a design you like in Cricut Design Space. Then, resize the design to fit your ceramic egg, cut out the design using vinyl, and weed it. Once your design has been weeded, apply it to your ceramic egg.
To learn how to make a stencil with your Cricut machine, check out our blog post titled ”How To Make A Stencil With A Cricut”!
Step 2: Color In Stencil
Use a white paint pen to color in the areas of the stencil. Allow the first coat to dry, and apply a second coat with the paint pen. Remove the stencil.
NOTE: You can use a cotton swab, fingernail, or toothpick to remove seeped paint under the stencil.
That’s it! Super easy, right?
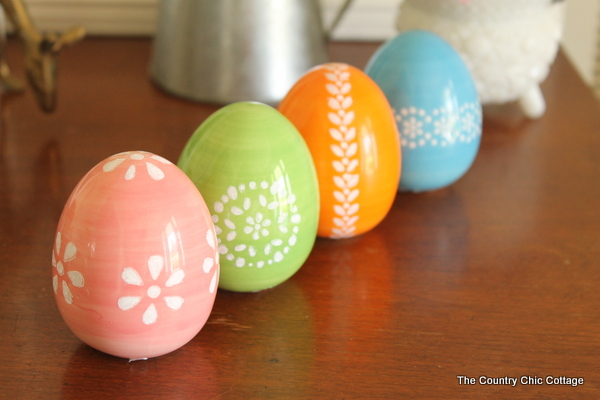
Play around with the stencils in the package and the variety of colored eggs to create your own unique combinations. This method for making painted Easter eggs can yield amazing results.
I love to have them out for Easter, but they also work for the entire spring season!
FAQs About Painted Easter Egg
Here are a few common questions that I often see readers asking about painting Easter eggs. If you have a question, please check if I’ve already addressed it below. If you don’t see your question listed, please leave it in the comments!
What Can I Use If I Can’t Find Colored Ceramic Eggs?
If the decorative eggs that are already colored aren’t available, I like these wooden eggs. They’re white, so you’d have to color them first (paint them with regular craft paint, watercolors, or paint pens). Once they’re colored and dry, they’re ready for you to add your stencil art to them!
How Can I Make The Egg Design On My Painted Easter Egg More Intricate?
There are several things you can do. Take a stencil design and repeat it around your egg. Combine stencils so that you have a variety of shapes. You could also use different color paint markers. Also, you could freehand designs on your eggs if you feel brave and creative.
What Cricut Machine Can I Use To Make A Stencil?
To make a stencil, you can use Cricut Maker, Cricut Explore, or Cricut Joy series machines!
Do You Have Other Cricut Stencil Resources?
Yes, I do! If you have never made a stencil with your Cricut and are looking for more resources, check out the blog posts below!
5 More Easter Crafts
Did you love this painted Easter egg and want more Easter crafts to make? Then check out the projects below!


I love these! I’m going to feature them on Copy Cat Crafts on Friday!