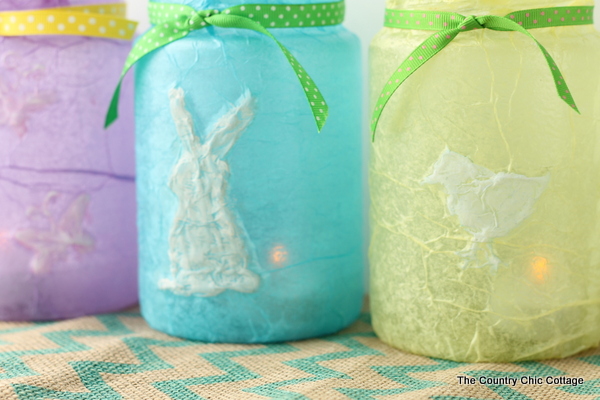
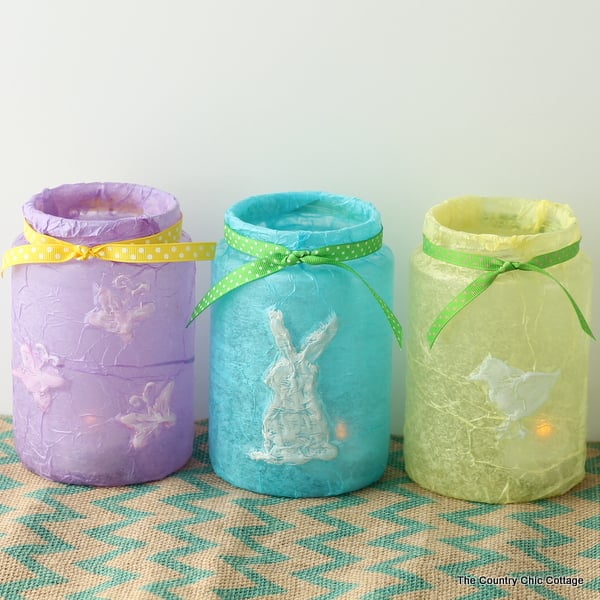
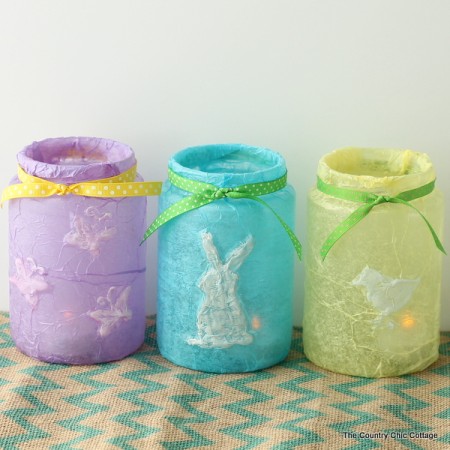
Turn recycled jars into beautiful centerpieces for Easter and spring! These adorable luminaries are the perfect touch to your spring table. This craft uses decoupage and is embossed with festive Easter silhouettes. Learn how to make these in a few easy steps.
This post is brought to you by Adtech adhesives as part of a year-long series I am doing for them. Be sure to check them out but just to let you know that all projects and opinions are always my own.
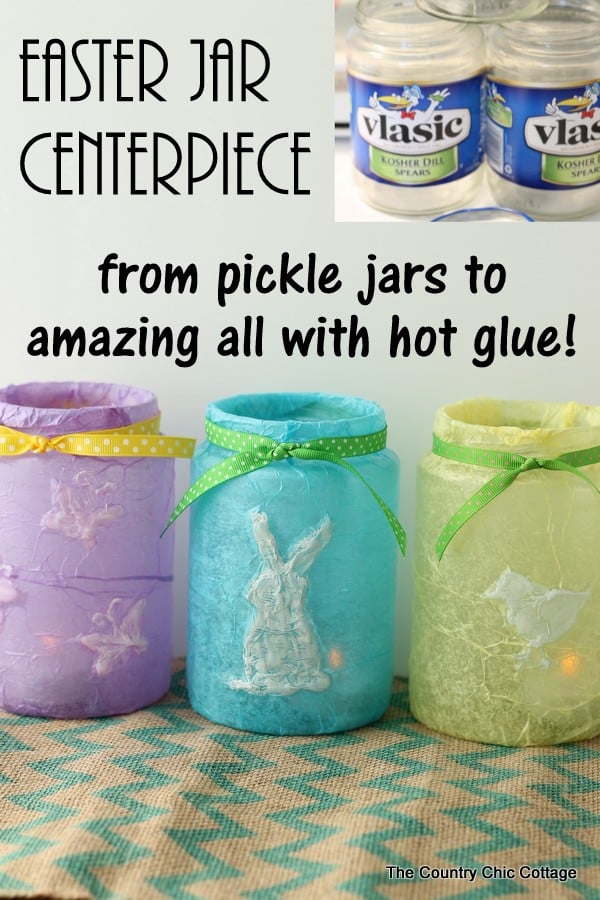
It is recycled crafts week around here with tons of ideas that take 15 minutes or less to make. I am going to kick things off with this Easter jar centerpiece made from recycled pickle jars and hot glue. You can also see even more quick recycled crafts at the bottom of this post from our Craft Lightning partners so don’t miss those.
To make this craft you will need some pickle jars, hot glue, tissue paper, ink, decoupage, and ribbon. That is really everything! After everything has dried, drop a small candle into the jar and light it to illuminate your beautiful centerpiece. Alternatively, you can also use battery-operated twinkle lights as I did for my mason jar fairy lantern.
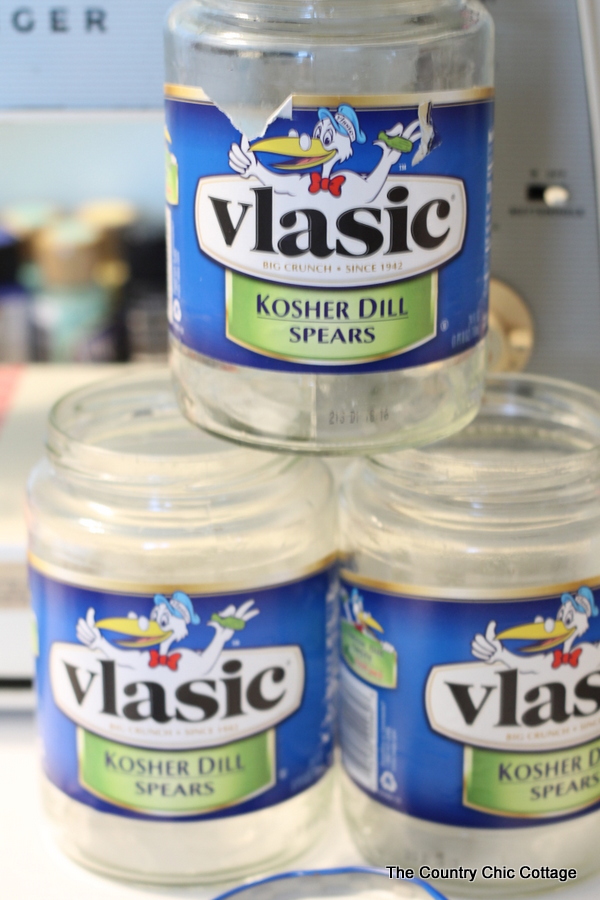
So save up those pickle jars y’all. You can click here to see how to remove the sticky labels from those jars.
If you don’t have any large jars ready to decorate, try this craft using mason jars or a jar without the emblem on the side.
How to Make Easter Luminary Centerpieces
Supplies needed to make a recycled Easter jar centerpiece
- Cleaned pickle jars or large jars without emblems (see how to remove the sticky labels from those jars here)
- Hot glue
- Tissue paper
- Ink
- Decoupage
- Ribbon
- Small tea candle or battery operated twinkle lights
- Easter silhouettes printed
Here is a short video showing you the technique I used to get those embossed shapes onto the jars (hint it is HOT GLUE!!). You don’t want to miss this!
For those that can’t watch the video or have trouble understanding here is a rundown of the steps:
To start, clean your jars and remove all labels. Print out some Easter silhouettes from the web and tape to the inside of your jar. Trace around the image on the outside of your jar with hot glue then fill it in.
Allow the glue to dry completely. Then, apply decoupage to about half of the jar then roll onto a strip of tissue paper.
Decoupage the remaining half and cover the jar completely including the bottom and rim. Trim away the excess tissue paper.
Apply decoupage to the outside of the jar as well. Press down well with your brush on the hot glue emboss area to get a great image.
Set aside and allow to dry upside down to not damage the bottom of the jar. After the jar is completely dry, use ink to make the embossed area really stand out.
Tie on a ribbon.
Add a candle and you are ready to display your Easter jars.
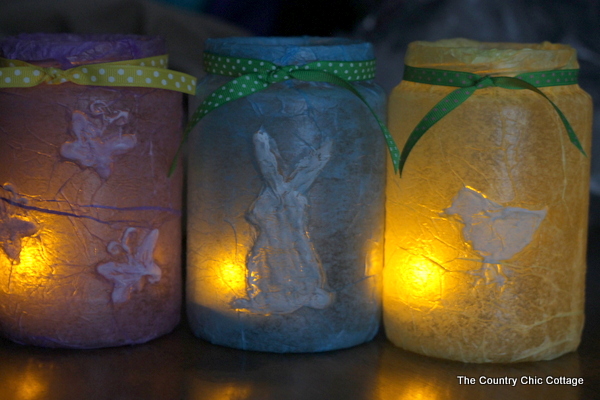
The tissue paper allows the light of the candles to show through as well so these look great at night.
Change up the silhouettes and colors to anything that you would like! This technique is a fun craft idea that is easy enough for a beginner and does not take any special tools. Grab you hot glue gun and get started on some Easter jars today!
Supplies
- Cleaned pickle jars or large jars without emblems see how to remove the sticky labels from those jars here
- Hot glue
- Tissue paper
- Ink
- Decoupage
- Ribbon
- Small tea candle or battery operated twinkle lights
- Easter silhouettes printed
Instructions
- Clean your jars and remove all labels.
- Print out some Easter silhouettes from the web.
- Tape a silhouette to the inside of your jar.
- Trace around the image on the outside of your jar with hot glue then fill it in.
- Allow to dry completely. NOTE: Set up a place where you can put your jar to dry upside down after these next steps — you will thank me later!
- Apply decoupage to about half of the jar then roll onto a strip of tissue paper.
- Decoupage the remaining half and cover the jar complete including the bottom and rim. Trim away excess tissue paper.
- Apply decoupage to the outside of the jar as well. Press down well with your brush on the hot glue emboss area to get a great image.
- Set aside and allow to dry. (This is where your set up of getting the jar to dry upside down really comes in handy.)
- After the jar is completely dry, use ink to make the embossed area really stand out.
- Tie on a ribbon.
- Add a candle and you are ready to display your Easter jars.
Are you ready for some more recycled crafts that can all be made in 15 minutes or less? Check out today’s bloggers and what they have for you!
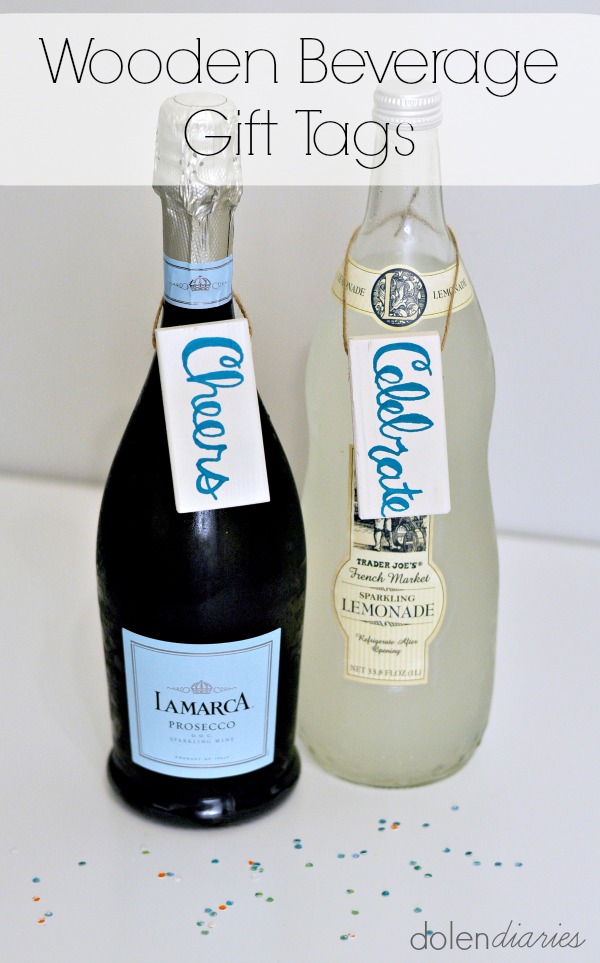
First up is some wooden beverage gift tags from scrap wood. Dig through the off cuts at your home to make these tags that are perfect for gifting a bottle of wine! Click here to see the full instructions for making these over at Dolen Diaries.
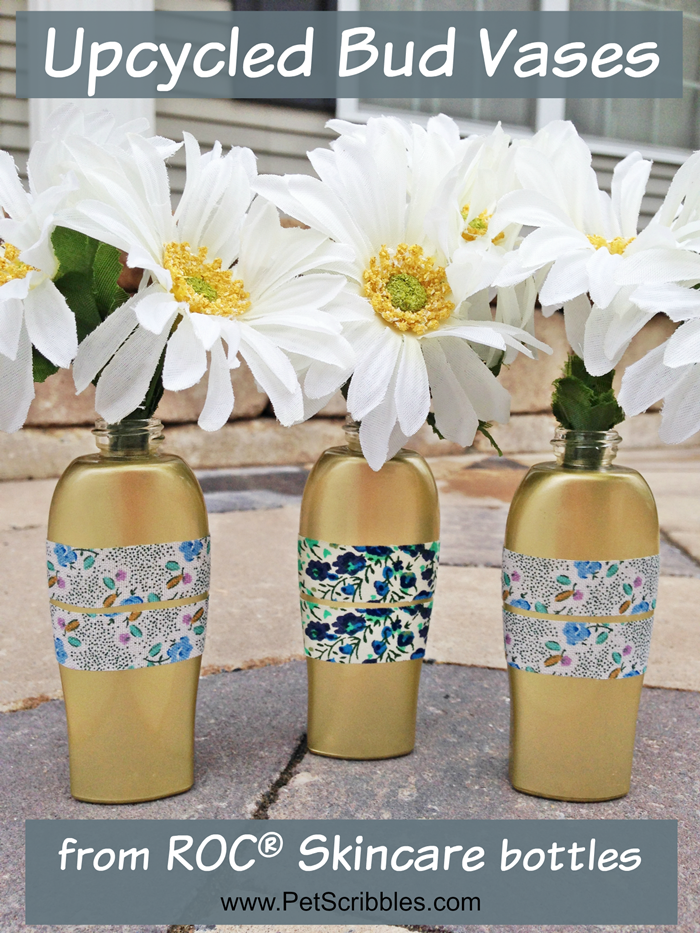
Ever have empty skin care bottles? Upcycle those into bud vases like these from Pet Scribbles. I need to start buying ROC skincare if I get great gold bottles like these! See more by clicking here to see the full tutorial.
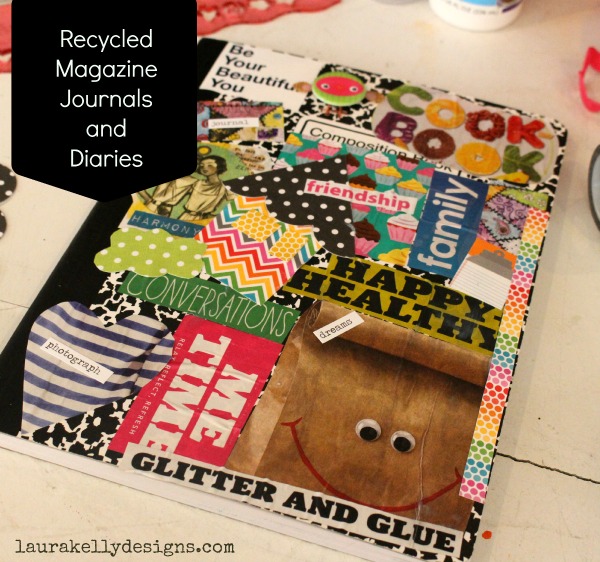
Take old magazines and collage the front of any notebook for a fun custom journal or diary. I can remember doing this when I was in school! Don’t let the tradition die! Make these with your kids and teens today! Click here to read more over at Laura Kelly Designs.
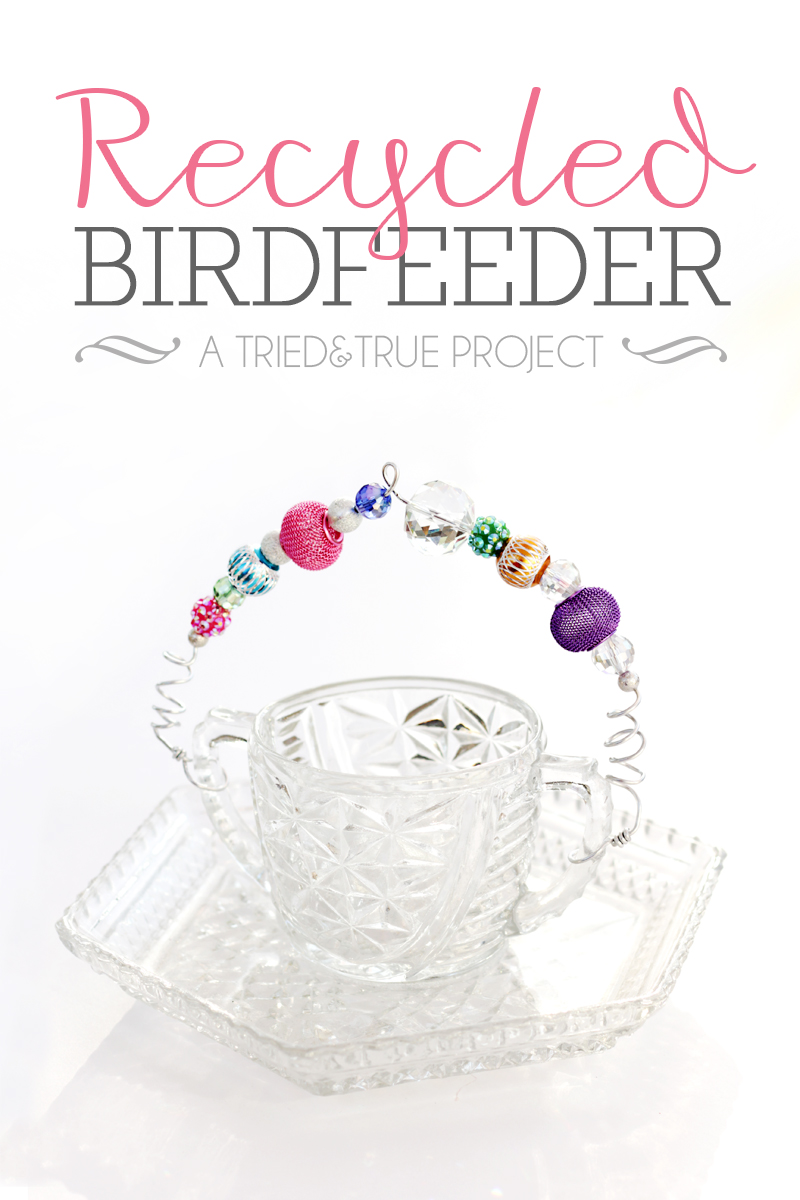
Don’t let those tea cups at the thrift store head to the land fill. Rescue them and make a great recycled bird feeder. Such a simle project and perfect for spring. Be sure to click here to see more from Tried and True.
Denim is a HOT crafting medium right now. The best part? You can find it in your home with a pair of old jeans! Use every bit of those old jeans and make one of these knotted denim key fobs.

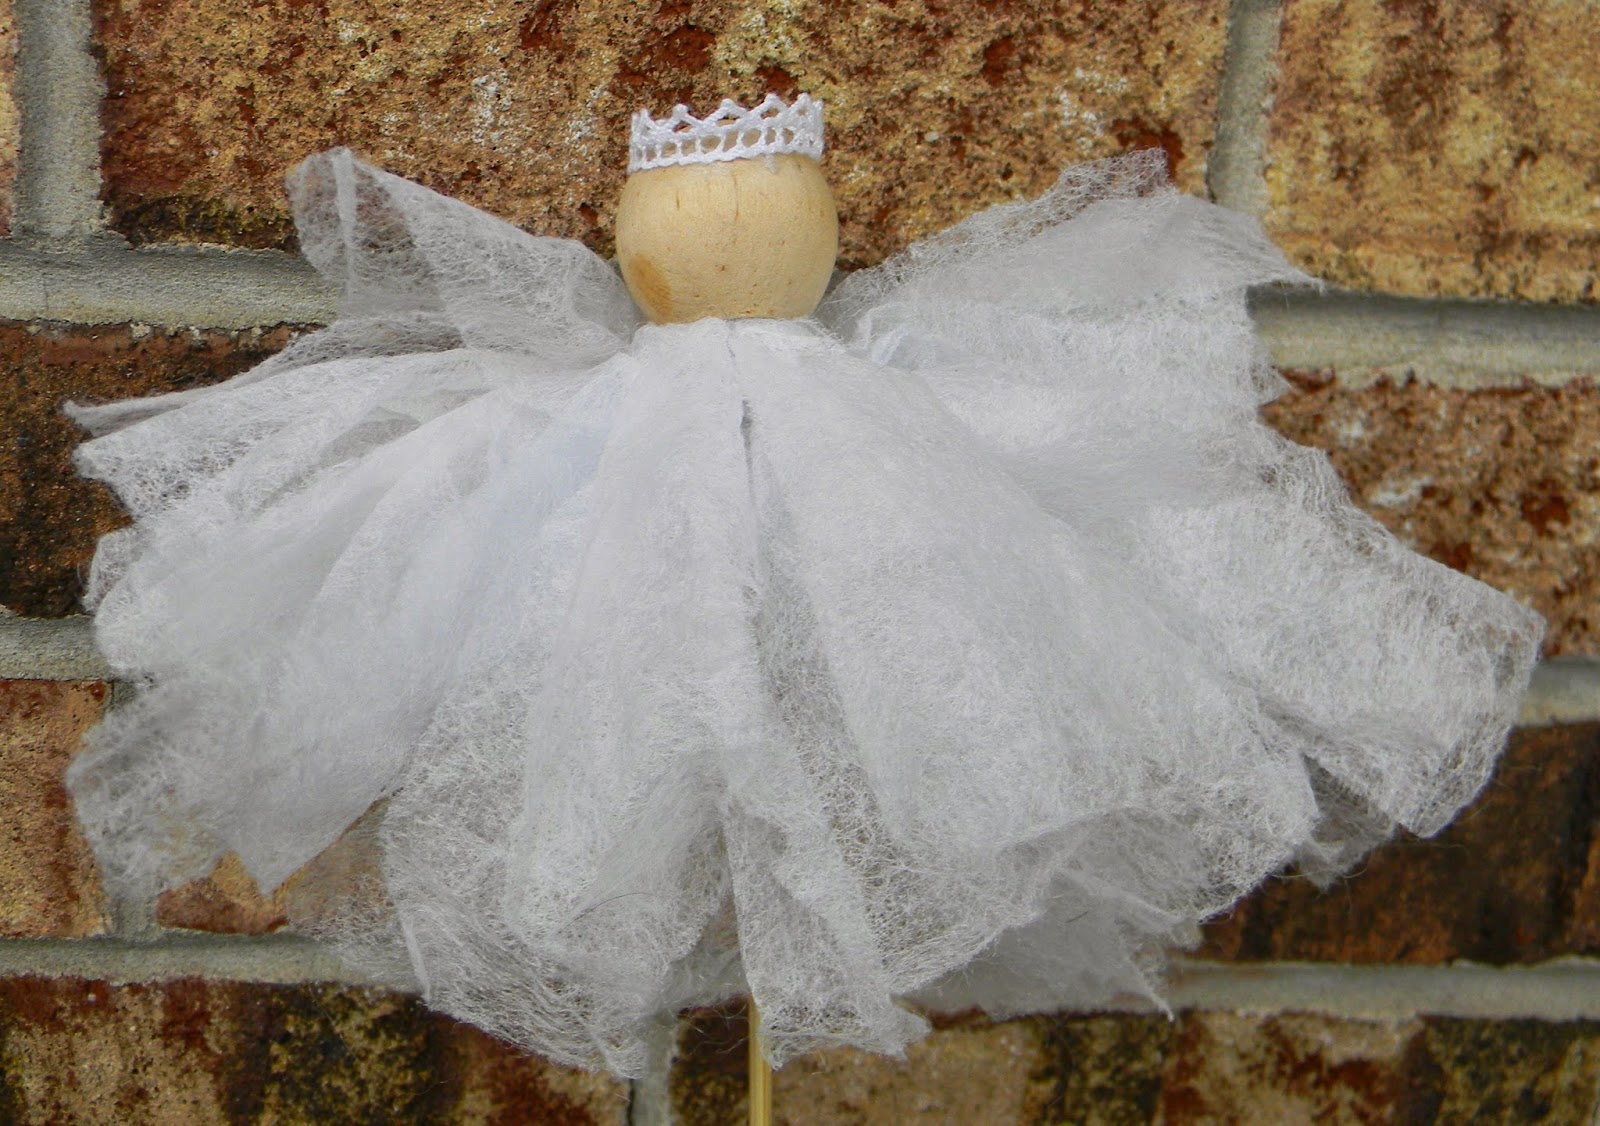
When you are thinking of recycling, don’t forget those dryer sheets. Yep that is what you can use to make this gorgeous little angel from Artistic Endeavors. I would never have guessed!
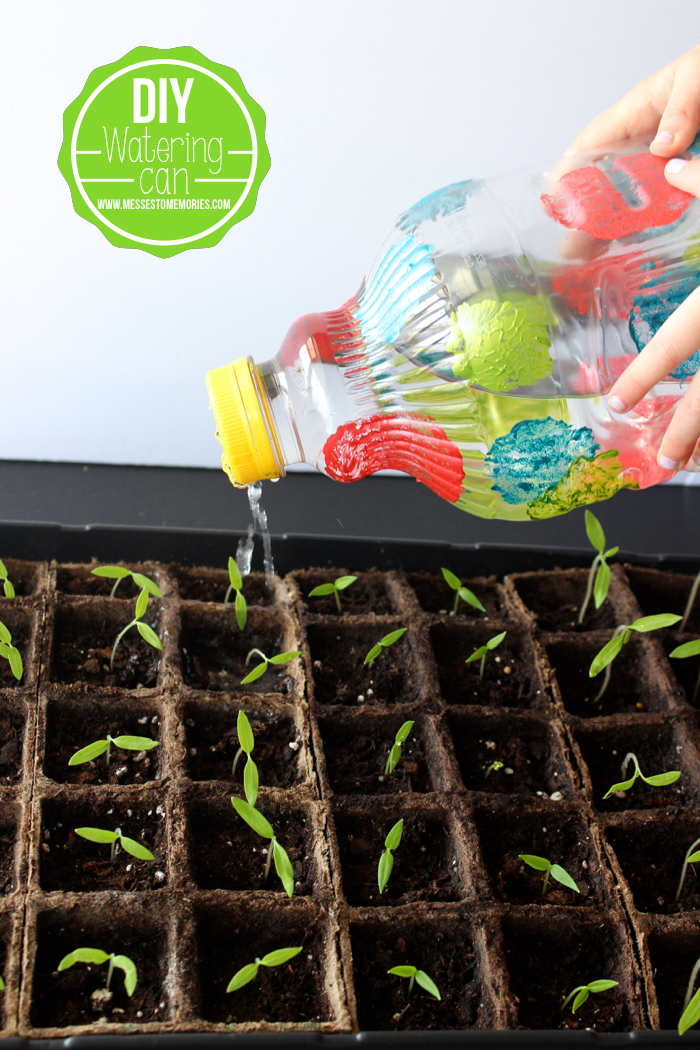
Our last craft for today is this DIY watering can from Messes to Memories. This is a fun project to complete with your kids and you can use it all summer long!
Stay tuned for more recycled craft fun tomorrow. If you love quick and easy crafts, don’t miss any of them by following our quick and easy crafts Pinterest board.
A Year of Jar Crafts

Sign up for our email list to get a FREE book with an entire year of jar crafts! 12 months, 12 crafts, tons of fun!


Cute and simple two of my favorite things! Adding this to my list of things to make for Easter.
These are totally adorable. I love them!
Those are cute! I can’t believe it’s just hot glue and a pickle jar!
I love your jars and all the other projects are amazing too! Thanks for including me in Craft Lightning! It’s so much fun!
LOVE the embossing. This is an awesome technique!
LOVE the embossing. This is an awesome technique!
No way!! These are so adorable! I love the pastel colors!