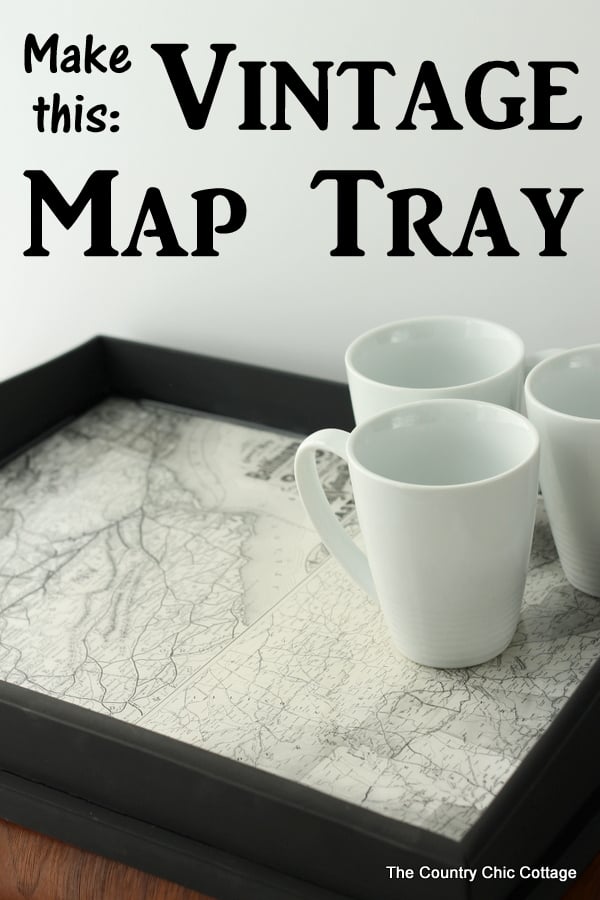
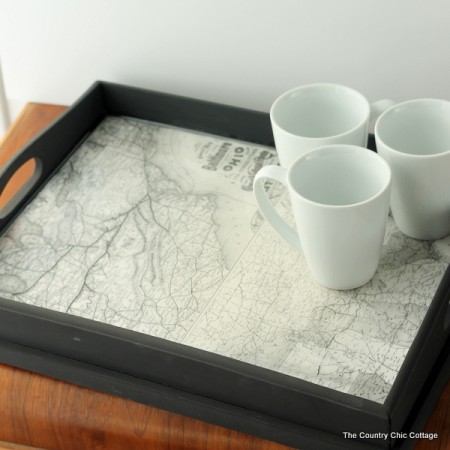
Turn a thrift store tray and vintage maps into a gorgeous map tray perfect for serving up drinks, food, and more. A few recycled items and a little epoxy is all you need for a classic serving tray that can be used year round. This vintage map tray turned out amazing and the whole craft took only 15 minutes to make.
This post is a part of my design team status with DecoArt however all projects and opinions are my own.
If you have missed any of our 15 minute crafts this week, be sure to catch up with day 1. You can scroll down and see today’s Craft Lightning posts from our partners at the bottom of this post as well. Now lets get crafty!
Recycling to me also means saving those thrift store finds. For this project, I created a vintage map tray from a thrift store tray and an old book of railroad maps. I’ve used old vintage maps before and I love the results I get each time!
If you find yourself with a lot of vintage maps to use up, try a few of these projects:
How to Make a Vintage Map Tray
Supplies needed for a vintage map tray:
- Vintage maps
- Optional: Americana Chalky Finish paint in Carbon (you can use any color)
- Old serving tray
- Decoupage medium
- Environmental Technology 8-Ounce Kit Craft Casting Epoxy
First of all…don’t be scared of this project. It involves mixing and pouring epoxy but I promise it is an easy process!
Start with a thrifted tray and some black and white maps of your choice. I used the Americana Chalky Finish paint to revamp my tray before starting on the decoupage portion of the project.
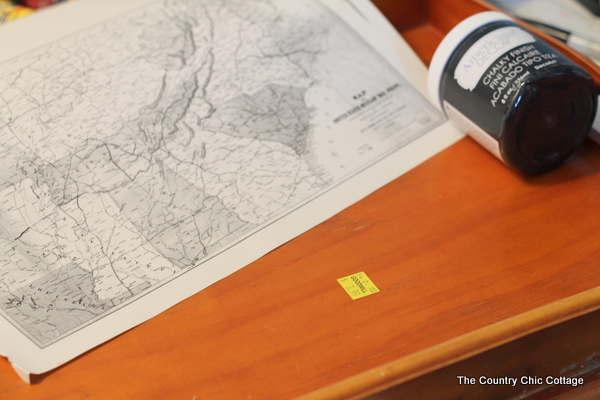
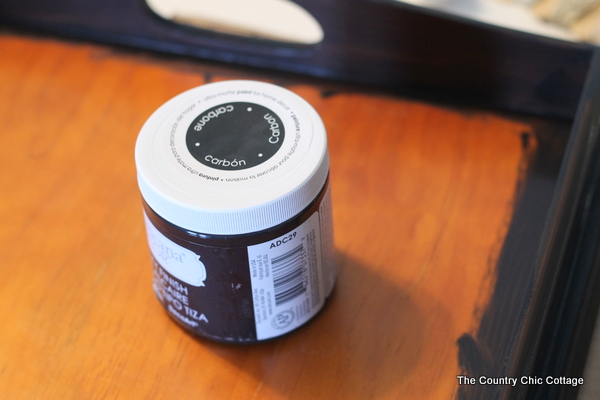
I used a few coats of the chalky finish in carbon on my tray just around the sides. We are going to cover up the bottom anyway so there is no reason to waste time painting it.
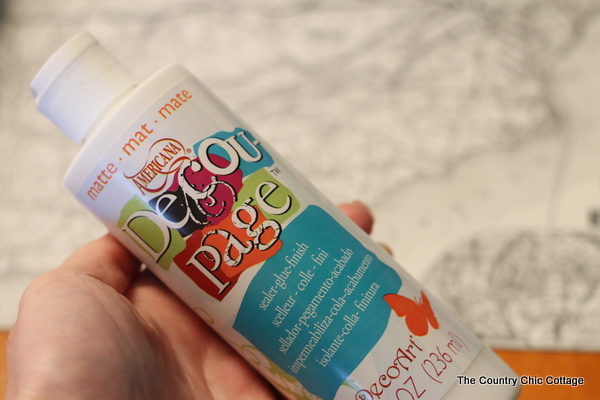
After your paint has dried completely, add the maps to the bottom of the tray with decoupage medium. Allow to dry completely then add one to two coats of decoupage on top of the maps. This is important to seal everything well so the epoxy does not discolor your project.
Then just grab some 2 part epoxy like this Environmental Technology 8-Ounce Kit . That size will do this sized tray perfectly. Just mix equal parts of the two components and be sure to follow the package directions when stirring. Then just pour onto your tray. Pop any bubbles with a lighter or torch. Allow your epoxy to cure overnight.
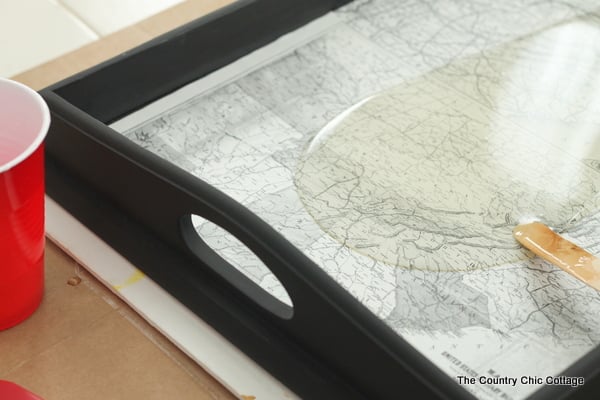
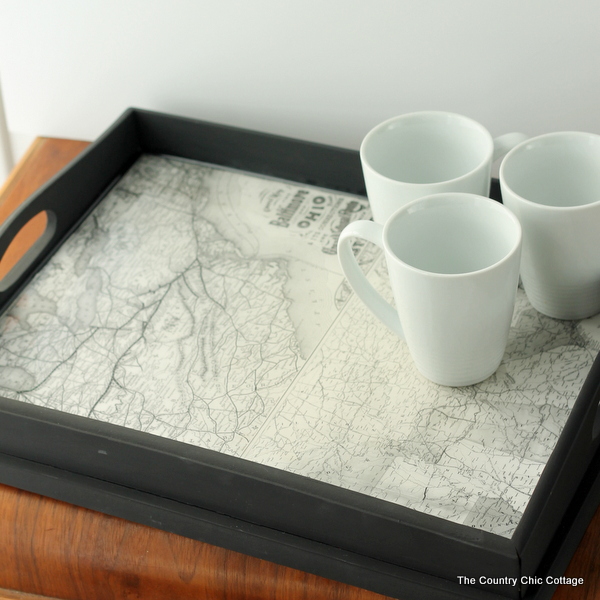
Your tray will be ready to use with an almost glass like appearance.
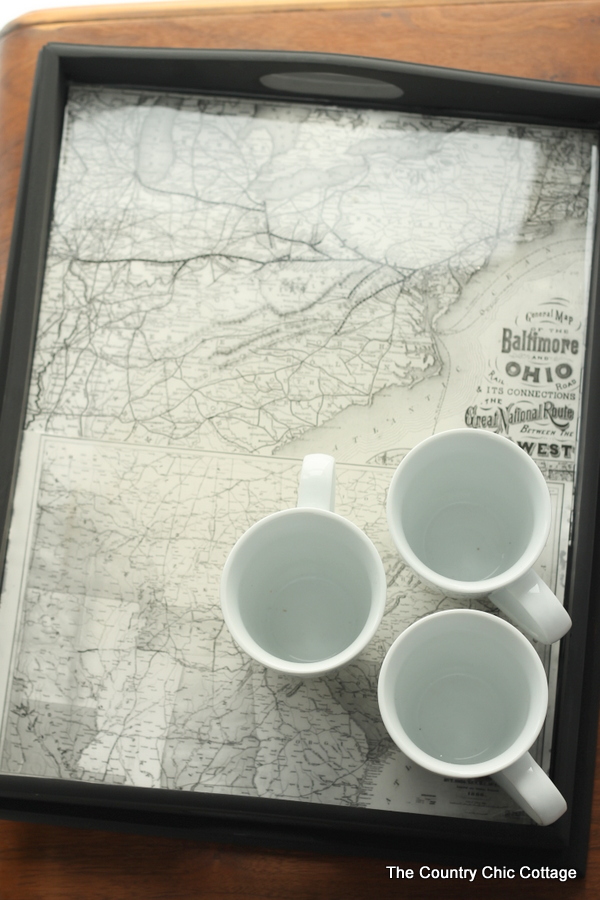
And you can see those gorgeous vintage maps right through the epoxy layer! You can set your drinks, plates, or anything else right on top with no fear of damaging the surface of the map. The epoxy cleans up easily and will last a long long time!
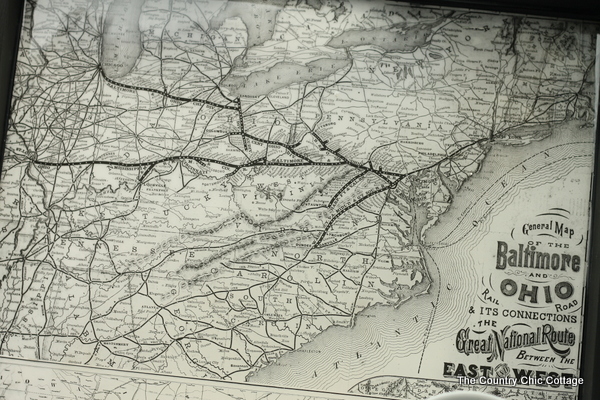
Add a vintage map tray to your home with this super simple craft tutorial. If you don’t count dry time, you will have a tray like this one in 15 minutes or less!
Ready for some more recycled craft inspiration for Earth Day? Click around on the links below to see the amazing crafts that our partner bloggers have come up with!
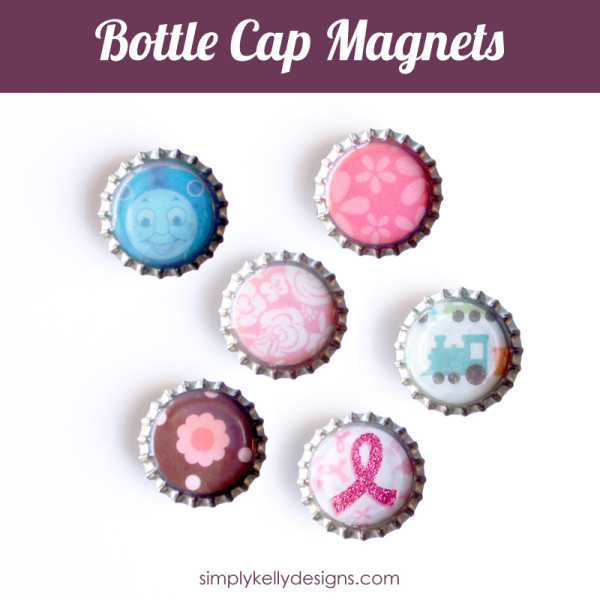
Turn bottle caps into magnets with this tutorial from Simply Kelly Designs. I love that she made some for girls and boys!
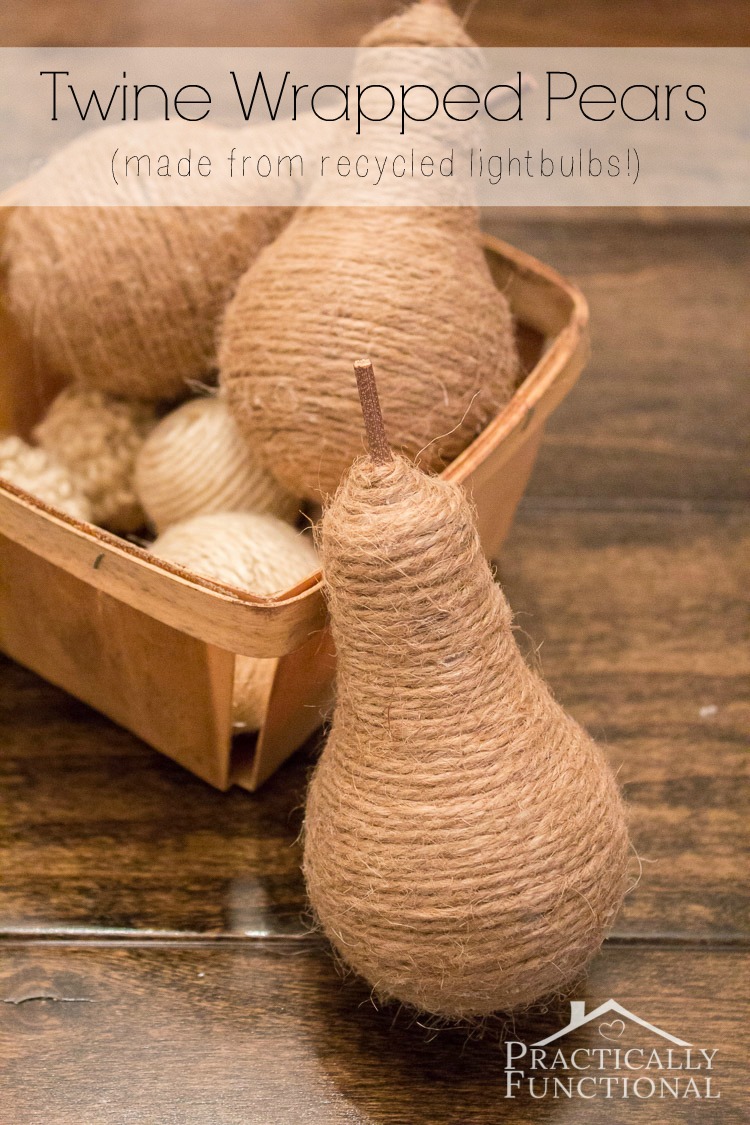
Don’t throw away those light bulbs! Wrap them with twine and make some pears for your home with these instructions from Practically Functional.
Around our home those plastic Easter eggs seem to multiply! I am in love with this project from Artzy Creations! See how she turned them into toadstools here.

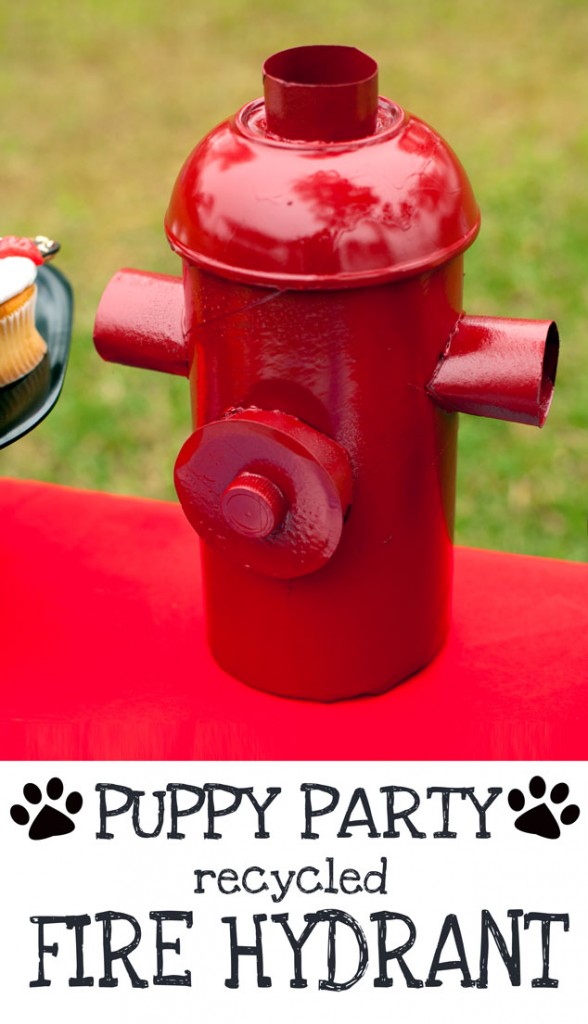
Frog Prince Paperie threw a cute puppy party and needed a centerpiece. Recycled crafts to the rescue! See the steps to make this cute fire hydrant here.
Y’all know I love jars! Recycle an old salsa jar into this DIY Easter bunny vase with these instructions from Weekend Craft.

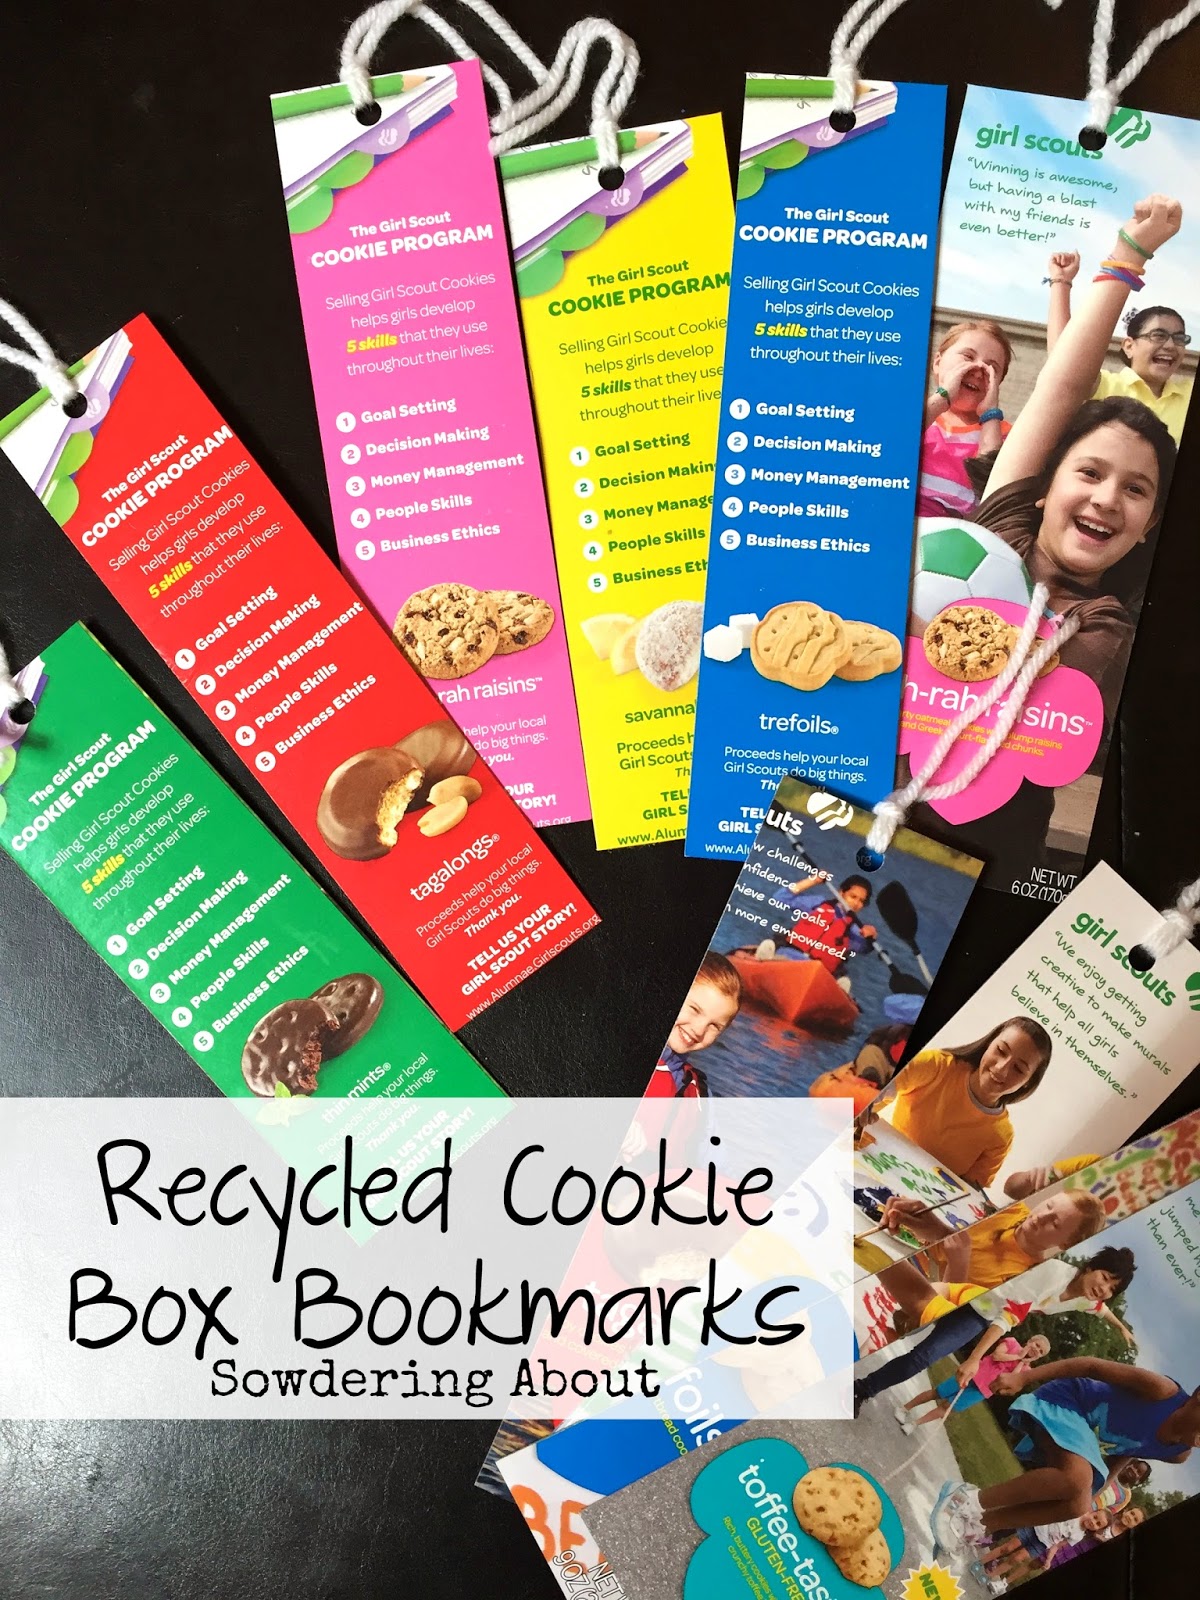
Love Girl Scout cookies? Or any boxes would work for these recycled box bookmarks from Sowdering About.
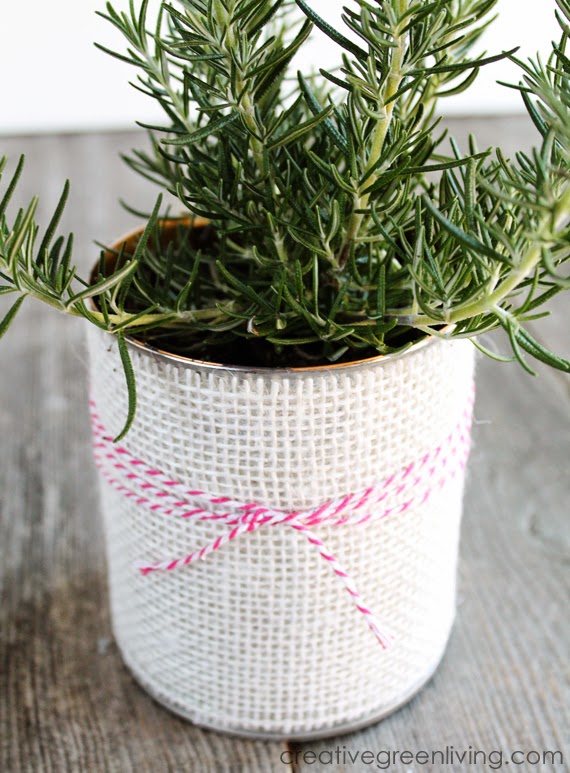
My partners for this series have been busy creating recycled crafts as well. First up is a great tin can planter from Creative Green Living. This would make a lovely gift!
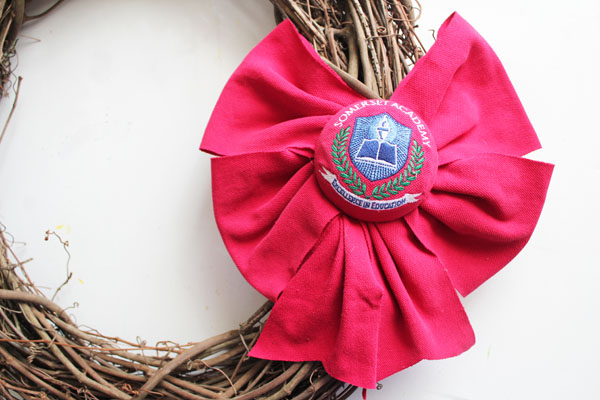
If you have an old shirt laying around that is still special to you, let 30 Minute Crafts show you how to turn it into a fun wreath with this tutorial.
Want to see more quick and easy crafts? Be sure to head on over and follow our quick and easy crafts Pinterest board!
Supplies
- Vintage maps
- Americana Chalky Finish paint in Carbon optional, use any color
- Old serving tray
- Decoupage medium
- Environmental Technology 8-Ounce Kit Craft Casting Epoxy clear
Instructions
- Start with a thrifted tray and some black and white maps of your choice.
- If you are painting your tray, do this first and allow it to dry completely before continuing. I used the Americana Chalky Finish paint to revamp my tray before starting on the decoupage portion of the project.
- Add the maps to the bottom of the tray with decoupage medium. Allow to dry completely then add one to two coats of decoupage on top of the maps. Be sure to seal everything well so the epoxy does not discolor your project.
- Mix the epoxy according to the directions.
- Then just pour onto your tray. Pop any bubbles with a lighter or torch. Allow your epoxy to cure overnight.
- Your tray will be ready to use with an almost glass like appearance.


It leaves you with a great feeling of satisfaction when saving something that has a bit of history. I love the fact that the energy it created then can still be just as vibrant now, when given a new lease of life. Great blog.
Your tray is stunning….It would make a fabulous Father’s Day gift! I love all the other recycled craft projects too! So many talented people! 😀
Looks awesome! I love the map at the bottom. 🙂
Those railroad maps are SO COOL! I love how this tray turned out and the map you picked really makes it!