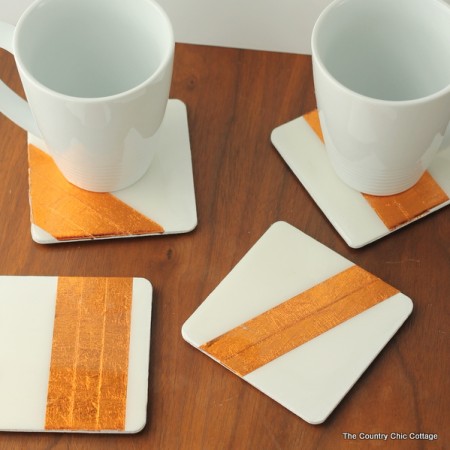
Did you know that making your own coasters is actually really easy? You can make these copper foil coasters for your home or change up the colors to match your home decor. These were first posted over on Crafts Unleashed but I wanted to share them here in case y’all missed them.
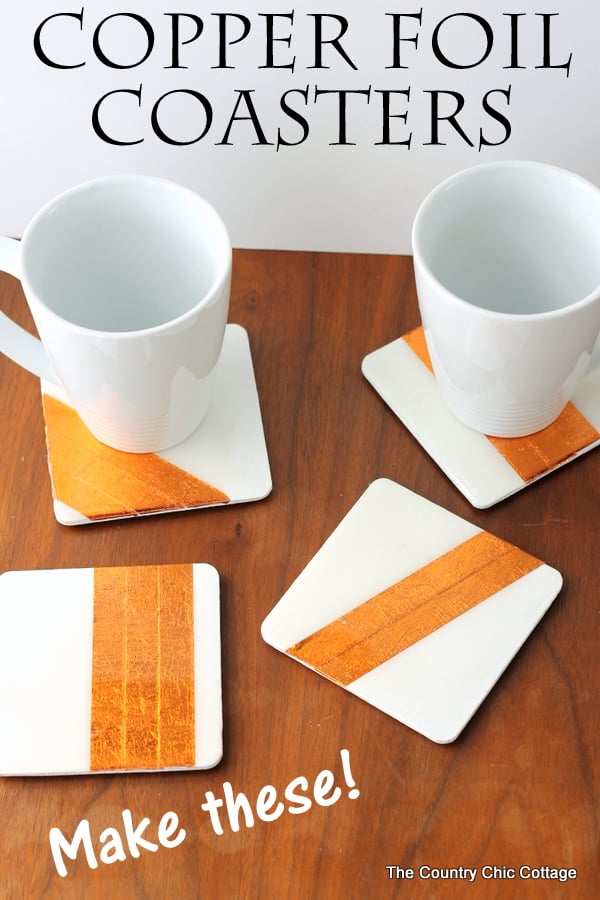
Coasters are really handy to keep around your house. Plus, they make great gifts! Add them to a housewarming gift basket to welcome neighbors or use photos of the kids for a sweet momento.
This is an easy craft and one you can easily customize to your own style. I used copper foil tape for this one, but you could use any color you choose.
How to Make Foil Coated Coasters
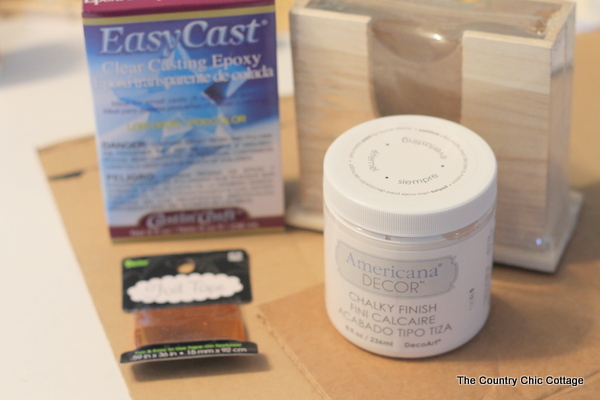
Items needed to make your own coasters:
- Unfinished Wood Coaster Set
- Americana Chalky Finish Paint (I used Everlasting White)
- Darice Foil Tape (I used copper metallic)
- EasyCast Clear Casting Epoxy
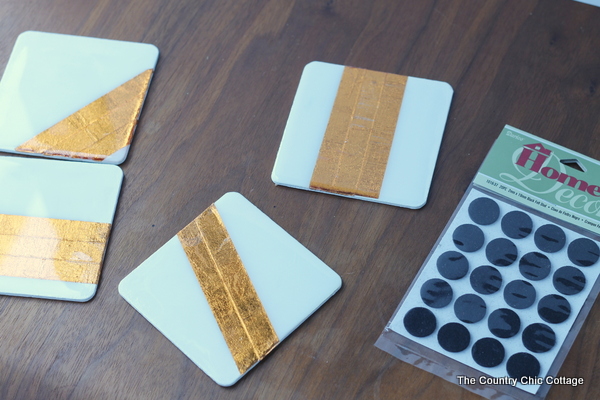
- Felt Pads
- Paintbrush
- Scissors
- Lighter
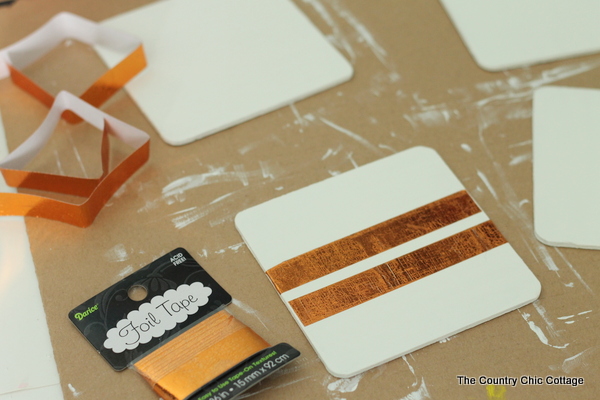
Paint the coasters with a few coats of paint. I painted the top, bottom, and sides for a finished look. Allow to dry and cure completely before continuing. Add strips of tape to the coasters as shown below. This self adhesive tape is perfect for this project! Get creative with the placement of the tape on your set of coasters.
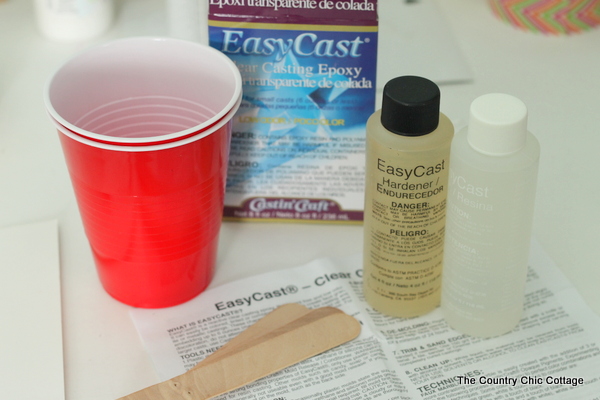
Protect your work surface, then break out the two-part epoxy. This is simple and I am going to show you how. The most critical part is following the directions in the package. A few tips and tricks:
- You need an exact 1-to-1 ratio so measure each part first in your disposable measuring cups.
- Protect your work surface and wear gloves to protect your hands. Have plenty of rags on hand as well.
- Pour the two parts together and mix with craft sticks. Again these are disposable.
- Follow the mixing instructions exactly. So if it says mix for 2 full minutes do so.
- When pouring, spread out as much as possible and be sure to get all areas even the corners.
Be sure to raise the coasters by setting them on something to ensure they do not stick to the surface they are on. Protect your surface with cardboard or something else disposable. After you have spread your epoxy, pop any bubbles by running a lighter over the surface but DO NOT touch the surface with the flame.
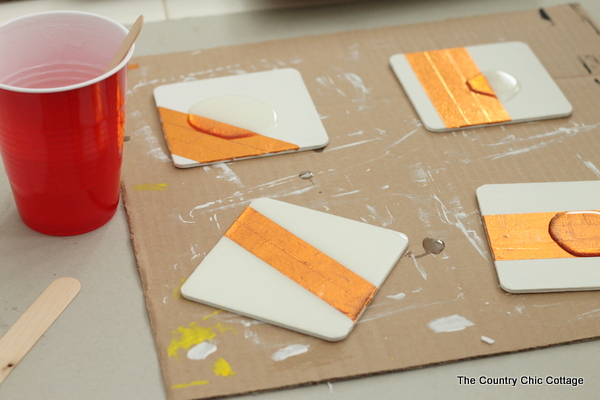
Allow the epoxy to cure for 24 hours before touching the project. Add felt pads to the bottom of each coaster to protect your table if desired.
I did not do anything to the container that the coasters came in as we just stack them on the table in the family room. You can absolutely paint it as well.
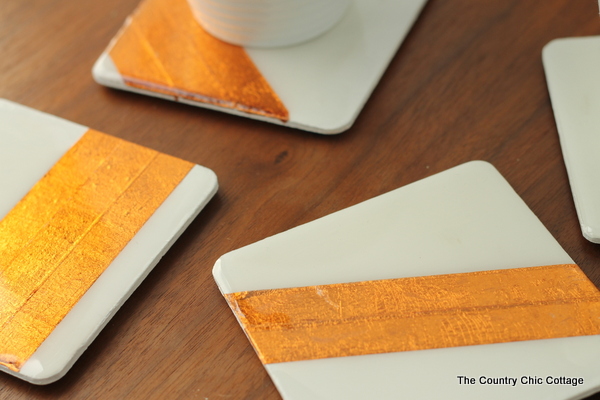
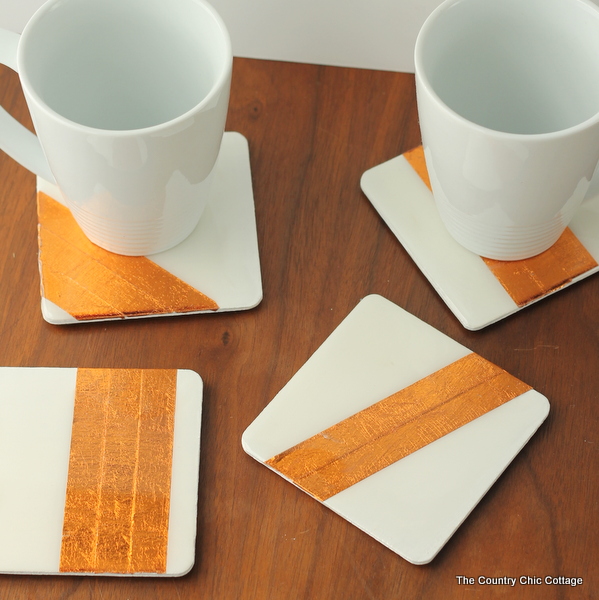
Enjoy your homemade coasters with a hot or cold beverage. This fun project will leave you with coasters that will last for a long time and withstand even the roughest of kids.
Grab your supplies and make a batch of these coasters for your own home. This project is really very simple….I promise!
Supplies
- Unfinished Wood Coaster Set
- Americana Chalky Finish Paint I used Everlasting White
- Darice Foil Tape I used copper metallic
- EasyCast Clear Casting Epoxy
- Felt Pads
- Paintbrush
- Scissors
- Lighter
Instructions
- Paint the coasters with a few coats of paint. I painted the top, bottom, and sides for a finished look. Allow to dry and cure completely before continuing. Add strips of tape to the coasters in whichever directions you choose.
- Protect your work surface, then break out the two-part epoxy. Mix a 1:1 ratio and follow the mixing instruction exactly.
- Raise the coasters by setting them on something to ensure they do not stick to the surface they are on. Pour the epoxy onto the coasters.
- After you have spread your epoxy, pop any bubbles by running a lighter over the surface but DO NOT touch the surface with the flame.
- Allow the epoxy to cure for 24 hours before touching the project.
- Add felt pads to the bottom of each coaster to protect your table if desired.
- Your coasters are ready to use!
Notes
- You need an exact 1-to-1 ratio so measure each part first in your disposable measuring cups.
- Protect your work surface and wear gloves to protect your hands. Have plenty of rags on hand as well.
- Pour the two parts together and mix with craft sticks. Again these are disposable.
- Follow the mixing instructions exactly. So if it says mix for 2 full minutes do so.
- When pouring, spread out as much as possible and be sure to get all areas even the corners.


