This super easy hack shows you how to make your own DIY envelope liners in just a few minutes! Perfect for weddings or showers.
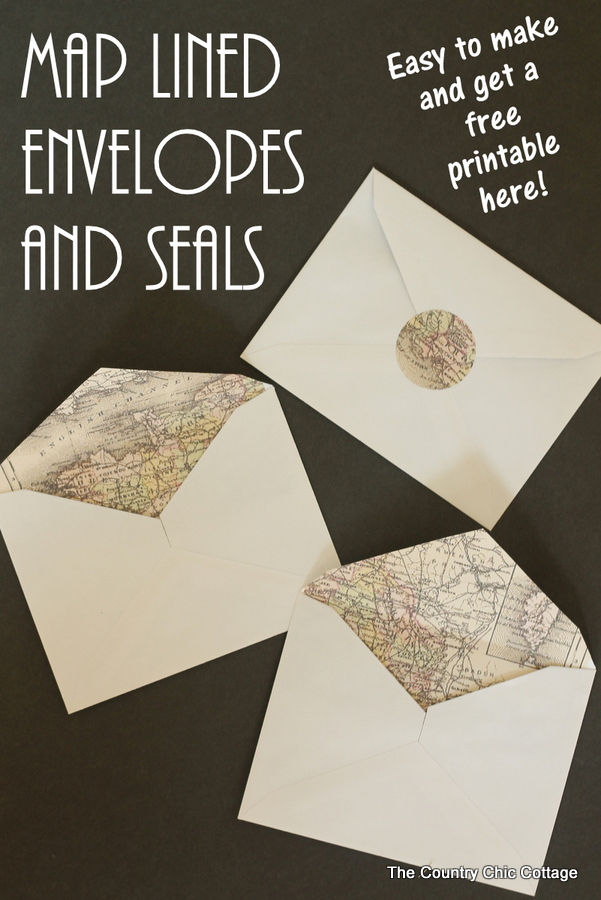
Craft Lightning – Easy Wedding Crafts
We are continuing on with Craft Lightning today which means today’s craft is super easy and quick!
First, if you have missed any of Craft Lightning wedding crafts week, be sure to check out the posts from day 1 and day 2.
Second, if you want even more quick wedding craft ideas be sure to scroll to the bottom of this post.
Now let’s get to making map lined envelopes the easy way. And when I say easy….it is so simple y’all!! This post is sponsored by Online Labels however all projects and opinions are my own.
How To Make DIY Envelope Liners
This entire craft is going to take you maybe 10 minutes tops. That’s it! All of the steps and supplies you need are in a printable card – just scroll down a little further.
Supplies
Here is what you will need for this super-easy craft.
- The envelopes for your wedding or event.
- Labels that are the same width as your envelopes.
- Image of a map – I used this full-size map sheet.
Mine worked well with the 4.25 x 5.5 inch labels found here. If you can’t find a label size that will work with your envelopes from the wide selection at Online Labels, just order the full size sheet labels and you can trim to width after printing.
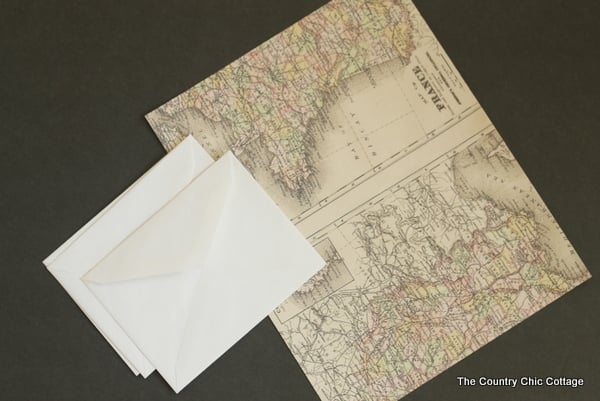
DIY Envelope Liners Hack
Start by printing this full-size map sheet on your labels. Be sure to set your printer to borderless before printing. A special thanks to The Graphics Fairy for the awesome vintage maps of France.
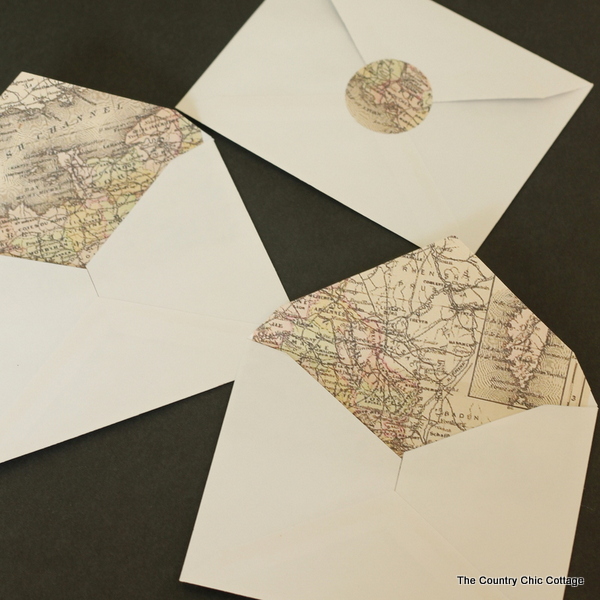
Remove one label and insert it into the envelope. You just have to go down to where the inside is not showing any longer. You DO NOT have to put your label all the way to the bottom of the envelope.
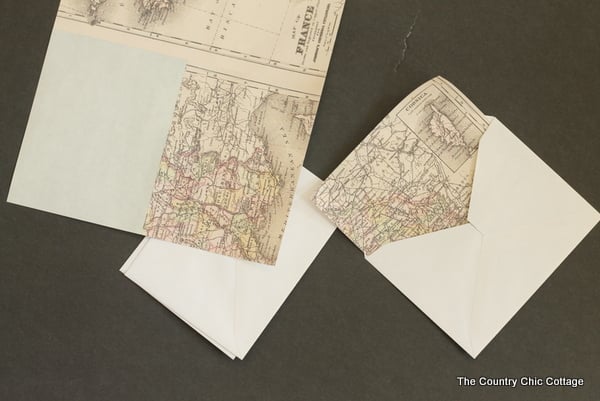
Press to adhere the label to the inside of the envelope and flap. Turn over and trim the excess from around the flap with a pair of scissors.
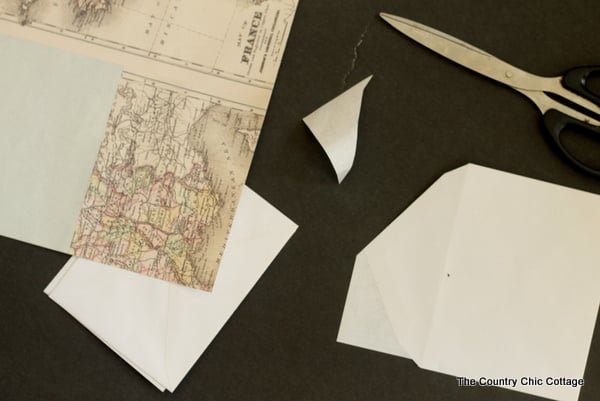
You have just lined your envelope with a vintage map! Yes it is that easy! It is ready to be stuffed with your wedding invitations, thank you cards, shower invitations, or anything else you can dream up.
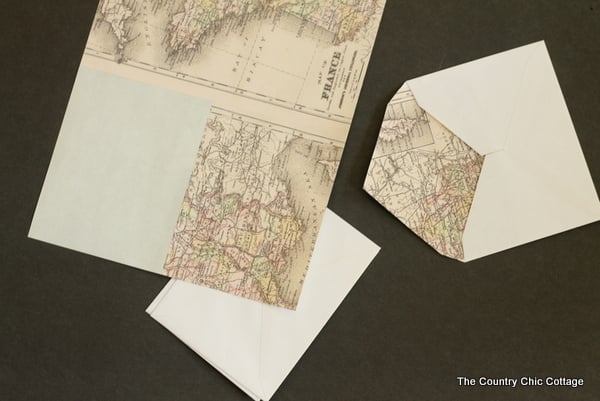
However, you did just put a label over the sticky part of your envelope! Print the full size map sheet again but this time onto a sheet of round labels. Use those round labels as envelope seals before sending. Just like that, you have created matching lined envelopes and seals!
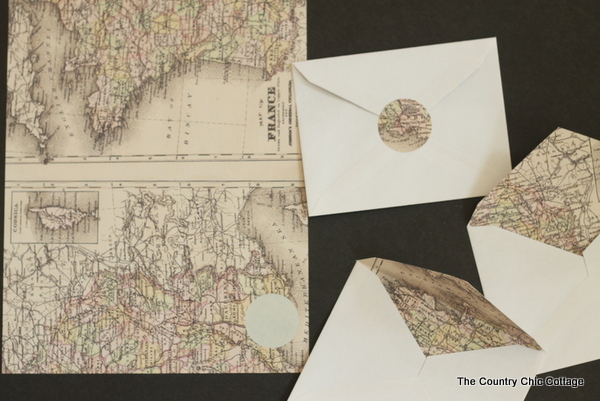
These are perfect for adding a touch of glam to plain store bought invitations. Plus this will not cost you a fortune in supplies or take a ton of time.
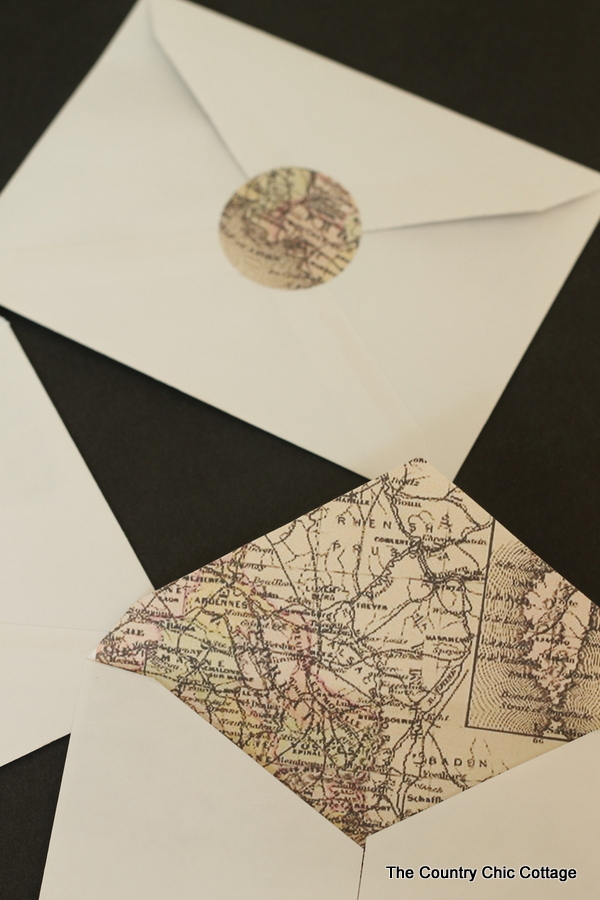
Making map lined envelopes has never been easier y’all. Get your supplies and start on your own today.
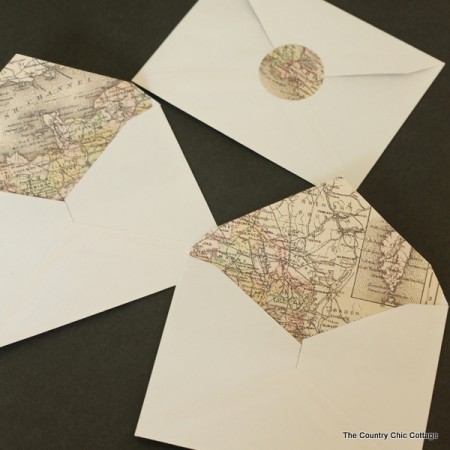
Supplies
- 1 sheet full-width printable labels must be the same width as your envelopes
- 1 sheet map image
- 2 envelopes
Instructions
- Download your favorite image of a vintage map with highways and raods.
- Print the map out on a sheet of labels. The labels must be the same width as your envelopes.
- Remove the backing from the printed labels.
- Slide the labels into your envelope.
- Press down to adhere the liners to the inside of the envelope.
- Trim the excess parts of the map around the top of the envelope.
- Cut out more labels to create matching seals to glue the envelopes shut.
More DIY Wedding Ideas
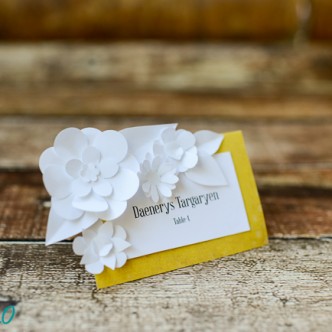
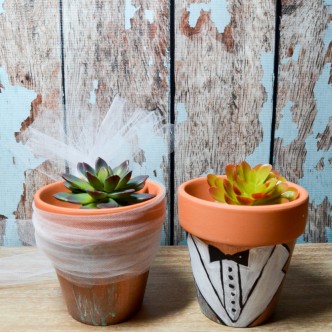
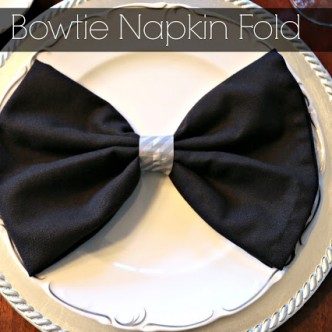
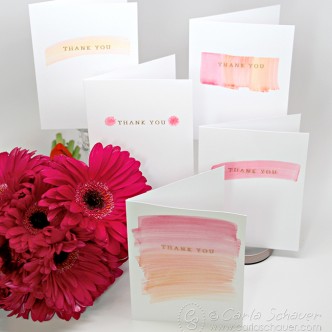
Need more DIY wedding ideas? I’ve got ya covered! Here are a bunch of my favorites – from the invitations to the thank you cards and everything in between.


Love your map envelope liners!! Thanks so much for including my bowtie napkins!
Hi looking at your site and would love to find the recipe for the bacon, date and goat cheese strudel
So far I cannot find it but it sounds like a wonderful item to try and make for a party thanks in advance