Spooky season is here, and it’s the perfect time to add a dash of spooky charm to your home decor. And guess what? We’ve got a fun, easy, and absolutely spine-tingling idea for you! How about some Halloween spider decorations to give your front door a creepy-crawly makeover? These aren’t just any spider decorations, though. Made with love (and a handy Cricut), these vinyl spiders will weave a trail of Halloween fun right up to your doorstep!
Halloween is just around the corner, and we are so excited to get our spooky decor out! We have the perfect DIY for you that won’t take much time or money.
With the help of your Cricut machine, you can easily create a spooky spider trail for your door. It’s just what you need to make this Halloween extra special!
These Halloween spider decorations are so easy to create that you’ll want to keep them up all year round. Let’s get started!
Note: Want some more spider decor in your home? Make this DIY Halloween pillow with a fabric-painted spider!
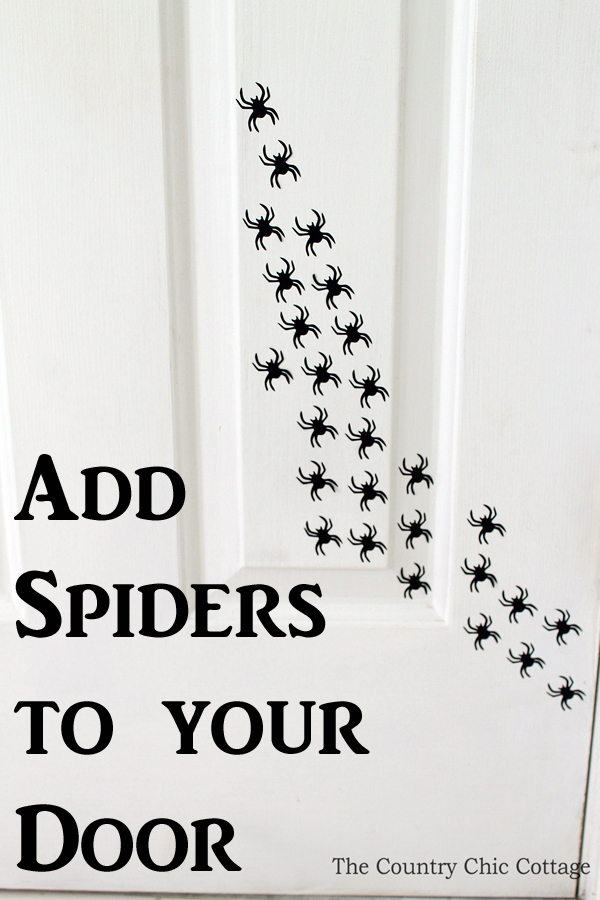
How To Make Halloween Spider Decorations For Your Door
Making these spider cutouts is easy peasy when you have a Cricut machine. Just design your spiders on Design Space, cut them out with the machine, and stick them to your door!
Supplies Needed
Here’s everything you need to gather:
- Cricut
- Cricut Design Space
- Vinyl
- Transfer Tape
- Scissors or Xacto Knife
Spider Halloween Decor Instructions
Here is a step-by-step on how to create your own spider-filled Halloween decor:
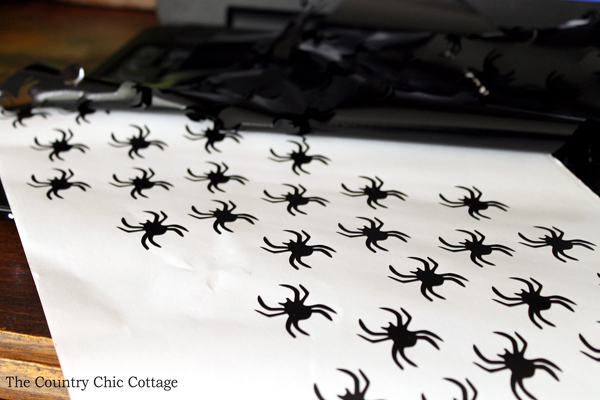
Step 1: Cut out vinyl spiders on Cricut
Start by cutting out vinyl spiders in varying sizes with your Cricut.
To do this, load up a design into the Cricut Design Space app and adjust the size until you’re happy with it. Then press “Go” to cut out your designs!
Make sure to cut multiple spiders from one sheet of vinyl.
Step 2: Peel and stick
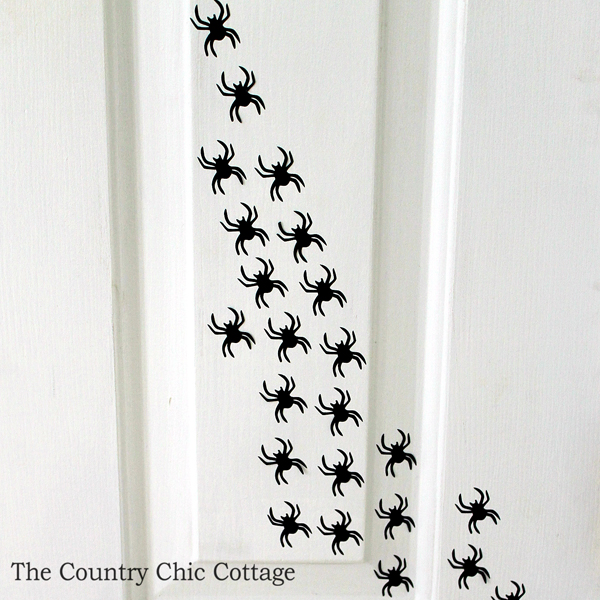
Once you’ve cut out your vinyl spiders, peel them off the backing and place them onto your front door in a ‘spider trail’ pattern.
You can use the larger spiders for the start of the trail and then gradually decrease spider size as it goes along. Or mix up sizes for a more natural look!
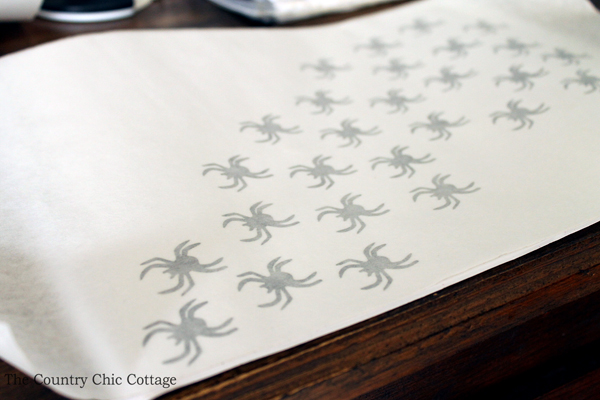
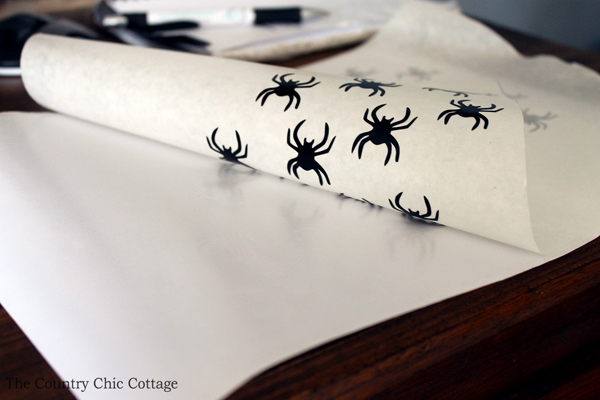
Tip: You can use transfer paper if you wish or just transfer the spiders one by one to your door. If you are using transfer paper, apply to the entire sheet and press down firmly.
Step 3: Hang more spiders
Once your vinyl spiders are all in place, you can hang a few other spider decorations around the door. You can use paper cut-outs, stuffed animals – whatever you like!
You can also add some traditional Halloween decorations to match your theme, such as:
- DIY spiderweb Halloween wreath
- Halloween table runner with spiders
- Glow in the dark spider web window clings
FAQs
If you have questions about making spider decorations, I have answers for you! Please leave your question for me in the comments if you don’t see it already answered below.
How can I make my spider decorations last longer?
To ensure your spider decorations last through the season, use outdoor vinyl and apply it to a clean and dry surface. Make sure to also remove them carefully when taking down your decor so your designs are intact!
Does the vinyl stick to all surfaces?
Vinyl is quite versatile in that it will adhere to most smooth surfaces, including glass, wood, metal, and more. Keep in mind that some surfaces may require a primer or sealant before you apply your vinyl. Make sure to check out the manufacturer’s instructions for best results!
How can I remove the vinyl spiders from the door?
To remove the vinyl spiders from the door, use a razor blade or scraper to gradually peel away each spider. For larger designs, you may want to start by getting an edge of the design and then carefully pulling it off.
More craft ideas
If you love this project and want to make more Halloween decor, we have those for you! Just follow the links below.
- Halloween Candy Bucket That Glows in the Dark
- Cute DIY Halloween Snack Jar Craft
- Marbled Pumpkins with Resin
- Monster Wreath For Halloween
- DIY Bloody Halloween Mason Jars
Supplies
- Cricut
- Cricut Design Space
- Vinyl
- Transfer Tape
- Scissors or Xacto Knife
Instructions
- Start by cutting out vinyl spiders in varying sizes with your Cricut.
- To do this, load up a design into the Cricut Design Space app and adjust the size until you’re happy with it. Then press “Go” to cut out your designs!
- Once you’ve cut out your vinyl spiders, peel them off the backing and place them onto your front door in a ‘spider trail’ pattern.
- You can use the larger spiders for the start of the trail and then gradually decrease spider size as it goes along. Or mix up sizes for a more natural look!
- Once your vinyl spiders are all in place, you can hang a few other spider decorations around the door. You can use paper cut-outs, stuffed animals – whatever you like!
Notes
- Make sure to cut multiple spiders from one sheet of vinyl.
- You can use transfer paper if you wish or just transfer the spiders one by one to your door. If you are using transfer paper, apply to the entire sheet and press down firmly.
- You can also add some traditional Halloween decorations to match your theme, such as:


