I was honored to have this Christmas DIY candy garland featured on the Hands On Crafts for Kids TV show! Jenny Rohrs demonstrated my craft on the latest episode. The full episode is up on their website for the next week. Don’t worry however as I have the segment of my feature in the post below! I was not compensated in any way for my participation. This was just a fun way to get one of my craft ideas on television!

Video Tutorial For DIY Candy Garland
You can see just how to make this Christmas candy garland in the Hands On Crafts for Kids segment below.
Jenny did two different versions of this same idea and added on the rubber bands. The instructions below however are just how I made my version.
How To Make DIY Candy Garland
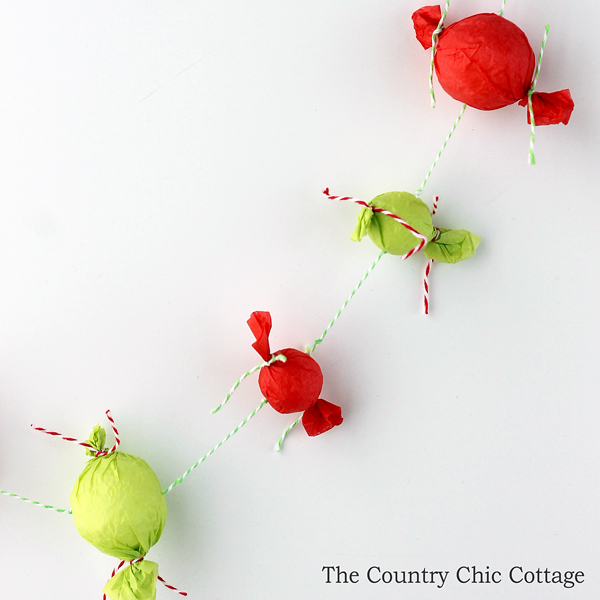
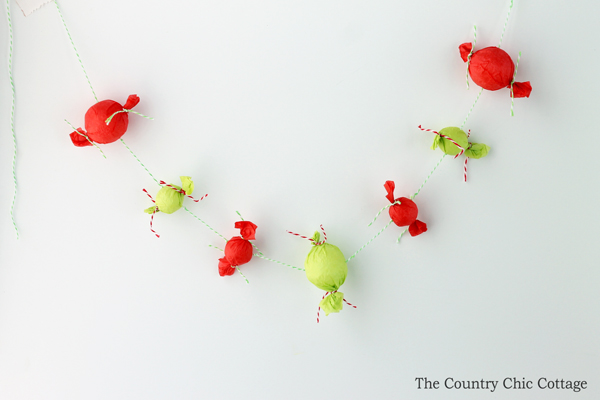
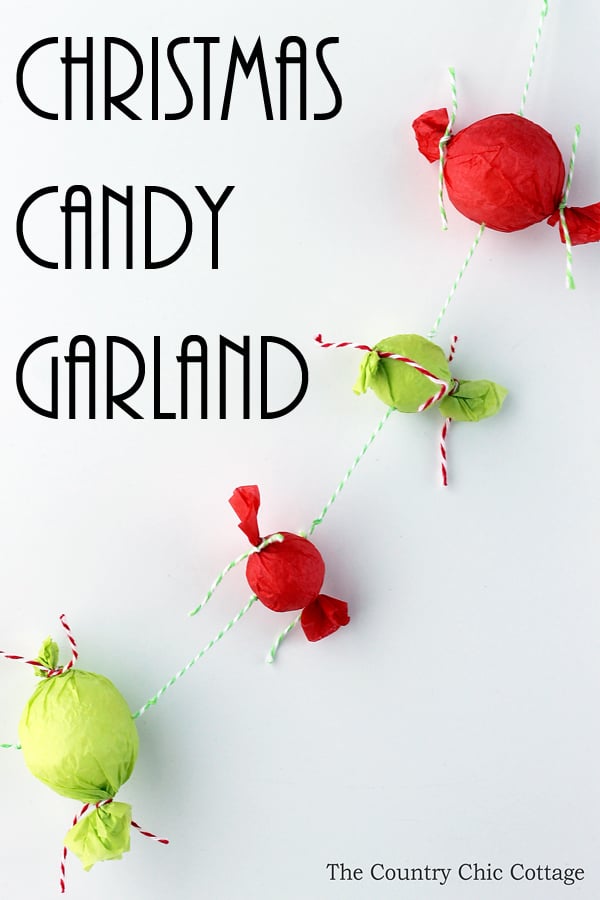
If your kids love the look of those Christmas candy garlands at the store but you don’t want to pay that hefty price tag, then this project is for you!
Create the same type of candy garland in minutes using styrofoam balls and tissue paper. This is a great Christmas craft to make with your kids because they can help pick out colors, create the candy pieces, and string everything together onto the baker’s twine!
Supplies Needed To Make DIY Candy Garland
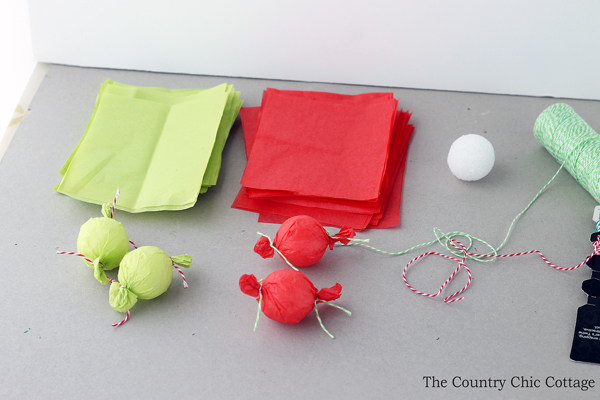
- Styrofoam balls in various sizes (I used 1 inch and 1 1/2 inch)
- Tissue paper (I used red and green)
- Baker’s twine (I used red and green)
- Long needle
- Scissors
- Small rubber bands (optional)

Step 1: Wrap Styrofoam Balls
Cut tissue paper into 4 x 5-inch pieces and baker’s twine into 3-inch pieces. Wrap the 1 ½ inch Styrofoam balls in the tissue paper (wrap the long edge and twist the short edge). Tie both ends with a piece of baker’s twine.
Step 2: Repeat Step 1 For All Your Candy Pieces
Repeat step 1 with 3 x 4-inch pieces of tissue paper, 3-inch pieces of baker’s twine, and 1-inch Styrofoam balls.
Step 3: Thread Styrofoam Balls Onto Baker Twine
Use a long needle and a piece of baker’s twine to string the garland. Knot the twine before beginning, thread on a ball, knot again on the opposite side of the ball, knot 2 inches away from the ball, string on another ball, and keep repeating until you have no more Styrofoam balls.

This super simple Christmas candy garland is perfect for the kids to help make this holiday season!

Sit down with a Christmas movie and start making candy to string up for your tree. The kids will love helping with this fun project and you will love the handmade touch this project adds to your Christmas decor.
Tips and Tricks for DIY Candy Garland
Now that you’ve seen this fun DIY candy garland, are you ready to make your own? Here are a few tips and tricks to ensure your project goes as smoothly as possible!
- Change Up The Tissue Paper – When making this project, I went with traditional Christmas colors for my tissue paper. However, you can choose any colors that fit your Christmas decor or even use patterned tissue paper!
- Use Ribbon As Candy Ties – If you want to give your garland more dimension or color, you can use ribbon to tie your candy pieces instead of baker’s twine!
- Adjust The Size – Use different sizes of styrofoam balls to create a candy garland that is best for your decor! For my garland, I used a variety of sizes, but you could use just one size whether that is tiny or large.
- Recreate This Project All Year Round – You don’t have to make this project just for Christmas! This project would be so much fun to make for different holidays or events like a birthday party.
5 More Christmas Kids Crafts
Did you love this DIY candy garland, and are now looking for more kids Christmas crafts? Then check out the projects below!
- Reindeer Bottle Cap Ornaments Kids Craft
- Free Printable Mini Christmas Activity Book
- Christmas Crafts for Kids – using prints!
- Christmas Slime
- Christmas Tree Wine Cork Ornaments Kids Craft


So cute, Angie, and so fun for little hands, too.