Parents keep track of papers and schedules galore, but it takes organization to stay on top of everything. Use this easy DIY command center to keep yourself organized.
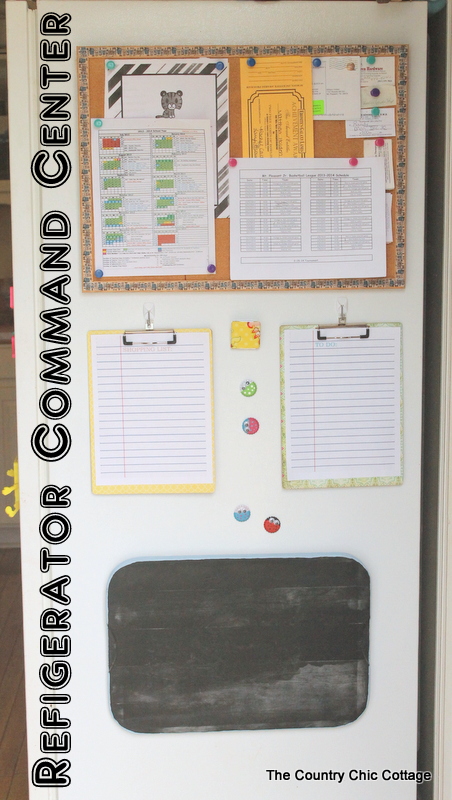
As any parent can tell you, there are papers everywhere and schedules overlapping schedules! It can quickly become overwhelming.
For any parent who wants to stay on top of everything and keep it all corralled and organized, a system needs to be put into place. What kind of system? Where do you put it?
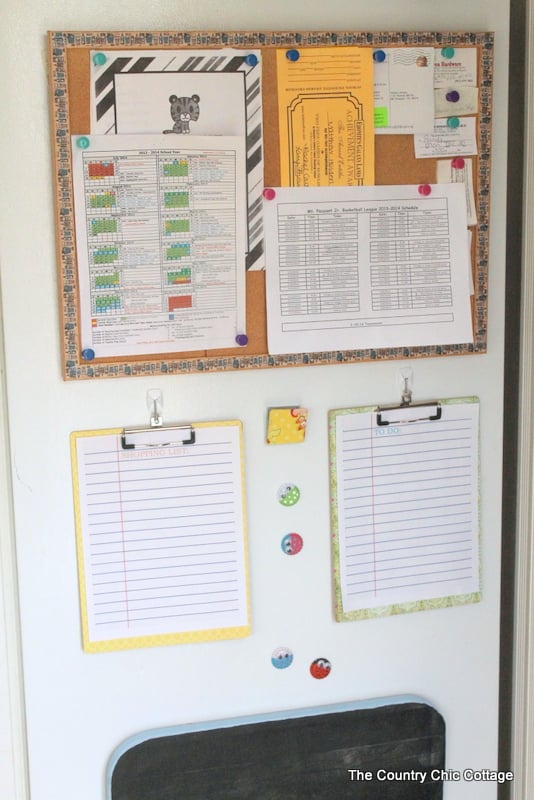
When we began facing that problem, I came up with this DIY command center for your refrigerator to solve it.
How To Make A DIY Command Center For Your Refrigerator
This is a project that won’t take you long to complete but will reward you with time when you don’t have to search for those pesky doctor reminder cards, the updated school picture order form, or the latest sports schedule!
I decided to put our command center on our refrigerator because we had a big empty area on the side of our fridge that was just begging for me to clean and organize it.
NOTE: I used Command Wire Hooks to hang everything on the refrigerator.
The Chalkboard
Starting at the bottom, I added a chalkboard and some clipboards.
Love those bottle cap bug magnets? Grab the instructions and make them yourself!
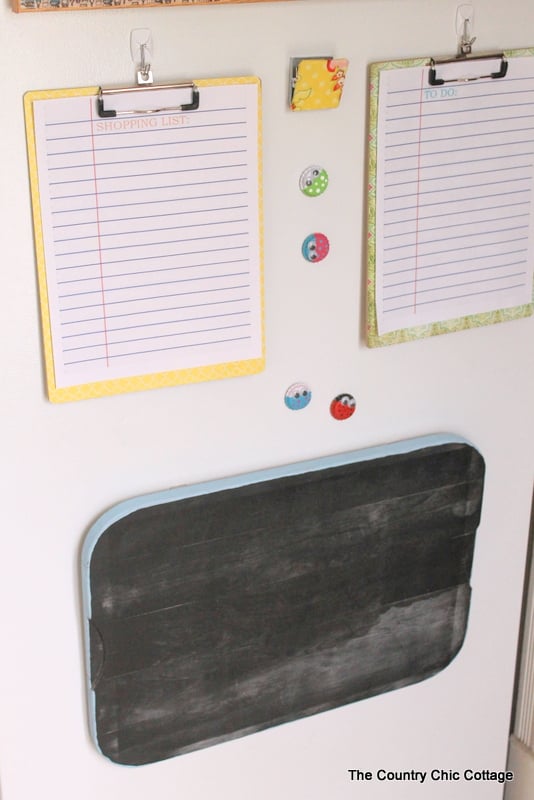
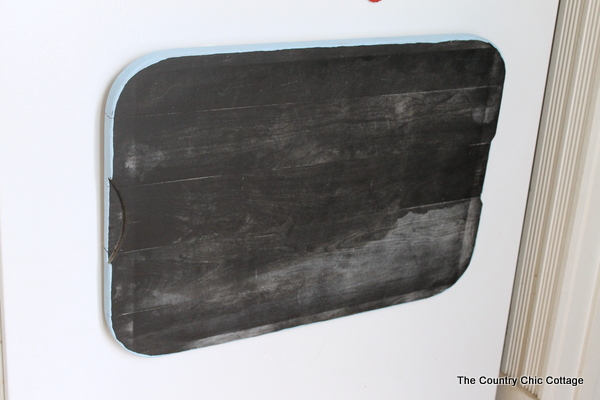
The chalkboard is simply a cutting board found at the thrift store!
I painted the front with three coats of DecoArt Americana Chalkboard Paint. Then paint the edges in any Americana color that you love.
A cutting board is a super cheap way to get an all-wood chalkboard for next to nothing.
The Clipboards
The clipboards I made pretty by covering in some scrapbook paper. I added directions for how to do that down below the next image.
Tip: I also created notebook organizing sheet templates that you can print and use yourself. Grab either the To Do List, the Shopping List, or both!
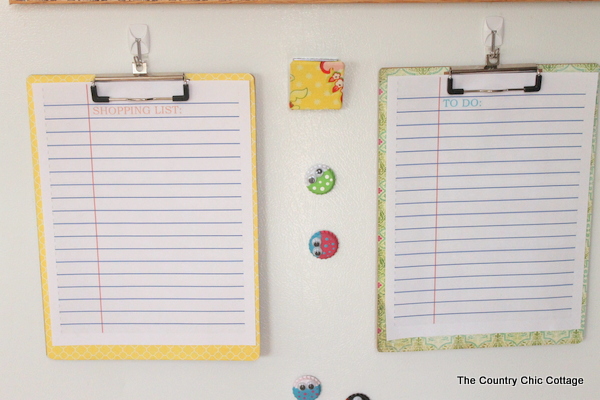
How to Cover Your Clipboards With Patterned Paper
Use these step-by-step instructions to have pretty clipboards in practically no time!
Step 1
Start with some plain Clipboards and any patterned paper you love.
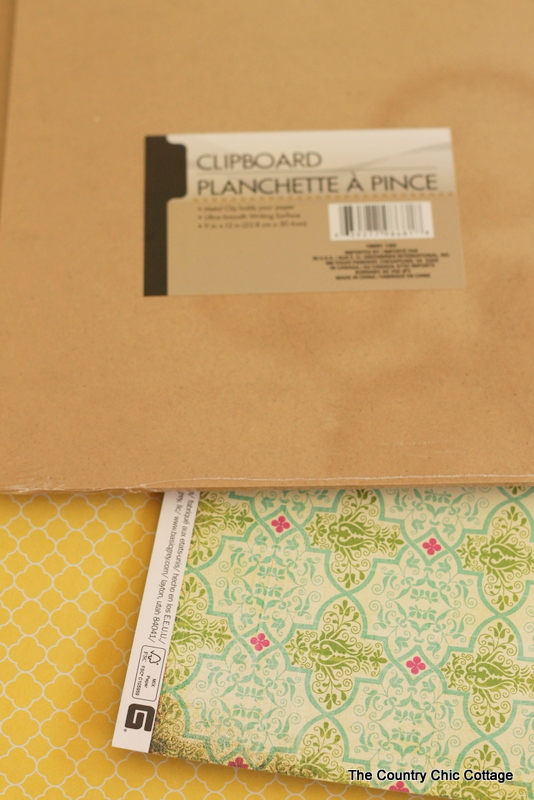
Step 2
Put your clipboard on top of your patterned paper and use a pencil to trace around your clipboard. Use scissors to cut around this line.
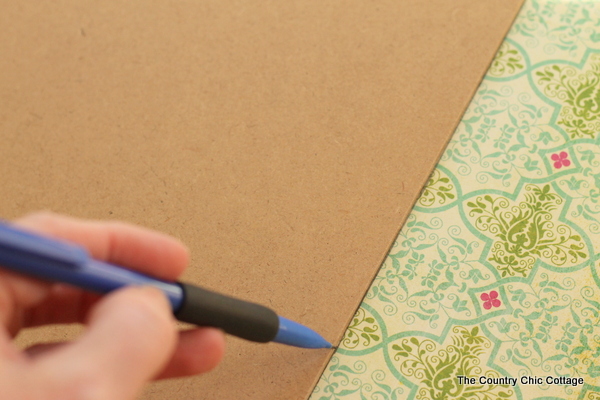
Step 3
Next, we need to cut around where the clip is located on the board. Place your paper under the clipboard to help you mark the approximate location.
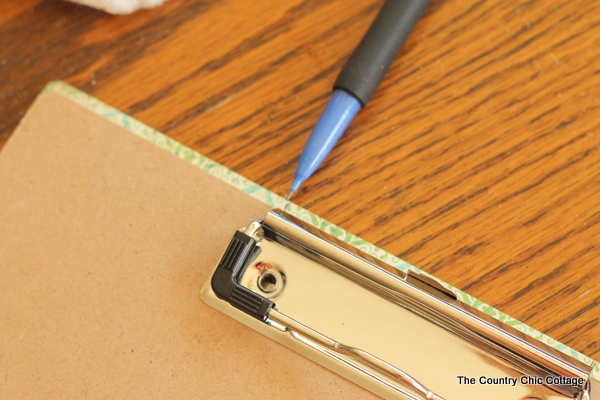
Step 4
Using the marks you made for the clip, cut about ½ an inch or so out of the paper so that it will fit when you place the paper on top of your clipboard.
Go ahead and place the paper on top of the clipboard (but under the clip) and mark the outline of the clip. Cut around that outline until your paper fits onto the board.
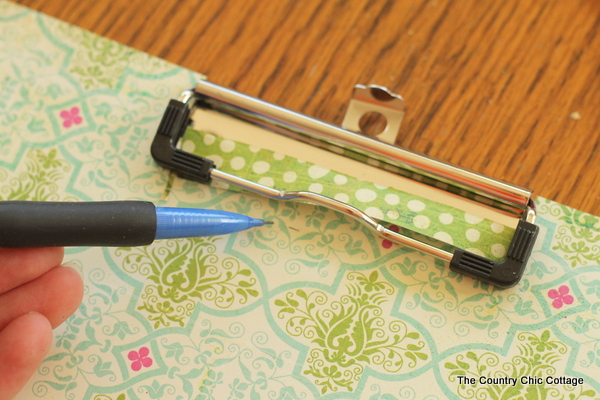
Step 5
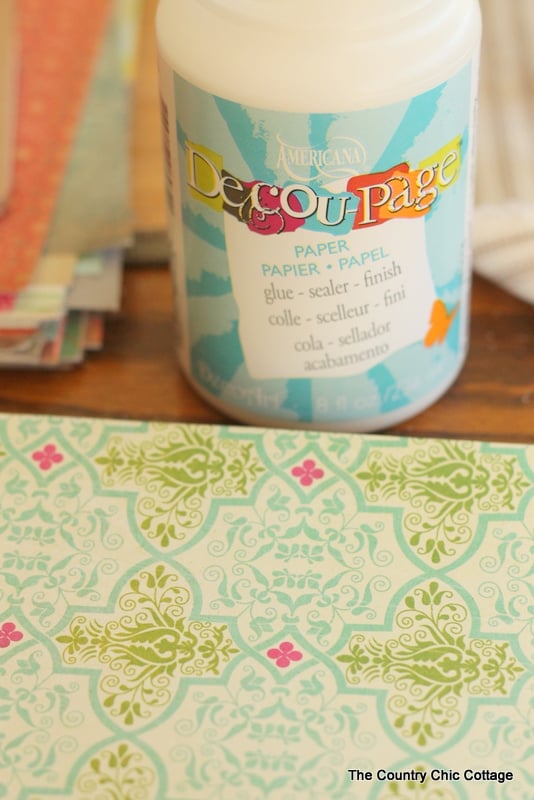
Use DecoArt Americana Decou-Page Glue to place your paper onto your clipboard. Allow time to dry.
Then give the edges another coat of decoupage if they try to lift off.
The Cork Board
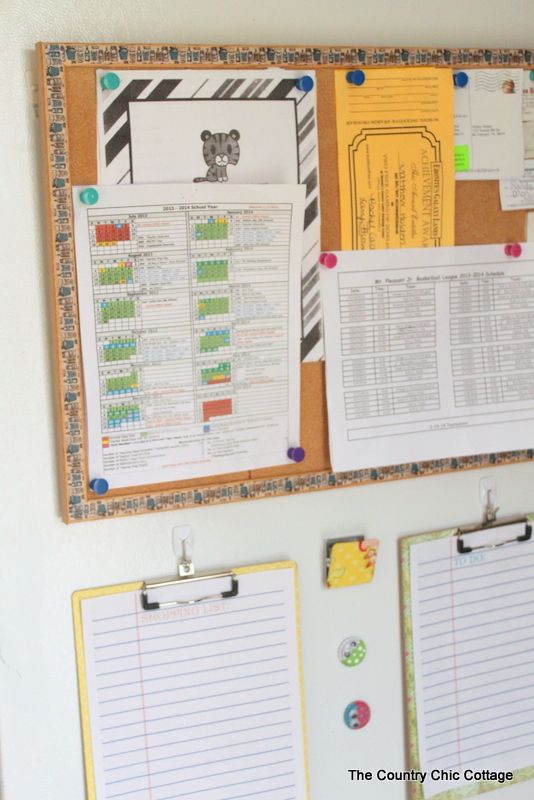
The top of my refrigerator command center has a corkboard.
I used a standard cork board but added mason jar washi tape around the edges to make it a little prettier.
How Our Kitchen Command Center Has Helped Us
We have been using this refrigerator command center for a while now and I must say this really works for our family.
I have tried many things over the years to corral the papers and still keep us organized, and nothing has stuck until now! I’m able to keep important papers easy-to-find and within arm’s reach.
And, the printables will also help everyone else also know what’s going on too. That way, they can lend a hand in making the shopping list when we run out of something.
Since this system is working (and saving me so much time), I’ll stick with it for a while. If you need a helping hand with keeping your family’s schedules and papers organized, try this command center system yourself!
Related Post: Family Command Center: The Essentials

Supplies
- Clipboard
- Patterned paper of your choice
- Scissors
- Pencil
- DecoArt Americana Decou-Page Glue
Instructions
- Gather your clipboard, patterned paper, and other supplies.
- With your clipboard on top of your patterned paper, trace around your clipboard with a pencil. Then use your scissors to cut out the clipboard shape along the line.
- Place your paper cutout under the clipboard to help you mark the location of the clip. Use your pencil to mark each end of the clip on your paper.
- Cut about ½ an inch or so out of the paper at the marks you made for the clip so that your paper will fit when you place it on top of your clipboard.Place the paper on top of the clipboard (but under the clip) and use your pencil to mark the rest of the clip outline. Cut on the line you just drew for that outline until your paper fits onto the board perfectly.
- Use DecoArt Americana Decou-Page Glue to attach and seal your paper onto your clipboard. Allow time to dry. If you find the edges trying to pull off of your clipboard, give them another coat of decoupage.
Declutter Your Home in 31 Days!

Clear the clutter and organize your home with our daily emails! Every day for a month we will send you a prompt to declutter! Sign up for our email list below to get started.


What did you use to hang the cork board? the command wire hooks? Did that make it stick out too hard from the fridge?
That is what I used and no it did not.