
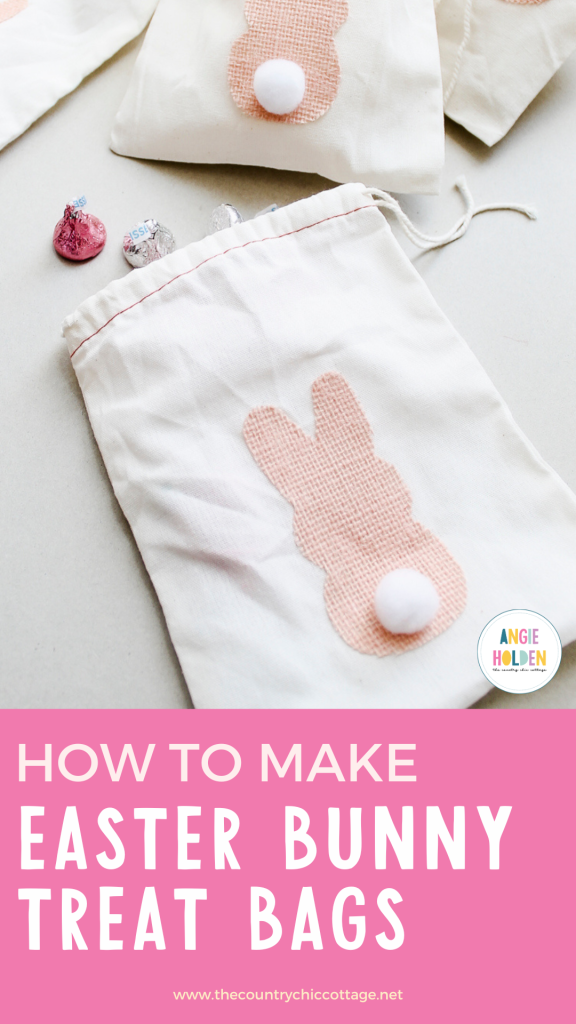
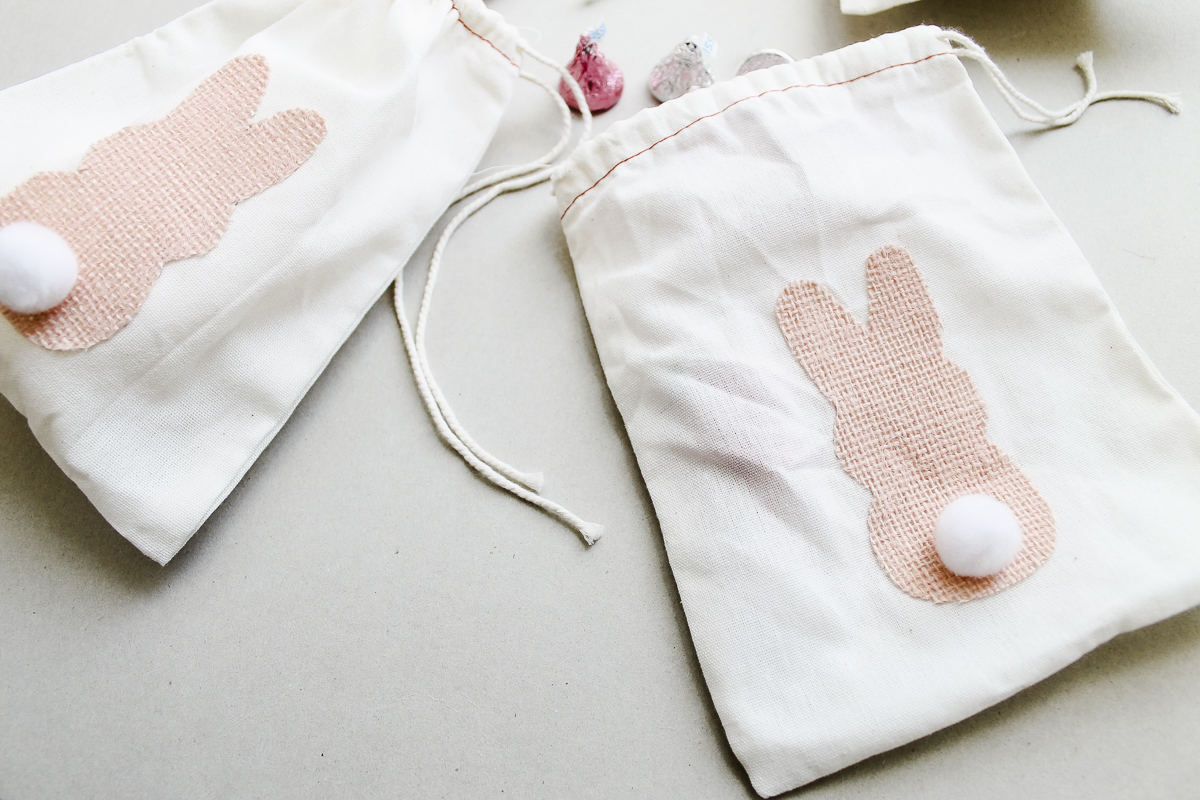
Make these Easter bunny treat bags in just minutes! A cute bunny tail will greet the recipient of these great gift bags! They are perfect for any adults or kids that you want to gift a fun spring treat.
I love burlap and bunny tails so these burlap bunny treat bags are perfect for my Easter celebration. Who can resist a fluffy bunny tail? I know you can’t!
This was originally published on February 24, 2017, however, I am republishing with more information.
How To Make Easter Bunny Treat Bags
These are so easy to make with just a few supplies and the free printable template that you can download below. Or you can upload the template to your Cricut machine and use it for cutting your bunnies.
Make one for every child on your gift-giving list this Easter!
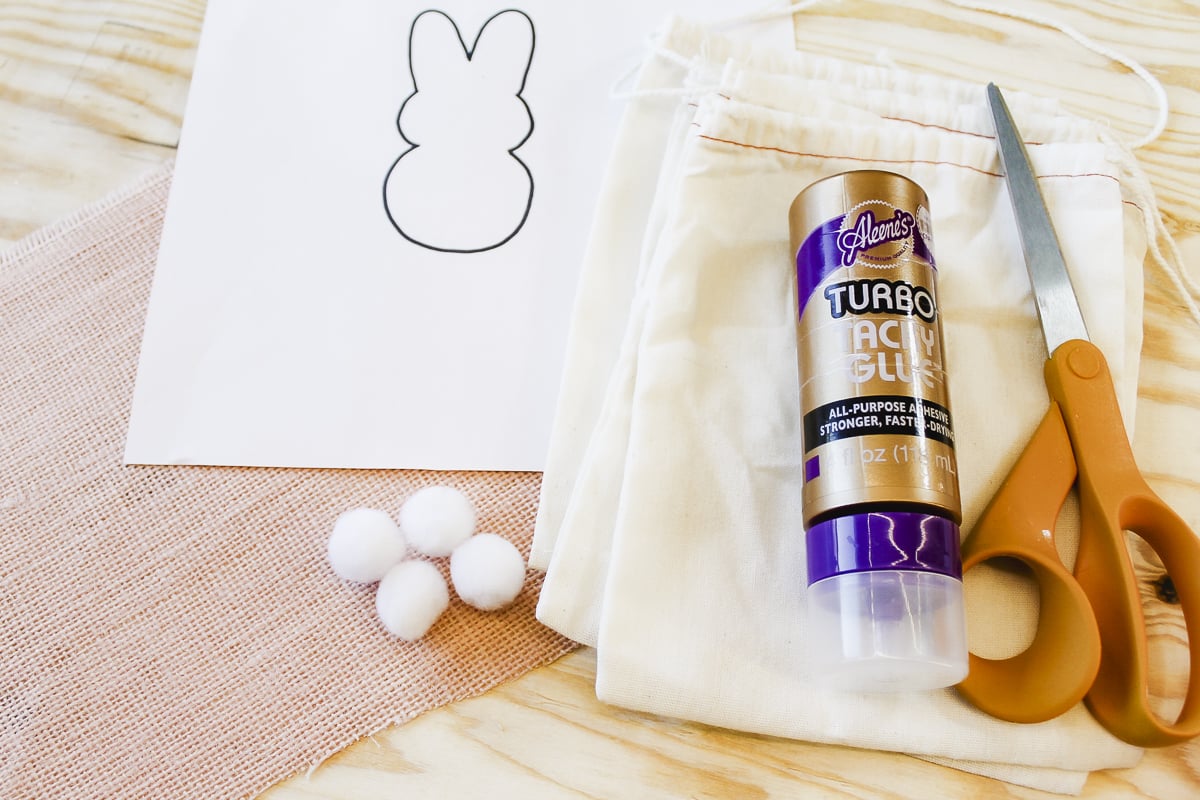
Supplies Needed:
- Muslin drawstring bags (the 5×7 size works perfectly)
- Pink burlap
- White pom poms
- Tacky glue
- Scissors
- Printable bunny template (click here to download)
- Marker
NOTE: I cut out my bunnies by hand for this project, but you can use a Cricut machine instead. I talk more about using a Cricut machine to cut the bunnies out in step 3. If you would like to use your Cricut to cut out the bunnies, you will need to add the following supplies to the list above.
Step 1: Download & Print Template
Download the template here. You can either use this to print for tracing to the burlap or upload to Cricut Design Space for cutting with a Cricut machine.
NOTE: I would recommend a Cricut Maker with a rotary blade for cutting burlap.
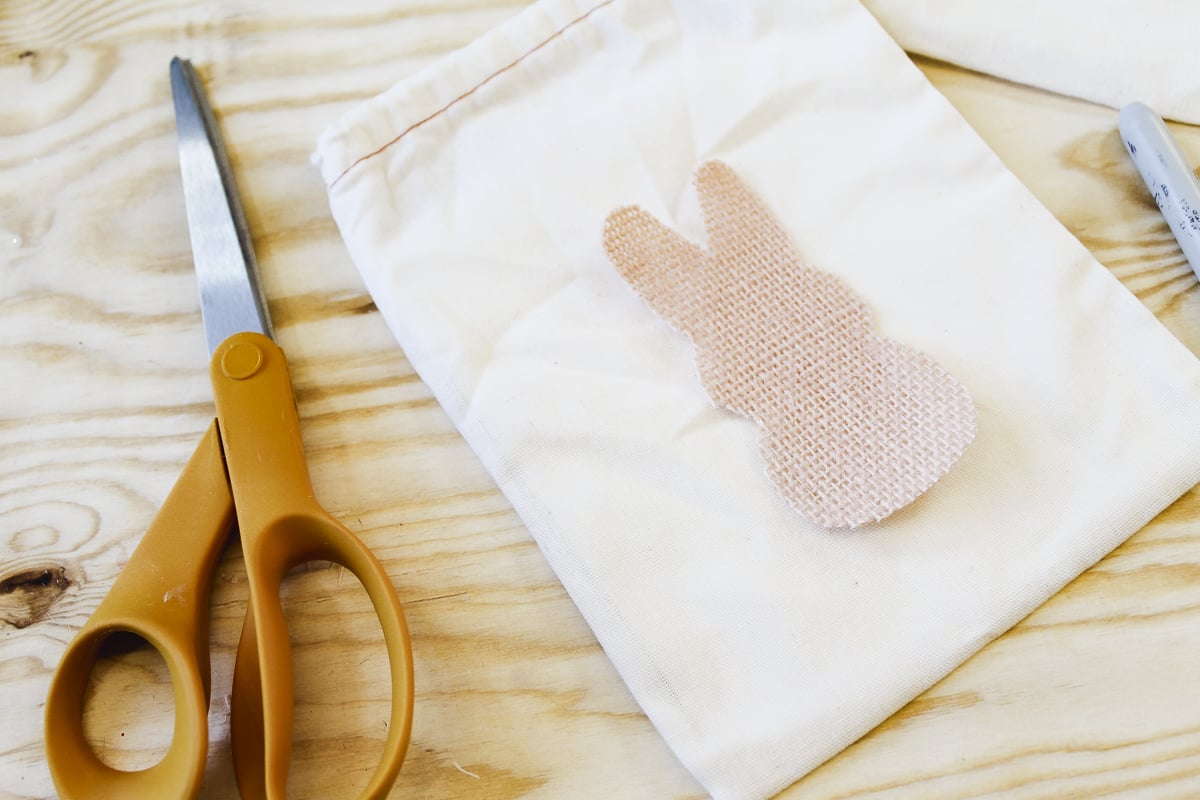
Step 2: Trace Bunny Shape Onto Burlap
Trace the template onto the burlap with a marker. I was able to lay the template under the burlap and see it enough through the fibers to trace the bunny.
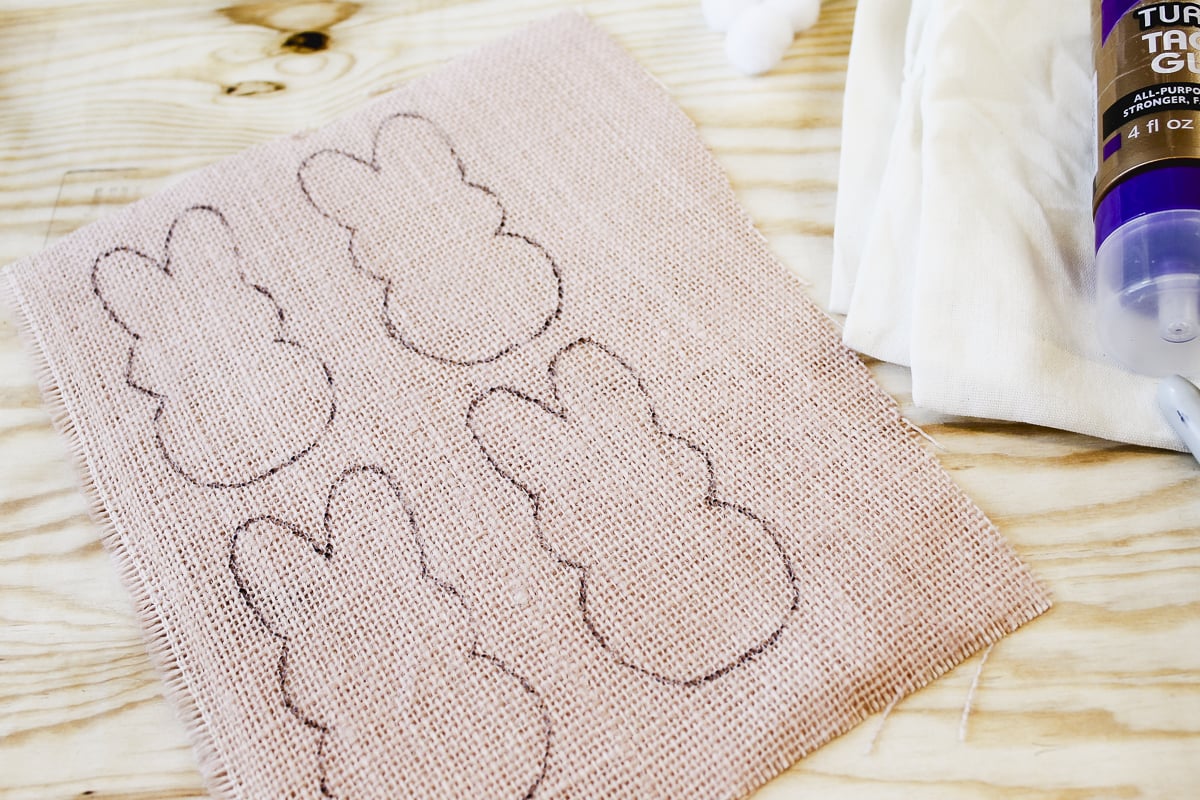
Step 3: Cut Out Bunny Shape
Use scissors to cut out the bunny shape making sure to cut inside the marker lines. You do not want any marker lines left on your bunny.
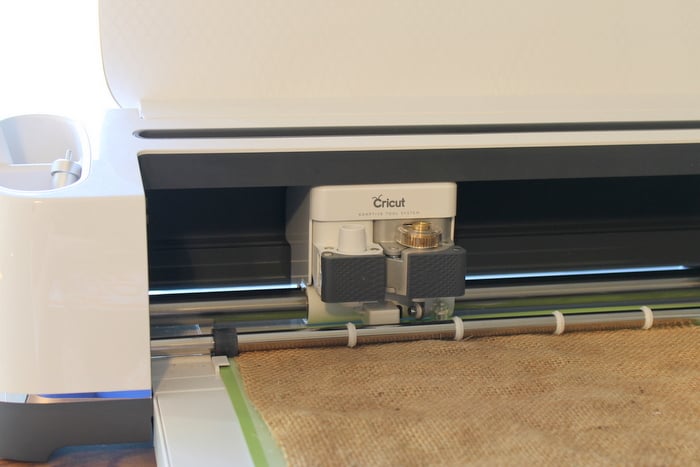
Alternate: Cut Bunny Shape With A Cricut Machine
If you don’t want to cut your bunny shapes by hand, use your Cricut machine instead!
To do that, first, you will need to stiffen your burlap with the tacky glue and let it dry. Once it’s dry, place strong grip transfer tape on the back of your stiffened burlap piece to cut the burlap. Then, place this (transfer tape side down) onto a Cricut mat.
When your mat has been loaded into your machine, upload the bunny SVG file and cut out the shape from your burlap.
To see my full method for cutting stiff burlap (and the correct blade to use), check out this project. You also check out this video to see the process of cutting burlap as well.
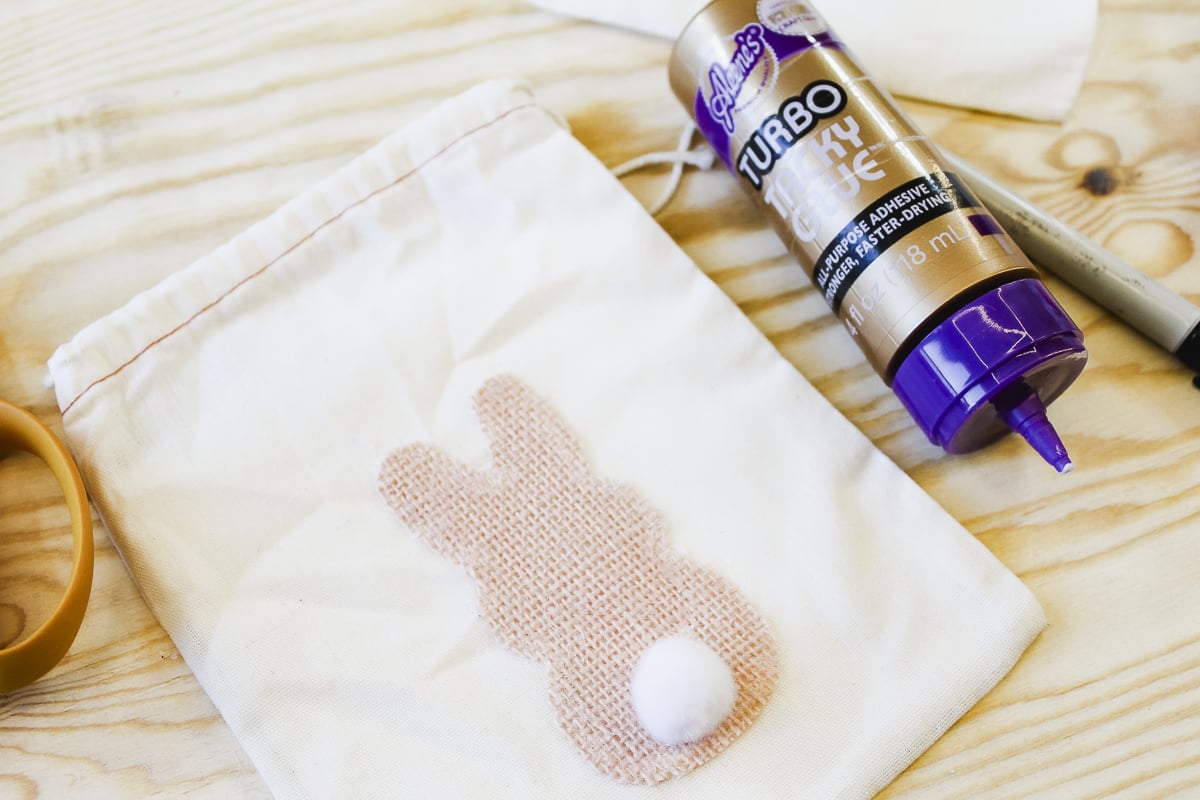
Step 4: Glue Bunny Shape To Treat Bag
Place a scrap piece of paper or cardboard inside the bag to keep the glue from seeping through. Add sufficient tacky glue all the way around the edges of the bunny and put it on the front of the bag. This will adhere the bunny to the bag as well as keep the burlap from fraying.
You want to make sure you have glue all around the edge. Also, add the pom pom tail with the tacky glue. Allow to dry completely.
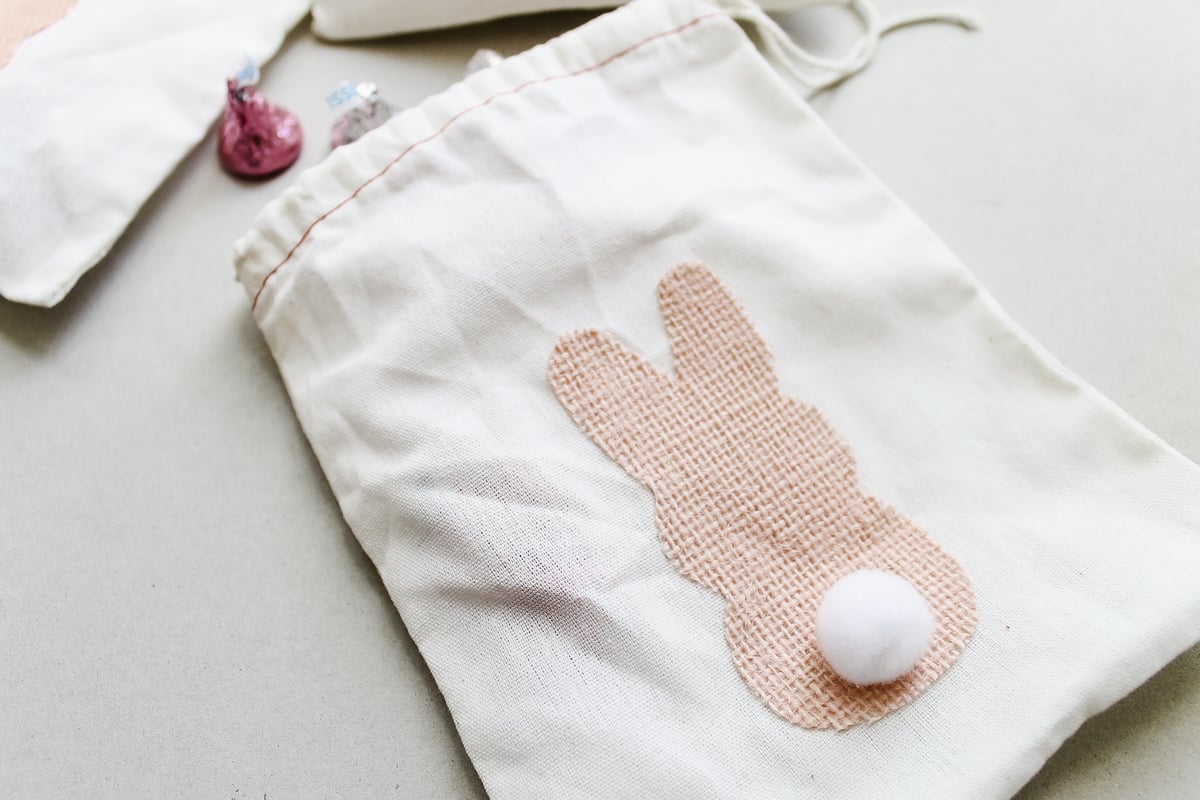
Step 5: Fill With Treats and Gift
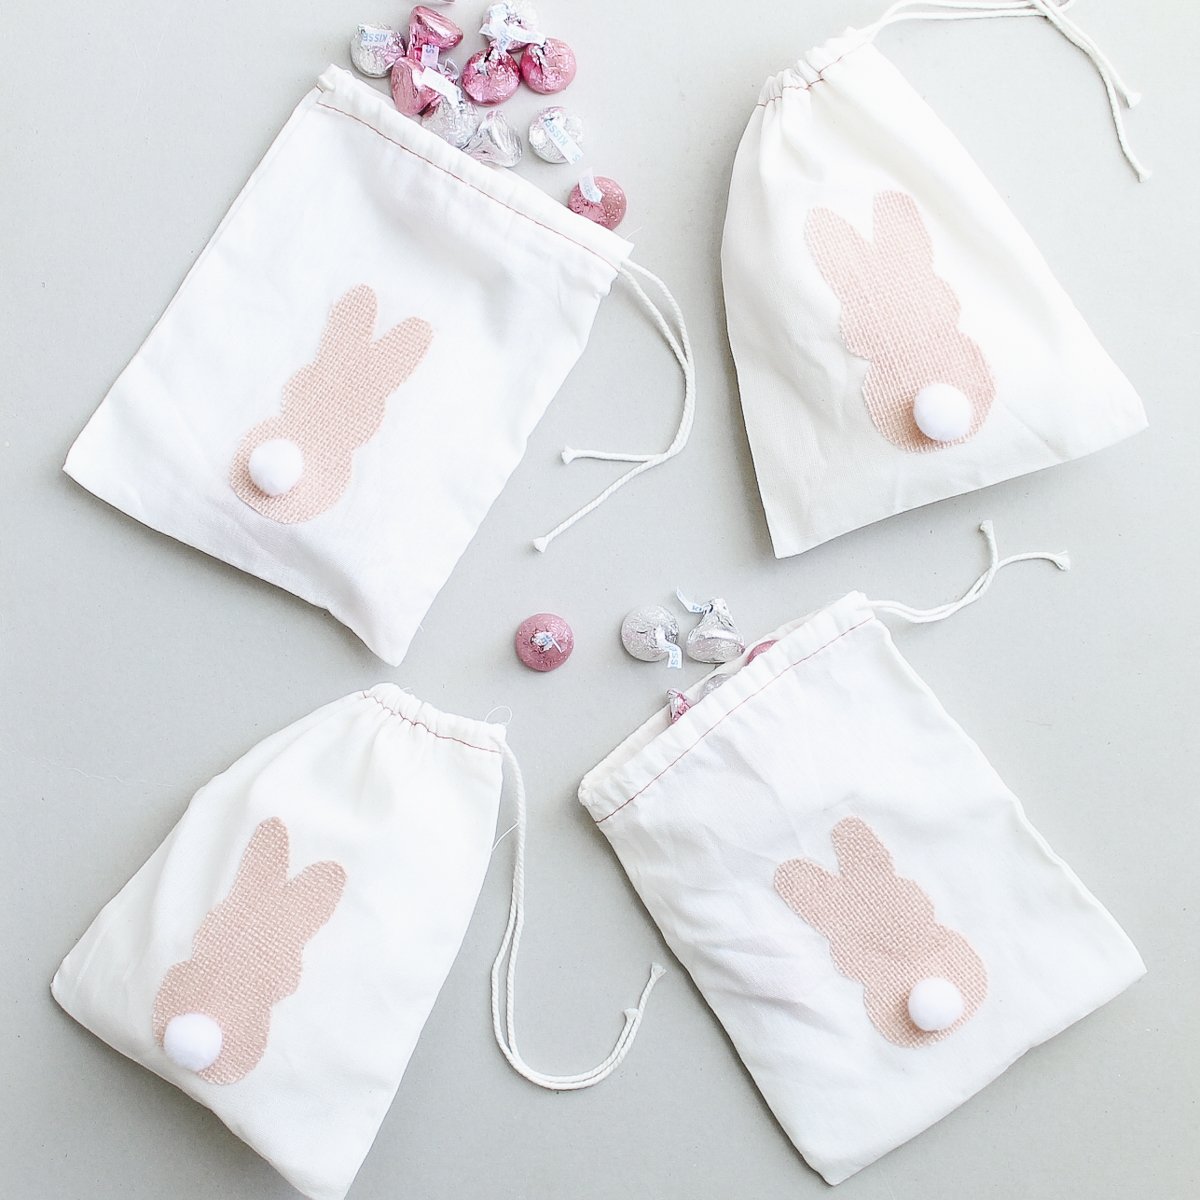
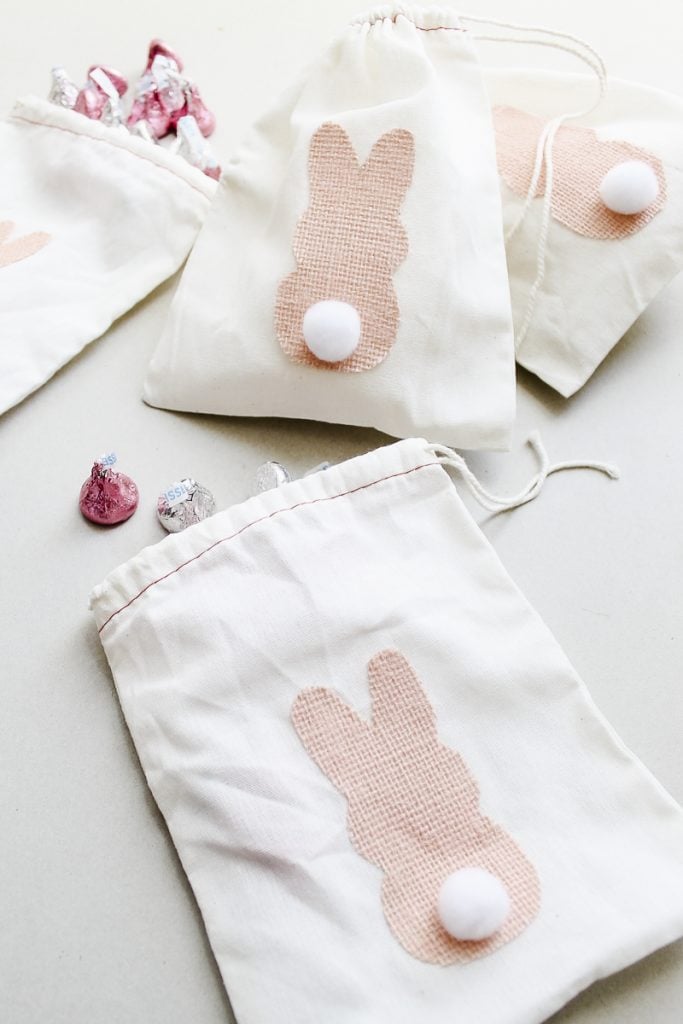
Make as many of these easy treat bags as you need for your Easter celebration. They are easy to make and inexpensive….and those bunny tails are just adorable! This is my kind of craft y’all!
Once the glue has dried just fill each with the treats or gift of your choice and start handing them out!
Get your supplies to make their burlap bunny treat bags for Easter. You will love the results!
Will you be making these burlap bunny treat bags for Easter? And do you love bunny tails as much as I do?
FAQs About Bunny Treat Bags
Here are a couple of common questions I see from readers about making these bunny treat bags. If you have a question but don’t see it down below, please leave it in the comments so I can answer it for you.
Where Can I Buy Muslin Treat Bags?
You can find muslin treat bags here on Amazon!
Can I Change The Color Of The Burlap?
Absolutely! I like the look of the pink burlap, but you could use traditional brown or even blue!
Can I Use A Different Kind Of Glue?
I find that tacky glue works best for this project, however, you could use fabric glue when gluing the bunny shapes to your treat bags, if you prefer.
What Cricut Machine Can I Use For These Bunny Treat Bags?
For this project, I would recommend using the Cricut Maker series machines with the rotary blade. I find that it cuts burlap better than other models.
More Bunny Crafts & Recipes
If you love these bunny treat bags, here are some other crafts and recipes with bunny tails that you won’t want to miss!


Adorable!!! What a fantastic idea!
Angie – these are adorable!! Quick and easy – the perfect project! Pinning to share. Have a great week and thank you so much for sharing your posts with us this week for Brag About It!
Hi Angie! I love this project and the final product is so chic! I had to pin to share it…and I plan to make it too! Thanks for sharing this project! I had to poke around while I was here and I really love all your projects! I might just have to make the matching bunny table runner. I am thinking about using these bags to put on each plate for Easter brunch. Thanks so much!
Awwwww! Adorbs!
I would love for you to share this with my Facebook Group for recipes, crafts, tips, and tricks: https://www.facebook.com/groups/pluckyrecipescraftstips/
Thanks for joining Cooking and Crafting with J & J!
These are the cutest and I love the soft pink burlap bunnies!! Super fun idea, Thanks for sharing, have a nice weekend!
I love how quick and easy this DIY Easter craft is. Perfect for little treats!
Awww, these came out so cute. I love the little fluffy tail. My kids would love these.
Angie,
This is an adorable DIY project for Easter. Our kids are grown, so this would be an excellent fun way to present them with Easter candy. I’m visiting from Inspire Me Monday and you’re invited to hit the dance floor with me on Monday Mewsic Moves Me. Have an awesome day! 😉
Aw these are so cute, Angie! 🙂
These actually make me look forward to Easter already!
*Maisy
Thank you, Angie!
these are so adorable!
planning on making them for my husband’s health aides for Easter/ Passover.
just ordered the bags and pink burlap, can’t wait for them to arrive 😻