Christmas is just around the corner and I’m excited to share a fun way to display your Christmas cards. Along with the card display, I will show you how I created this fun glitter Christmas banner.
For today’s project, I am using some fabric scraps and glitter paint. You could also use your Cricut to cut out glitter Iron-on if you have that on hand instead.
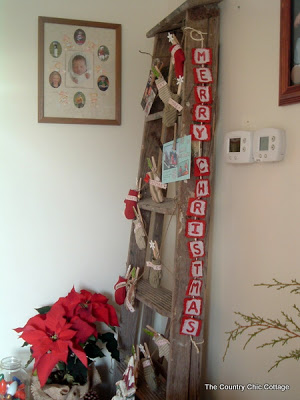
How to Display Christmas Cards on an Old Ladder
As I was trying to decide how I wanted to display my Christmas cards this year I woke up one morning and knew I needed an old wood ladder.
Thankfully we live on an old farm and my husband was able to find one lying around.
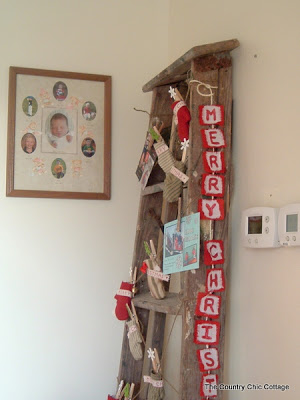
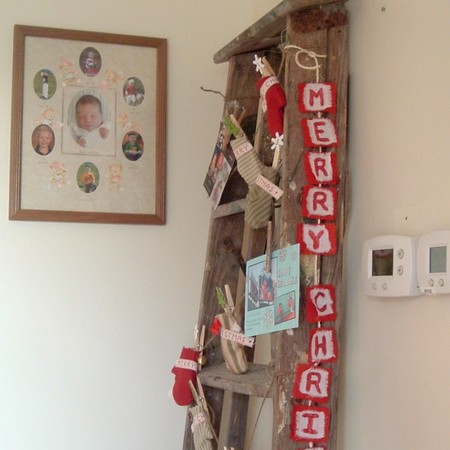
To display my Christmas cards I added adorable rustic mittens my friend made me, to twine to create a garland I draped around the ladder and used clothes pins to attach the cards to the garland.
I love the way the cards look with the garland and the ladder but wanted to dress the display up a little more.
How to Make a Glitter Christmas Banner
The side of the ladder facing the room looked a little plain so I decided to create a glitter Christmas banner to hang down the side. I also have this adorable mini Christmas banner available, too.
First, I gathered my supplies. I’m going to share what I used for my banner and also options for creating a banner using your Cricut machine.
Supplies used to make a glitter Christmas banner
- Red Burlap
- White Fabric
- Red Glitter Fabric Paint
- Paintbrush
- Iron or EasyPress
- Twine
- Adhesive
Cricut Banner Options
- Cricut Machine
- Red Glitter Iron-on
- EasyPress
- Red Burlap
- White Fabric
- Twine
- Adhesive
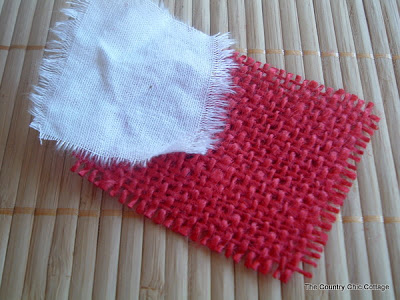
Cut Fabric to Size
The size of your fabric squares will depend on what you want your banner to say.
I wanted my glitter Christmas banner to say Merry Christmas which is quite a few letters so I cut them to a size that would make the banner almost as long as the length of the ladder.
I also wanted the banner to match the rustic look of the whole display so I frayed the edges of the white fabric.
Add Letters to Fabric
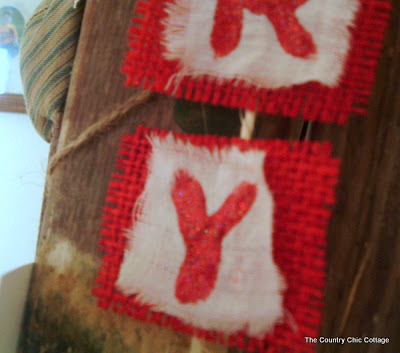
For my glitter Christmas banner I used red glitter fabric paint and a paintbrush to paint the letters onto the white fabric scraps.
I did not use a stencil for the letters, I simply painted them on following the directions for the paint I used. It did take two coats to ensure the whole letter was covered.
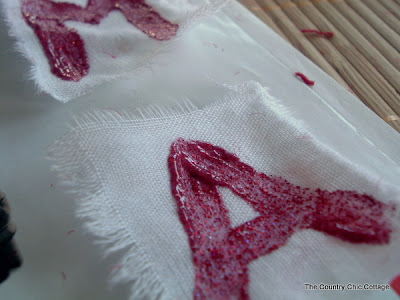
If you choose to use your Cricut you can use any font you like. Since you’ll be using Iron-on make sure you mirror your image before cutting it.
Fabric paint does call for applying heat to set the paint to maximize the life of your project. Follow the directions for the paint you are using.
With glitter Iron-on follow the settings in the Cricut Heat Guide for the time and temperature for your specific fabric and material.
Add Banner Pieces to Twine
Next, we need to attach our white fabric pieces to the red burlap. I used glue dots for this step but you could also use fabric glue or even a hot glue gun.
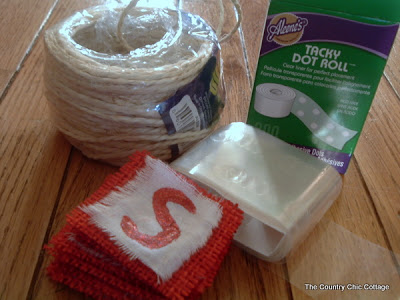
Once the letter pieces were all attached it was time to attach the letters to the twine.
Again you’re going to use an adhesive to attach these pieces. I would measure out the twine to the length you want it to be and then space the letters onto the twine accordingly.
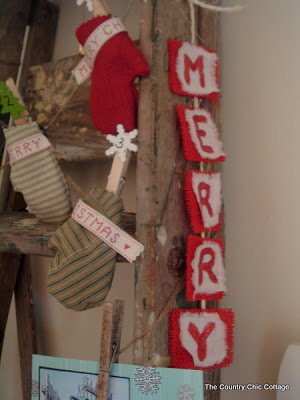
As you can see, there isn’t a lot of room between my letters and they are the perfect length for the side of my ladder.
Final Thoughts on Making a Glitter Christmas Banner
Don’t you love when a project comes together just as you were hoping?
I really love how this whole card display came together and the glitter Christmas banner is the perfect finishing touch.
I had everything on hand to make this project without having to leave the house. If you’re a crafter I’m guessing you probably do too.
The really fun thing about this glitter Christmas banner is that now that you know how to make one you can make them for anything.
If you have a birthday coming up or are looking for the perfect banner for your Valentine decor in a few months you’ll be able to whip one up in no time.
If you have any questions about my glitter Christmas banner or anything else I’ve shared today leave them in the comments below and I’ll be happy to answer them for you.
Equipment
- Red Burlap
- White Fabric
- Red Glitter Fabric Paint
- Paintbrush
- Twine
- Adhesive
Supplies
- Iron or EasyPress
Cricut Banner Options
- Cricut Machine
- Red Glitter Iron-on
- EasyPress
- Red Burlap
- White Fabric
- Twine
- Adhesive
Instructions
- Cut fabric to fit letters. You will want to measure how large you want your letters to be and compare that to how many letters you need. You will also need to measure the proper amount of twine.
- I used red glitter fabric paint and a paintbrush to paint the letters onto the white fabric scraps. If you choose to use your Cricut you can use any font you like. Since you’ll be using Iron-on make sure you mirror your image before cutting it.
- Next, we need to attach our white fabric pieces to the red burlap. I used glue dots for this step but you could also use fabric glue or even a hot glue gun.
- Once the letter pieces were all attached it was time to attach the letters to the twine. Measure out the twine to the length you want it to be and then space the letters onto the twine accordingly.
- When all is dry, your banner is ready to display.


