I couldn’t resist sharing my spring printer’s tray here today. This one was originally posted over at Crafts Unleashed but I usually repost here in case y’all missed it. I have loved having this touch of spring decor on my mantle for the past few weeks. It is not too late to make this one as I am going to leave it out all summer long. Plus it is super easy to make and who doesn’t love a printer’s tray?
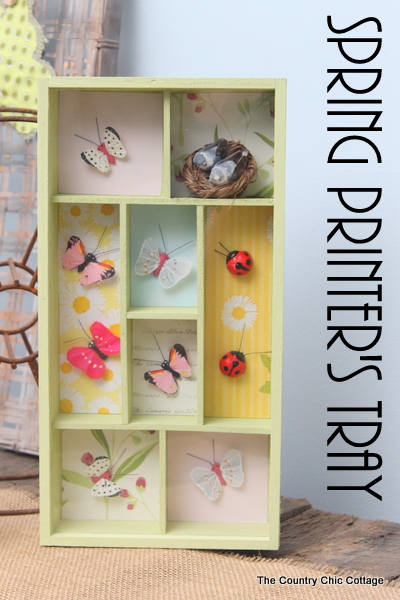
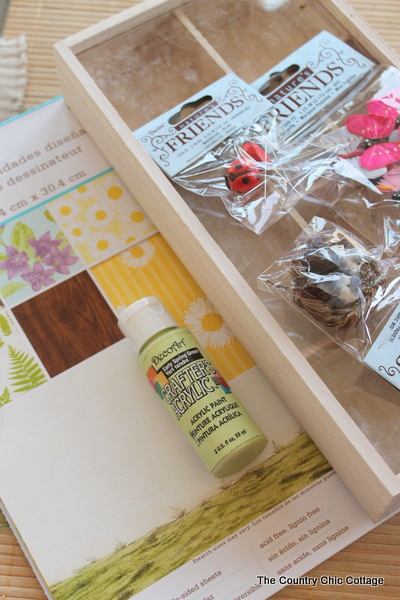
Spring Printer’s Tray Supplies:
- Wood Printer Tray Shadow Box
- Paint in Early Spring Green
- Scrapbook Paper
- Decoupage Medium
- Ladybugs
- Birds in a Nest
- Mini Butterflies
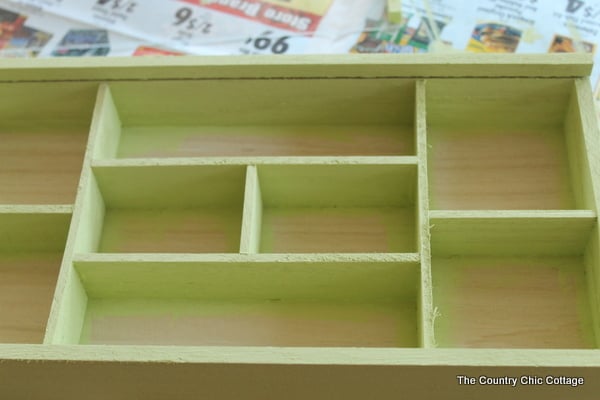
Start by painting your printer’s tray with the green paint. You can leave the bottom of each compartment unpainted as shown in the picture below. I used one good coat on my tray but two may be needed. Be sure to allow your paint to dry in between coats. Be sure to also paint the wood on the top of the plastic cover.
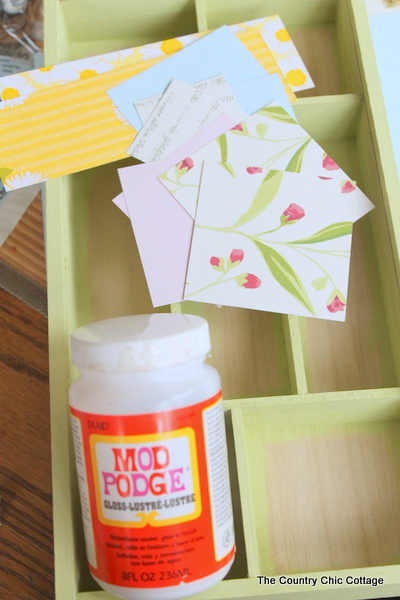
Cut fun scrapbook paper to the size of your openings. Dry fit them into the printer’s tray to size to fit. Use decoupage medium to put them on the back of each compartment.
Now just decide where you want all of your embellishments and secure them in place with hot glue. I choose birds, lady bugs, and butterflies but you can choose the spring or summer embellishments of your choice.
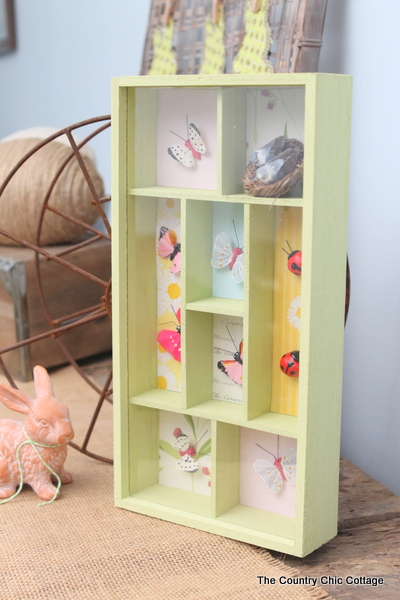
Slide the front of the printer’s tray into place once everything is dry and you have a lovely decor piece for your home. While you are shopping at Consumer Crafts, be sure to pick up more than one of these printer’s trays. I can see this type of project being a staple in my home for every season. What do you think? Do you love the spring printer’s tray? Will you make one for any other season?
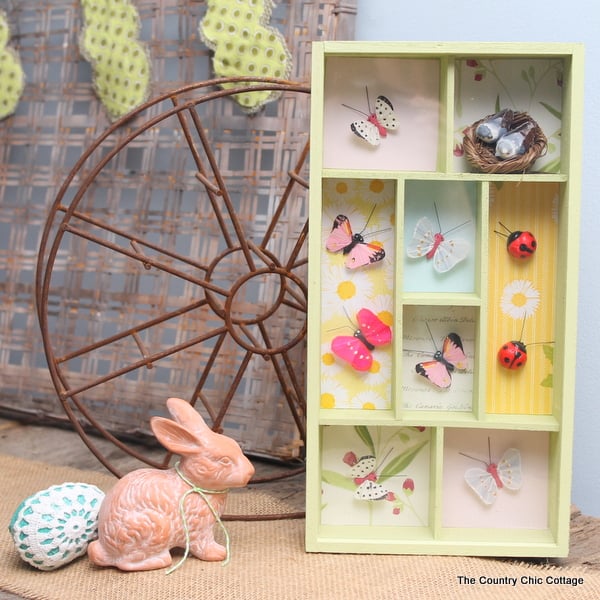
This post was perked as part of my design team status for Consumer Crafts. However all projects and opinions are my own.


Beautiful! I am always on the lookout at local estate sales & whatnot for unique projects to place around my home – this is definitely on the list now. It was so great meeting you at Snap!