Jen Goode is here with a tutorial on how to make a corner bookmark! See how to take any coloring pages you might have around your home and use them with this free corner bookmark template to make a unique DIY corner bookmark.
I’ve always been a reader. I love getting lost in a great story! And I’ve worked to turn my kids into readers too because reading requires very few supplies to produce hours of enjoyment.
When they were really little, I started fostering a love of reading by making them busy books that they could play with and explore on their own terms.
Then, as they began reading, I started making them fun bookmarks to encourage them to continue reading.
Well, now summer is here and we’re doing a ton of reading in our house. I thought it would be fun to use up some of those coloring pages we’ve collected over the years to make bookmarks.
Today, I have an easy-to-make DIY corner bookmark to share with you along with a free corner bookmark template (with different designs).
Note: If you love to promote reading and other creative activities for kids, check out our Games and Crafts for Kids, DIY String Art Kids Craft Idea, and Wild West Puppet Theater ideas!
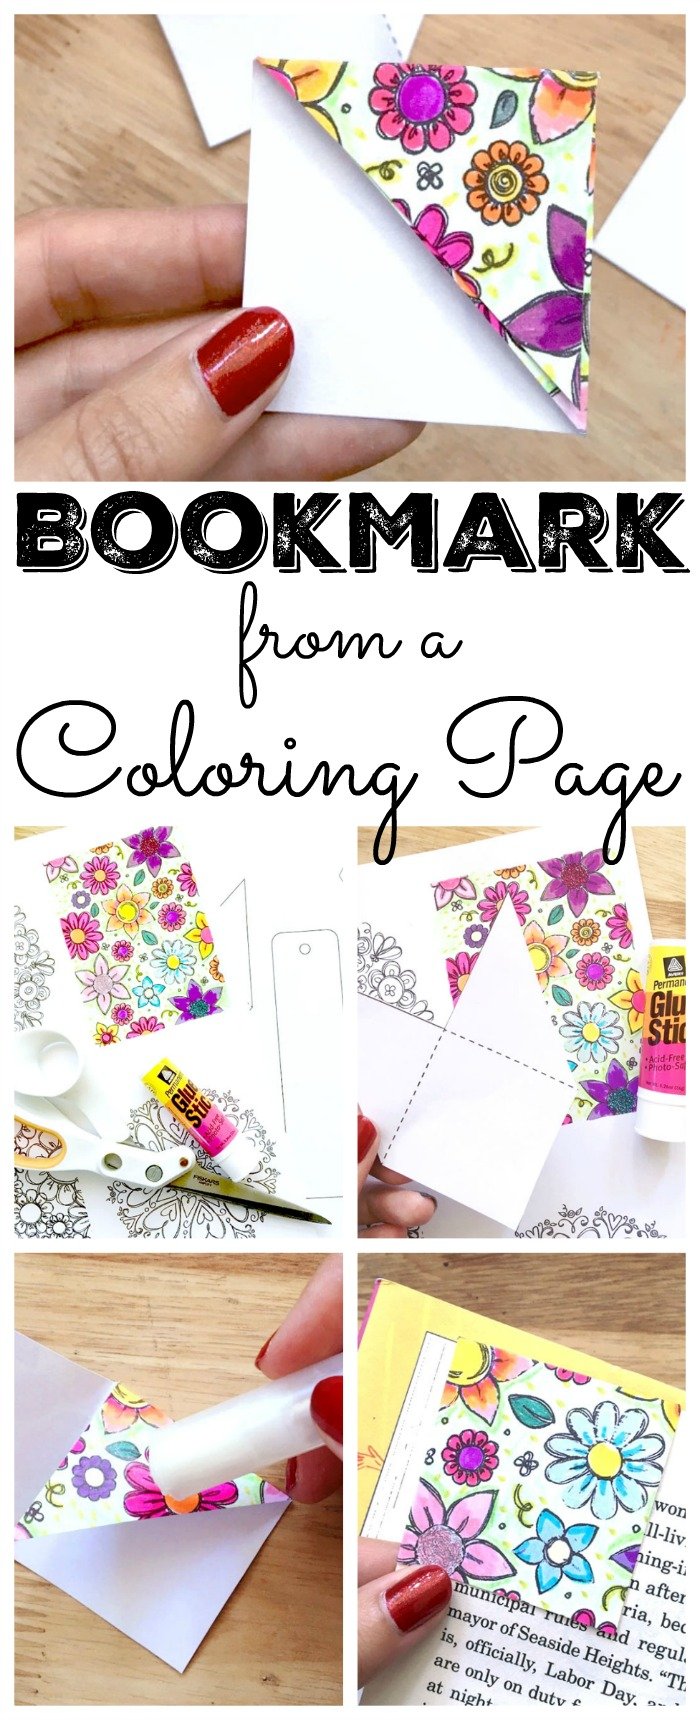
How To Make A Corner Bookmark
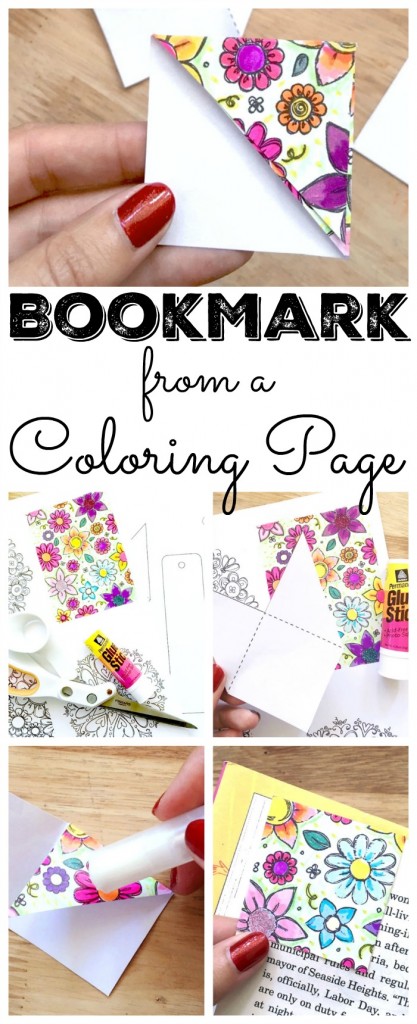
This cute bookmark is a flower coloring page we shrunk down to 25% of its original size. Then, I used a simple bookmark template you can use too.
My youngest has been reading like crazy these days, so we need an endless supply of bookmarks. I’m pretty sure she has at least 5 different books she’s reading right now! 😂
Here are the supplies you’ll need and the steps you’ll need to follow in order to make your own DIY corner bookmark.
Supplies Needed
Gather up these things to start making your corner bookmarks. I’ve included some handy links to help you find some items faster and easier.
- Coloring page or colored paper (try this flower sketch coloring page)
- Bookmark template
- Scissors
- Glue
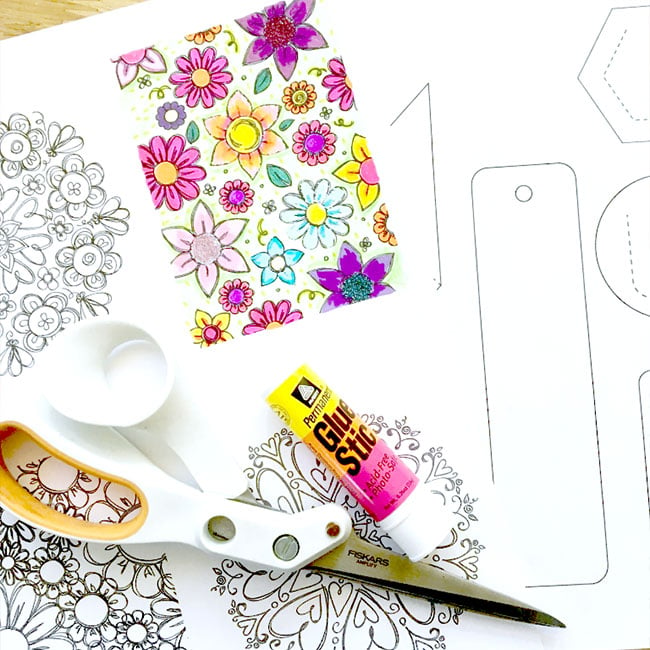
Instructions
Just follow these steps and in a few minutes, you’ll have beautiful and unique corner bookmarks to adorn your books!
Step 1
Cut out the template as shown below.
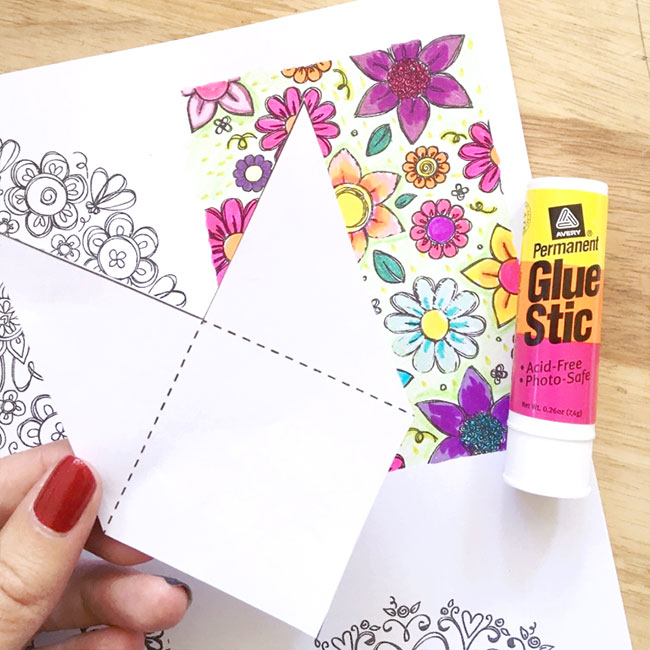
Step 2
Trace the template design onto the coloring page and cut out the bookmark shape.
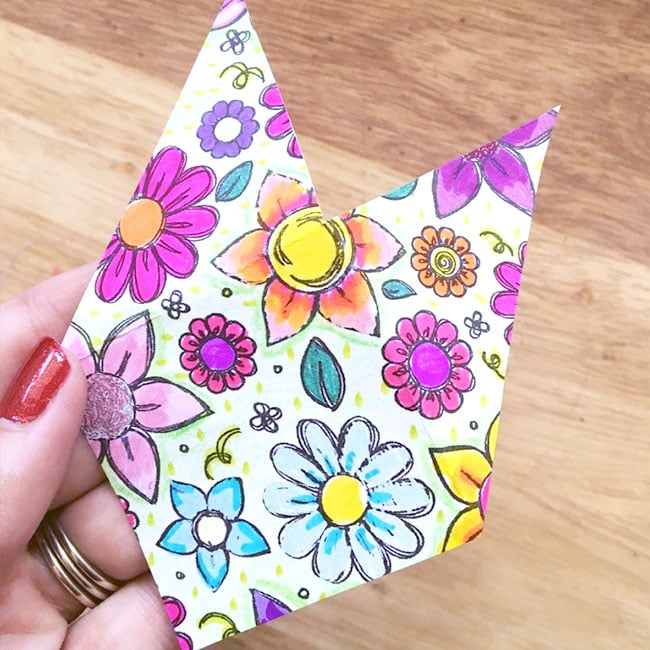
Step 3
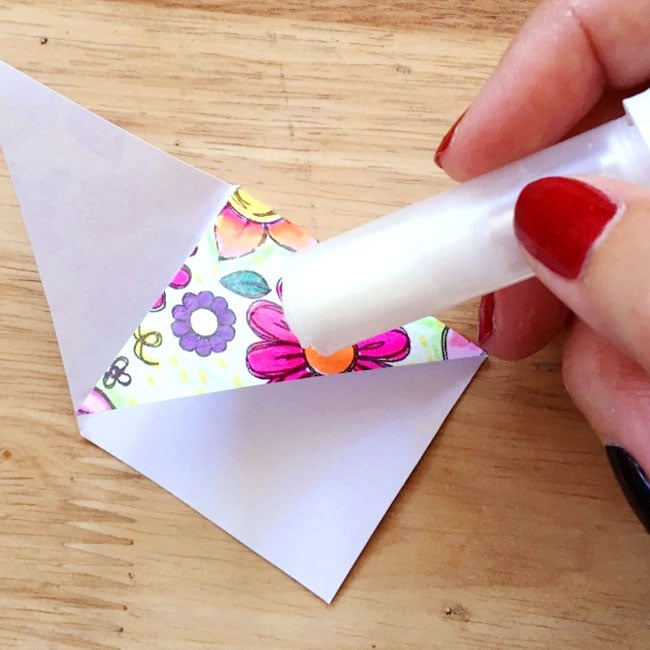
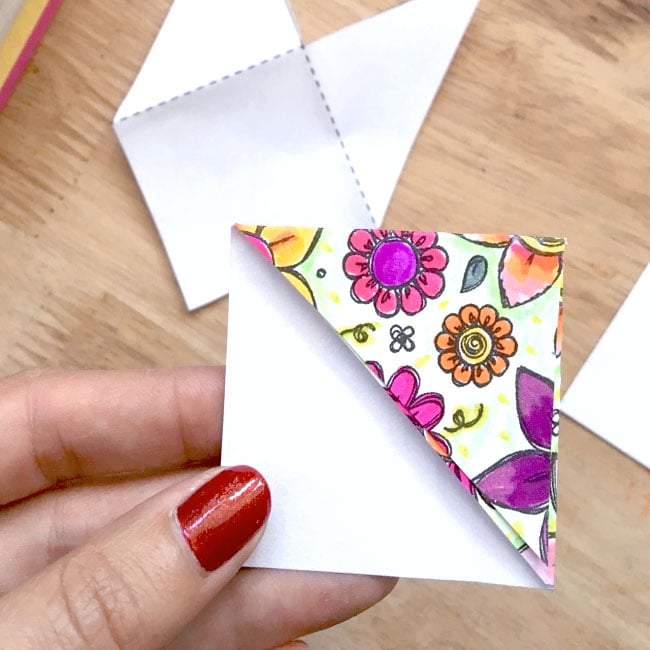
Fold where appropriate and glue the two flaps to each other leaving a pocket for your book page.
That’s it!
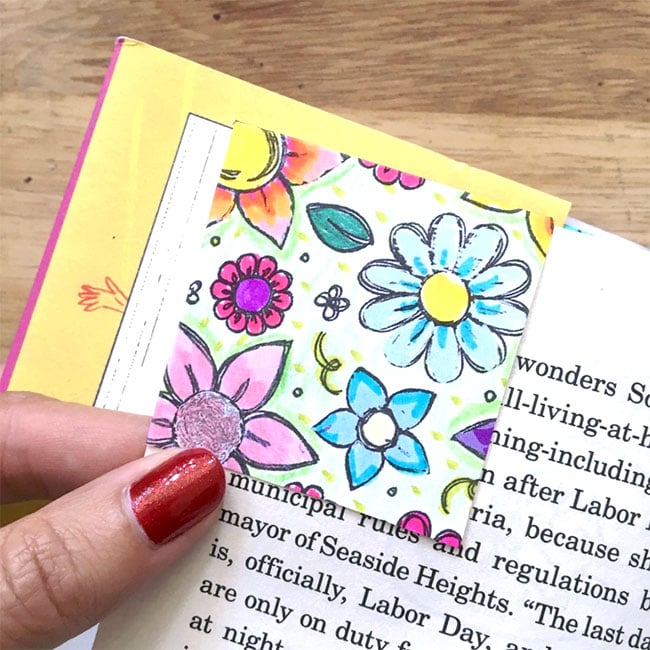
Now that you know how to make a corner bookmark, you can make your own bookmarks with all of your coloring pages!
Project Notes
The bookmark template I created is an SVG file so you can print it and cut it out with scissors. Or, alternatively, you can use it with your electronic cutting machine.
You can make bookmarks with all kinds of pretty papers, your favorite coloring pages or patterns, newspaper pages, or whatever paper art you’d like.
FAQs
Here are a couple of questions that I see readers ask regarding how to make a corner bookmark. If you have a question, please check to see if it’s already answered below. Don’t see it down below? Leave it for me in the comments!
How do I create a unique bookmark design?
With this template, that’s the easy part! You can use whatever paper you want to make your corner bookmark and it will be completely unique.
Use pre-colored pages or coloring sheets that you (or your kids!) color. This project is easy peasy, high-reward, and the kids will be delighted to have their very own bookmark.
Can I use hot glue to glue the corners together?
Technically yes, but it’s not the best choice for this project. If you aren’t careful, hot glue can cause lumps in your bookmark that will make it less than ideal.
I recommend sticking with glue sticks or small dabs of Elmer’s or craft glue when you want to make a corner bookmark.
More Crafting Inspiration
I hope you love this easy craft project idea! It’s a quick one, so you can have a corner bookmark finish in just minutes. Try making some for friends, or to sell at the school craft fair!
Do you need coloring pages to use for this project? Click here for 25 free coloring pages that can be used to make your own bookmarks. Or use any coloring pages you already have at home.
If you’re looking for more fun activities to keep the kids busy and explore their creativity, check out these links.
- Free Printable Bookmarks You Can Color
- DIY Paper Doll Activity Set
- Kids Craft: Make Your Own Journal
- Easy DIY Toddler Busy Bag With Truck Shapes
Supplies
- Coloring page or colored paper try this flower sketch coloring page
- Bookmark template
- Scissors
- Glue
Instructions
- Grab the corner bookmark template and cut it out.
- Trace the template outline on your chosen coloring page. Cut out the template shape.
- Fold the corners of the cut-out along where the dotted lines are on the template. Glue the top flap to the bottom flap to create the pocket.



Such a clever idea for making bookmarks! And coloring is so much fun even for grown-ups!
This is really cute! And oh so simple! Now, the trick is being able to sit and read an actual book soon 🙂
Too cute.
What a cute idea! Thanks for sharing during the Thursday blog hop.
This such a great idea and so easy! Definitely going to do this with my kiddos.
Thanks for sharing. 🙂
These are so useful. I made a stack of them a couple of years ago and I use them in my recipe books. they are pretty and functional. I love them.
Quick and inexpensive. Thanks for sharing!
Such a cute idea to make and give along with a book! Definitely saving this page so I can make some for the holidays.
I love this idea, my two hobbies are reading and coloring! Thanks for sharing with Small Victories Sunday Linkup and I hope you linked up with our Pintastic Pinterest Party too. Pinning to our linkup board and hope you found some great posts to visit this week!
These are so cute!! I love how easy they are to make 🙂 Thanks for sharing!
Really cute! I love this idea.
Katie
button-jar.com/blog
SUCH a cute idea! Love this!
I would love for you to share this with my Facebook Group for crafts, recipes, and tips: https://www.facebook.com/groups/pluckyrecipescraftstips/
Thanks for joining Cooking and Crafting with J & J!