This post and photos may contain Amazon or other affiliate links. If you purchase something through any link, I may receive a small commission at no extra charge to you. Any supplies used may be given to me free of charge, however, all projects and opinions are my own.
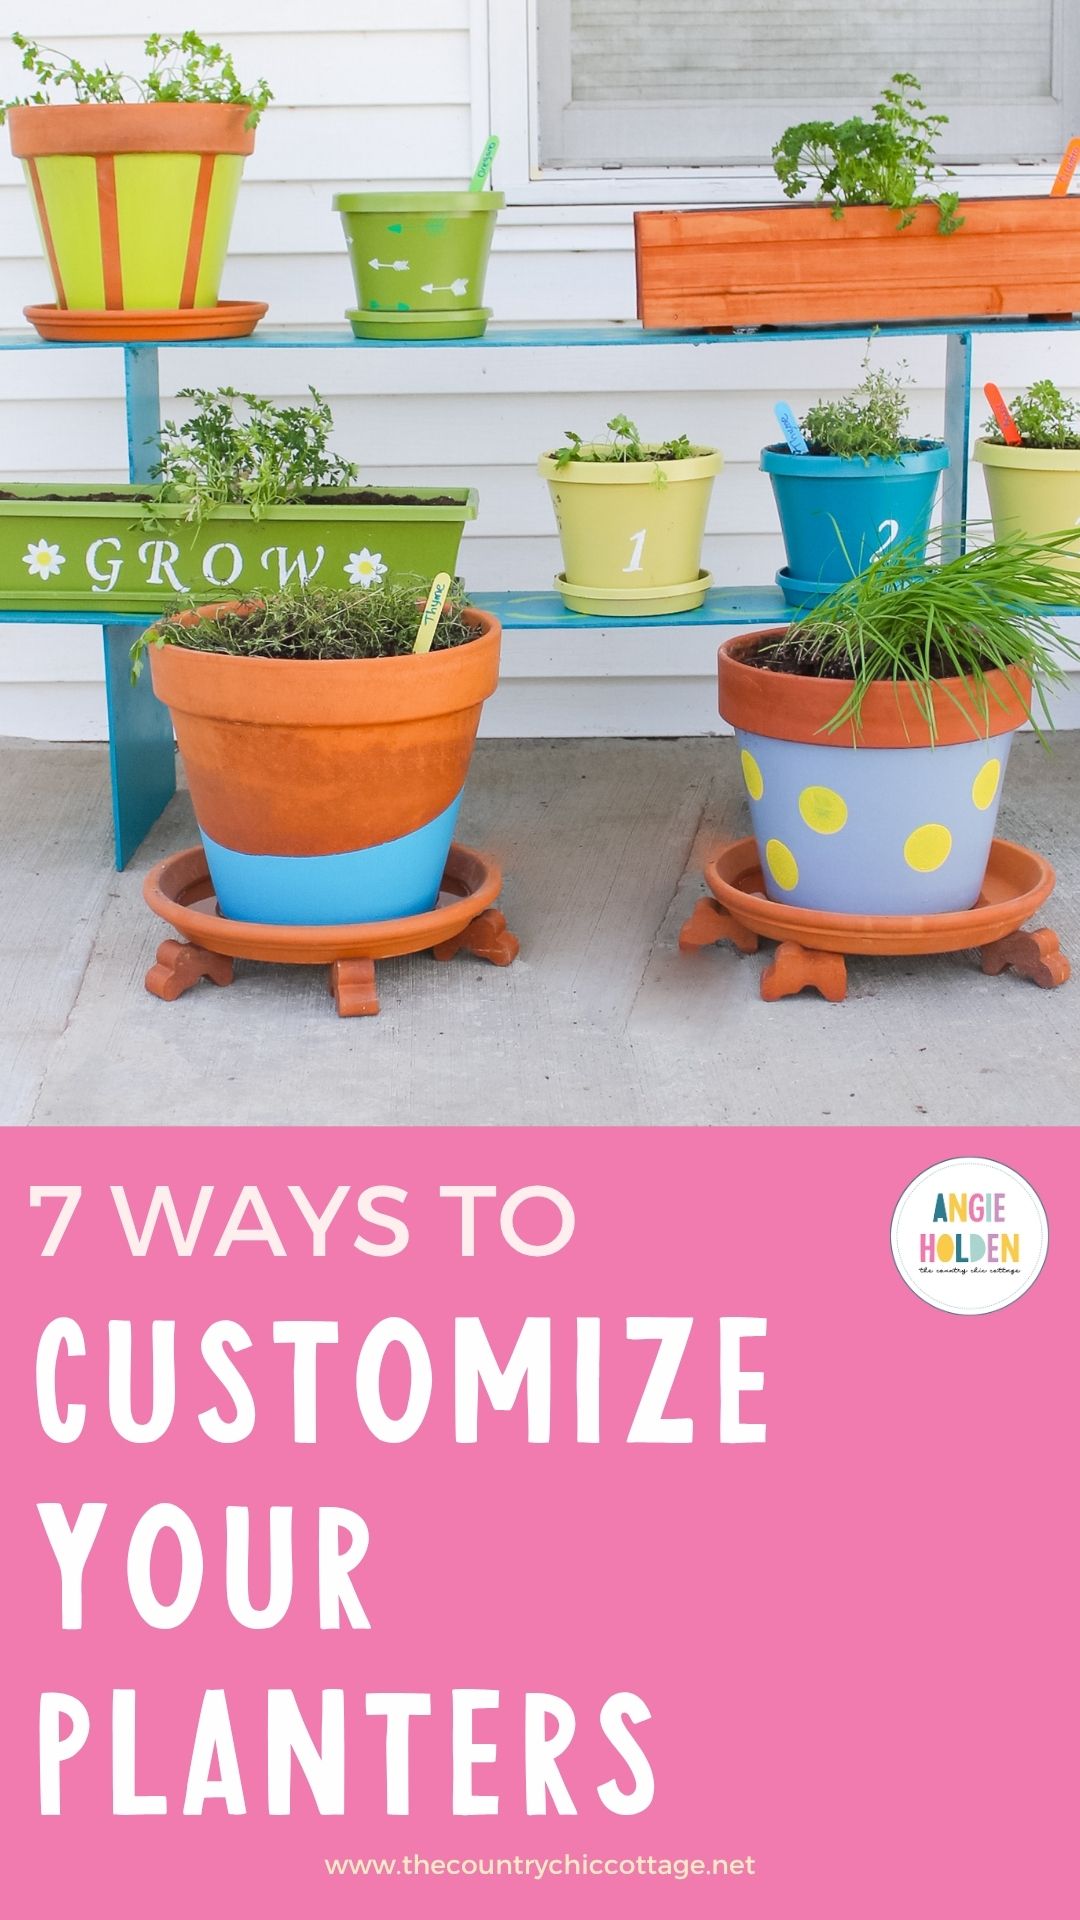
I am still working on my project with The Home Depot on choosing the right planter. Next on our journey is ways to customize your planters. You are going to love these ideas! I started off on this journey by picking the right plants and choosing the right planters. I ended up with plastic, terra cotta, and one plastic lined wood planter. I ended up buying all plain colored planters and customizing them myself. Because I wanted different shapes and sizes for my project, it was difficult to find planters that coordinated. Let me show you 7 super easy ways to customize your planters.
I started off by making y’all a super quick less than 3 minute video on customizing planters. I explain each planter I made and how I made it. Before you watch please be warned — I used my 8 year old as my videographer and he got a bit shaky and giggly on me. Plus he was supposed to keep the camera on ME not on the bush that I trimmed (um butchered) and the wicker that had blown over in a wind storm. But oh well. It was fun making a video with him and I can forever treasure it as his first video shoot ever. Y’all enjoy.
Now lets talk details of each of the pots shown in the video and the methods used for each.
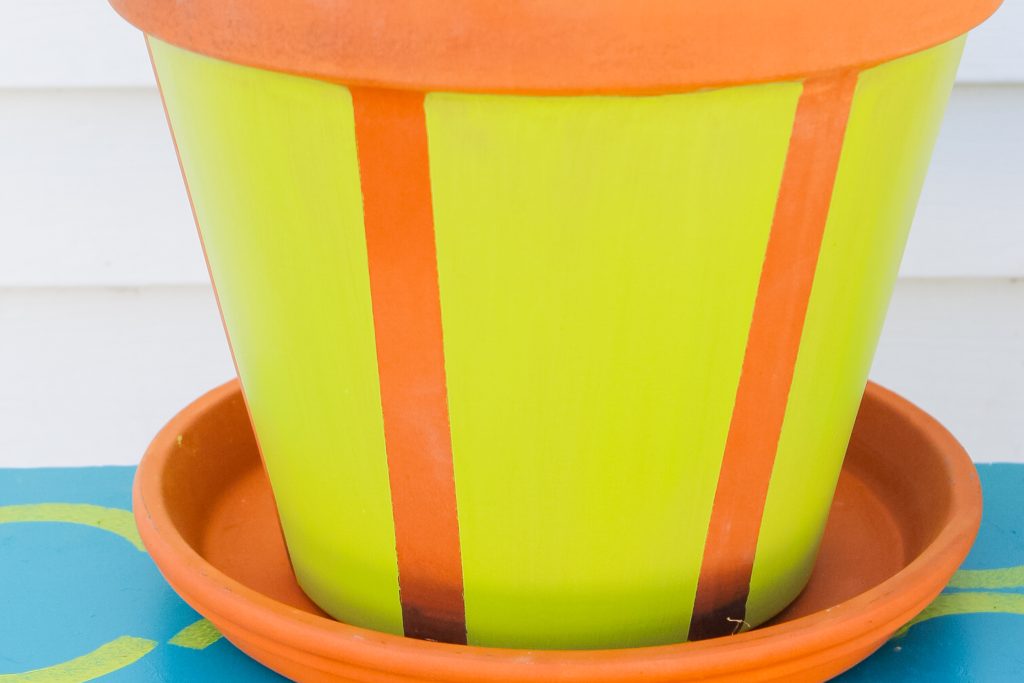
1) Mask stripes — you can use painters tape from The Home Depot to mask off stripes on your pots easily. I made vertical stripes on this terra cotta pot then painted the pot with patio paint from Deco Art. This is the paint I mentioned that is specifically formulated for terra cotta. I have had trouble painting terra cotta surfaces in the past but have great luck from this product. It is available at craft and hobby stores in a wide range of colors.
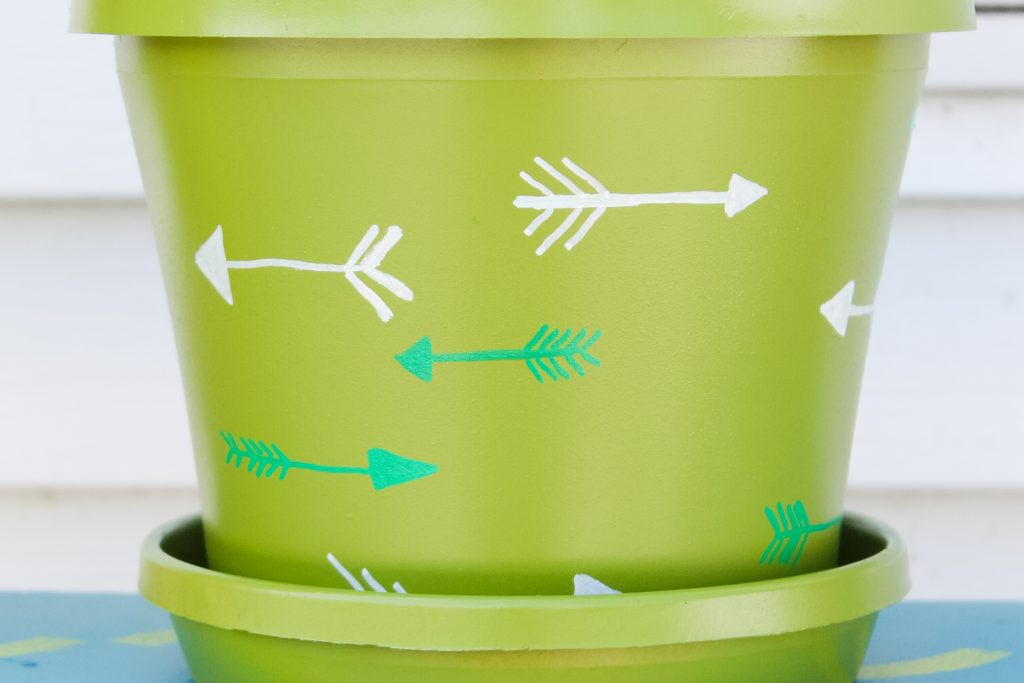
2) Draw with paint pens — you can draw anything on a planter with a simple paint pen. I have even let the kids draw on pots with paint pens to give as gifts for Mother’s Day. The planter below started out as that grey color you saw on the video. I used Rustoleum spray paint that is formulated for plastic to alter the color of my pots. All of the spray paint used came from The Home Depot. They have a huge selection so spend some time there and pick colors you love. After the paint has dried and cured, draw your favorite images with assorted paint pens that can be purchased at a big box or craft store. I free handed some arrows around the pot below in different colors.
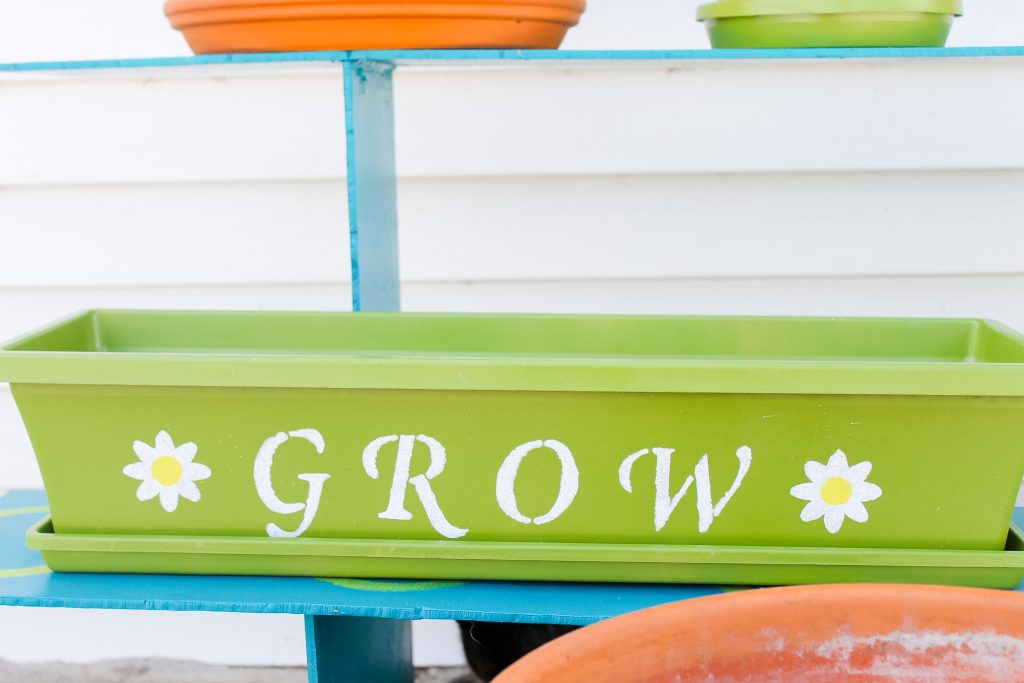
3) Stencil words and shapes — grab a pack of stencils at The Home Depot then write words on your pots. I decided to spell grow and stencil a few flowers on the version below. The stencils I used were a package I had at home. I know The Home Depot had a plain set but if you want the flower stencil you will have to look at a craft store. You could spell a different word or even add your monogram to a pot. Stenciling is quick and easy plus it produces great results.
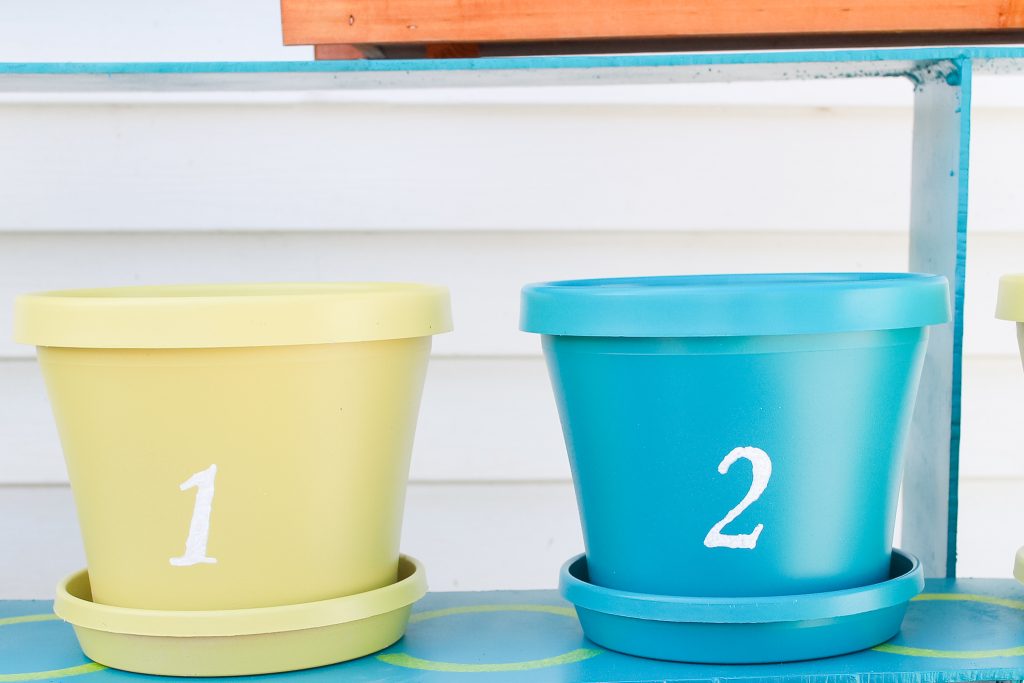
4) Stencil numbers — you can add a number to any pot for a touch of whimsy. Add it to three pots in a row for a great look. Again the container in the picture above and those below are all plastic and were spray painted before adding stencils. As always, allow your paint to fully dry and cure before adding any stencils. Stenciling adds that special touch to your container garden that makes it your own.
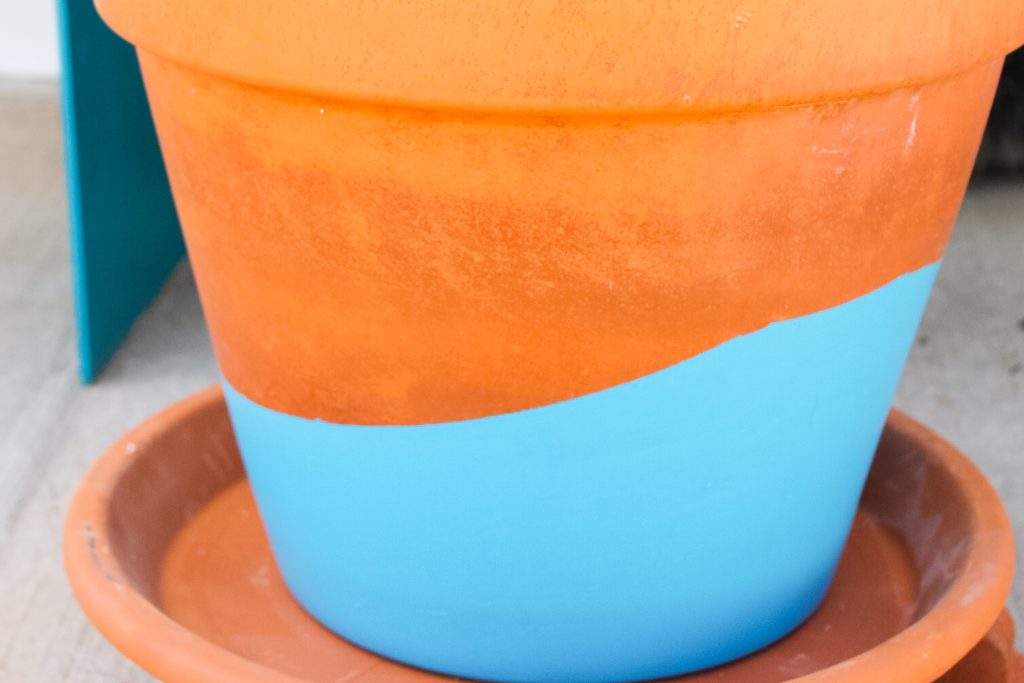
5) Paint dip technique — make your pots look like they were simply dipped in paint with this super simple idea. Just use painters tape from The Home Depot in a crooked line on your pot. Then paint below that line. Again I used Patio Paint from DecoArt which is specifically formulated for terra cotta. Now the pot below looks like it has been dipped partially in paint. It is a great splash of color for minimal effort and expense.
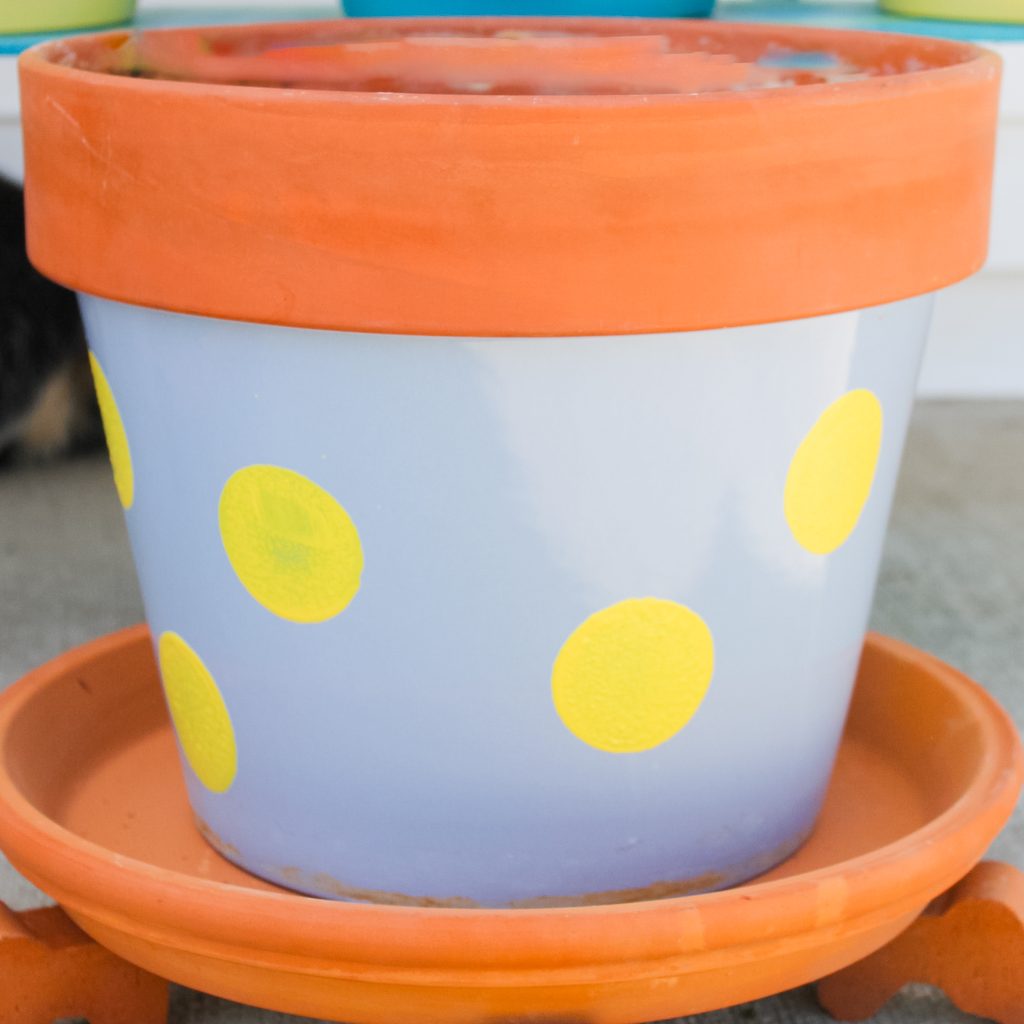
6) Add some polka dots — you can add dots to any pot big or small easily. Use sponge pouncer brushes to get a variety of dot sizes. Just dip your pouncer into craft paint and apply to your pot for a perfectly shaped dot every time. You can also use the end of a dowel rod or eraser end of a pencil. Dots are fun and whimsical and now you know the secret to painting them easily.
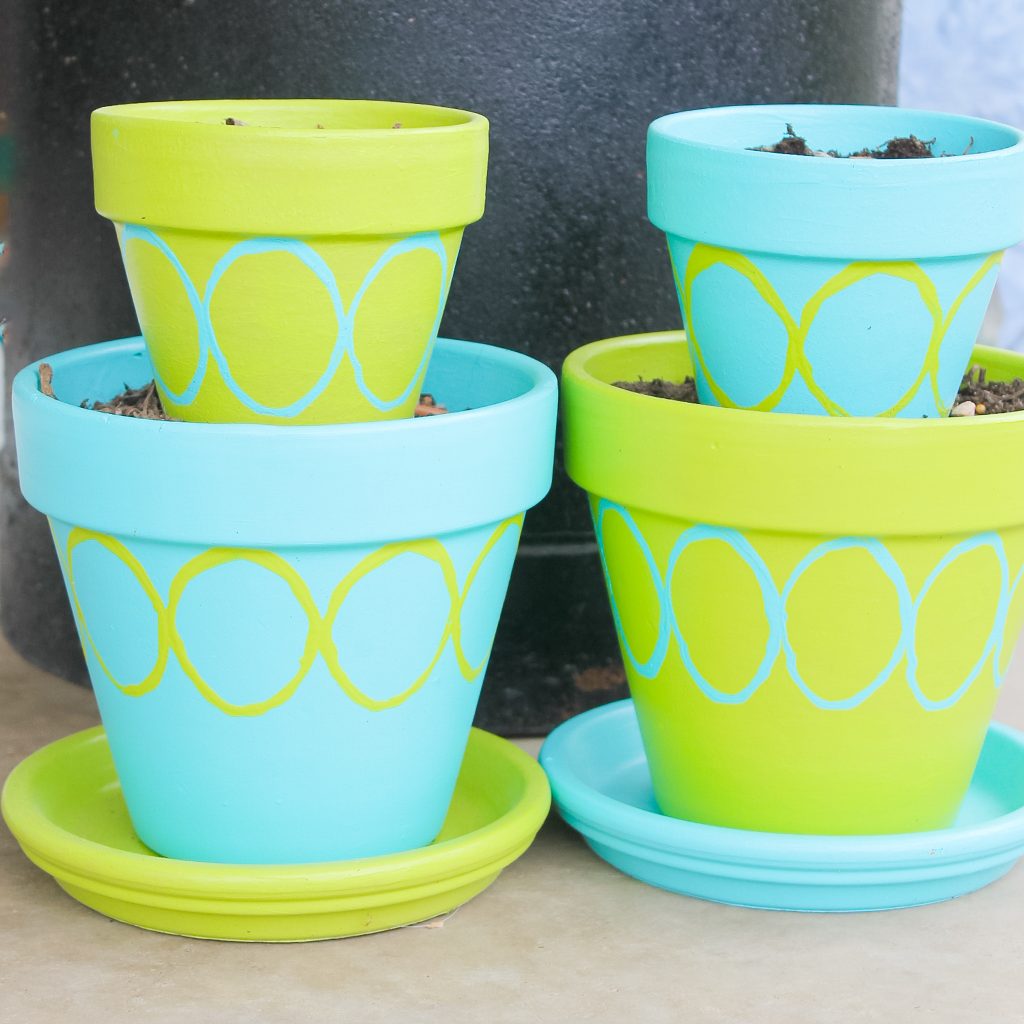
7) Tiered pots with an easy design — this is really two tips in one. I explain in full detail how to make tiered planters from terra cotta pots as well as how to paint that design with a toilet paper roll on this post. These are fun, whimsical, and a great pop of color on any flower pot.
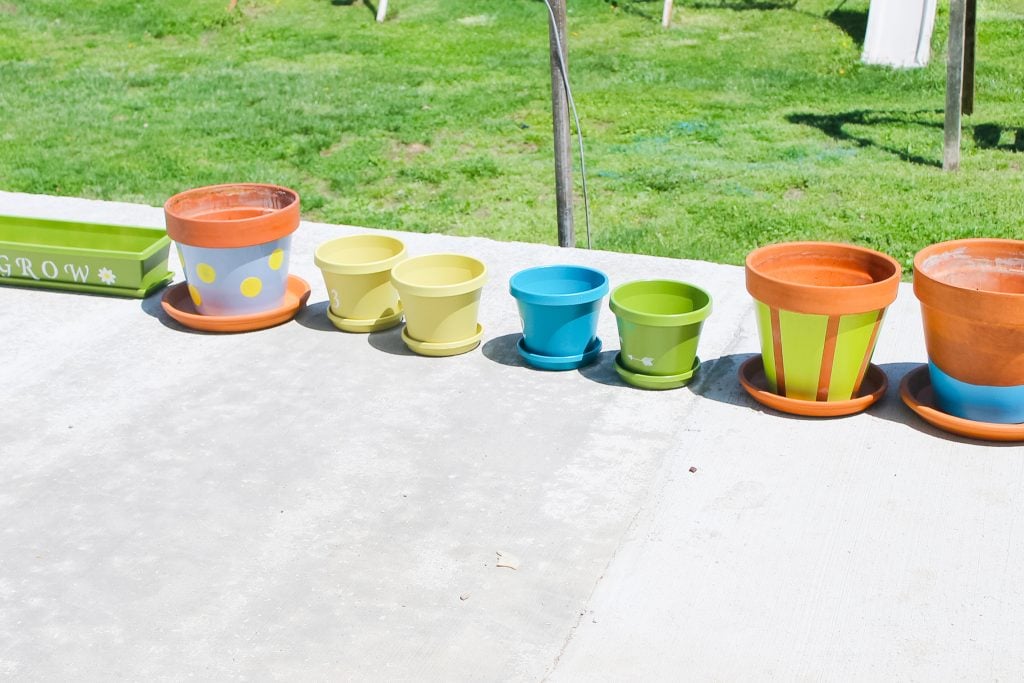
When I had all of my planters complete and customized, I lined them up on the back deck to dry. Please follow all recommended instructions on the paint for drying and curing times. You want to make sure your paint is cured before you plant or do too much handling of your planters.
I love the “dipped” look. Especially with that bright aqua, it looks like an ocean wave!
These are all beautiful! Great ideas…pinning now!!
Cute stuff! I love it!
Amber
http://www.CrazyLittleProjects.com
I love the pots! They look so pretty and modern!
super cute! i love the one with the arrows!
The arrow planter is adorable … that would be perfect for my African Violet!
Awesome! My terra cotta pots are going to look so much better. Thanks for the tips and the Home Depot coupon!