Are you adding a little patriotic decor to your home this summer? My DIY patriotic marquee sign is perfect then. Make this fun sign in just minutes with no power tools required. You can light up any patriotic display or party. Don’t like the patriotic version? Use the craft tutorial below to make this marquee in any shape, letter, or number you desire. This post is sponsored by Duck Tape however all opinions and projects are my own.
Also if you love patriotic crafts — I have gathered up tons from my blog friends at the bottom of this post! Enjoy!!
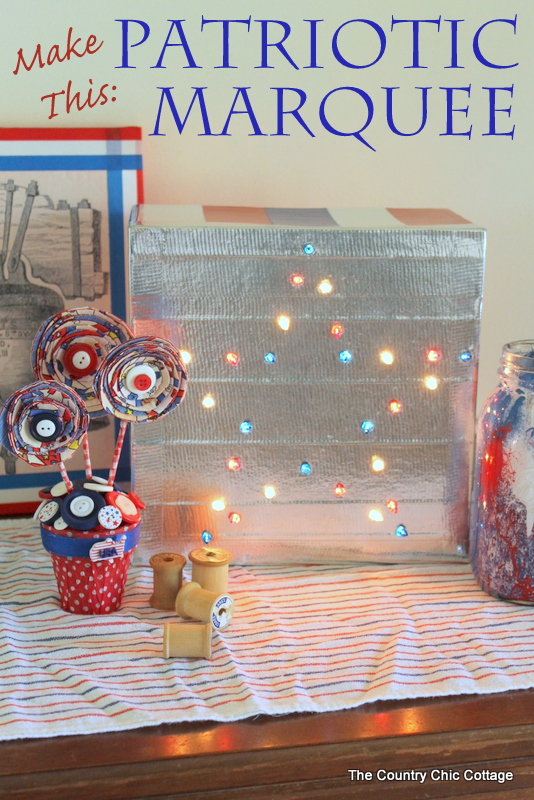
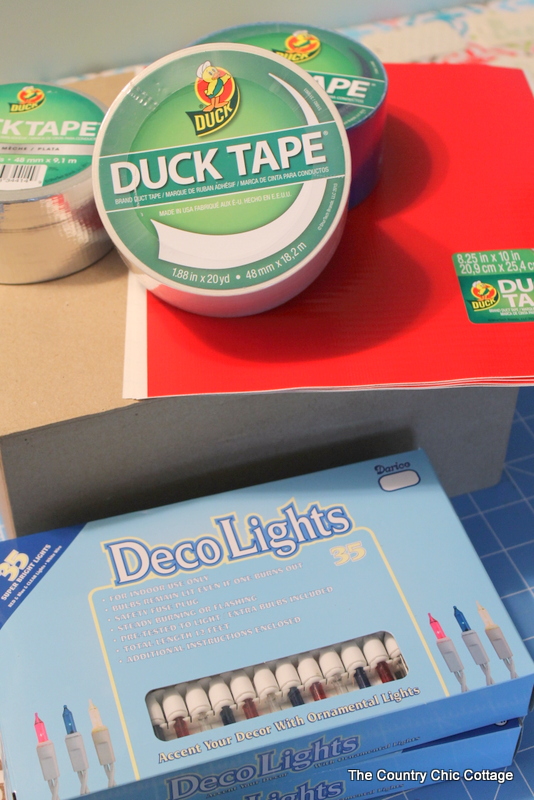
DIY Patriotic Marquee Sign Supplies:
The items below were given to me as part of participation in this sponsored post as well as my design team status.
- Duck Brand Silver Duck Tape
- Duck Brand Tape Sheet Red
(4 sheets needed)
- White Duck Brand Tape Roll
- Duck Brand Blue Duck Tape
- Paper Mache Box 10” Square
- Darice Indoor 35 Ct. Patriotic Red White Blue String Lights
- Ruler
- Various sharp objects for poking holes
- Tape
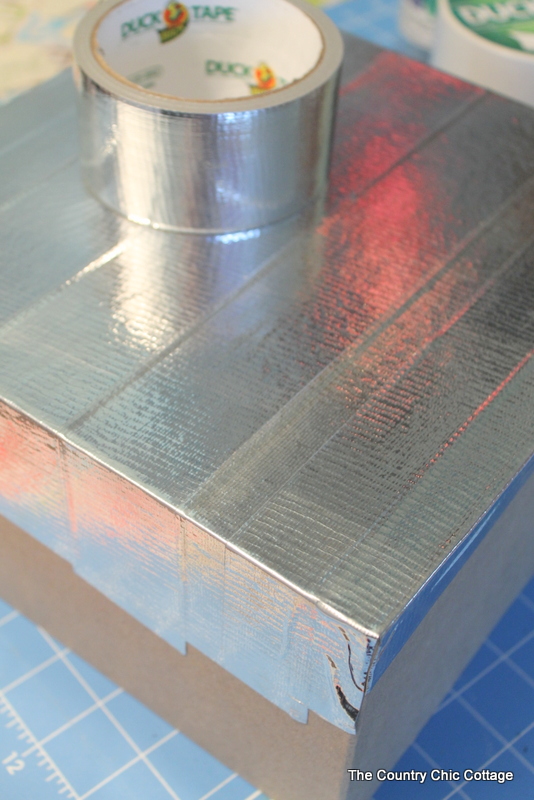
Start with the silver Duck Tape on a roll and cover the entire top (overlap the strips slightly as shown). This gives you a shiny reflective surface as the back of your marquee sign. I went down a few inches on both sides as shown. You can see that I did not measure this and you really don’t have to either. We will be covering all of the sides up with more Duck Tape. Make sure your Duck Tape is smooth for a better looking finished product. If you get any folds or wrinkles, just pull up the strip and try again.
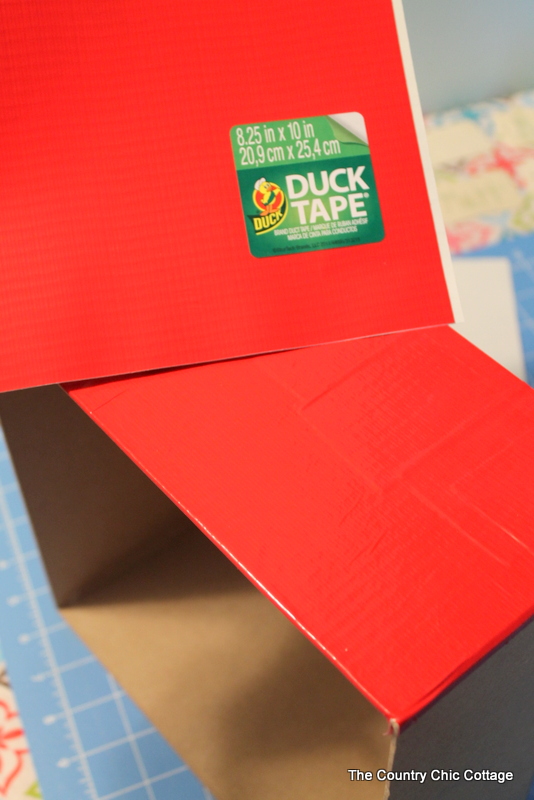
Use four of these red Duck Tape Sheets and apply to the sides of the box. Fold over all excess to the inside of the box. These sheets are right at 10 inches and so are the sides of the paper mache box. You will have a very slight overlap at the corner of each sheet. Slit the sheet to fold over smoothly. If you have not worked with Duck Tape sheets before, it is the same tape just in a large flat sheet and it is wonderful for covering large areas such as the sides of our box.
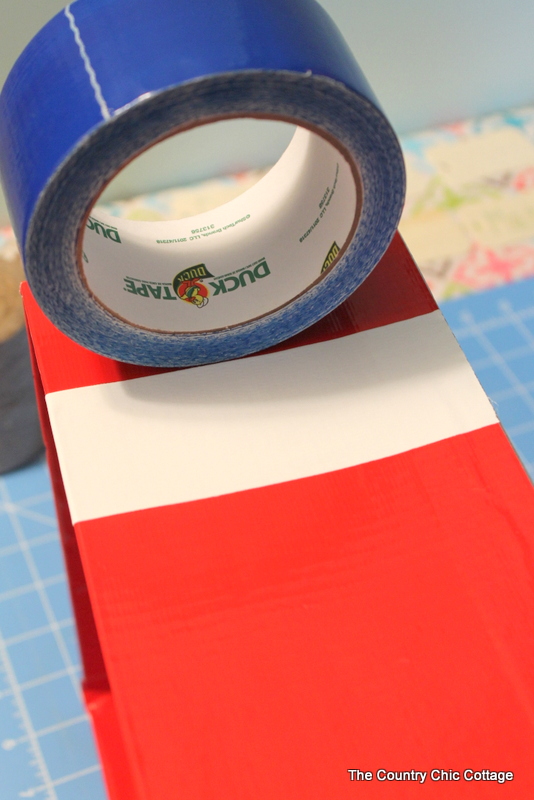
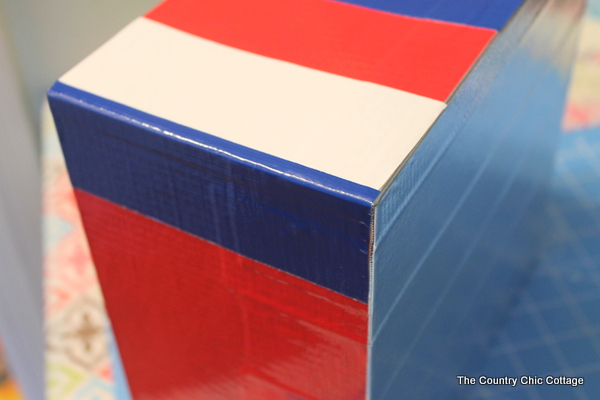
Now we are going to make those sides red, white and blue. Leave the “red” area alone then add a white stripe. I used the blue roll to get the spacing correct as shown. Go all the way to the top of the box and fold over any excess to the inside of your box. Again make sure there are no wrinkles or fold in your tape to ensure an amazing finished product.
Continue all the way around the sides of your box alternating with red, white, and blue. You can see how I handled the corners in the image below.
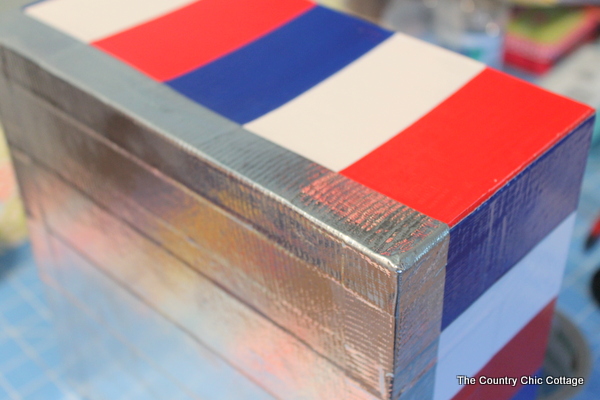
Now you want to cover up those top edges as they are a little rough. Use another piece of silver tape cut to the size of your box. Use about half of the width on the side of the box as shown and fold over the rest to the front of the box. Continue on all four sides.
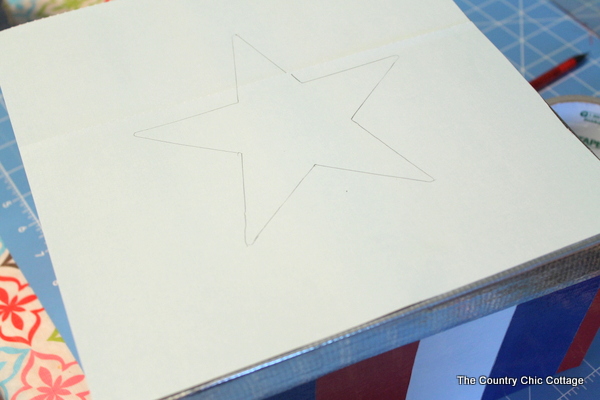
Now your box is complete and we need to turn it into a marquee sign. You will need a star template. Print one or trace a star shaped object onto a piece of paper.
I held the above up to my box and realized it was just not going to be big enough. So I made it slightly larger as seen below. I then measured for my light placement. Remember you have a maximum of 35 lights. I actually just used 30. I would rather have my bulbs evenly spaced then try to squeeze in all of the lights. Just measure and mark until you get even placement and are happy with the results.
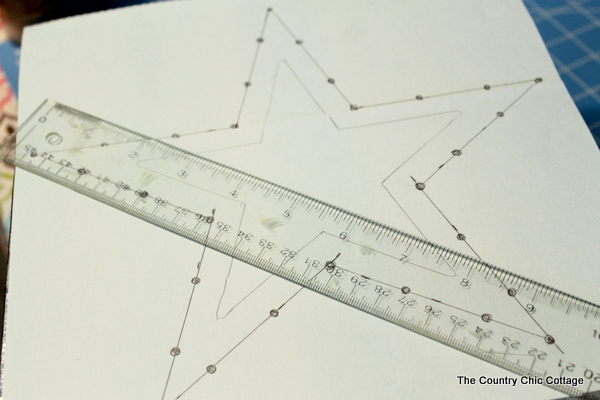
Then center your template on top of the box and tape in place. Use a painter’s or masking tape or something that won’t mark your surface for this step. Start with a small ice pick or other pointy object and push through each marked spot all the way through the box. Be sure to protect your work surface and always be careful with sharp objects.
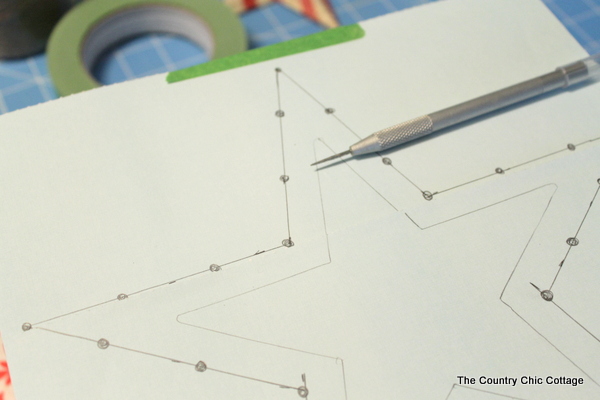
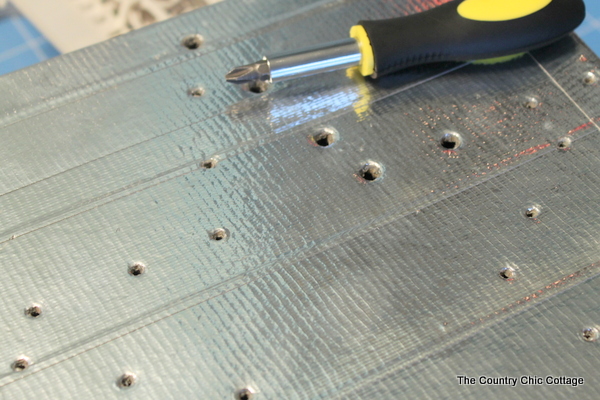
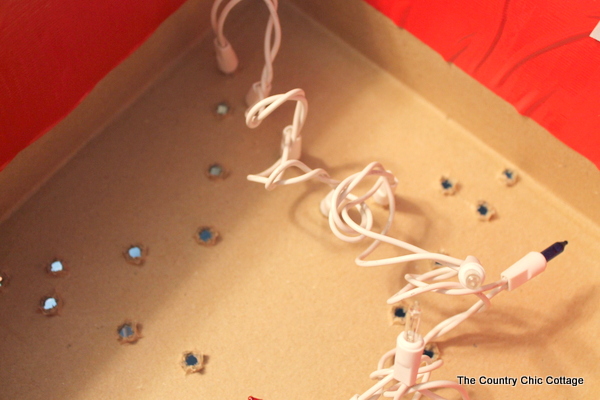
Remove the template and you are left with a box with holes. Now how to we get lights into those holes? I just started using slightly larger objects and poking them through the holes.
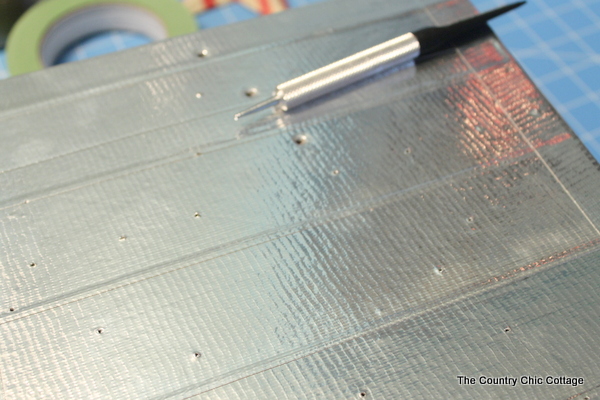
I finally ended up with this screw driver because it was about the side of the light that I wanted to use for my marquee sign.
Then I just tried my lights through the back of the box and sure enough they fit! I put all of the lights into place. Be sure to start and end your light string at the BOTTOM of the box as you will want your cord at the bottom when plugging up.
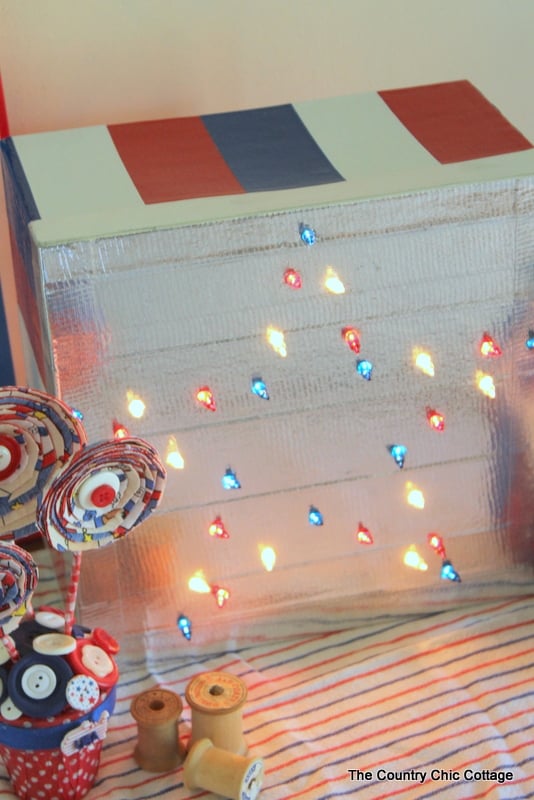
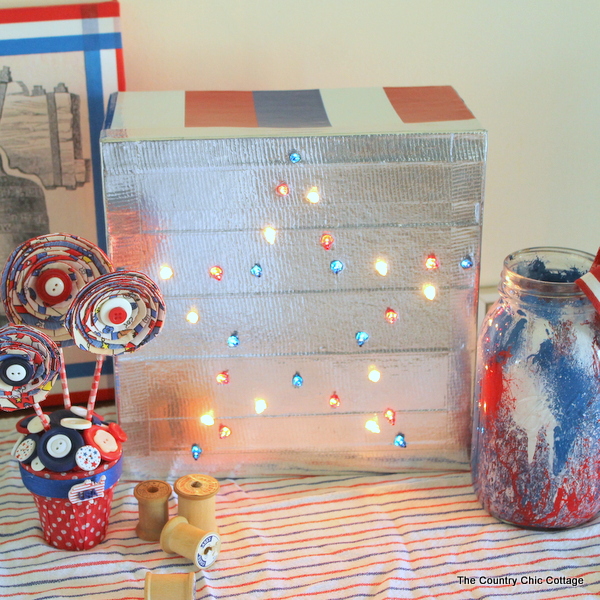
That is it! Your DIY patriotic marquee sign is ready to light up the night! Please be cautious when using this marquee and do not leave it plugged in unattended. Treat it like a candle and always turn out before leaving or going to sleep.
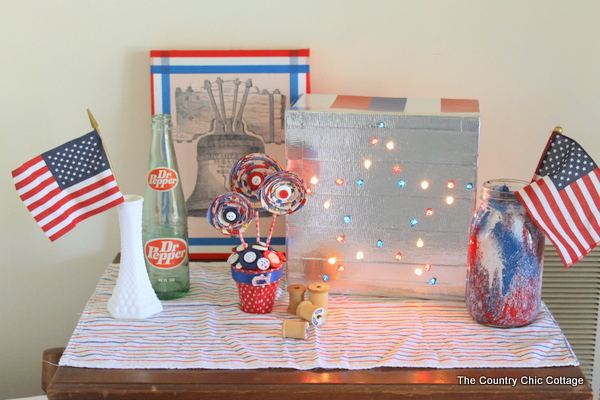
My patriotic marquee sign ended up in this patriotic display in my foyer. You can also find my patriotic image transfer canvas, patriotic fabric flower centerpiece, and my fireworks painted mason jar.
This is a super easy way to make a fun marquee sign for your home. Will you try this patriotic version or another shape for your home? I will stick with my patriotic marquee sign for now!
This post was sponsored by the Duck Brand however all projects and opinions are my own.
Here are some more amazing patriotic crafts if you are looking to add some fun to your home this summer!



Unique idea! The star looks great, wonderful tutorial
Looks great! and really brightens up a room. blessings, Catherine
Cute! My boys just told me that they want to try to make this all on their own!
That’s a great way for kids to make their own marquee lights – cool!
How fun is that?! My daughter and her girlfriends would love to do this at the next sleepover!