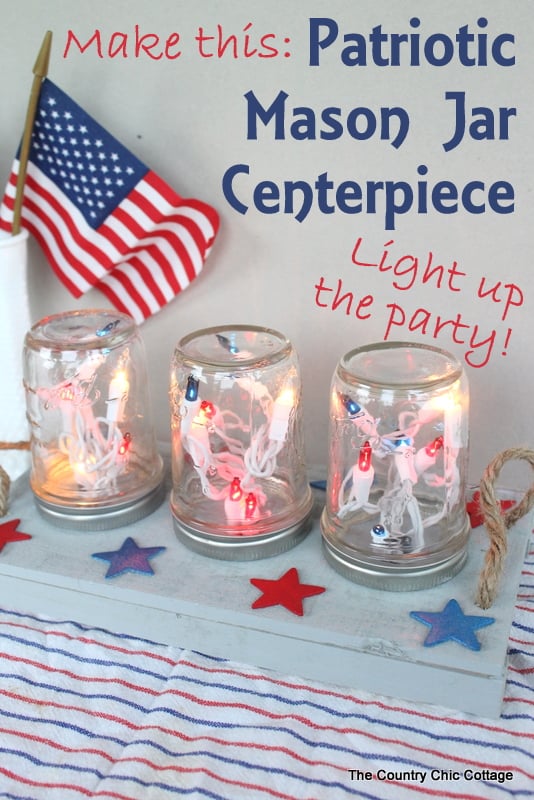
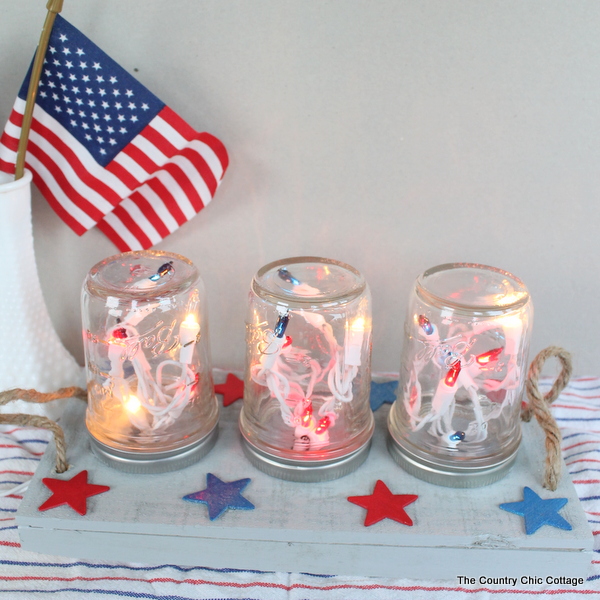
Light up your next party or gathering with this striking patriotic mason jar centerpiece. It’s a cinch to make and will add that perfect decorative touch that you’re seeking!
Are you throwing a patriotic party this summer? You’ll definitely want to make my patriotic mason jar centerpiece to light up your night. Forget candles! This centerpiece is a unique and fun way to light up your party tables.
There’s just something about displaying small lights. They add a soft glow that creates a comforting and inviting ambiance to any room or outdoor space. That’s why I’ve created several different projects using fairy lights like my DIY Mason Jar Fairy Lights and Simple Fall Fairy Light Luminary.
I love the way they look!
I normally use these fairy light projects as decor pieces that live on the outskirts of the room, say, on a shelf. However, I felt it was time to let some fairy lights shine front and center. That’s where this idea was born.
We were planning to host a gathering for several people, and since the weather was warm, we decided to do it outside. But, we didn’t just want to sit in the dark or use the oddly angled lighting on our back porch. Since I love all things mason jars, I made a mason jar centerpiece to add a little ambiance to our back porch gathering.
The final product turned out to be the perfect combination of practical soft lighting and festive patriotic spirit!
Supplies Needed To Make A Patriotic Mason Jar Centerpiece
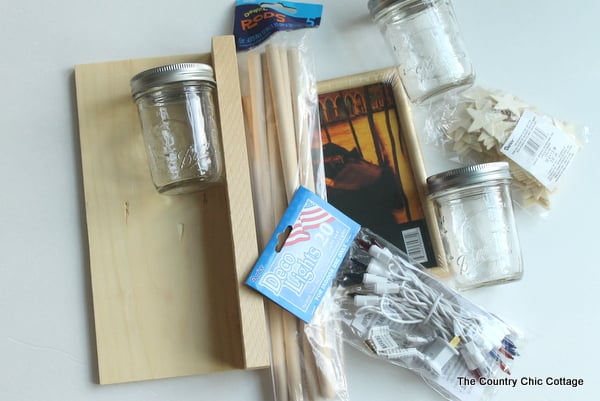
If you would like to make your own patriotic mason jar centerpiece you will need a few supplies! Here’s a complete list of everything you’ll need.
Please note that I’ve added links to help you find what you need easily, and these links may be affiliate links. If you make a purchase, you won’t pay any extra, but I may receive a small commission to go towards this site.
- Darice Indoor 20 Count Red White Blue String Lights
- Ball Canning Regular Mouth Half Pint Canning Jars
(3 jars needed)
- 1 1/2 inch thin wood stars (I used 8)
- Wood tabletop sign
- Krylon ColorMaster in Cherry Red and Pewter Gray
- Krylon Shimmer Metallic in Blue
- Krazy Glue Craft Gel
- Table saw
- Drill and drill bits
- Rope or twine
- Hammer and nails
- Ruler
- Pencil
How To Make Centerpieces With Mason Jars
Follow this step-by-step process to create your own mason jar centerpieces with lights. It’s a simple process, I promise!
Step 1
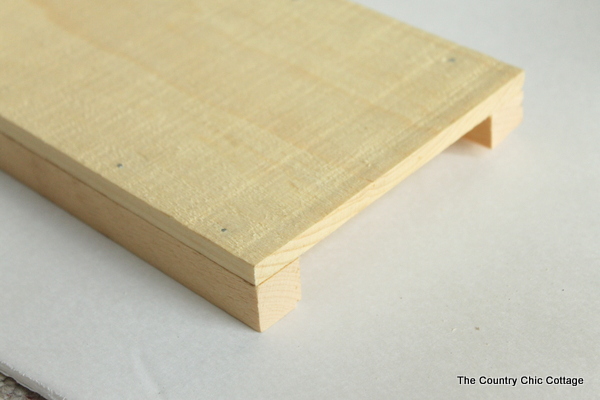
I started with the tabletop sign. It had this wood piece running down just one side. The final product needed to be more “tray” like for my project to work. I measured and marked halfway through the leg.
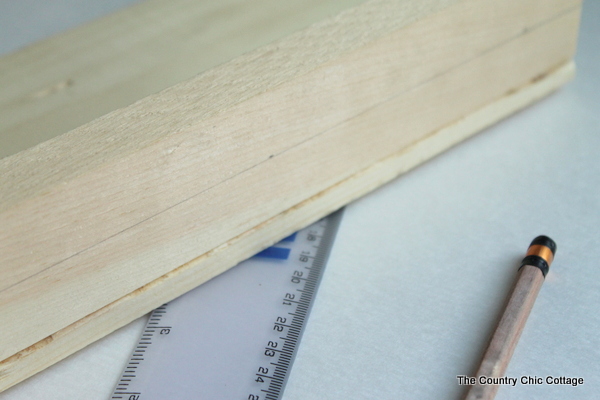
Then I ran that leg through the table saw and I had TWO legs that were equal height.
Step 2
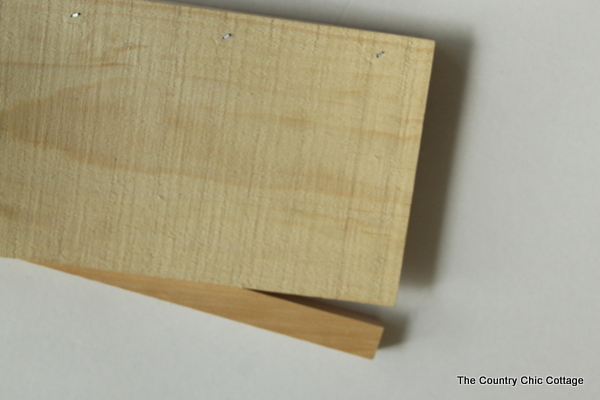
I used a hammer and nails to add that leg to the opposite side and all of a sudden I had a tray to work with. Now what?
Step 3
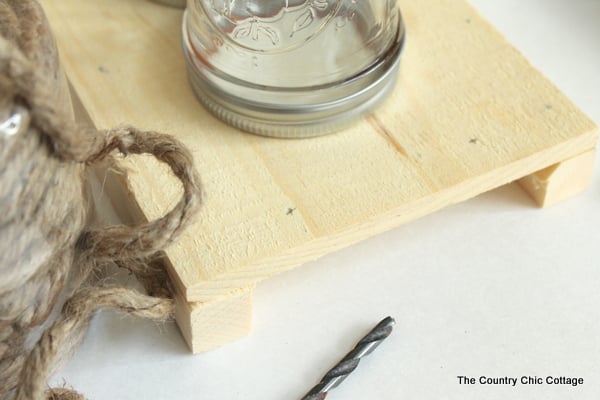
As I was brainstorming about my new creation and how I wanted to arrange the mason jars, I realized that I would have room for all three jars and some handles on both sides.
I measured and marked for handle holes on both ends.
Step 4
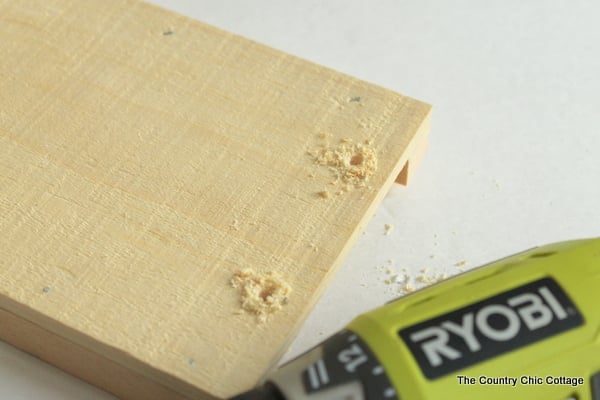
Then, I drilled holes for the rope or twine handles on both ends of my “tray”.
Step 5
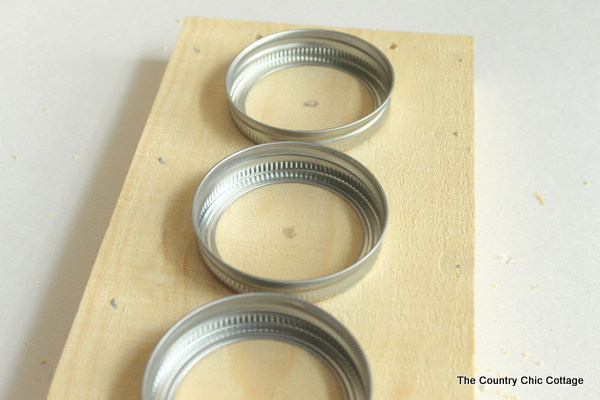
Next, I laid out the bands on the jars until I thought they were evenly spaced and centered and marked the approximate middle of each one with a pencil.
Step 6
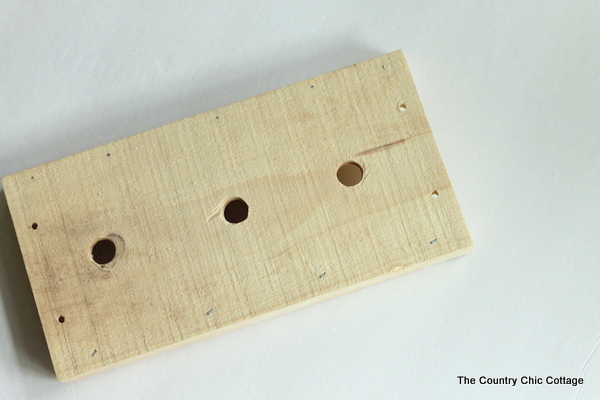
I used a large drill bit and a sanding tool to make large holes on each mark. Yep, I messed one up but no one will ever see I promise!
Step 7
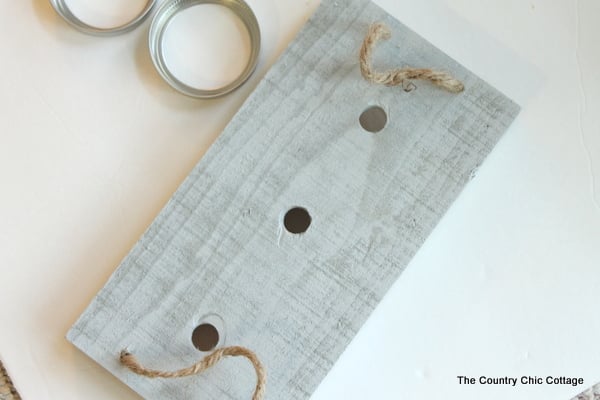
Paint the entire tray with Krylon ColorMaster in Pewter Gray. Allow it to dry completely and then add the twine handles by knotting the twine on the bottom of the tray.
Step 8
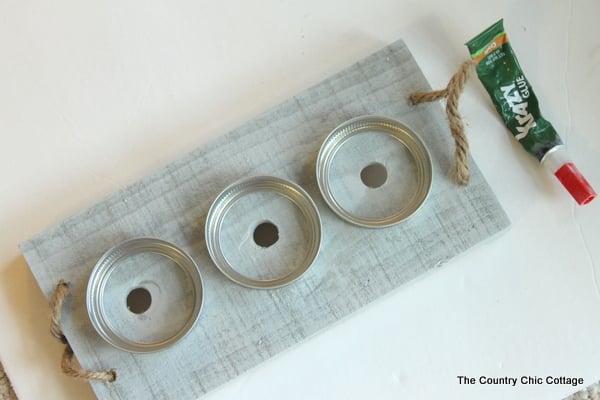
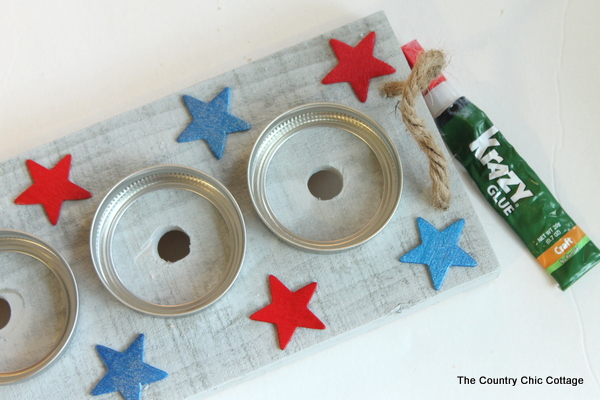
Use the Krazy Glue to attach the bands of the mason jar lids around each hole. We are NOT going to use the inner portion of the lid on this project.
Step 9
While your gray paint is drying, you can also get your stars painted really quickly. Grab the Krylon ColorMaster (in cherry red) and the Shimmer Metallic (in blue) for this part.
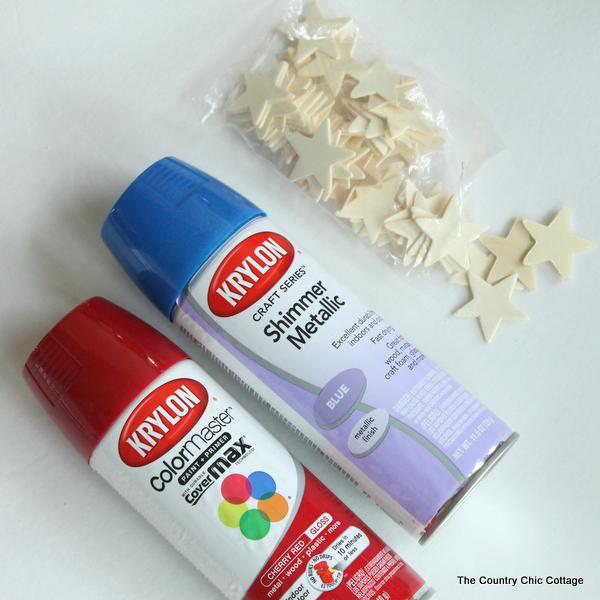
Spray paint a few stars in each color. After they are completely dry, add to your tray around the edges again with the Krazy Glue.
The Krazy Glue dries extremely fast and is strong which is why I chose it for this project.
Step 10
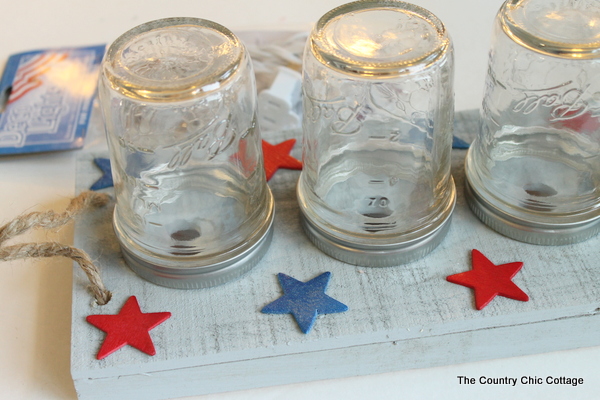
You can add on your little mason jars by screwing them into the bands.
Step 11
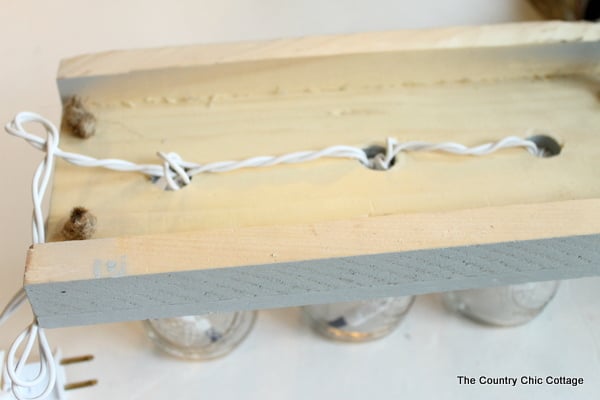
Flip the entire project over to the back by standing it on the mason jars. Divide the lights into 3 equal parts (there are 20 lights on the strand so groups of 7, 7, and 6 make it about even).
Shove the lights through the large drilled holes and into the mason jars. You won’t need to use anything to hold them inside. Once you’re done, the bottom should look like the picture below.
Step 12
Flip the entire project back over and plug in your lights. Now you’re ready to light up the night with this patriotic mason jar centerpiece!
Tip: Don’t forget to add a couple of Mosquito Repellent Candles to keep the bugs away!
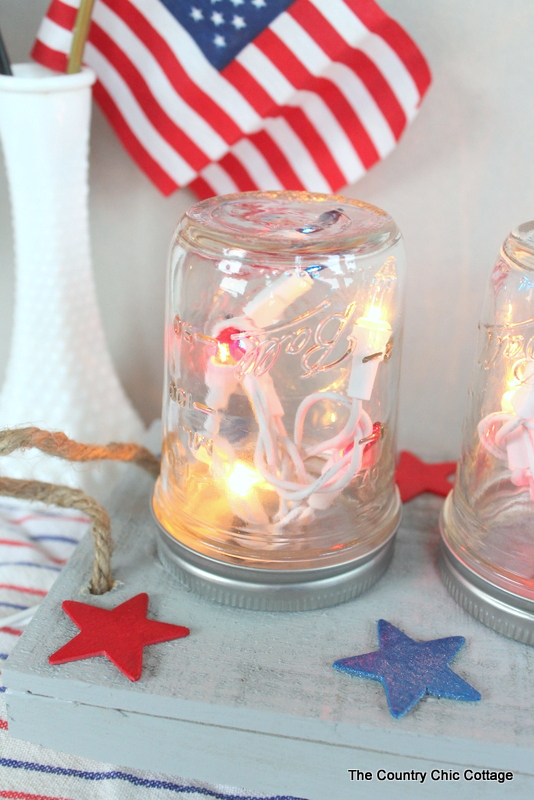
Make A DIY Mason Jar Centerpiece For Your Table
You don’t just need to use this project for parties or gatherings! It would look amazing on your porch all summer long to light up family meals instead of using candles. Or, use it on your mantle or dining table indoors. There are so many possibilities!
This is just a fun way to add some light and ambiance to any room or outdoor space.
Safety Notes: Please treat this as a candle and do not leave it unattended as your jars may get hot. Also, use caution when using this around small children.
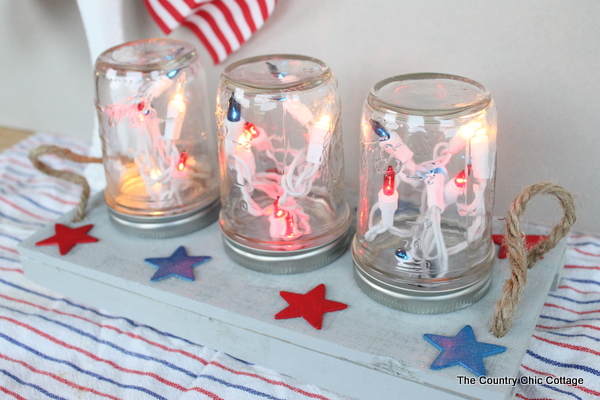
Show your American pride with this adorable patriotic mason jar centerpiece. It doesn’t get much better than mason jars combined with red, white, and blue y’all!
More Projects To Light Up Your Life
- DIY Mason Jar Candle Molds and Candles
- Patriotic Candle Holder from a Lantern
- How to Make Beeswax Candles in a Jar
- How to Make a Mason Jar Light in MINUTES!
Ingredients
- String Lights in red, white, and blue
- Mason jars half pint size
- Thin wood stars
- Wood tabletop sign
- Krylon ColorMaster cherry red, pewter gray
- Krylon Shimmer Metallic Spray Paint blue
- Krazy Glue craft gel
- Table saw
- Drill
- Drill bit
- Hammer and nails
- Rope or twine
- Ruler
- Pencil
Instructions
- Take the tabletop sign and make it more “tray” like. I measured and marked halfway through the leg. Run the leg through the saw to cut it in half so you have 2 legs.
- Add the second leg to the other side of the wood sign to create a tray using a hammer and nails.
- Measure and mark for handle holes on both ends.
- Drill holes for the rope on each end to create handles.
- Place the mason jar bands on the wood sign to visually space them out until they are centered. Mark the approximate middle of each one with a pencil.
- Use a large drill bit and a sanding tool to make large holes where each mark sits.
- Paint the entire tray with the Pewter Gray paint. After it dries completely, add the twine handles by knotting the twine on the bottom of the tray.
- Attach the bands of the mason jar lids around each hole with Krazy Glue.
- Paint your stars with your red and blue paints while you're waiting for your gray paint to dry. Once they're dry, use Krazy Glue to add them to your tray.
- Screw your mason jars into the jar bands.
- Flip the project over and shove the fairy lights into the jars, dividing them evenly between the jars. Your project is complete!
- Flip the completed project over and plug in your lights to enjoy your new centerpiece.
A Year of Jar Crafts

Sign up for our email list to get a FREE book with an entire year of jar crafts! 12 months, 12 crafts, tons of fun!


How cute! Those lights really up the festive feel!
What a great idea! Would be super cute out on the patio at night for the 4th!!!
This would be fun to do for any holiday – I’d love one of these!